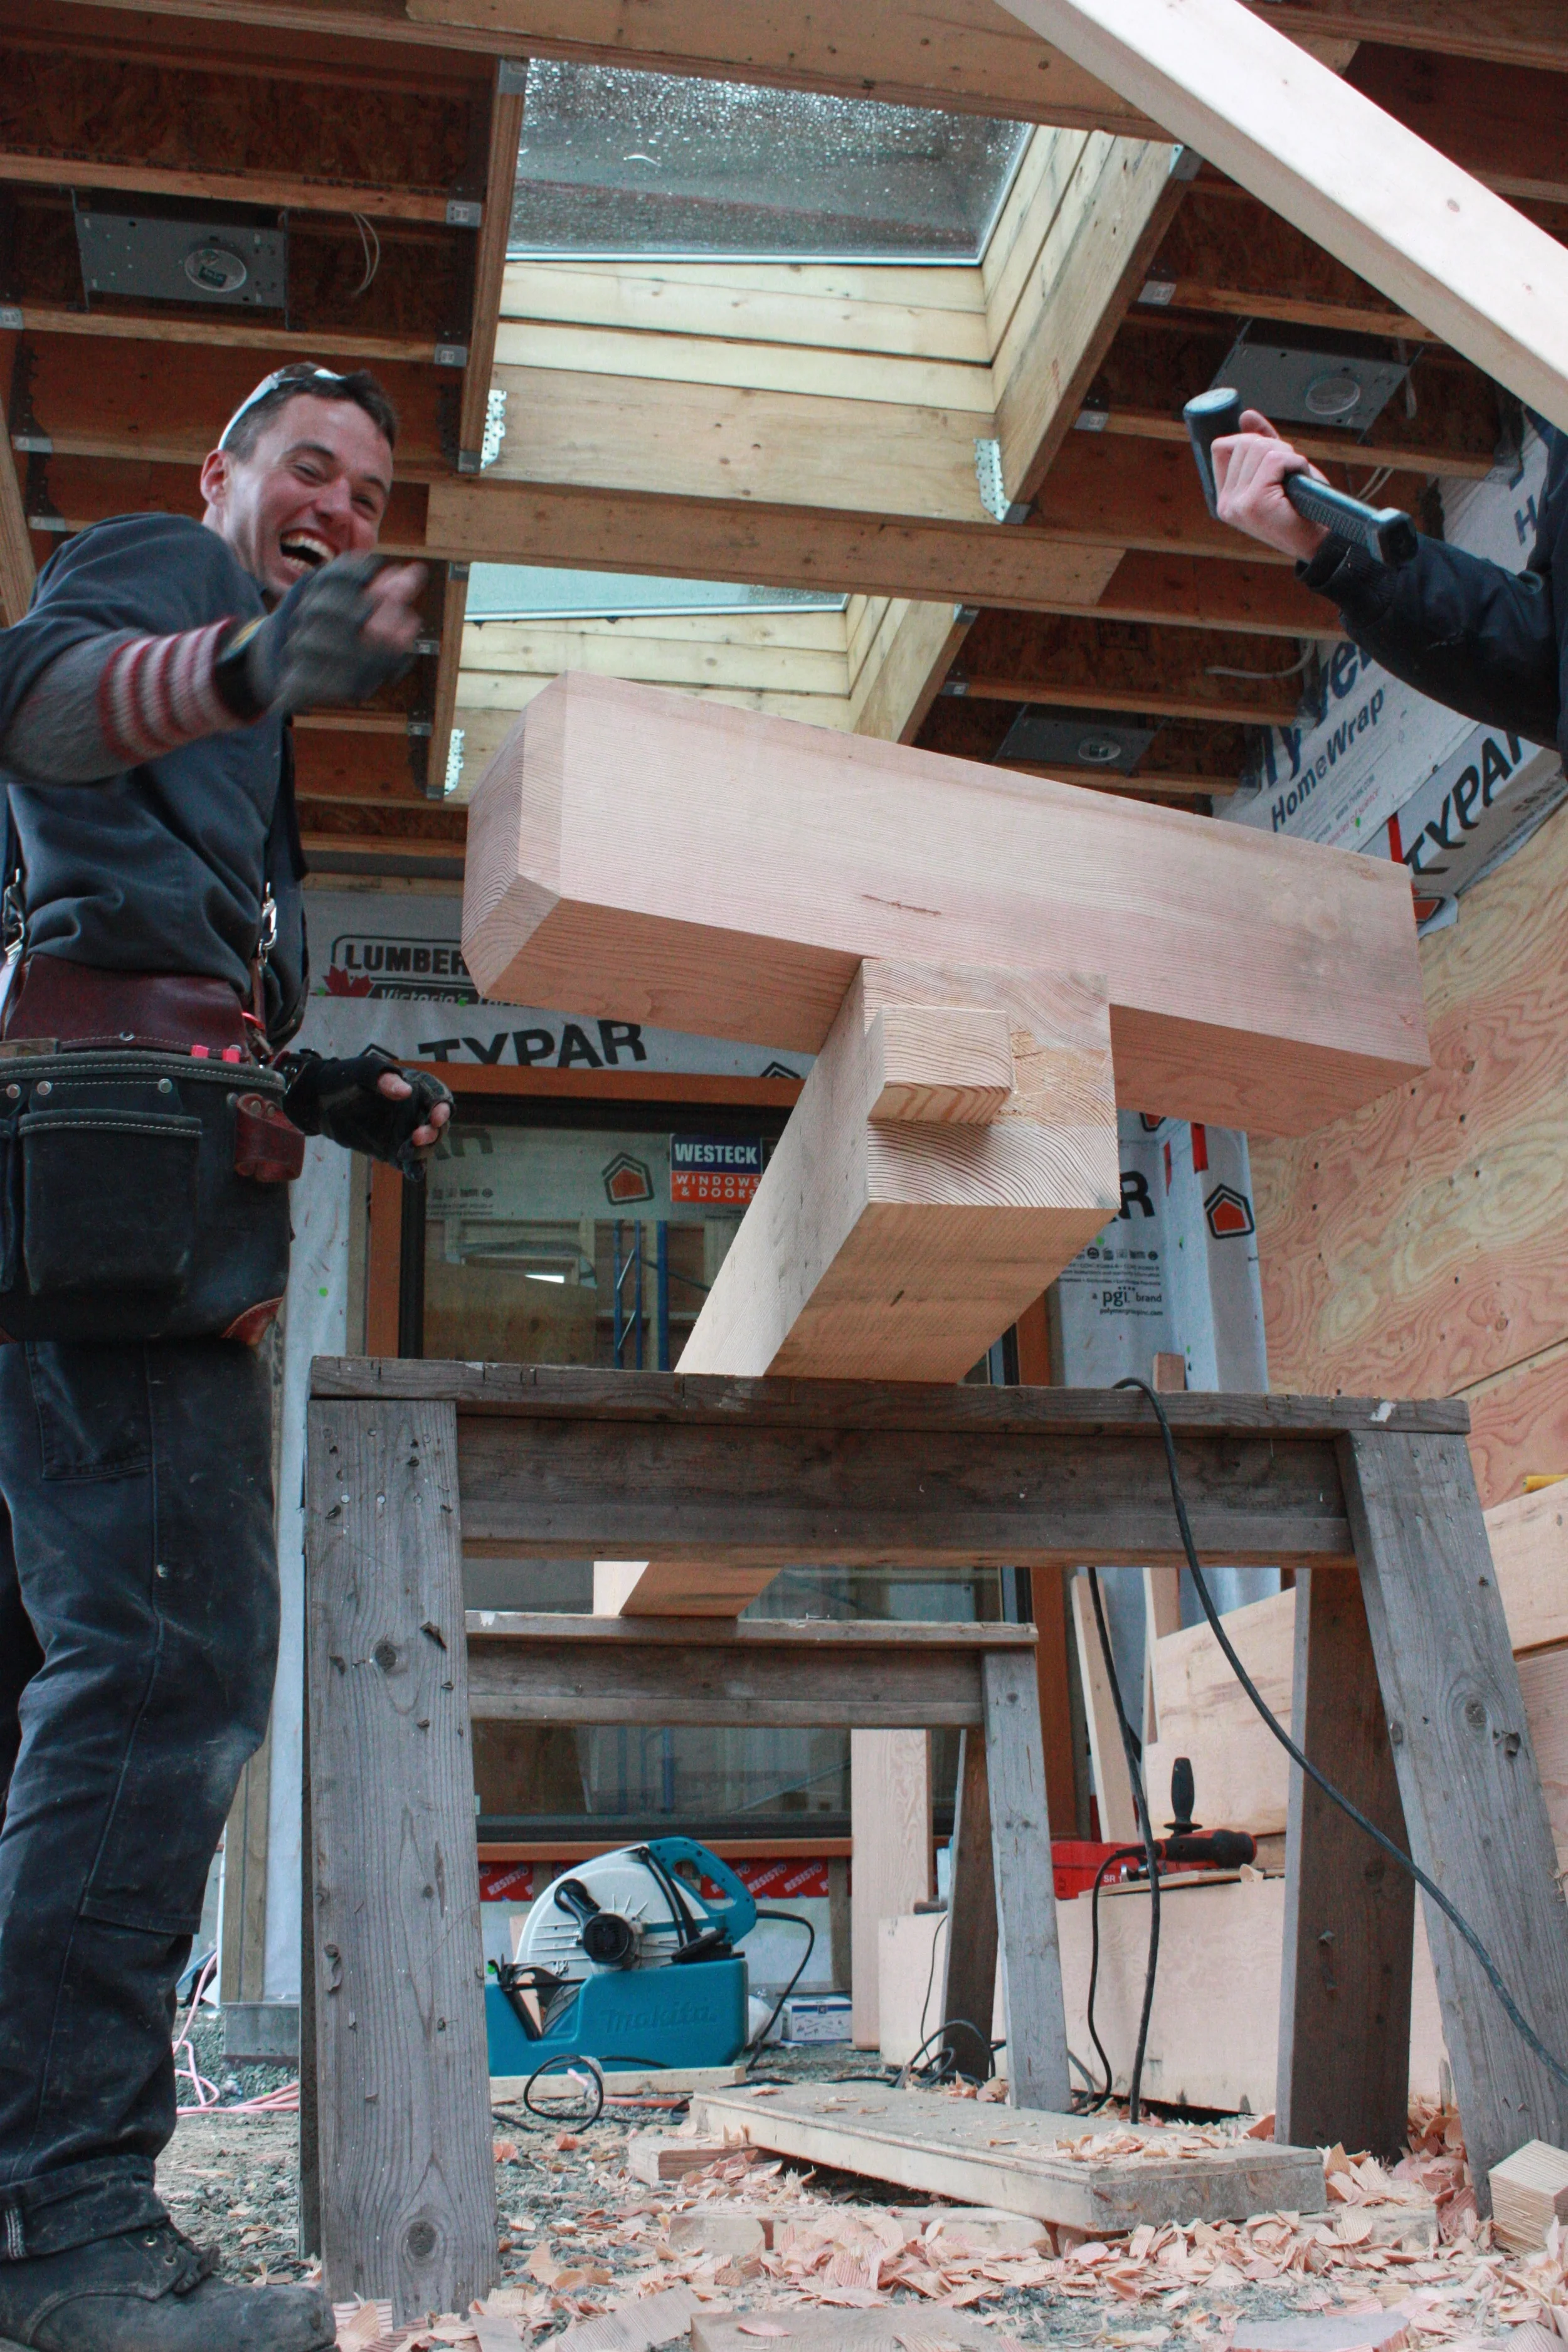
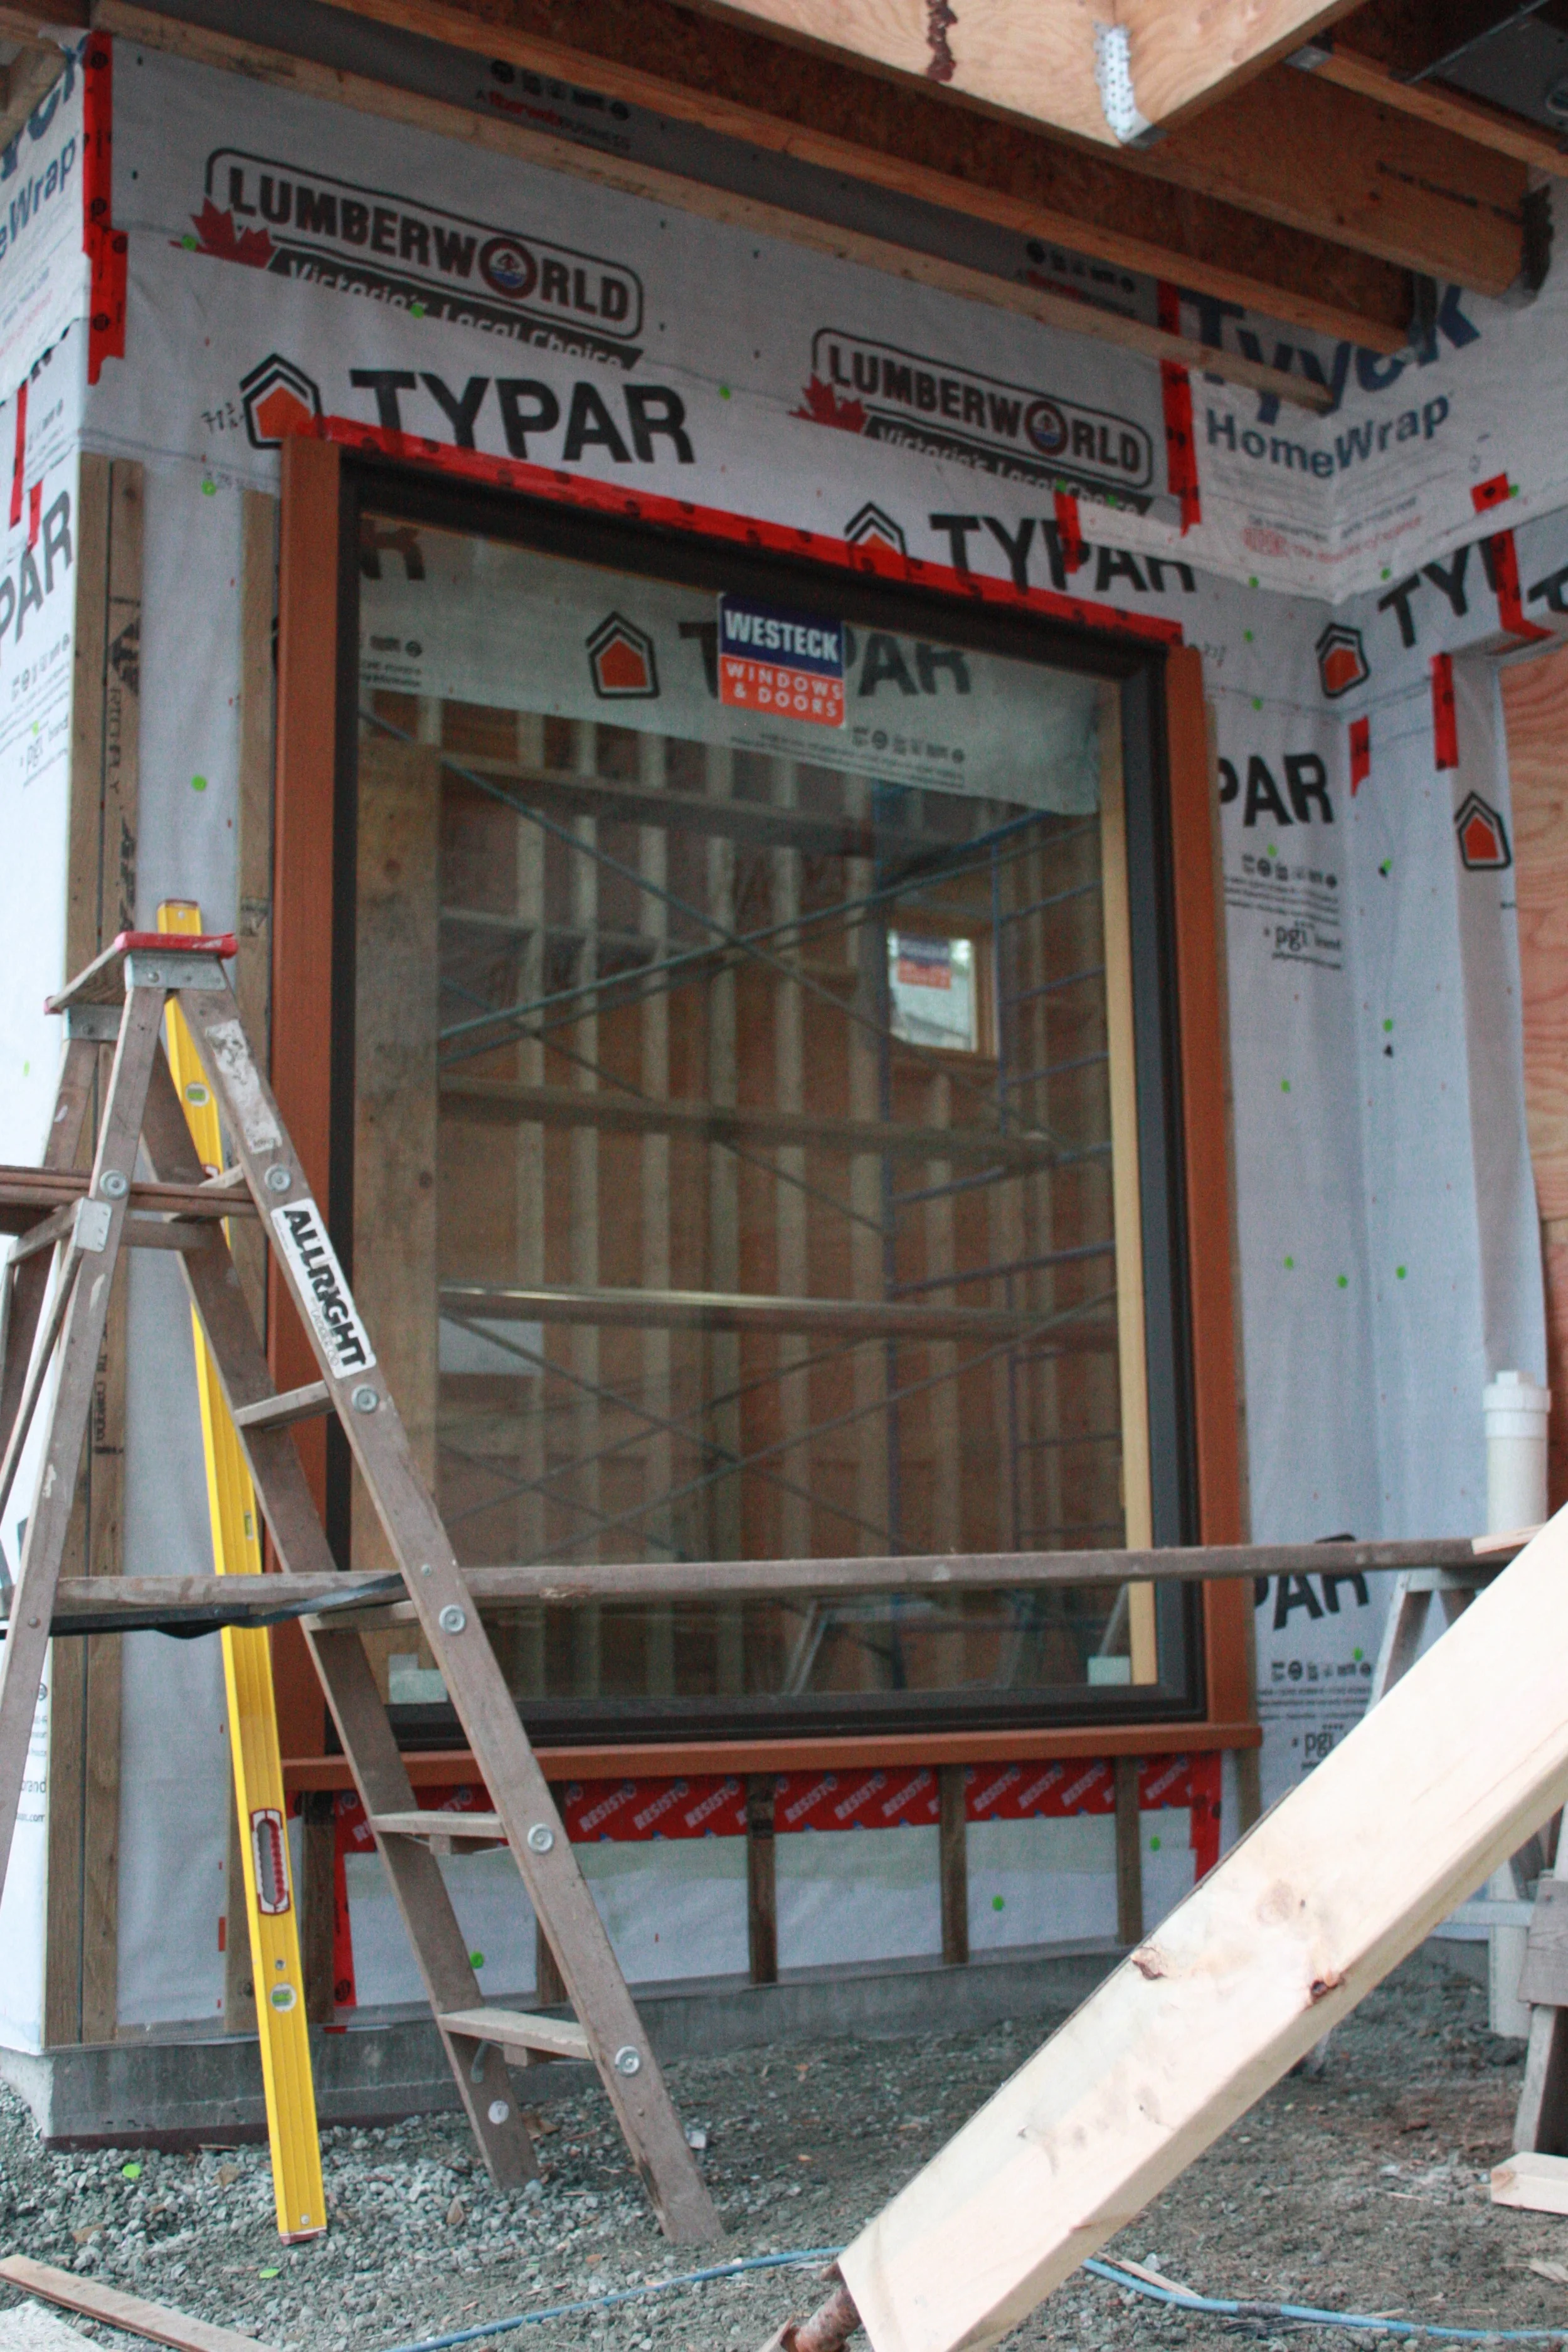
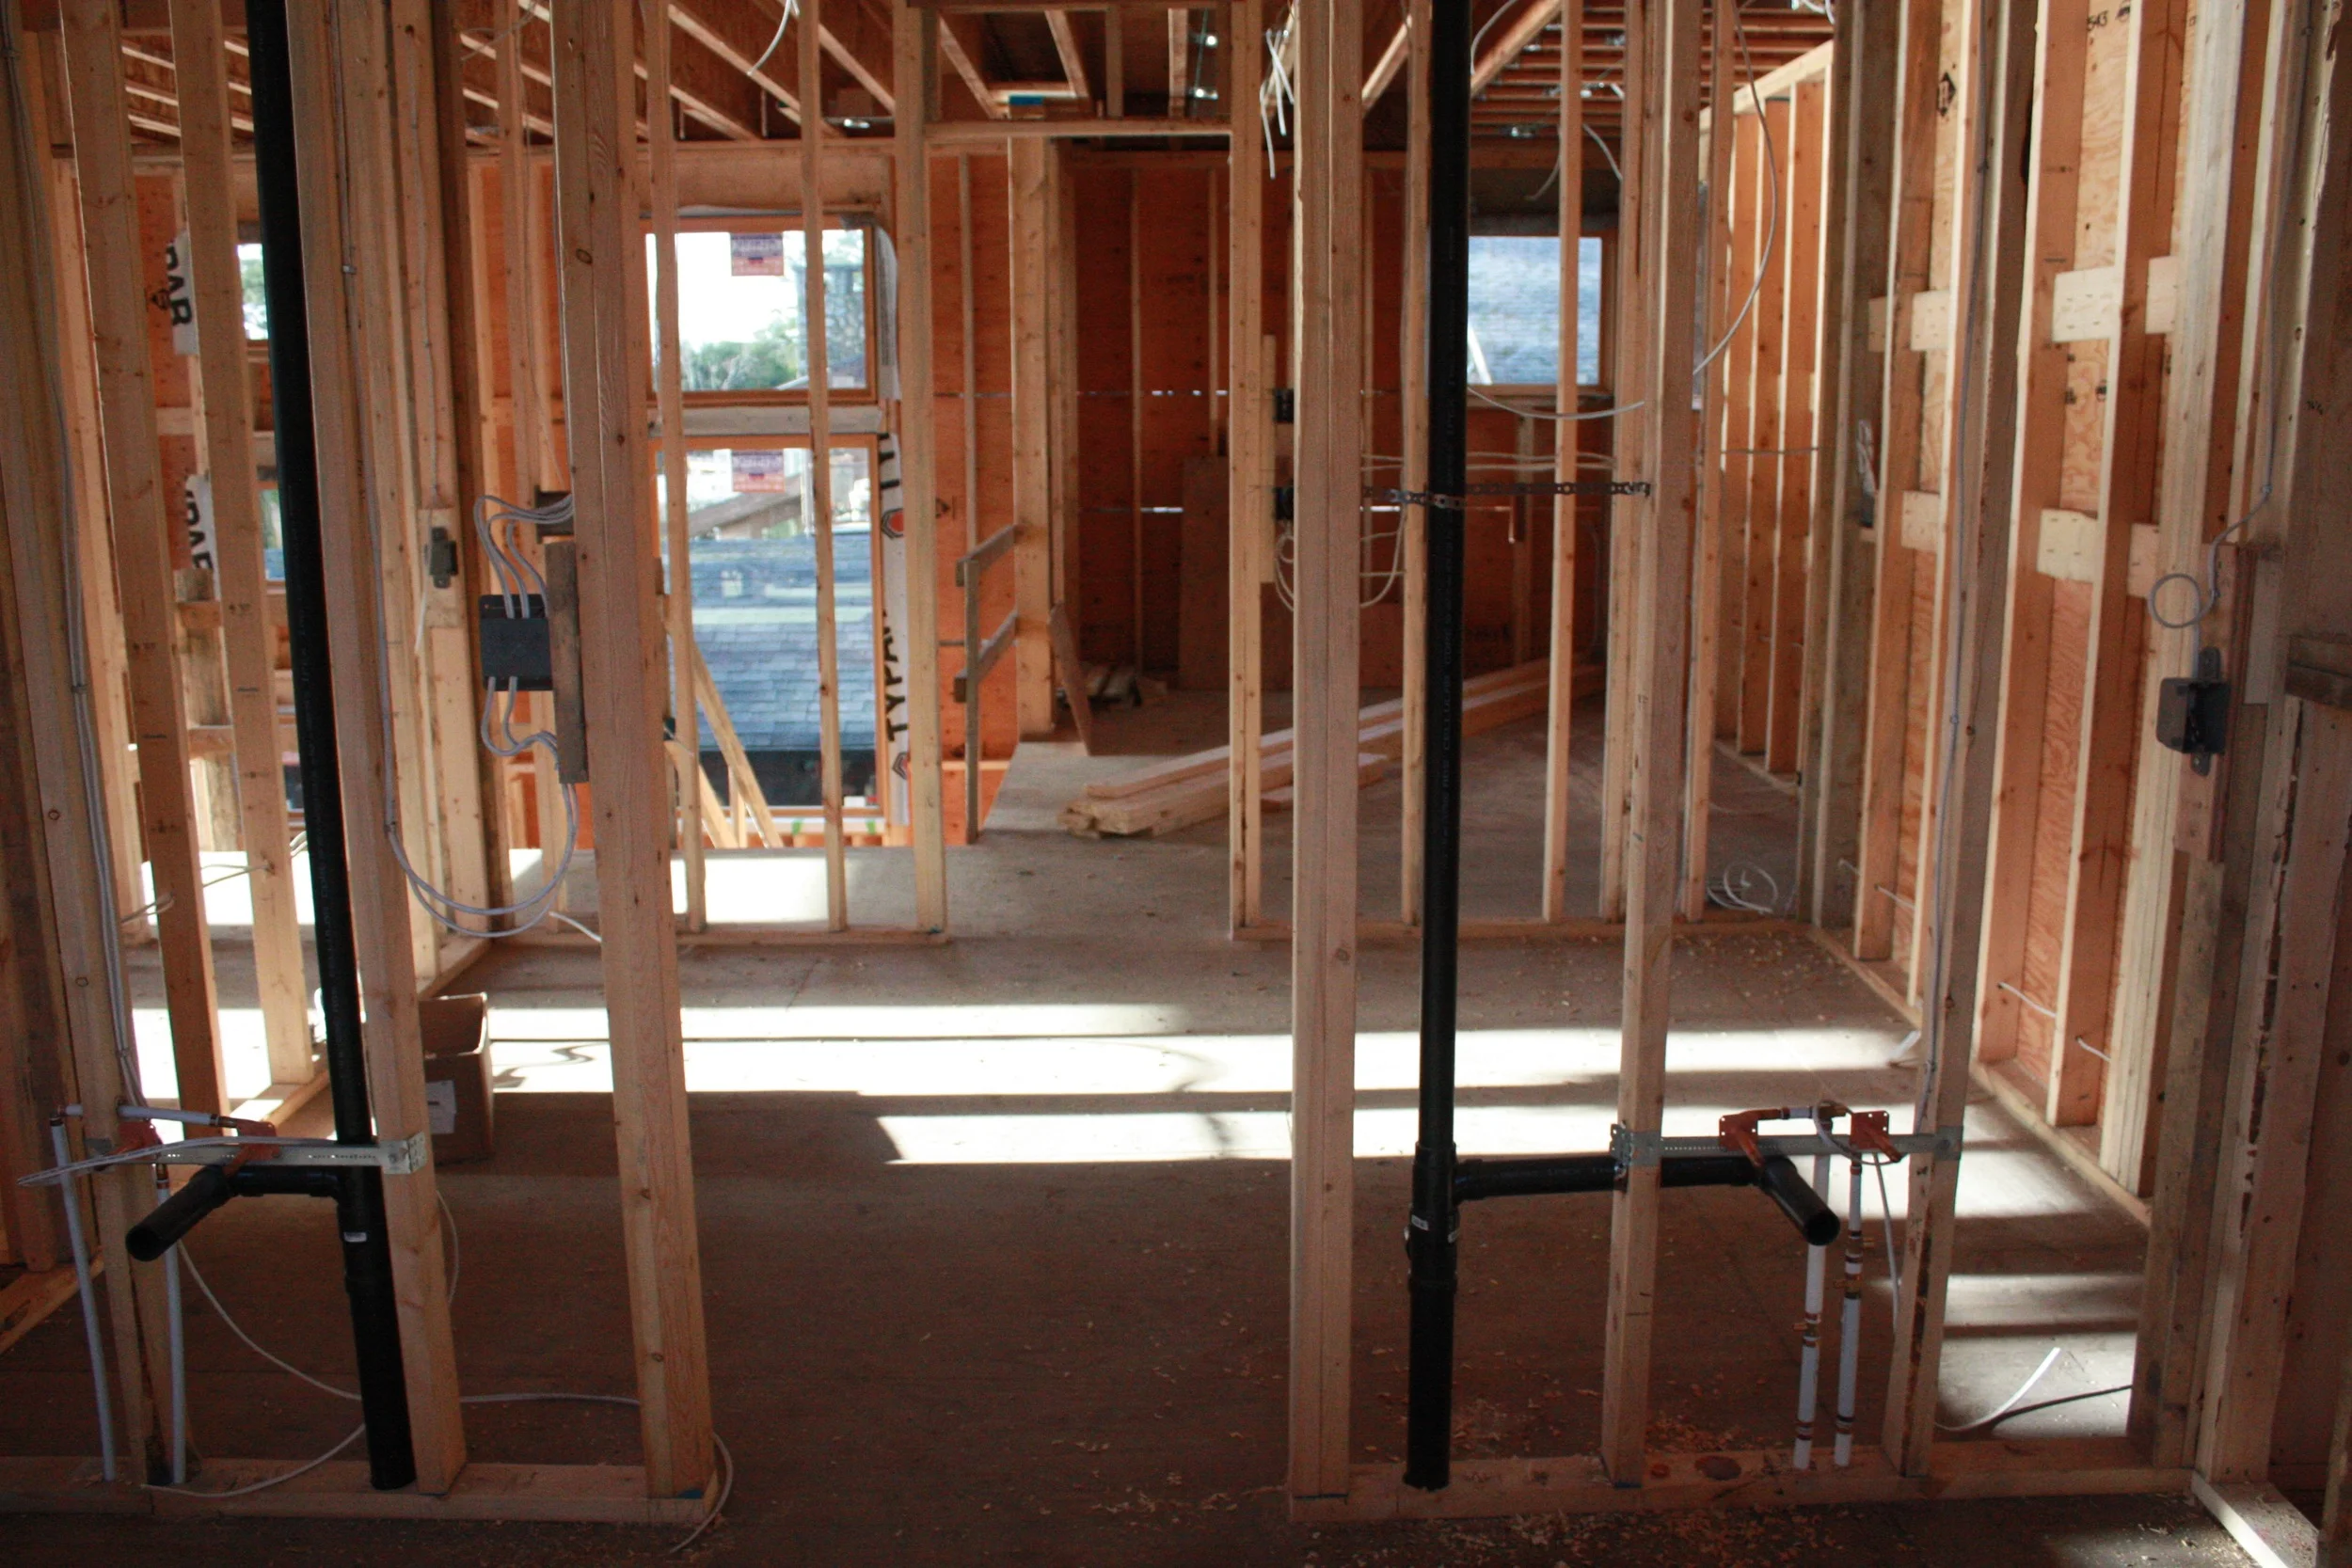
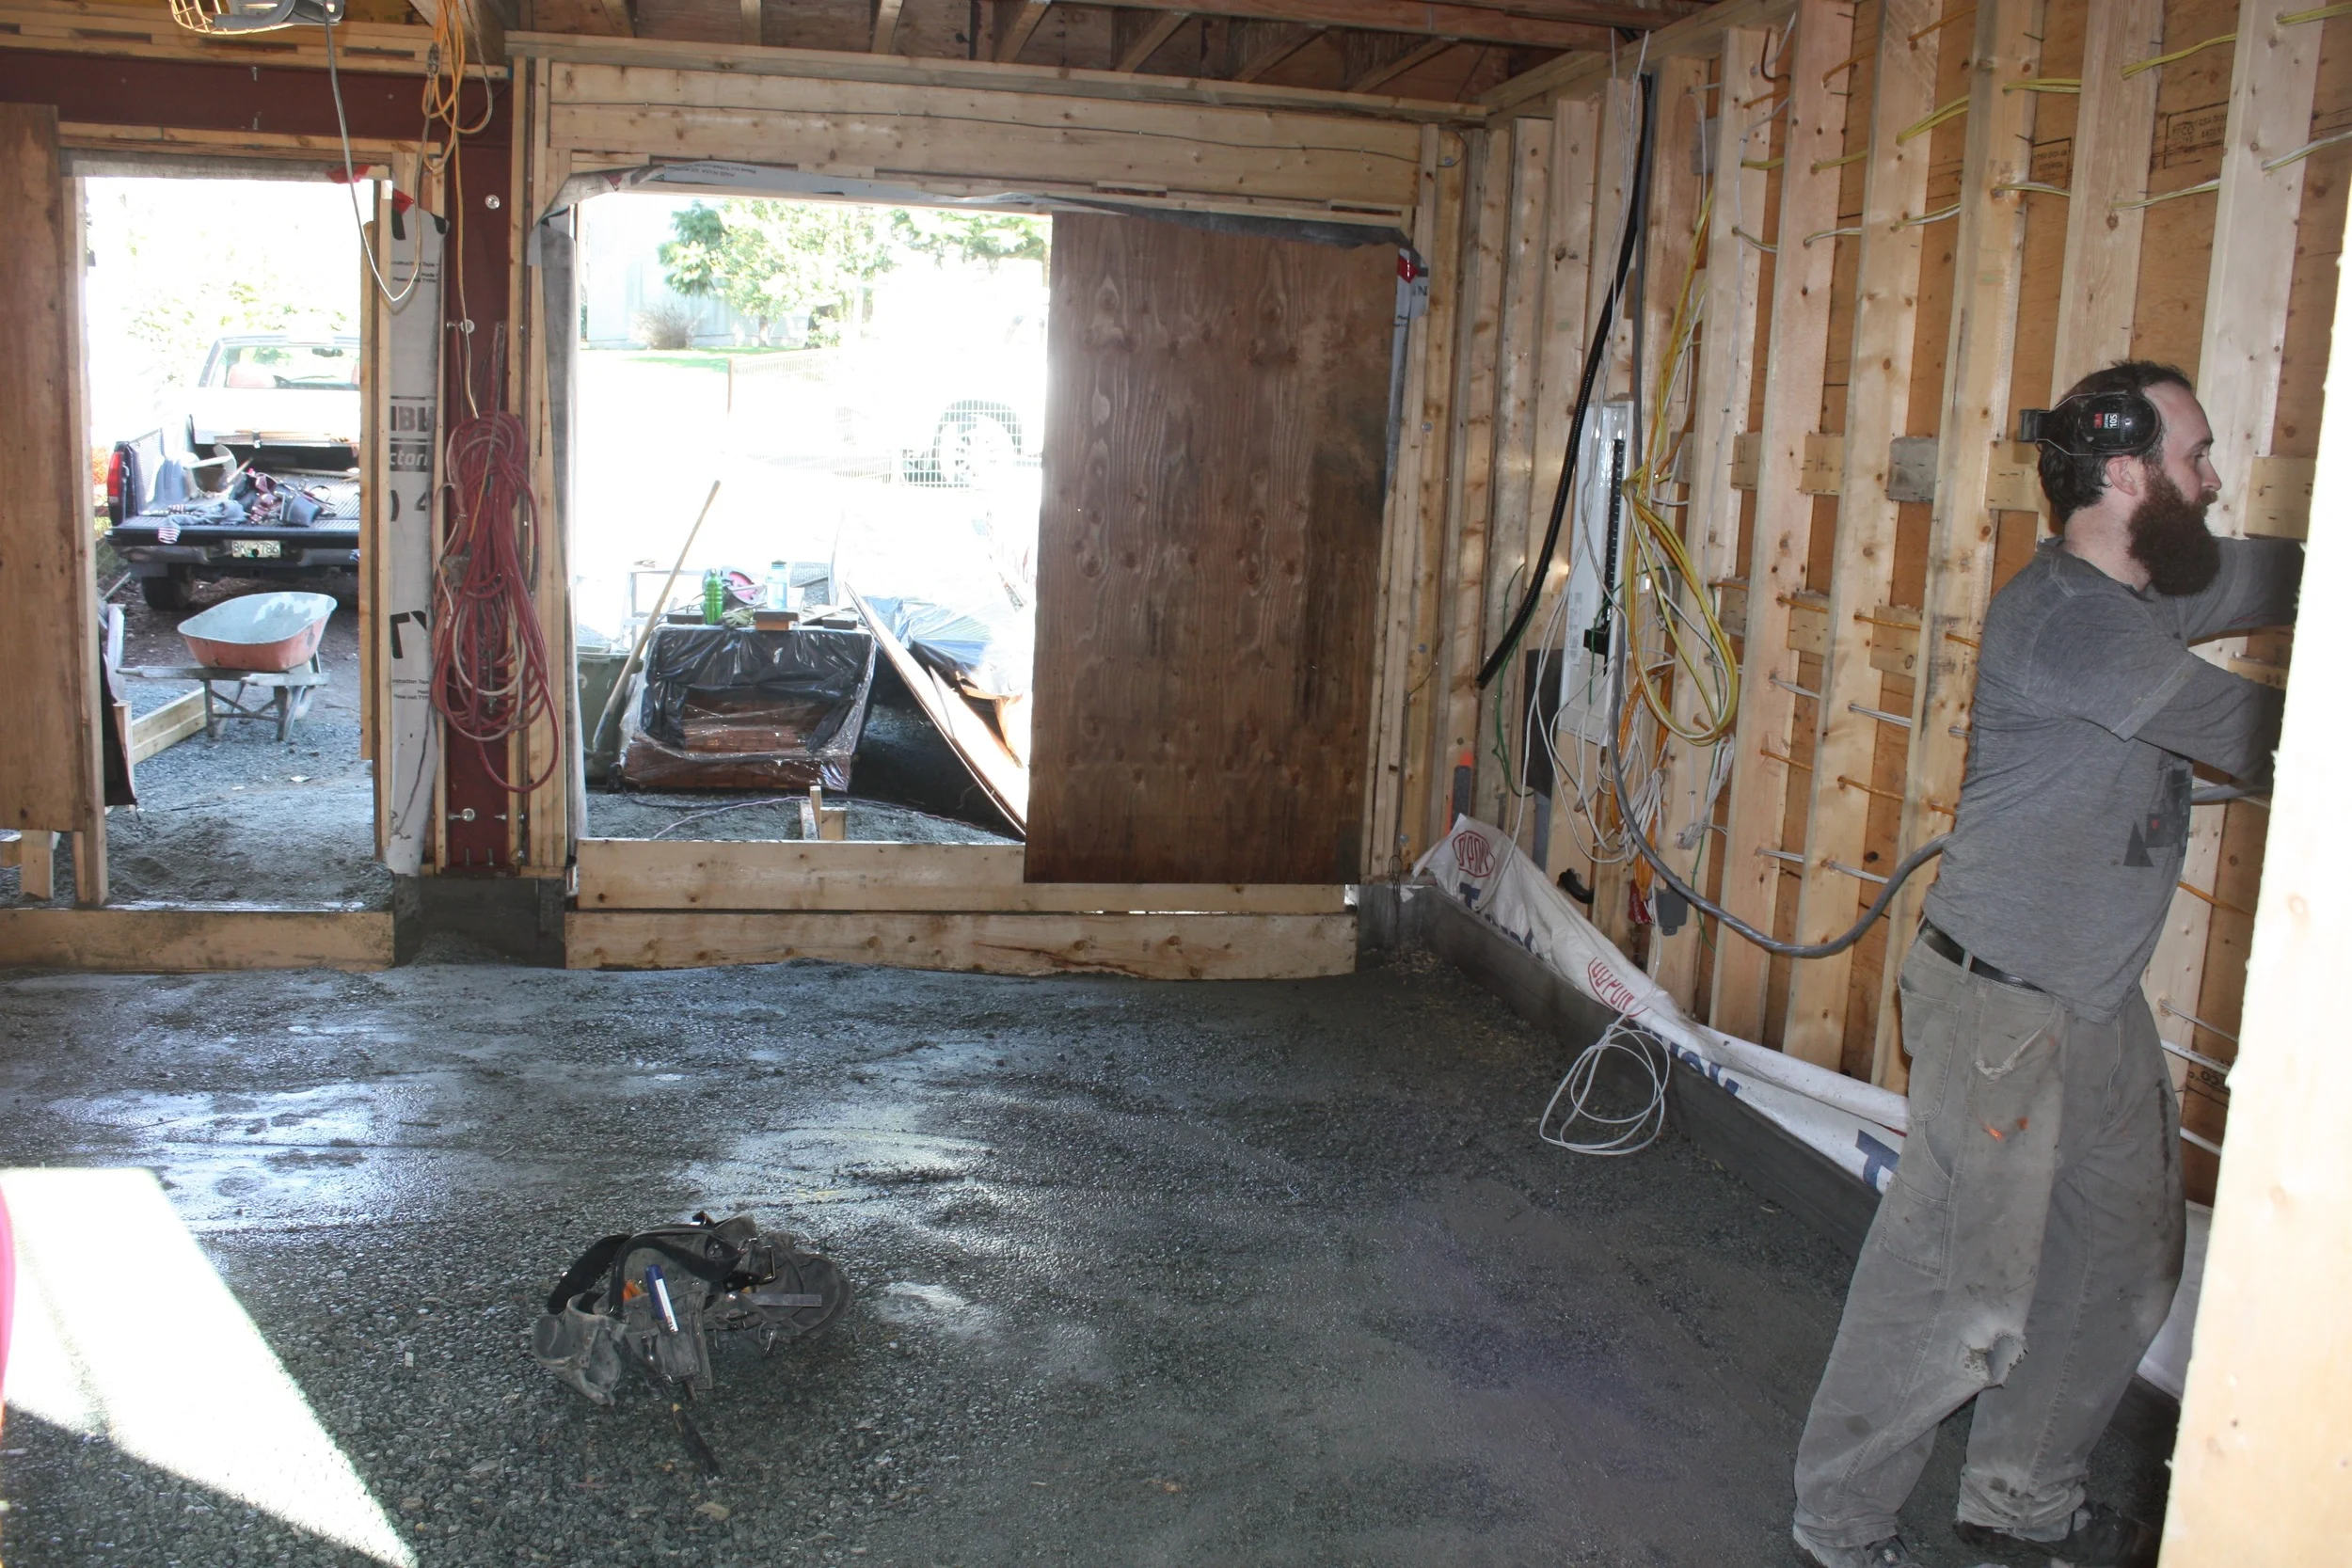
Feb. 13: Getting ready for pouring the concrete floors in the garage and the mechanical room and the column on the Southeast side of the patio began this week - hopefully the concrete (and associated tradesmen to level the stuff) will arrive early next week.
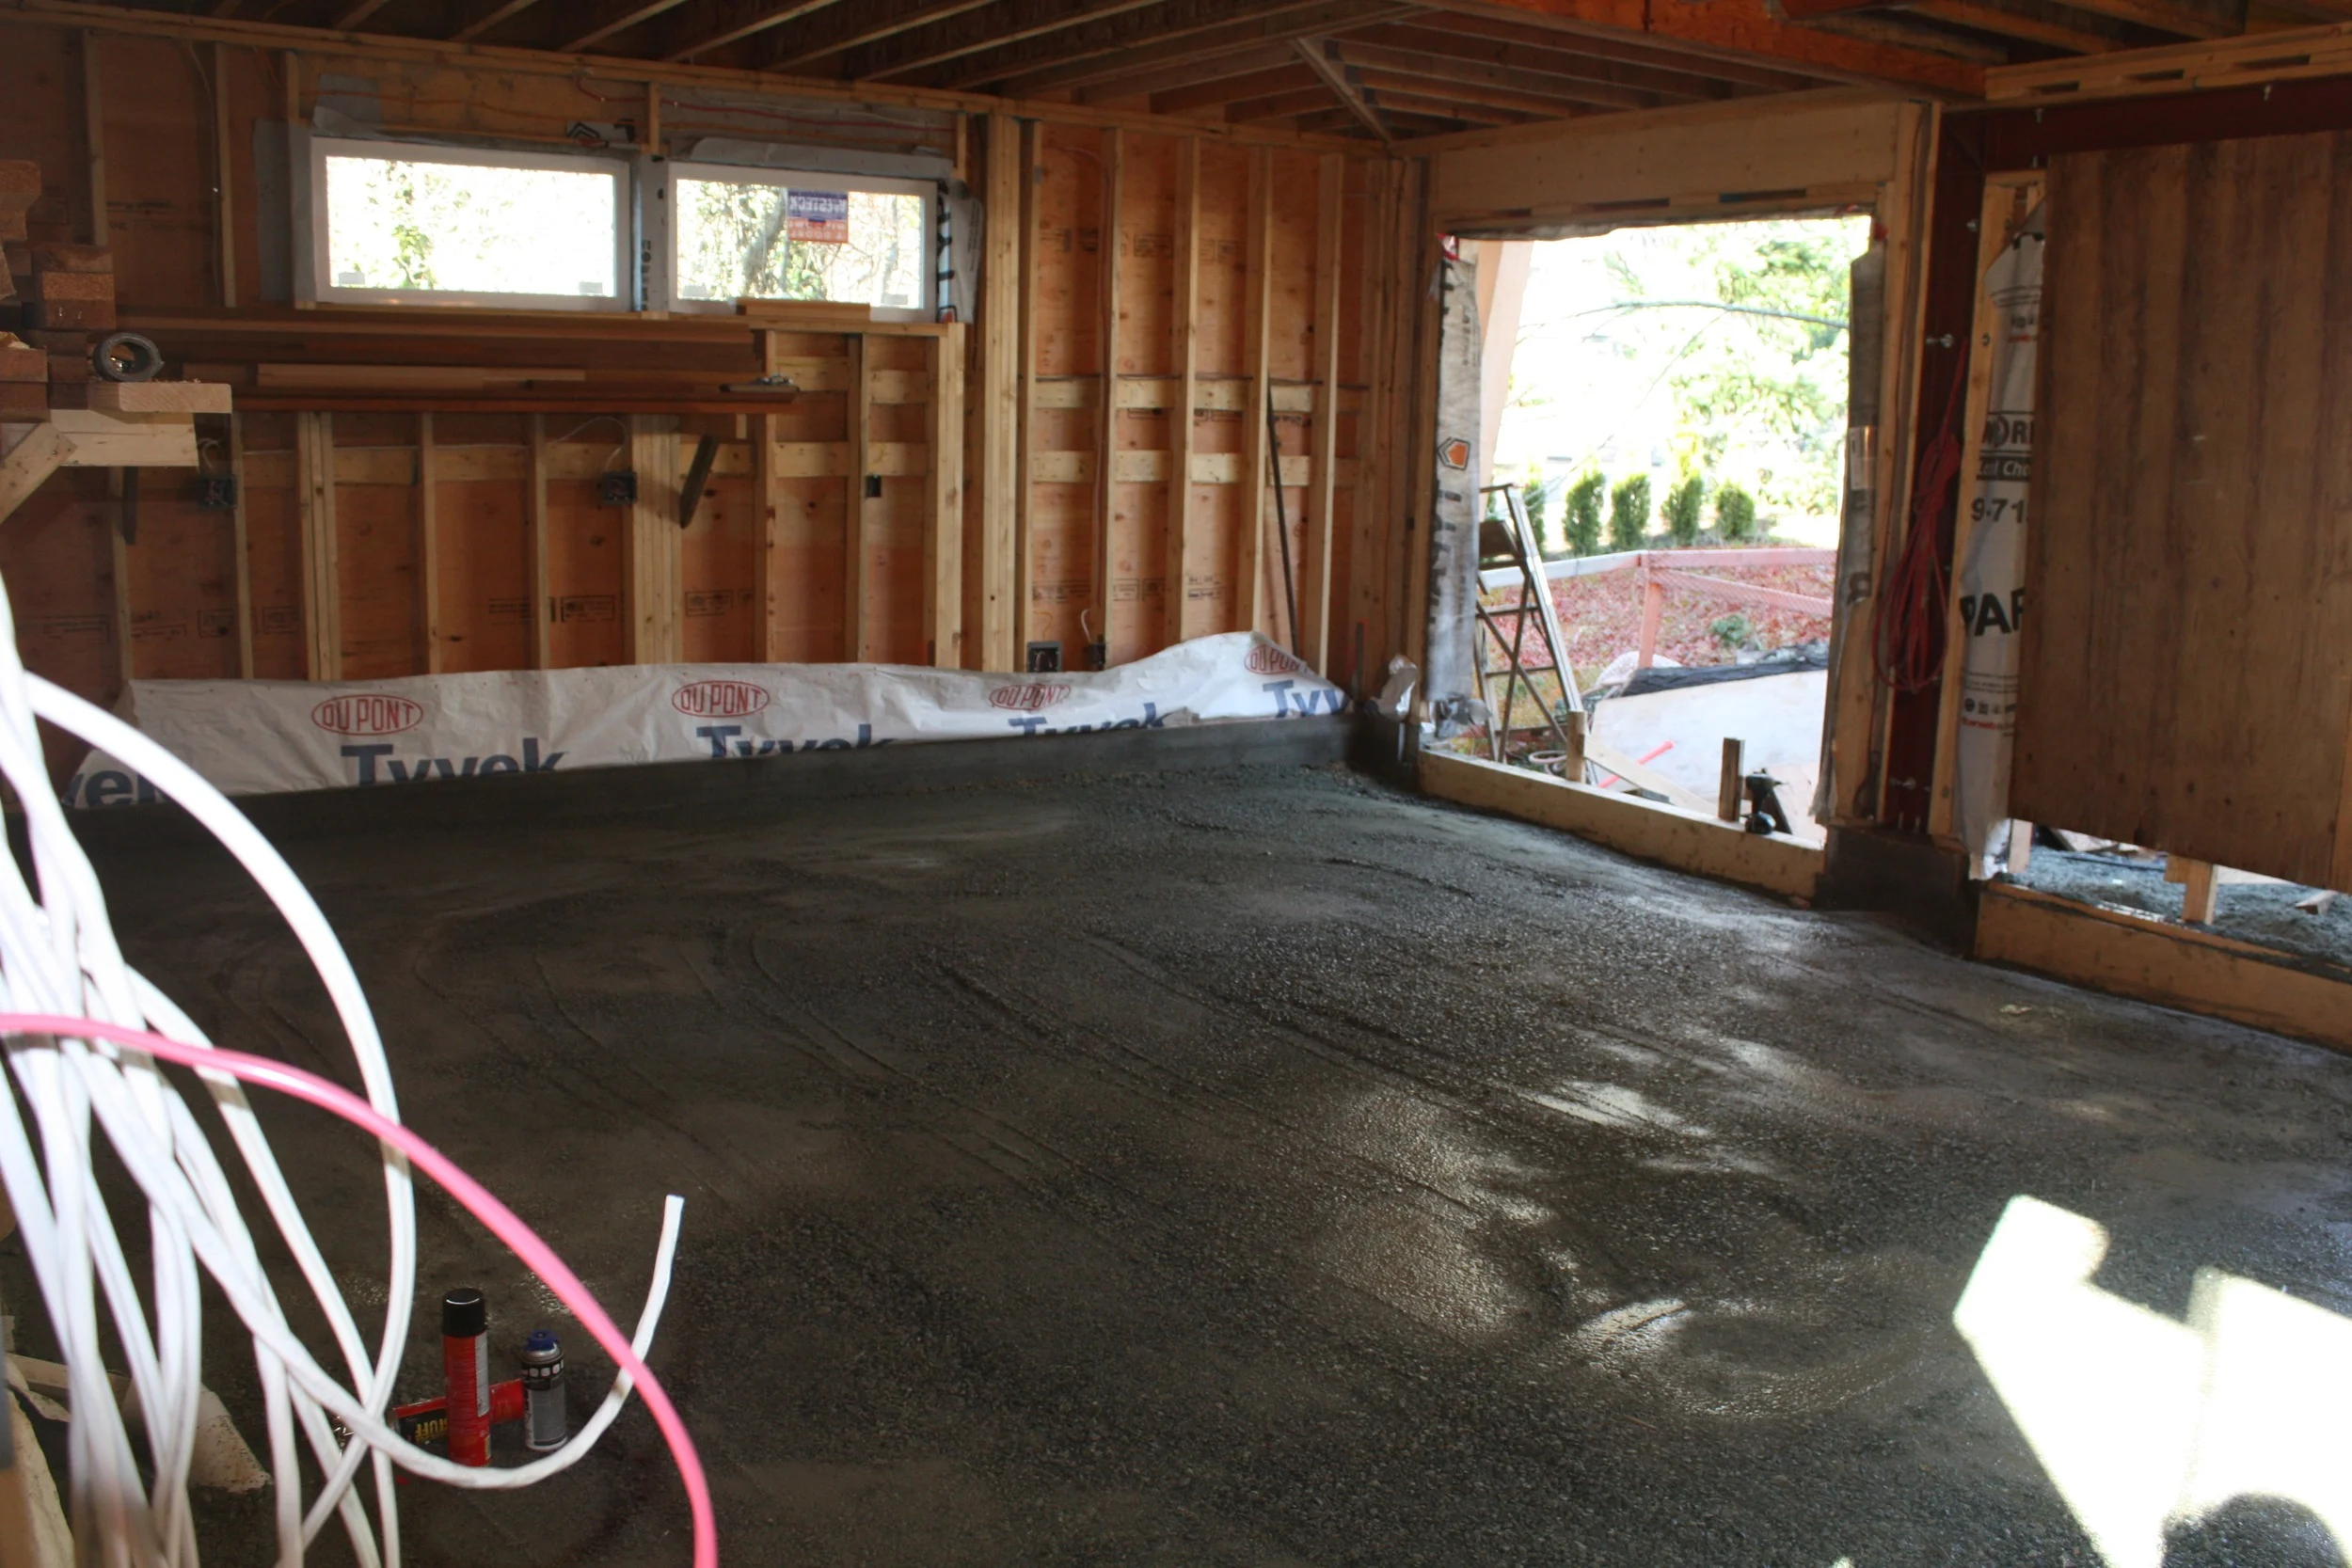
South side of garage that will eventually be the workshop, prep'd for the concrete pour. No longer using rebar, there will be a polimor weave placed within the concrete for strength.
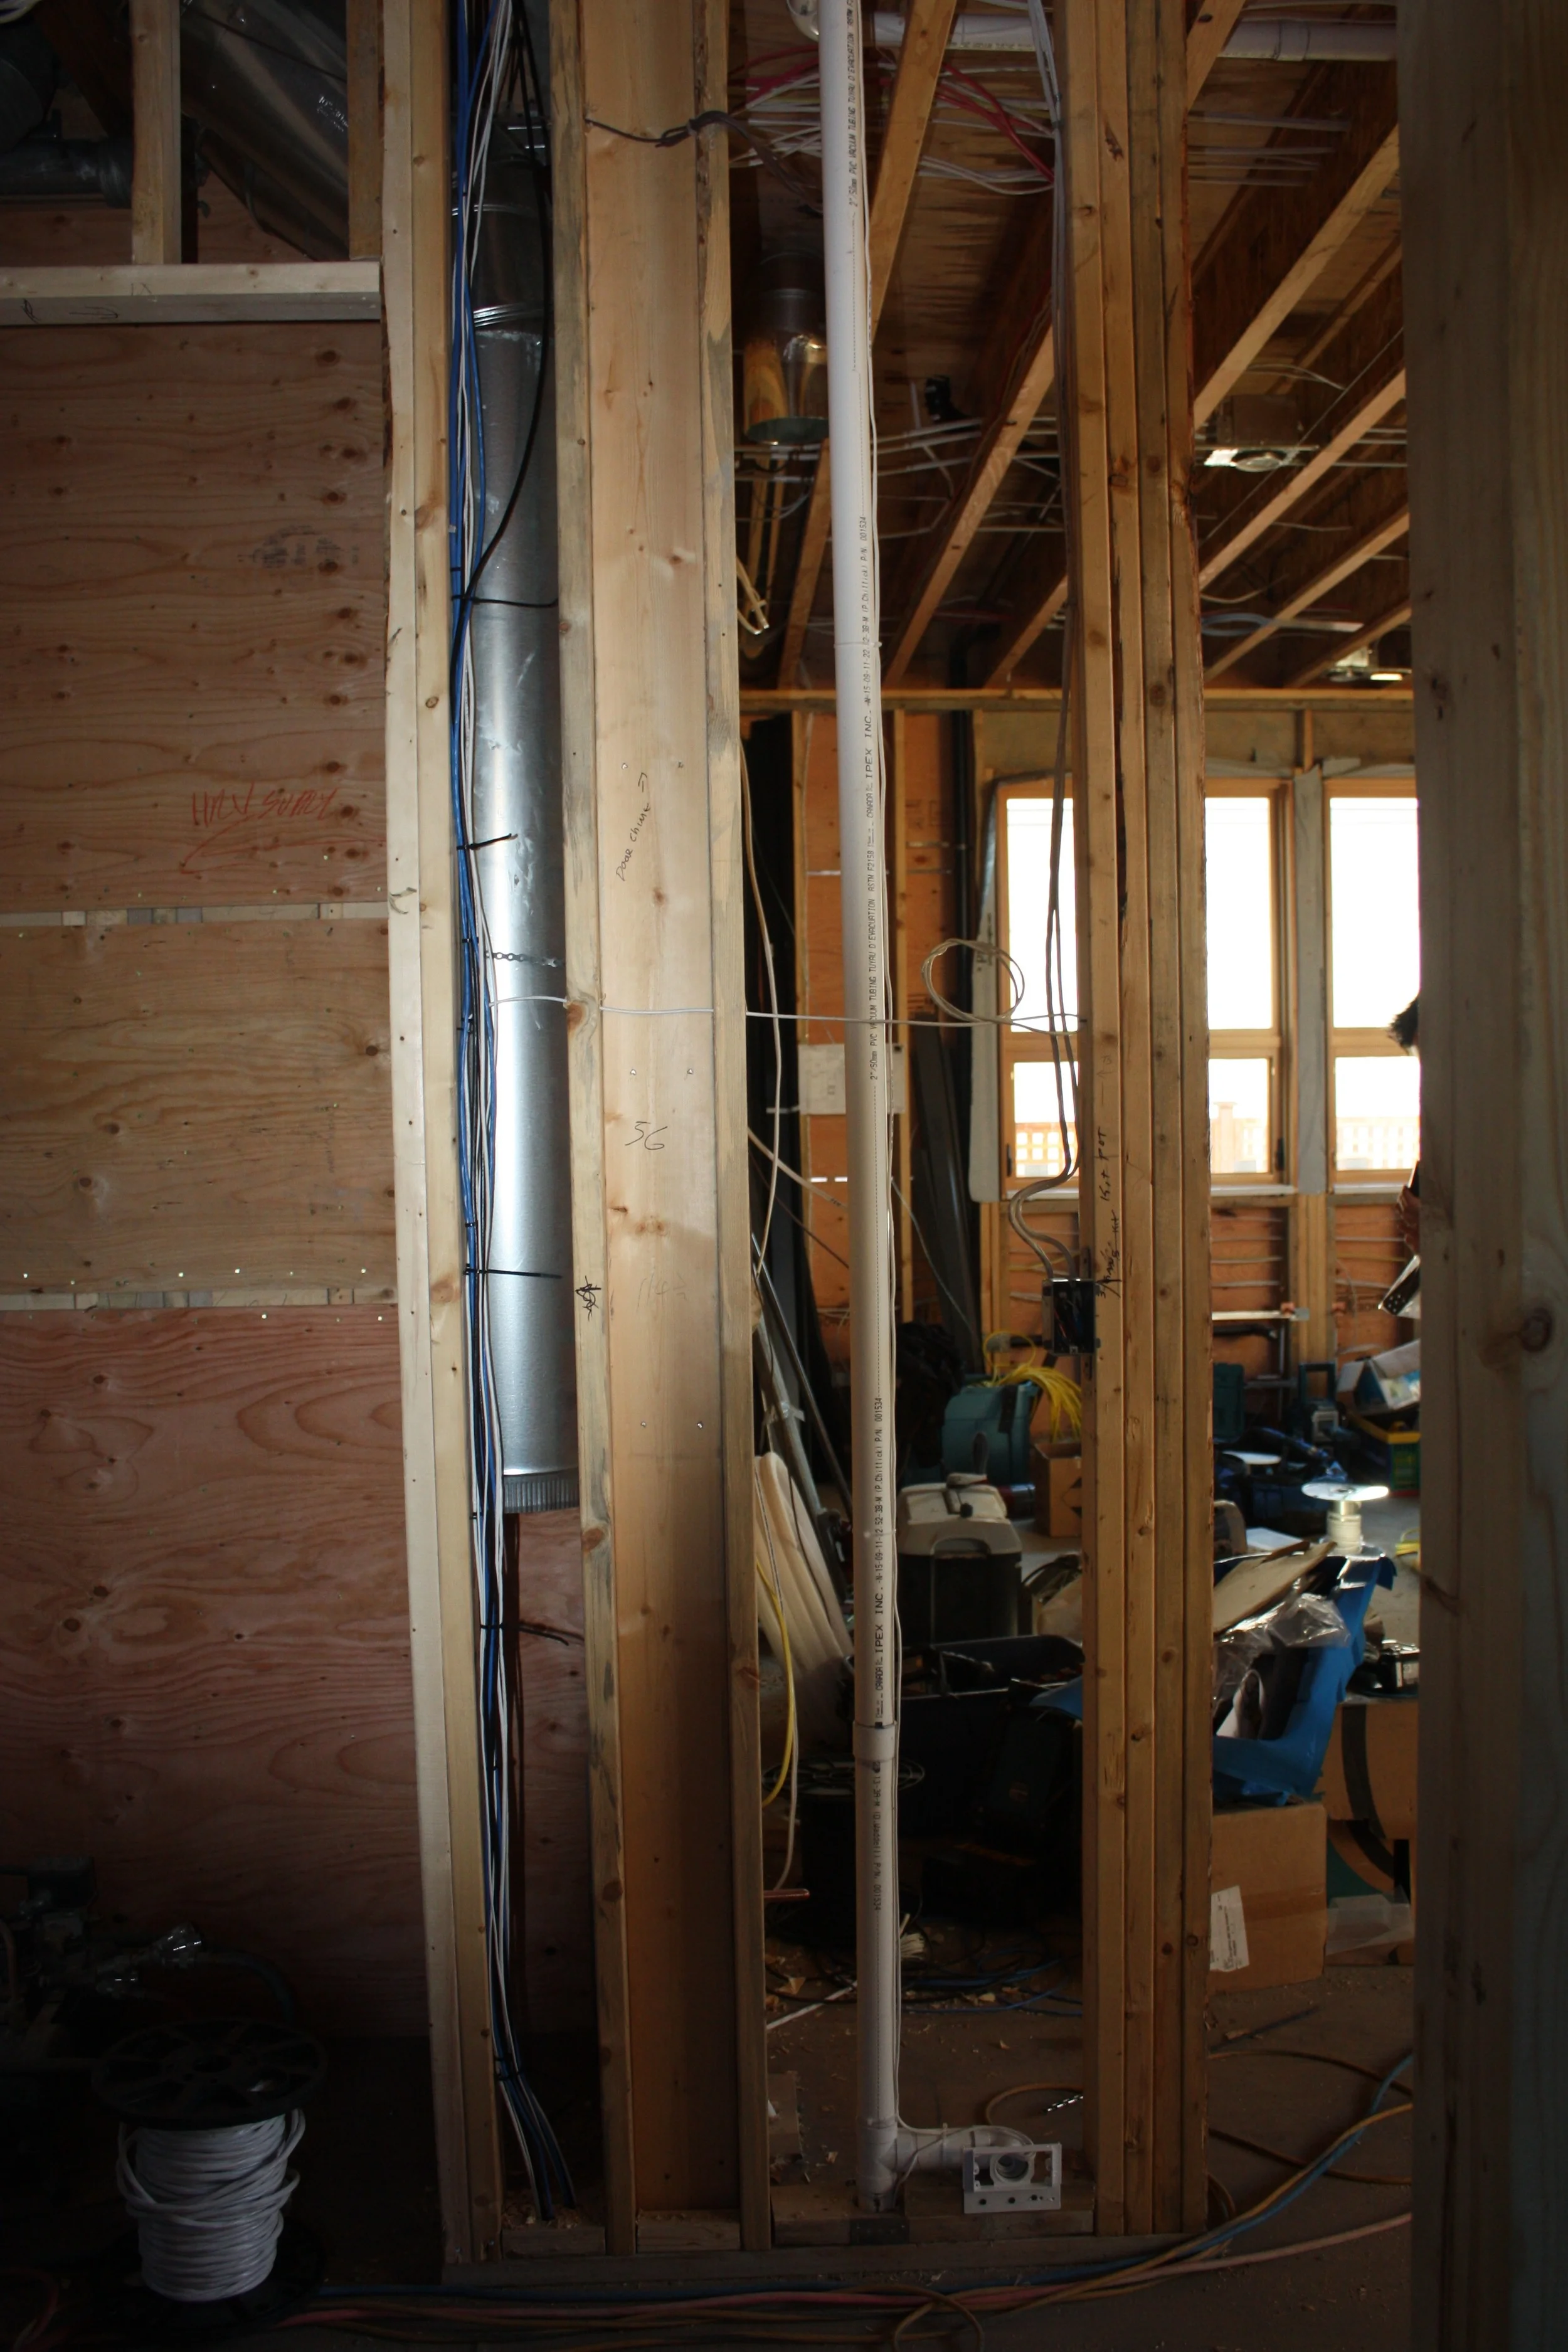
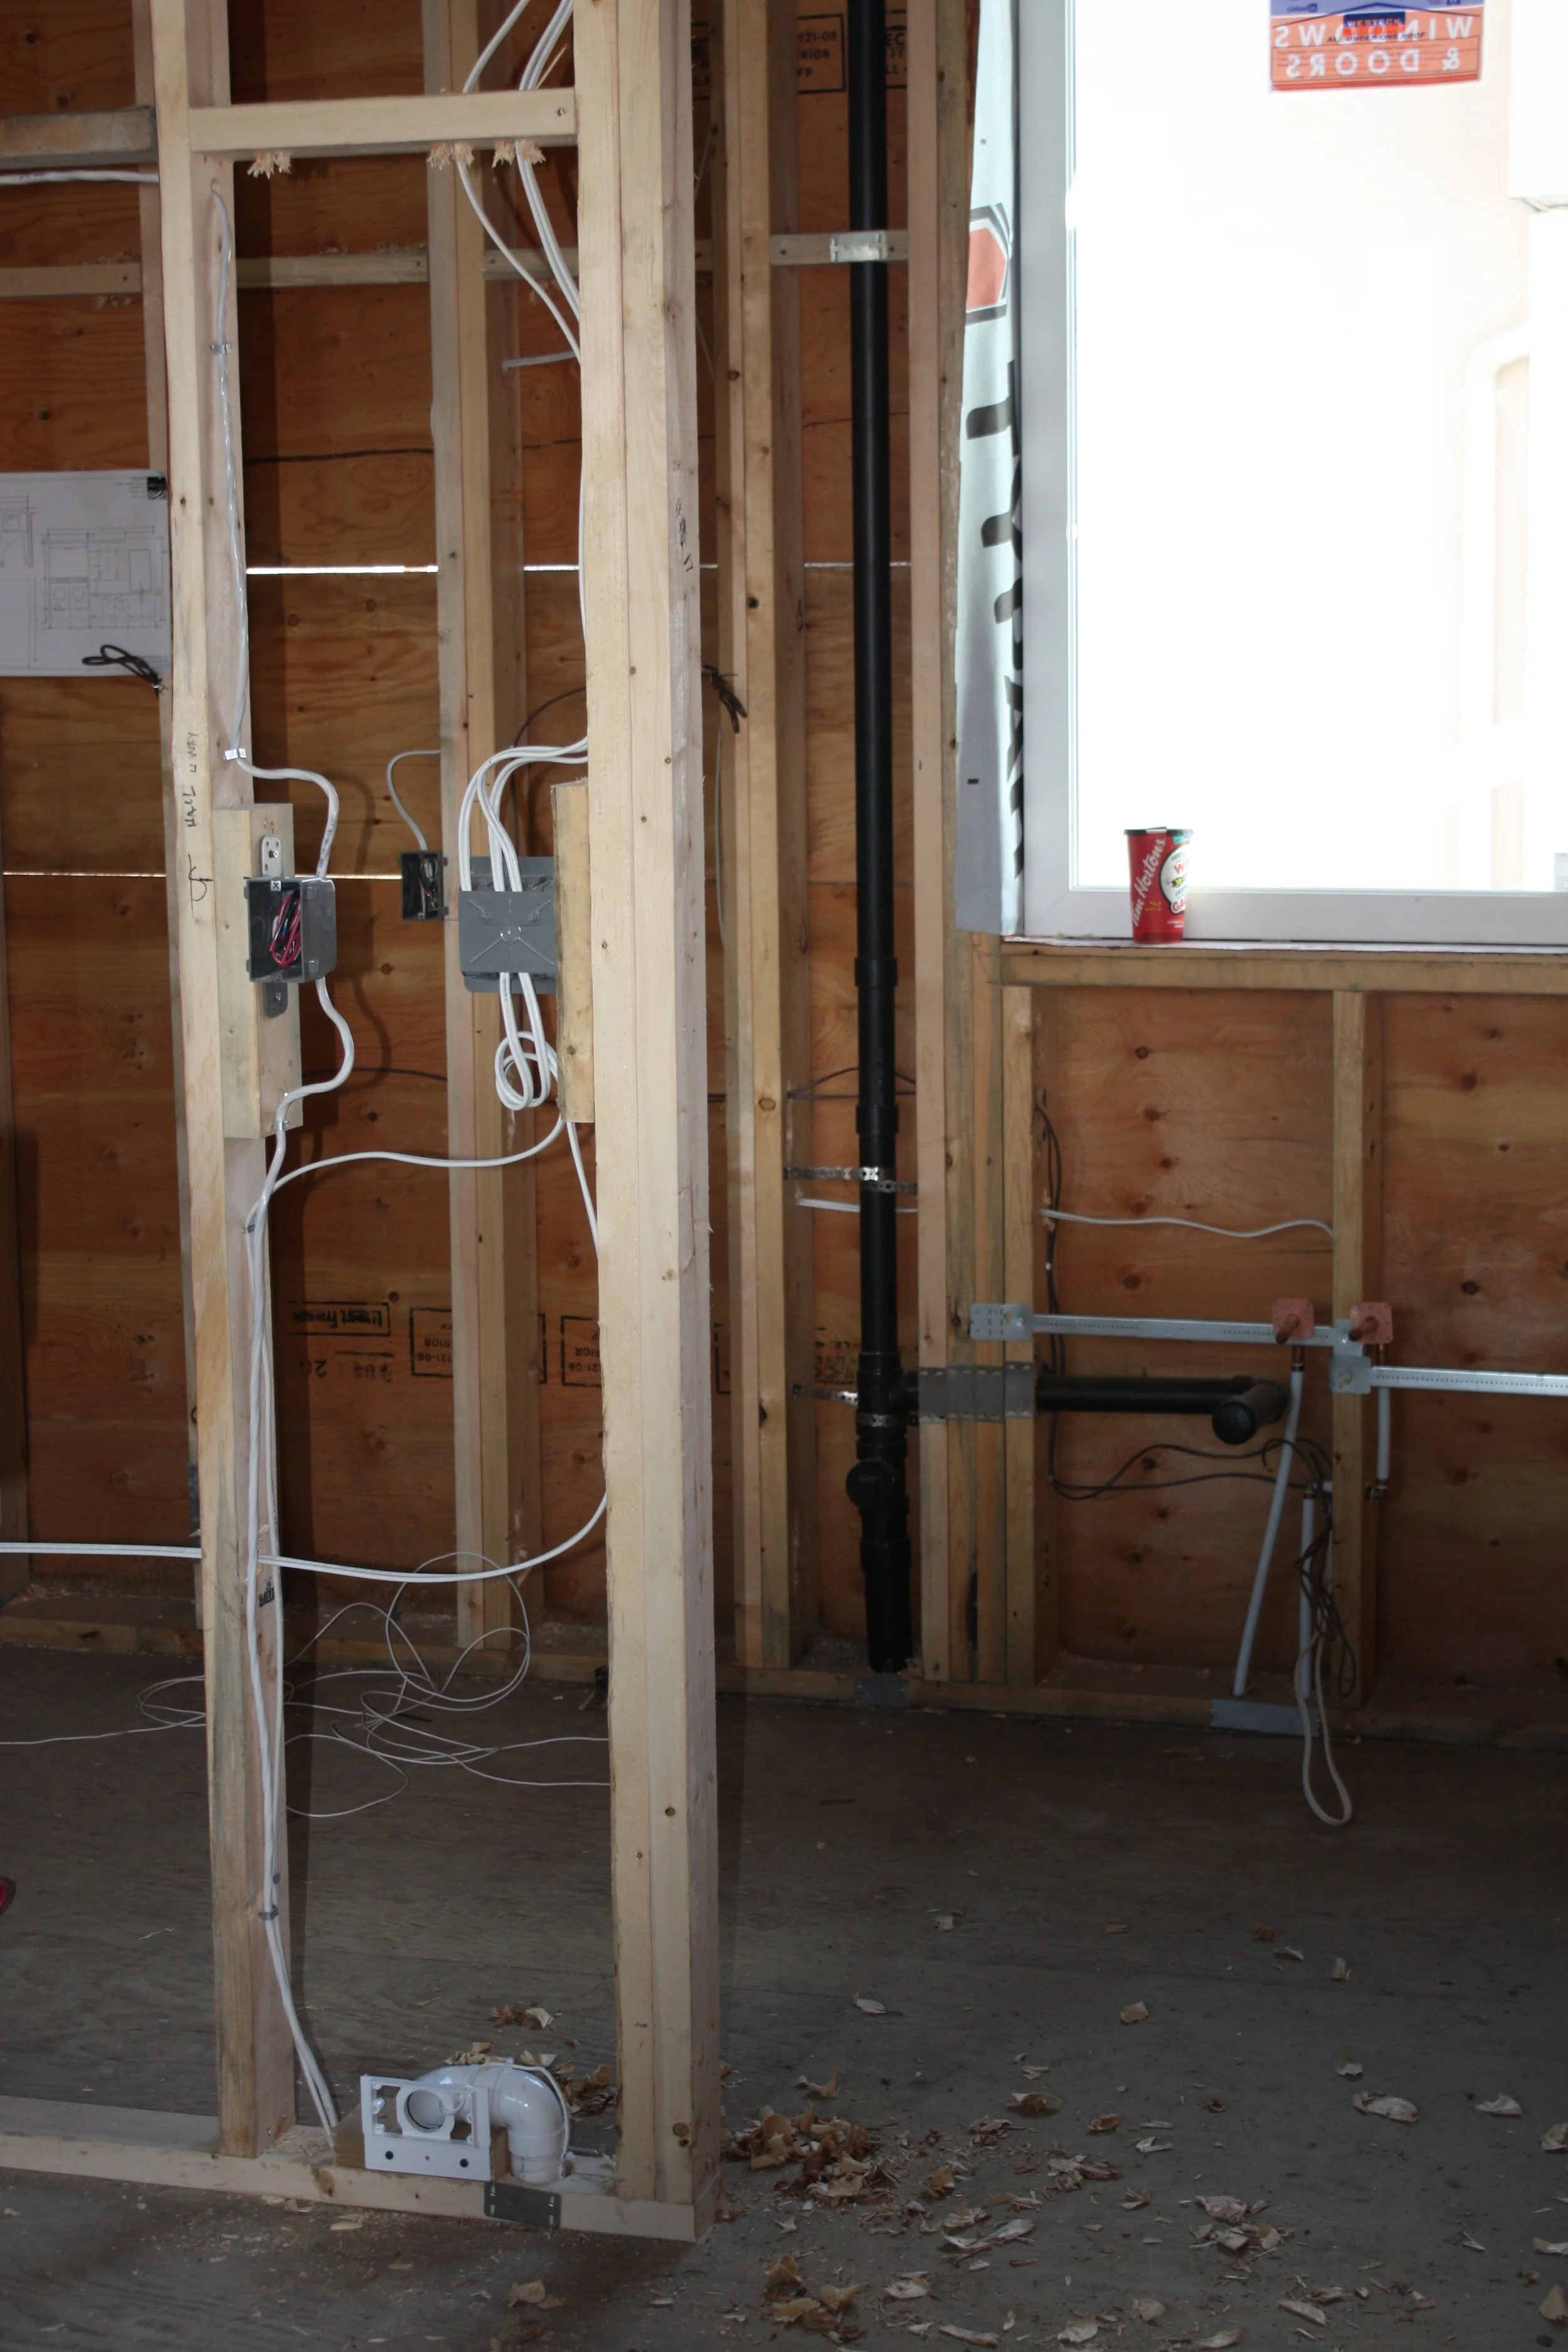
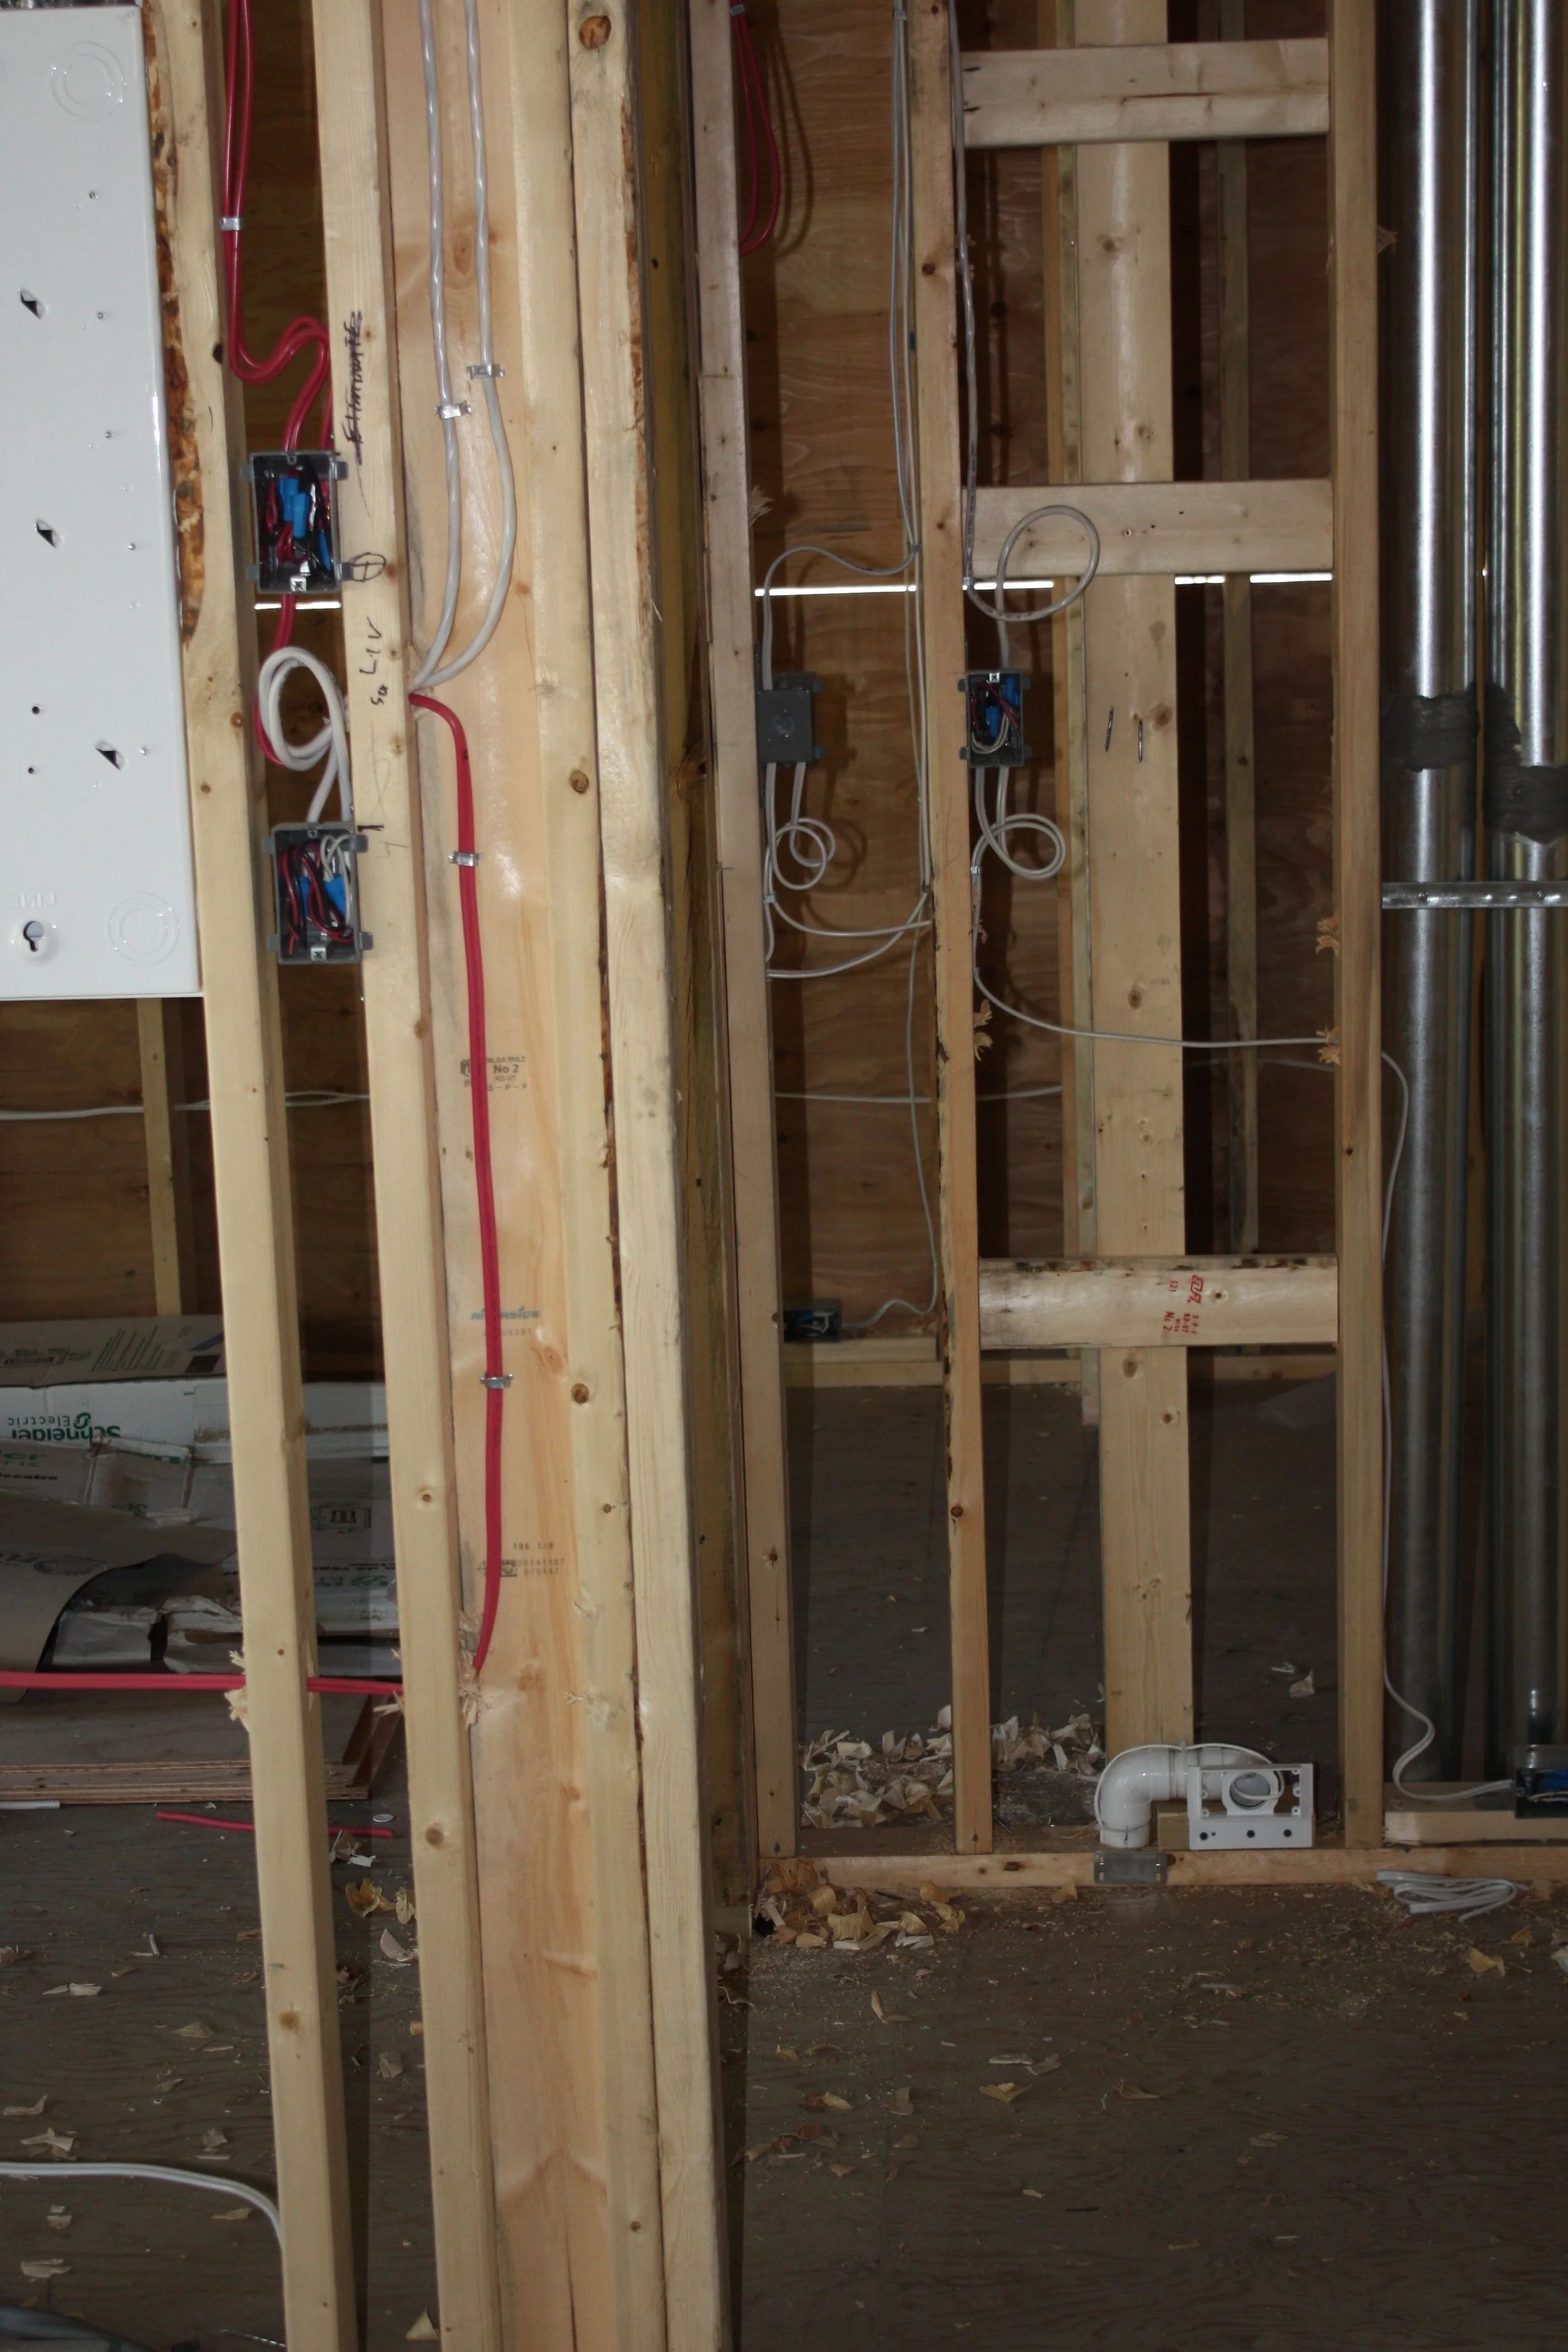
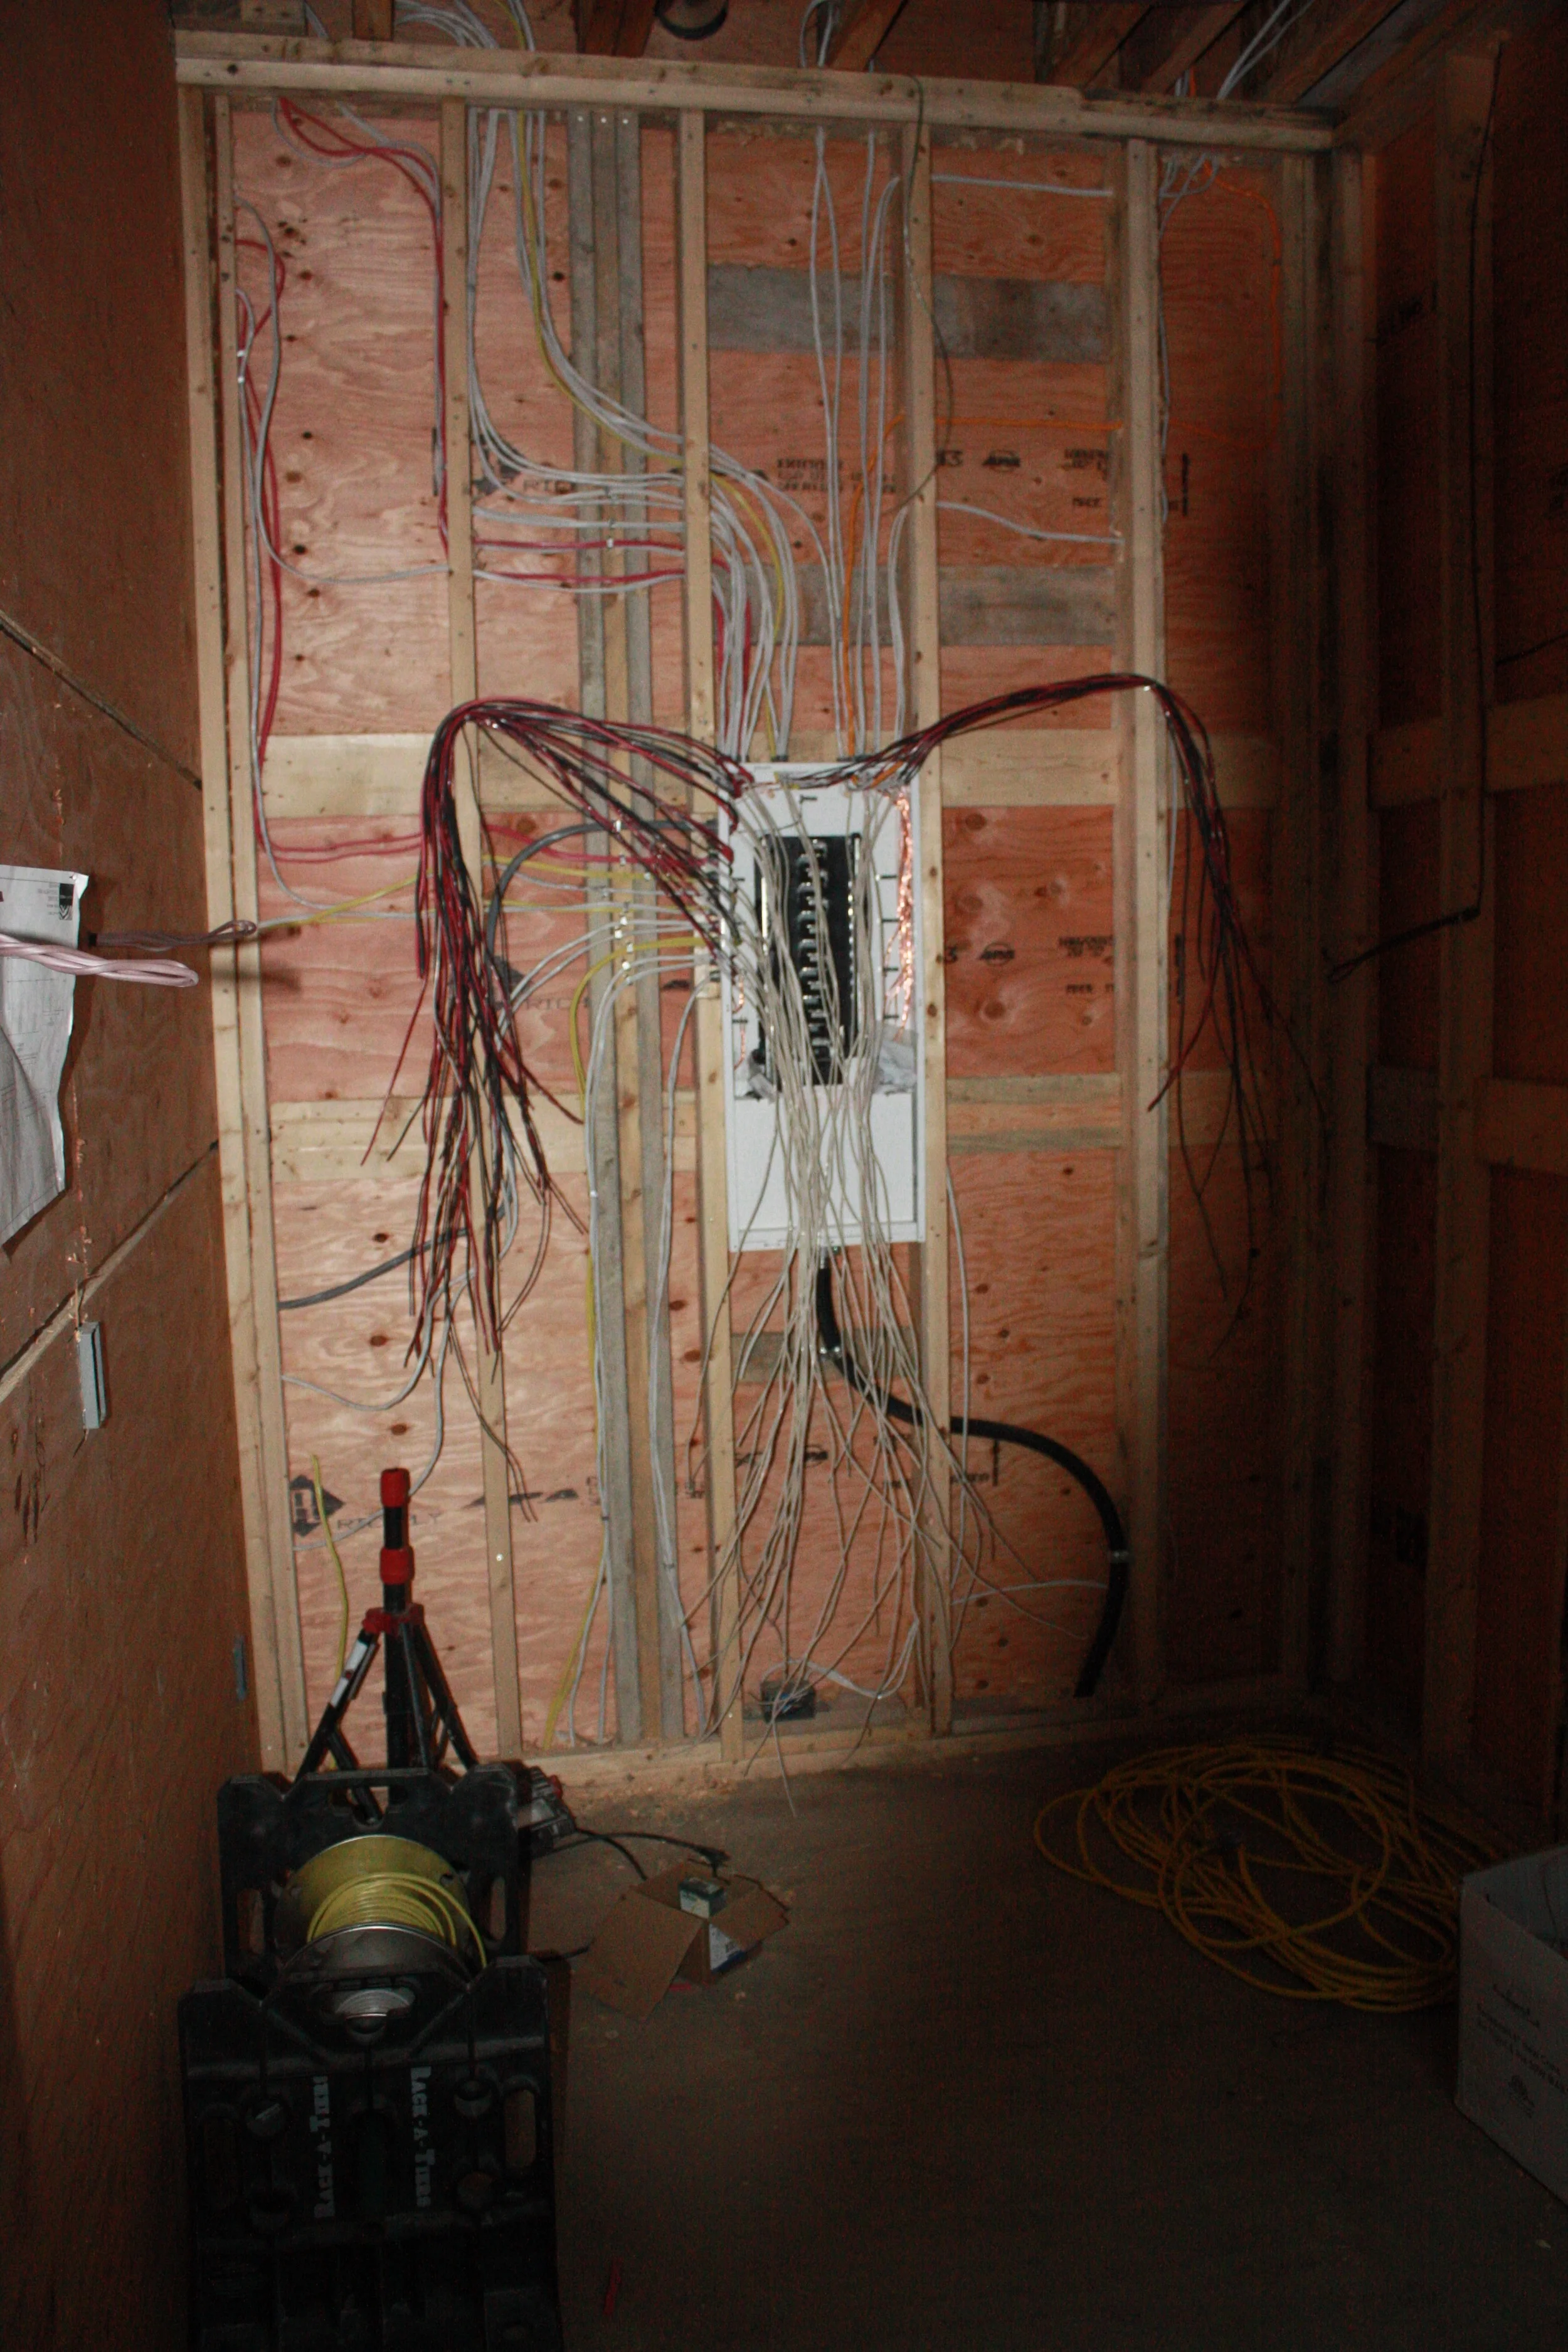
Northeast corner of the garage...
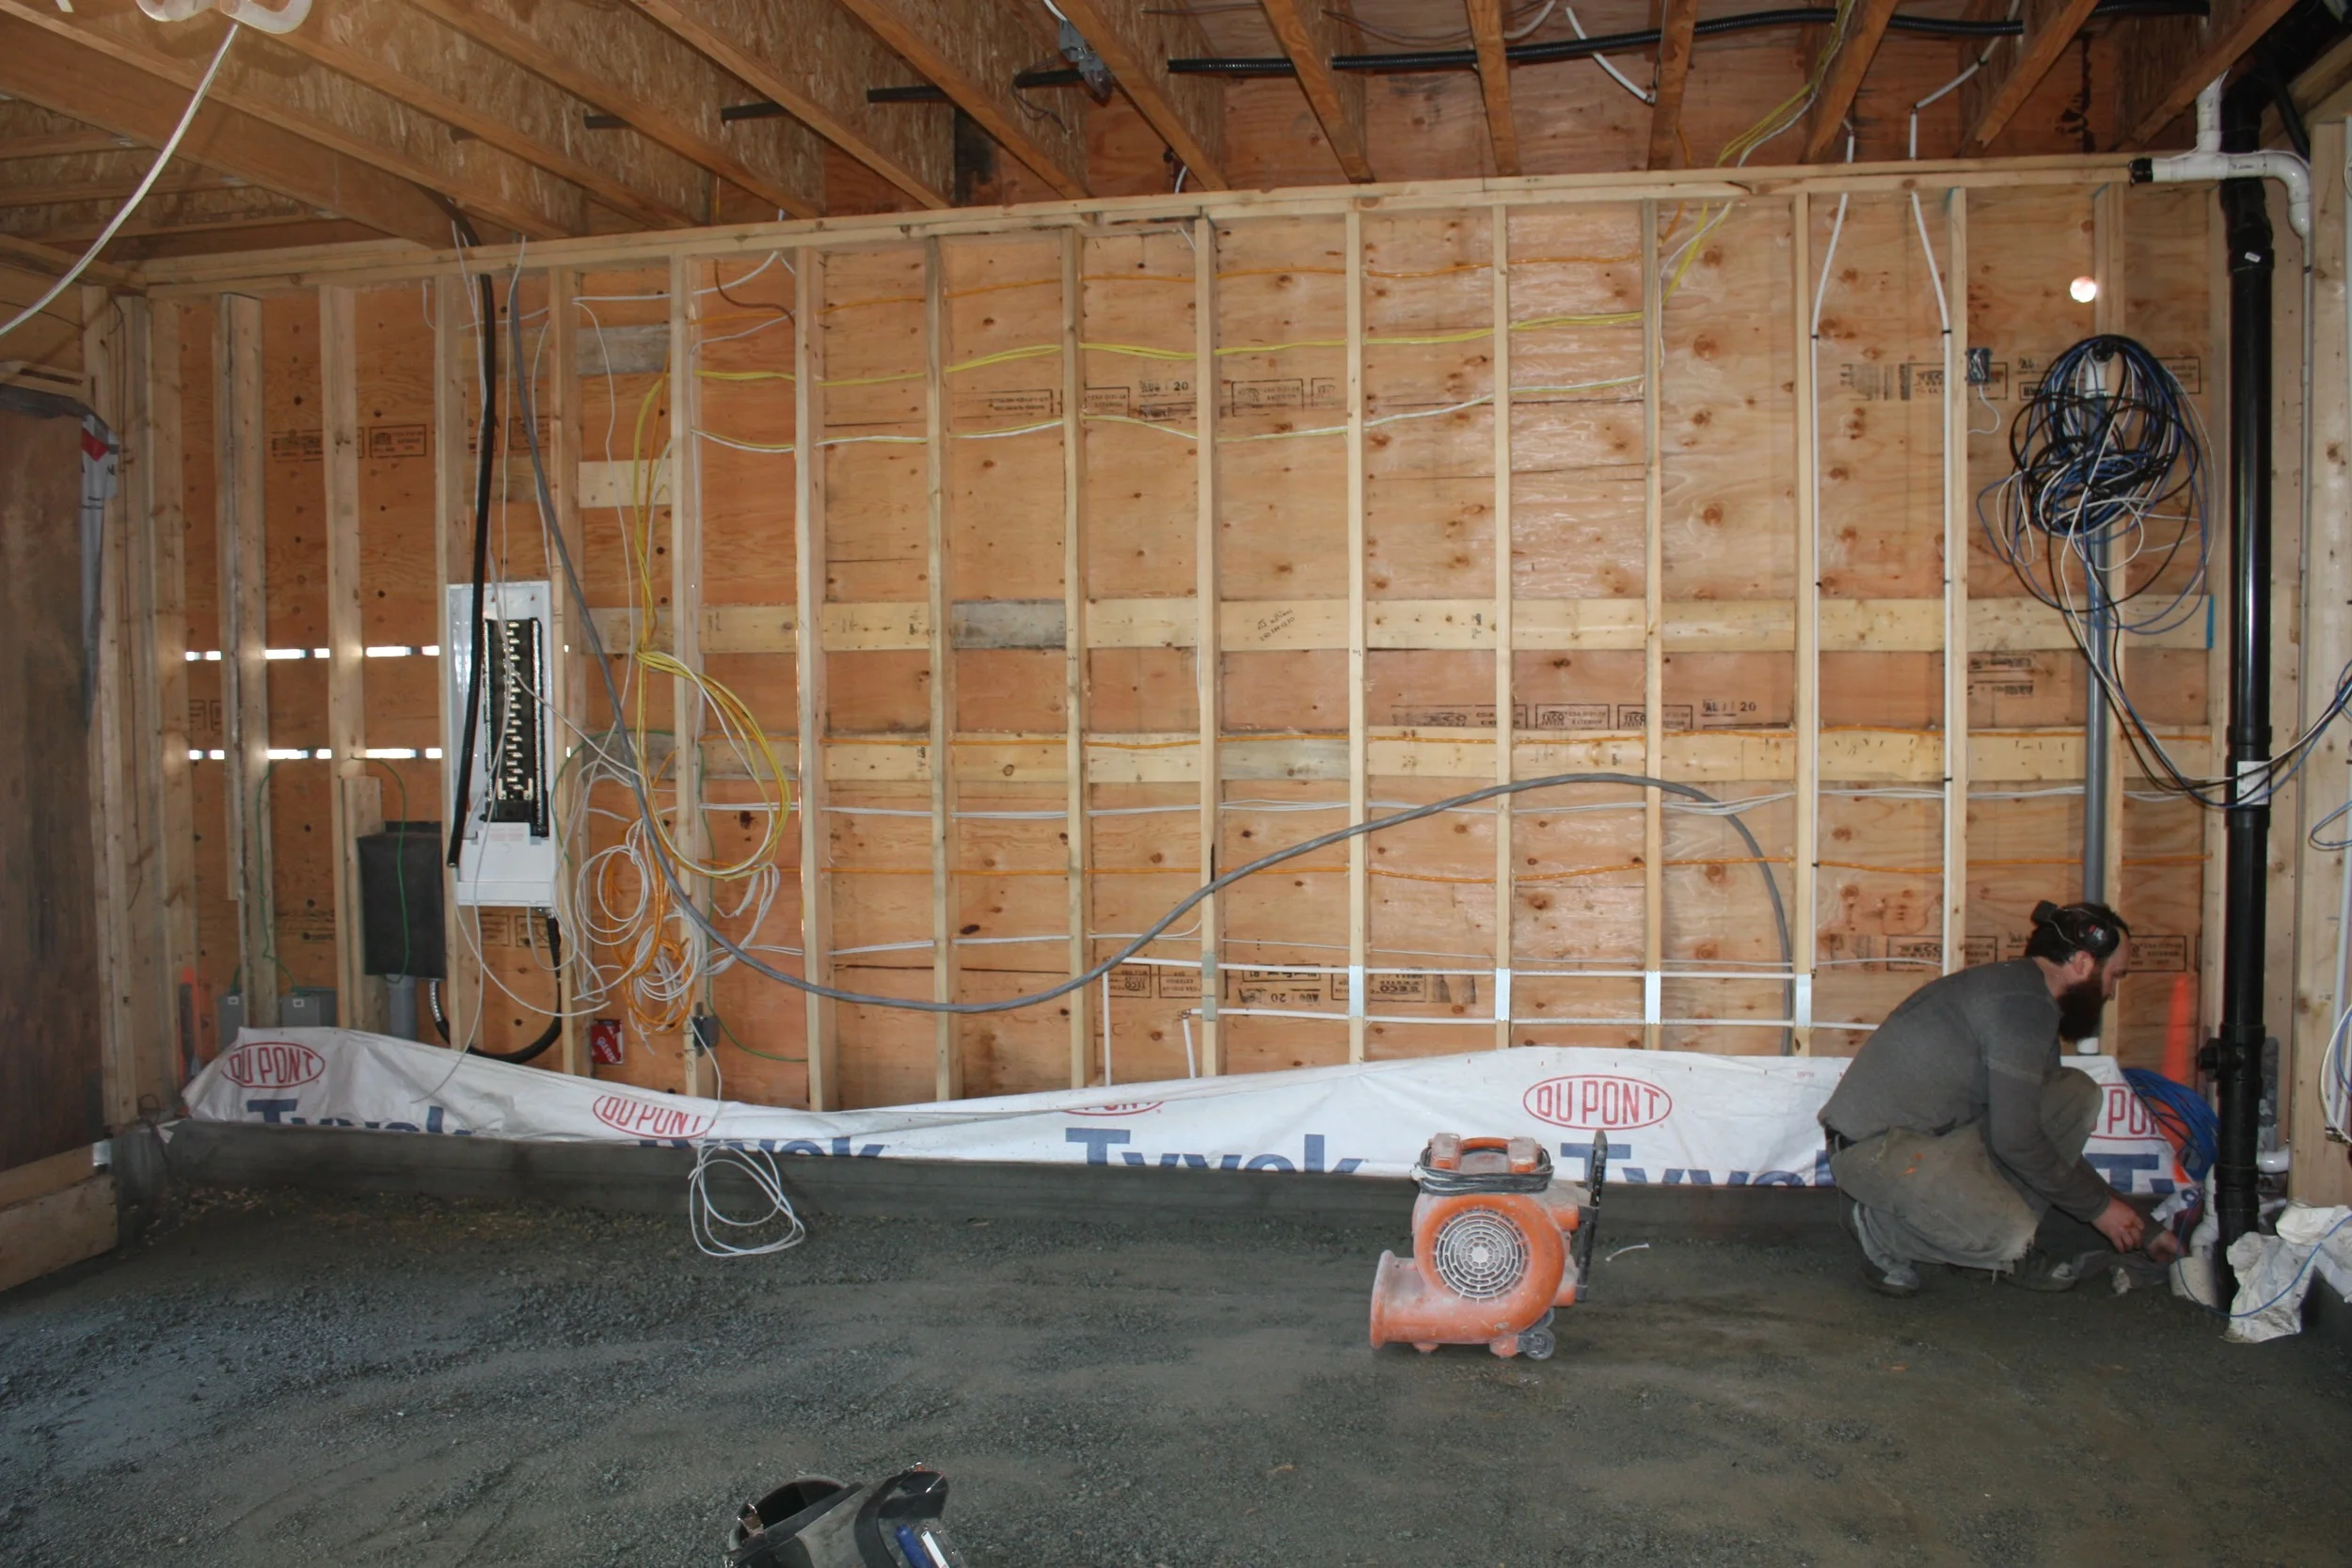
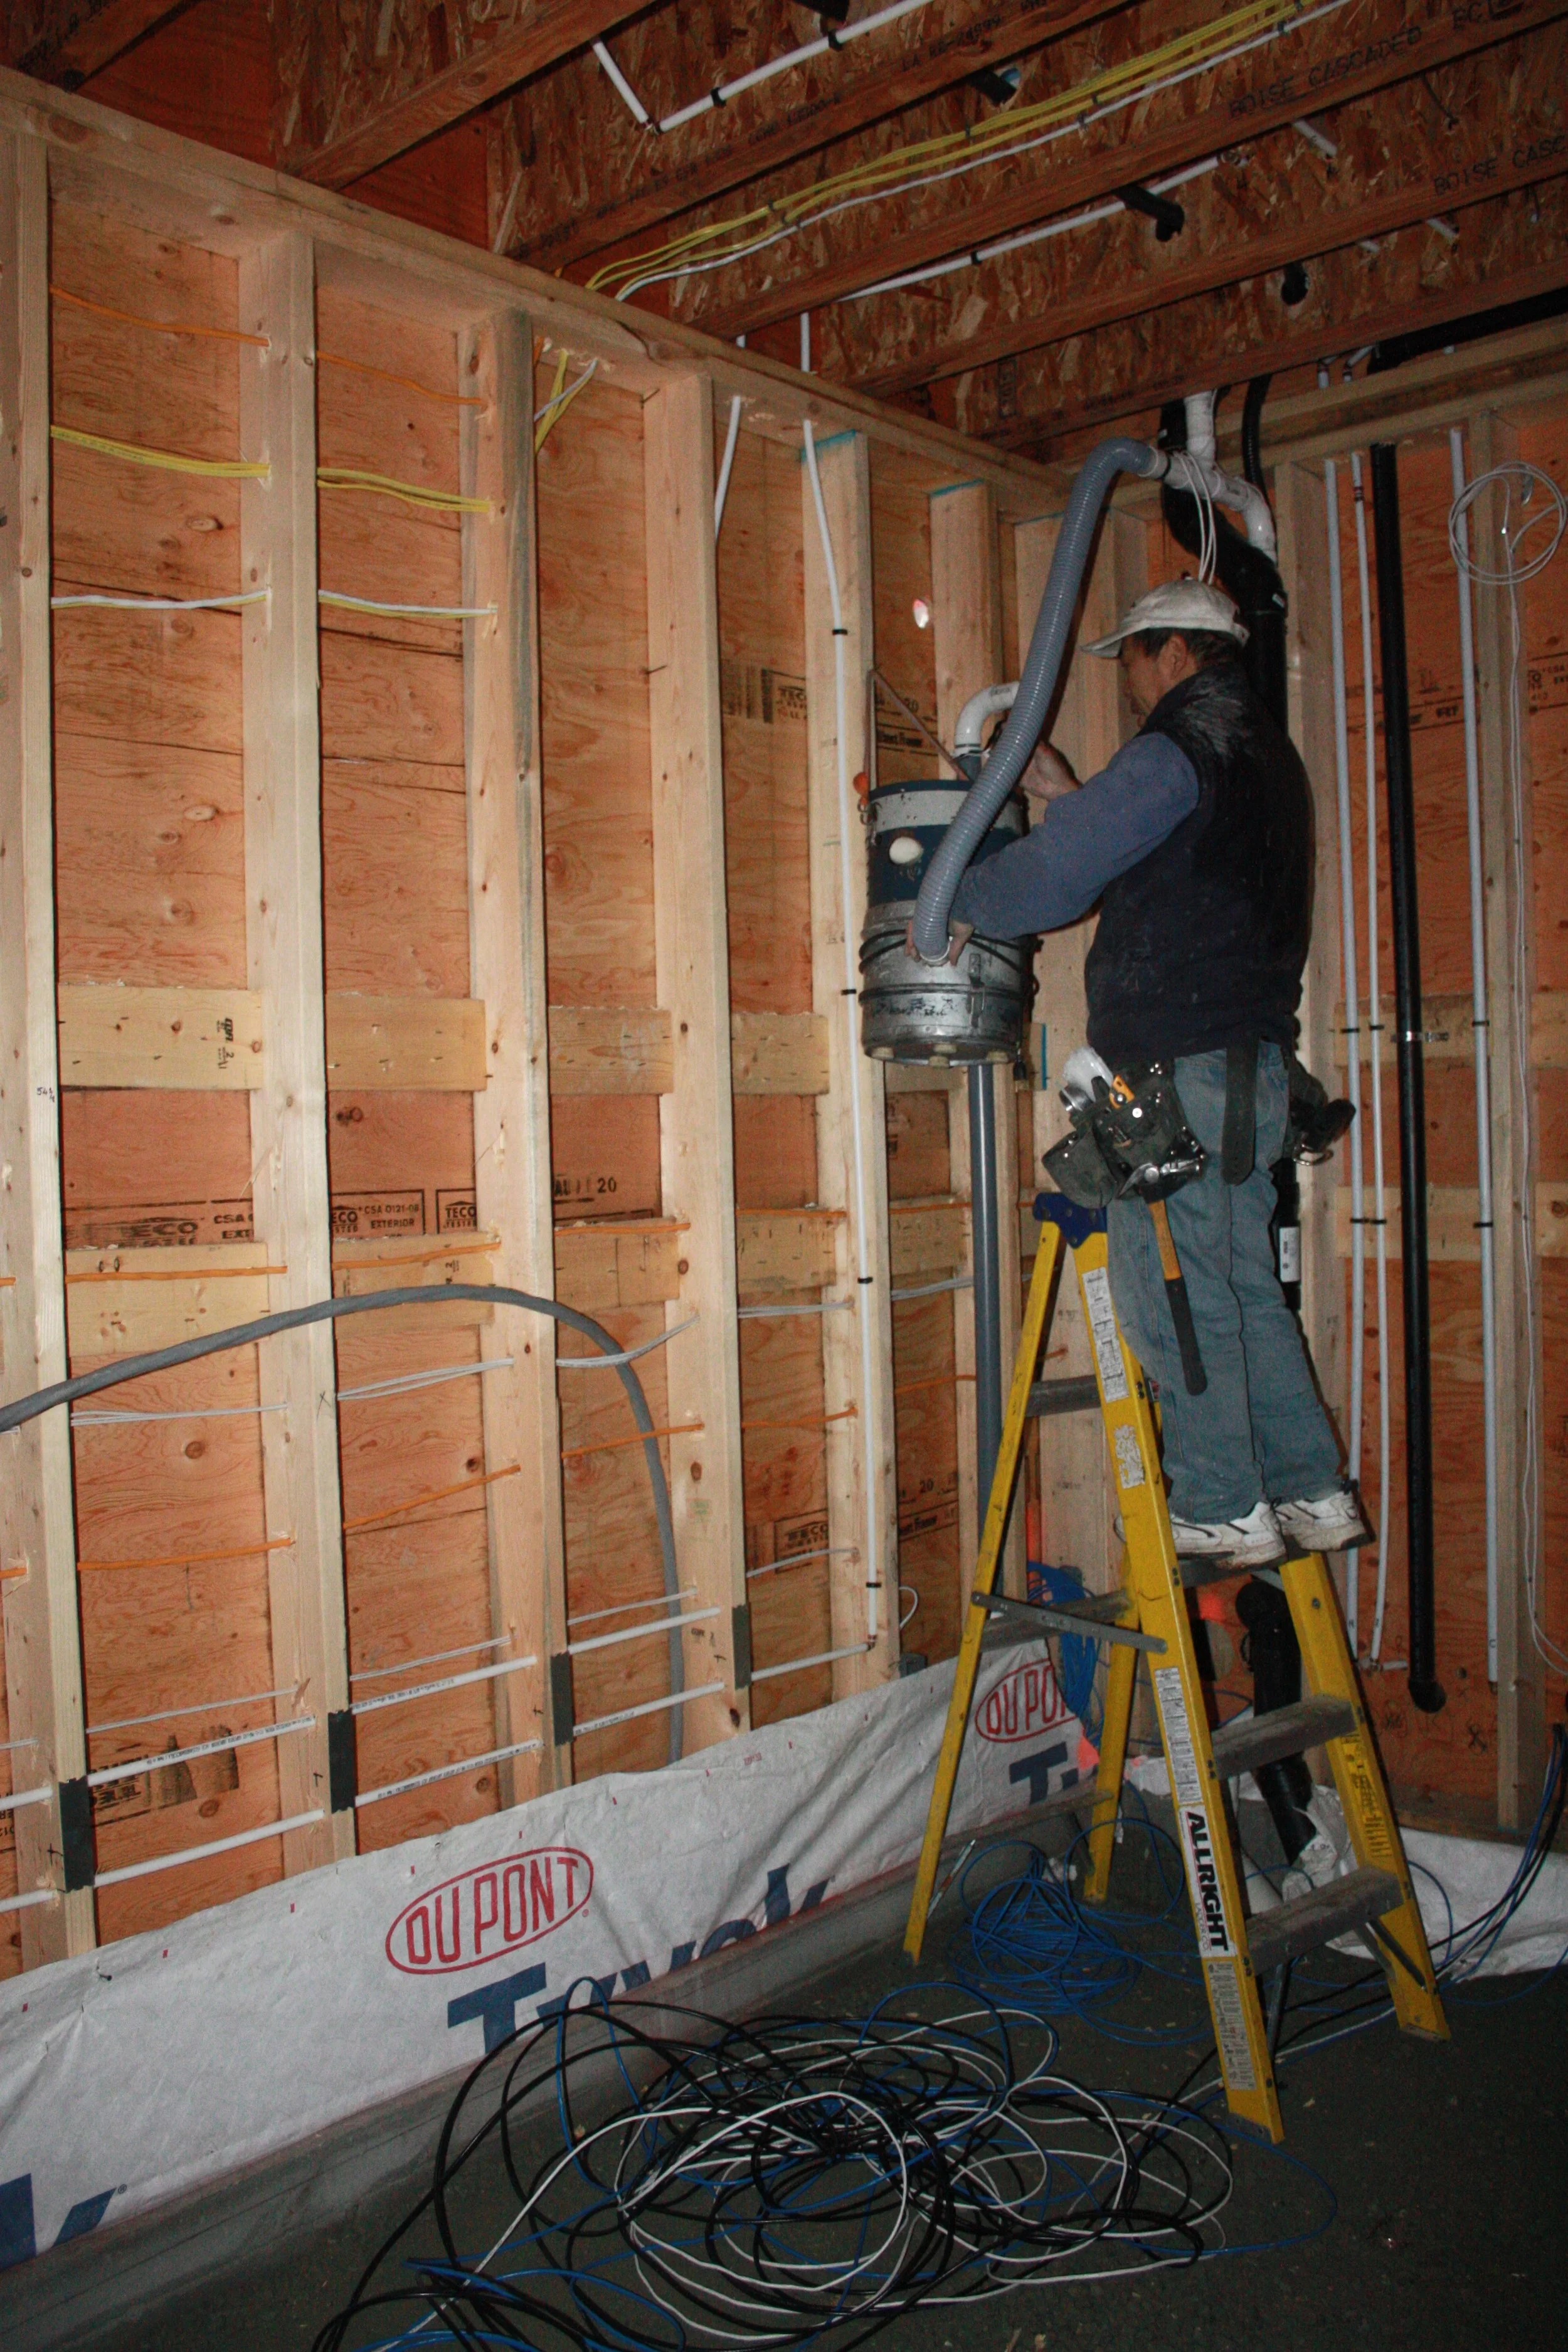
East wall of the garage. Leighton is sealing the pipes prior to the pour.

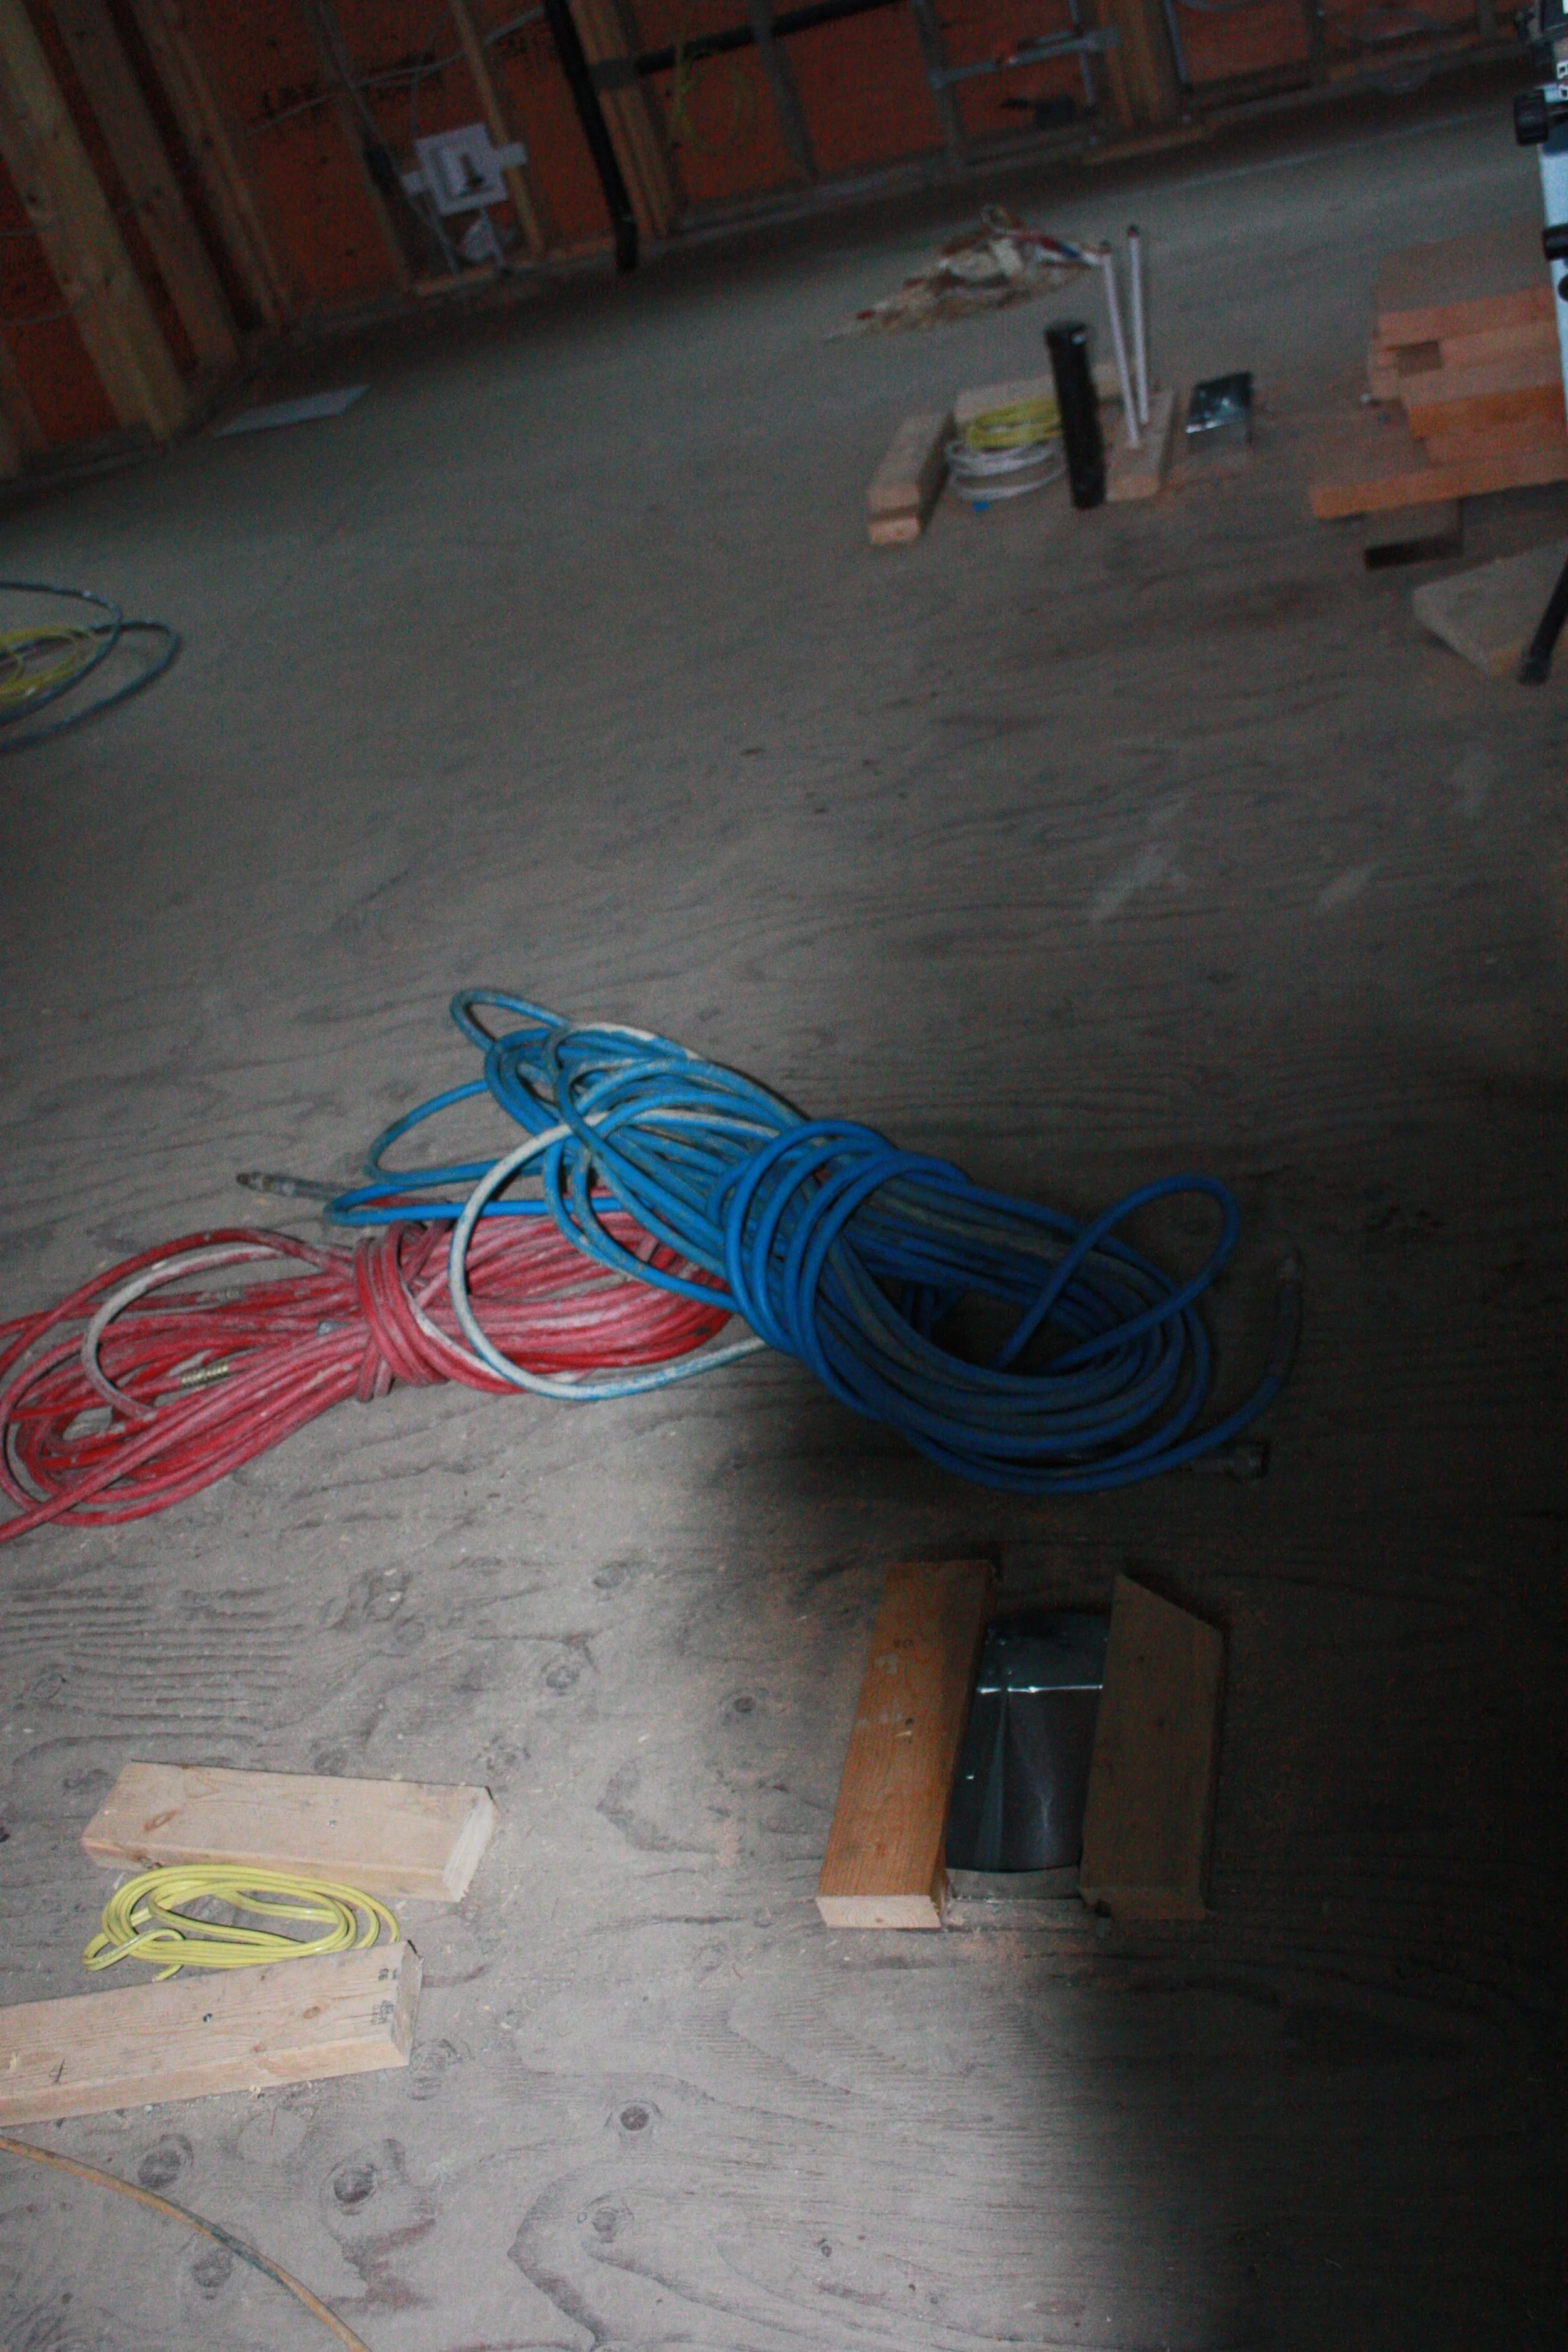
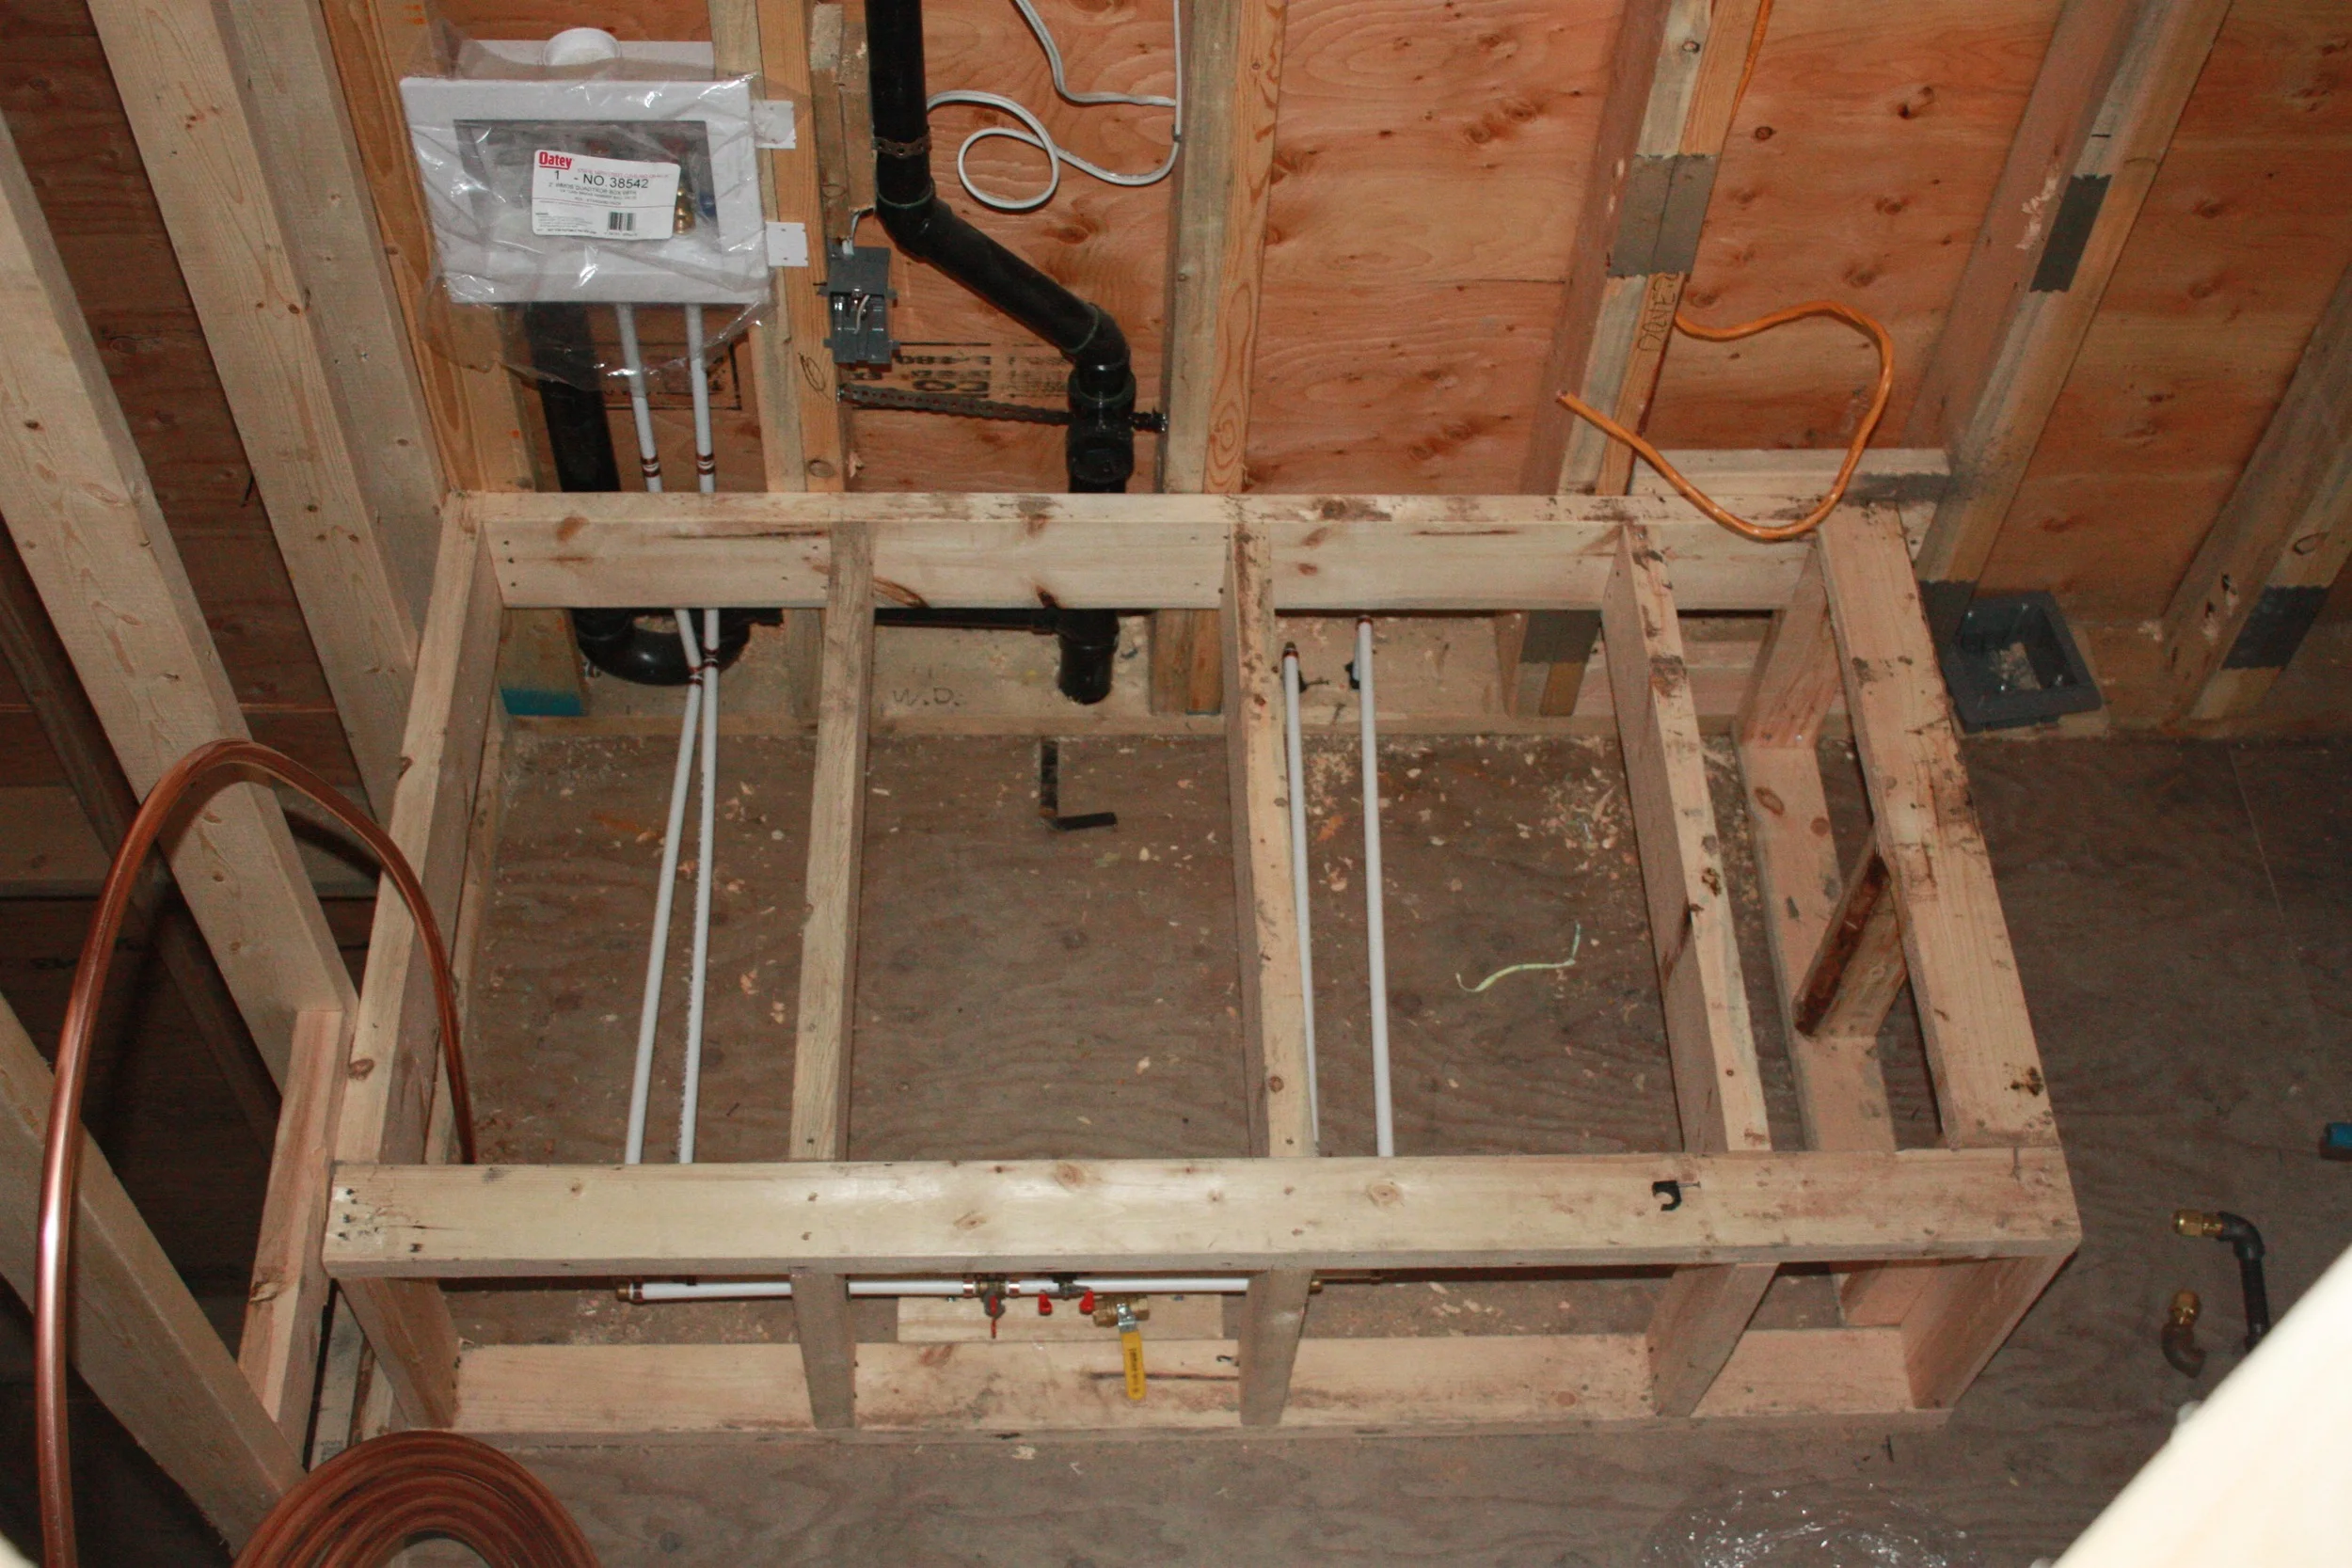
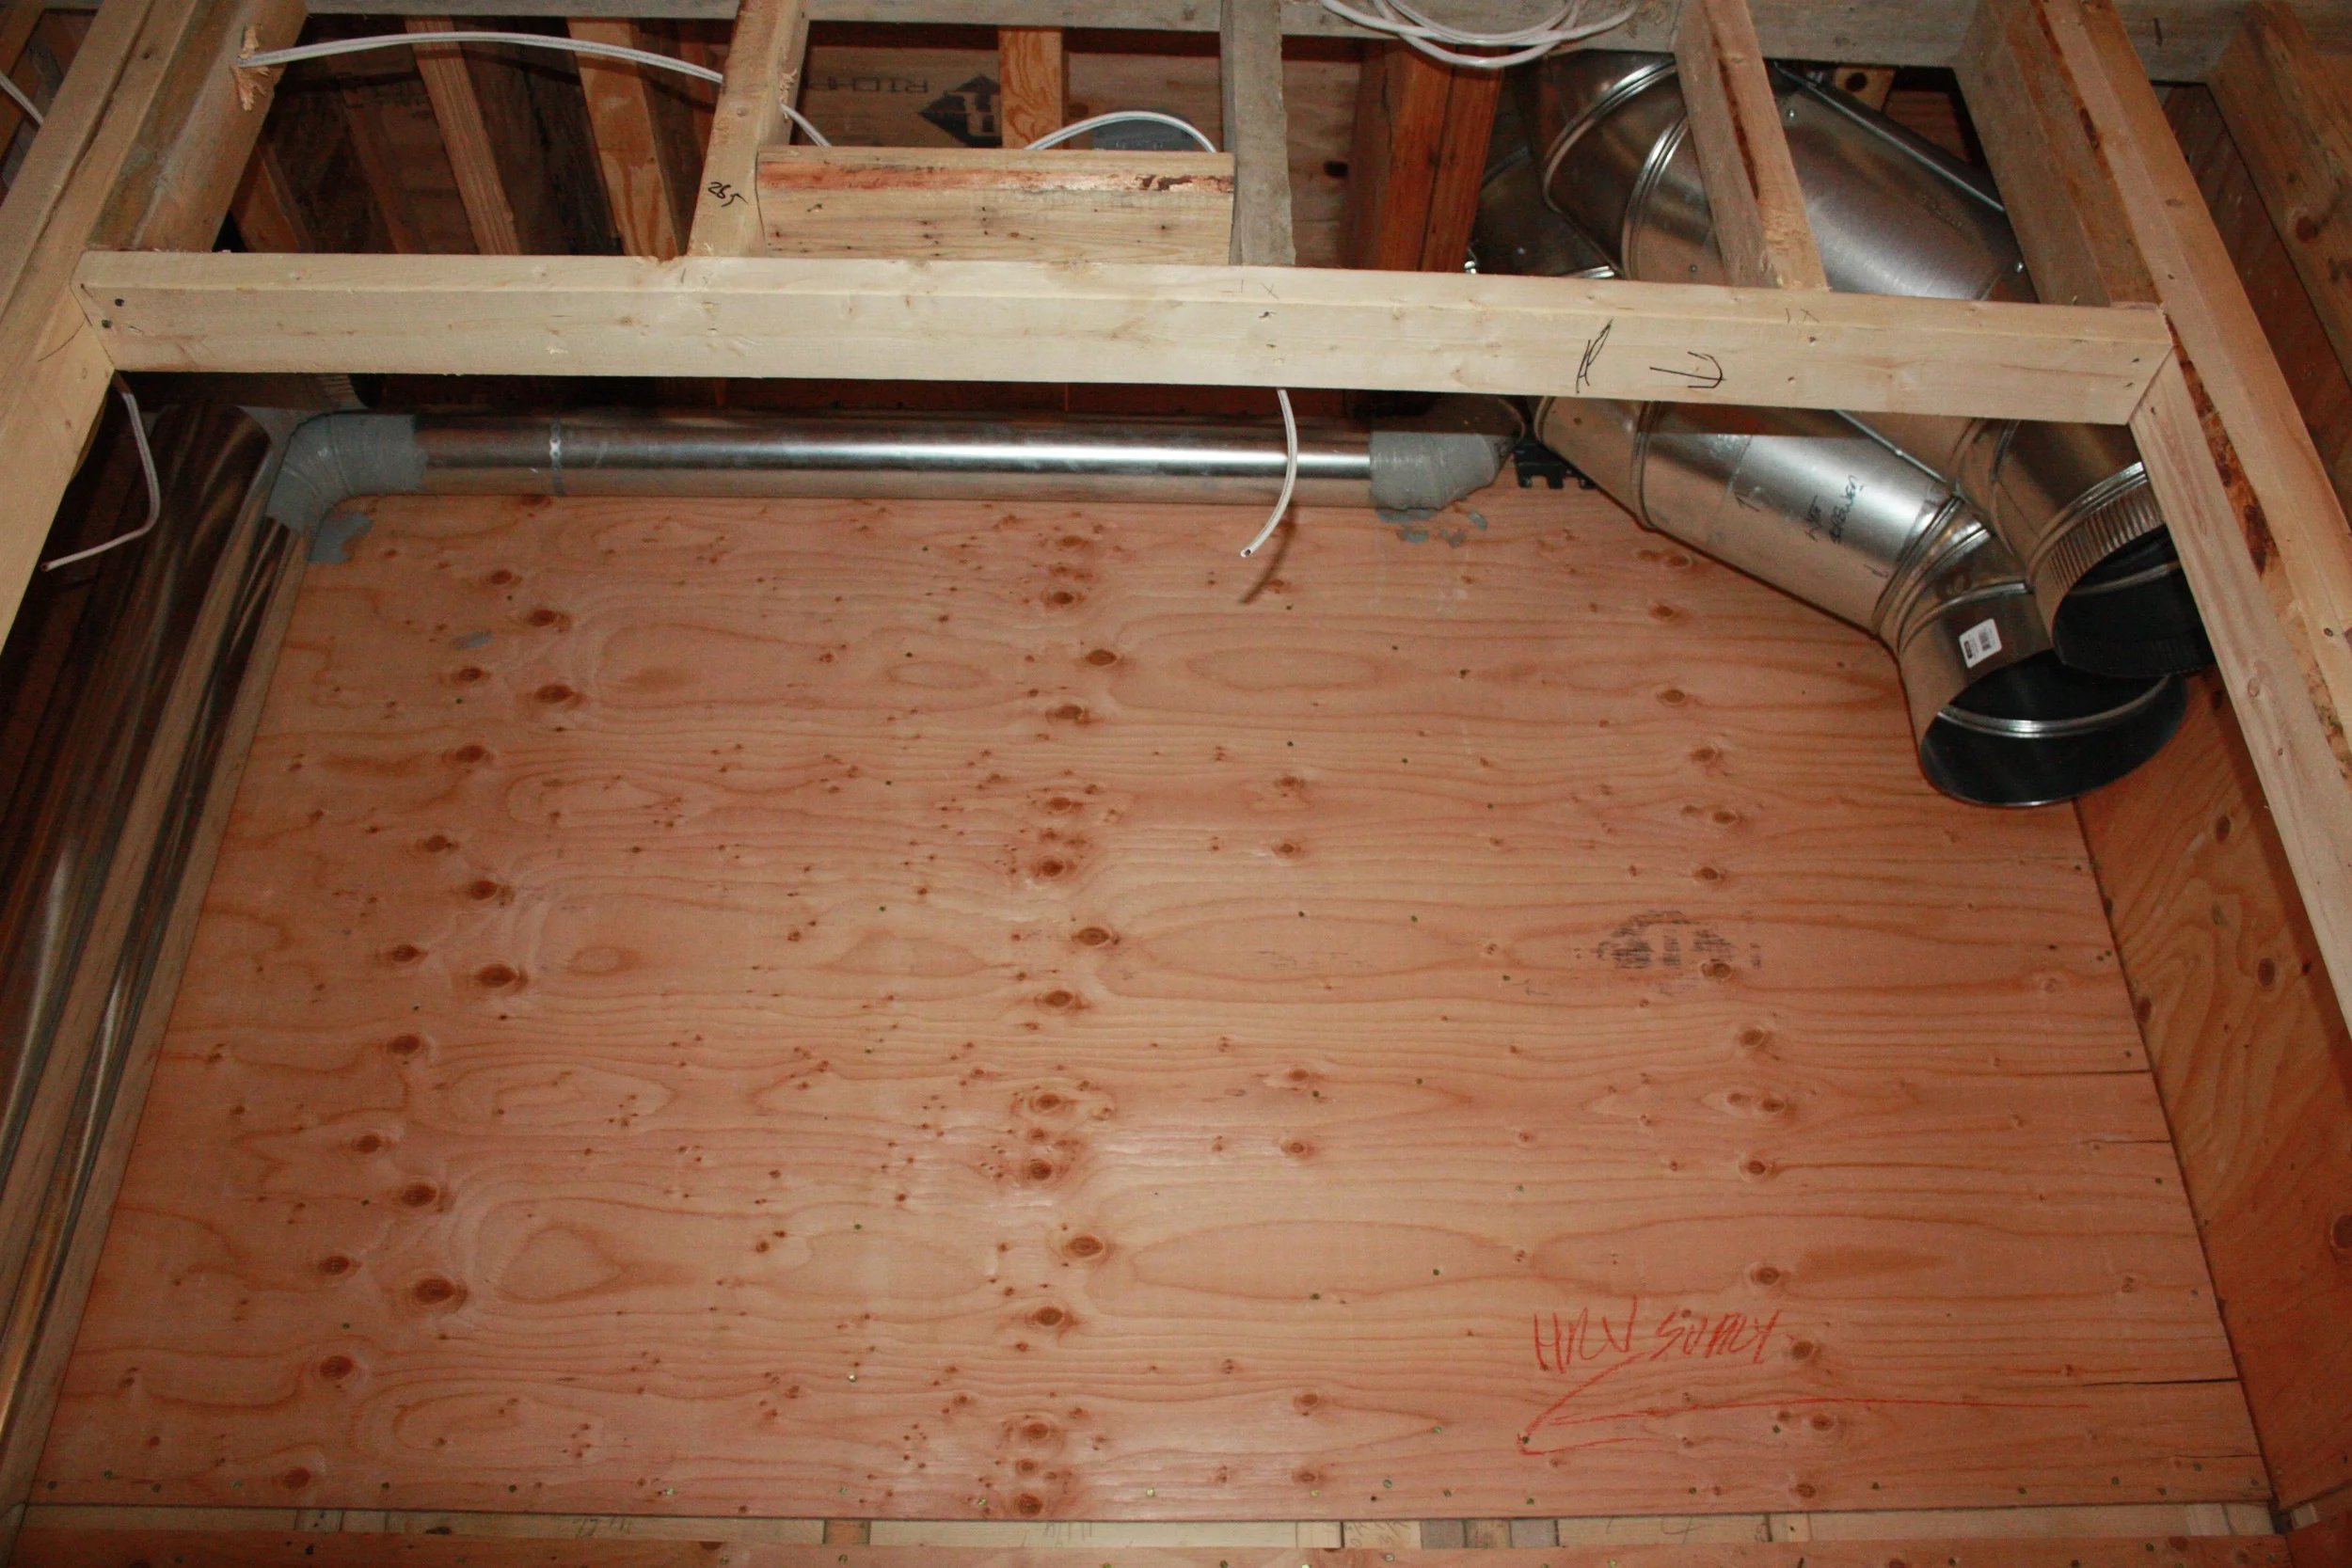
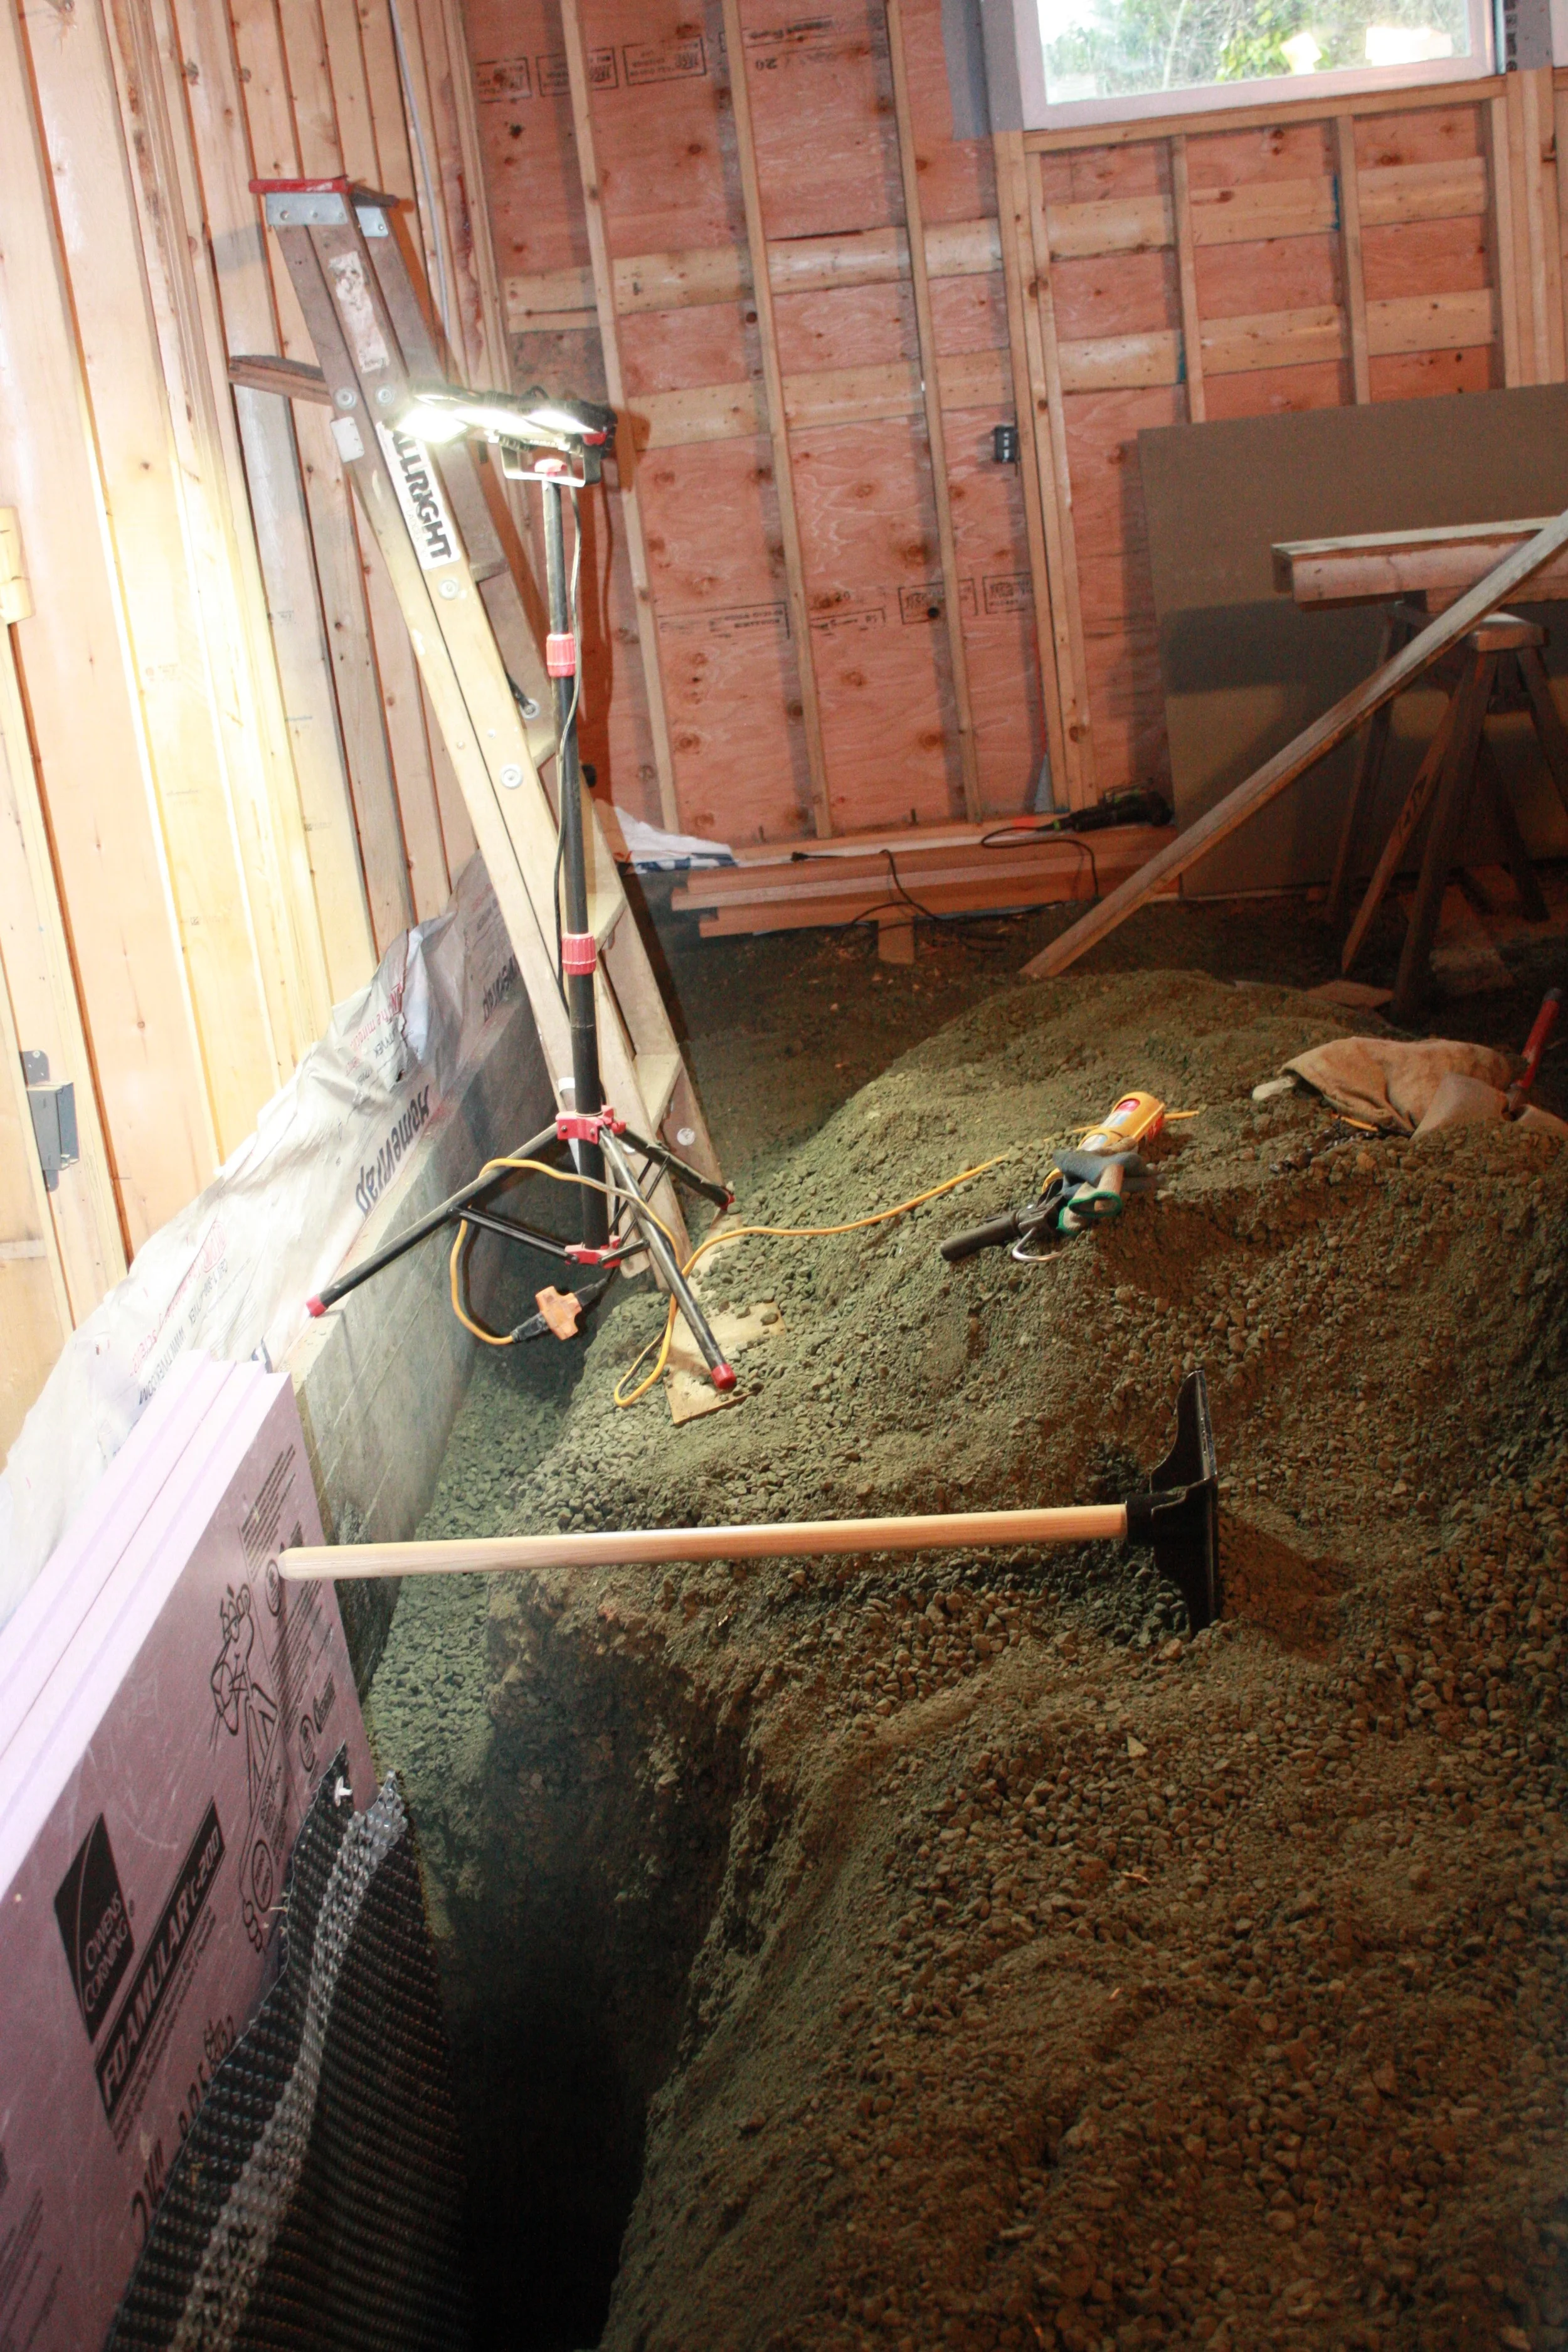
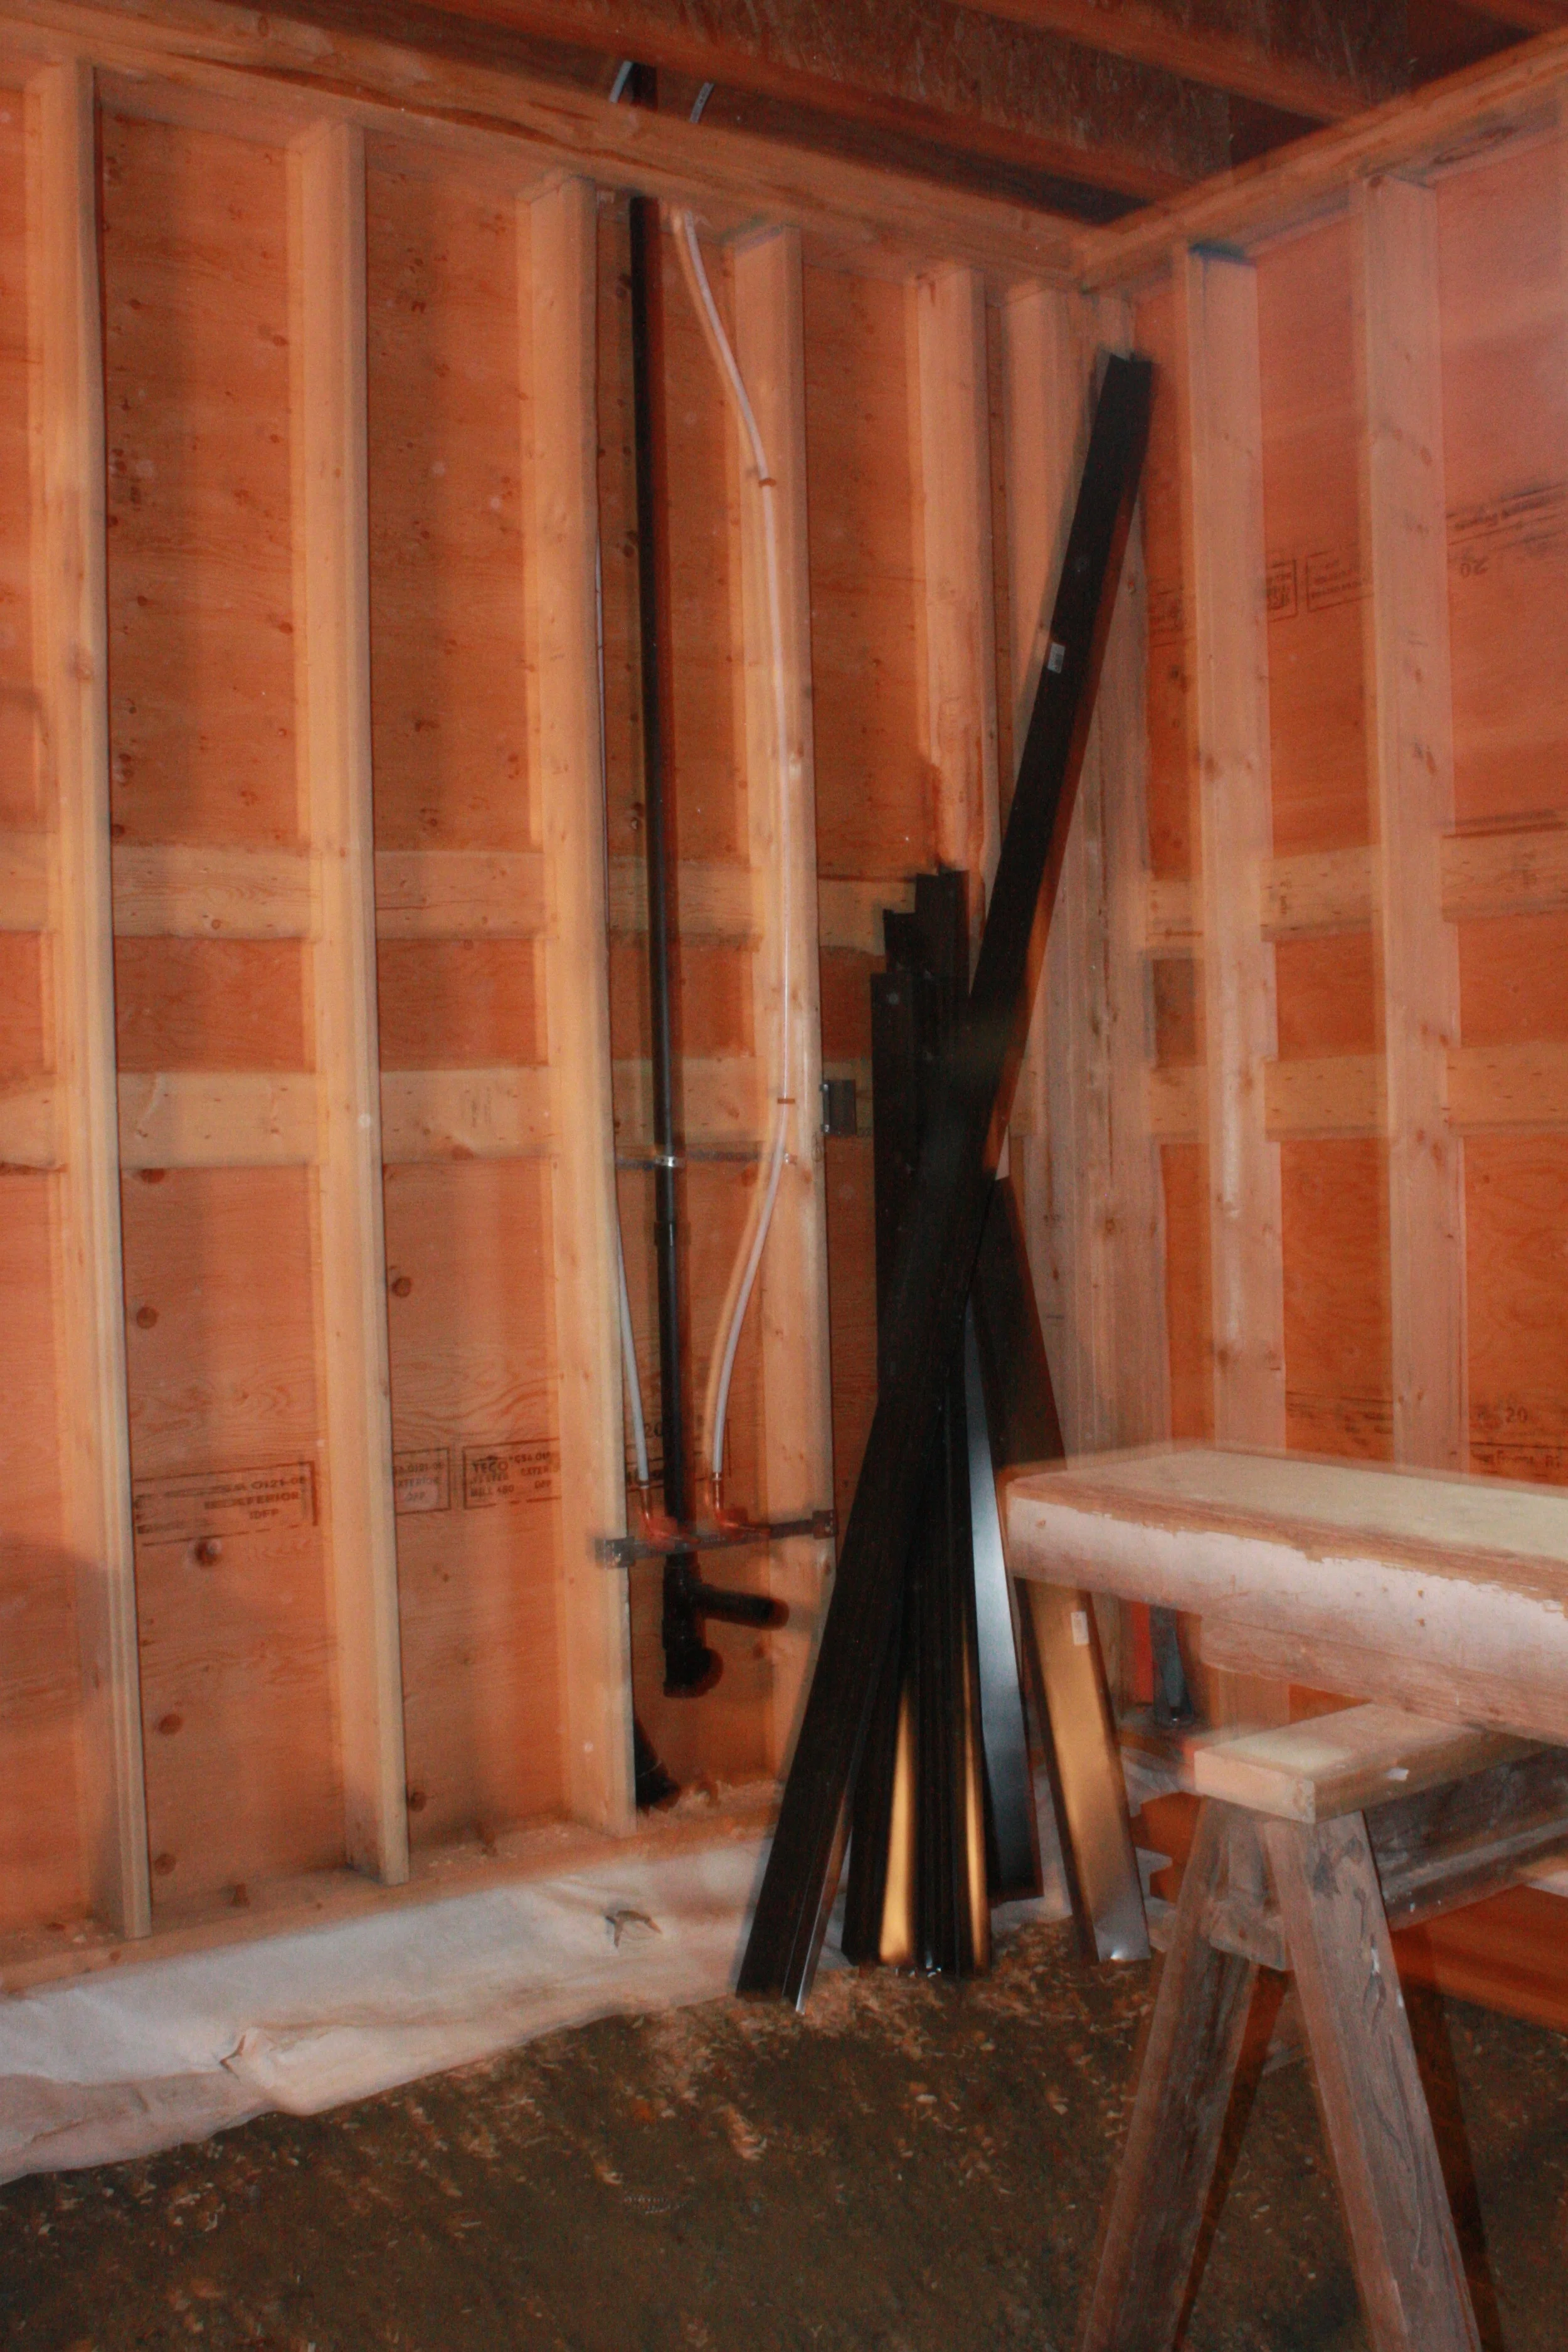
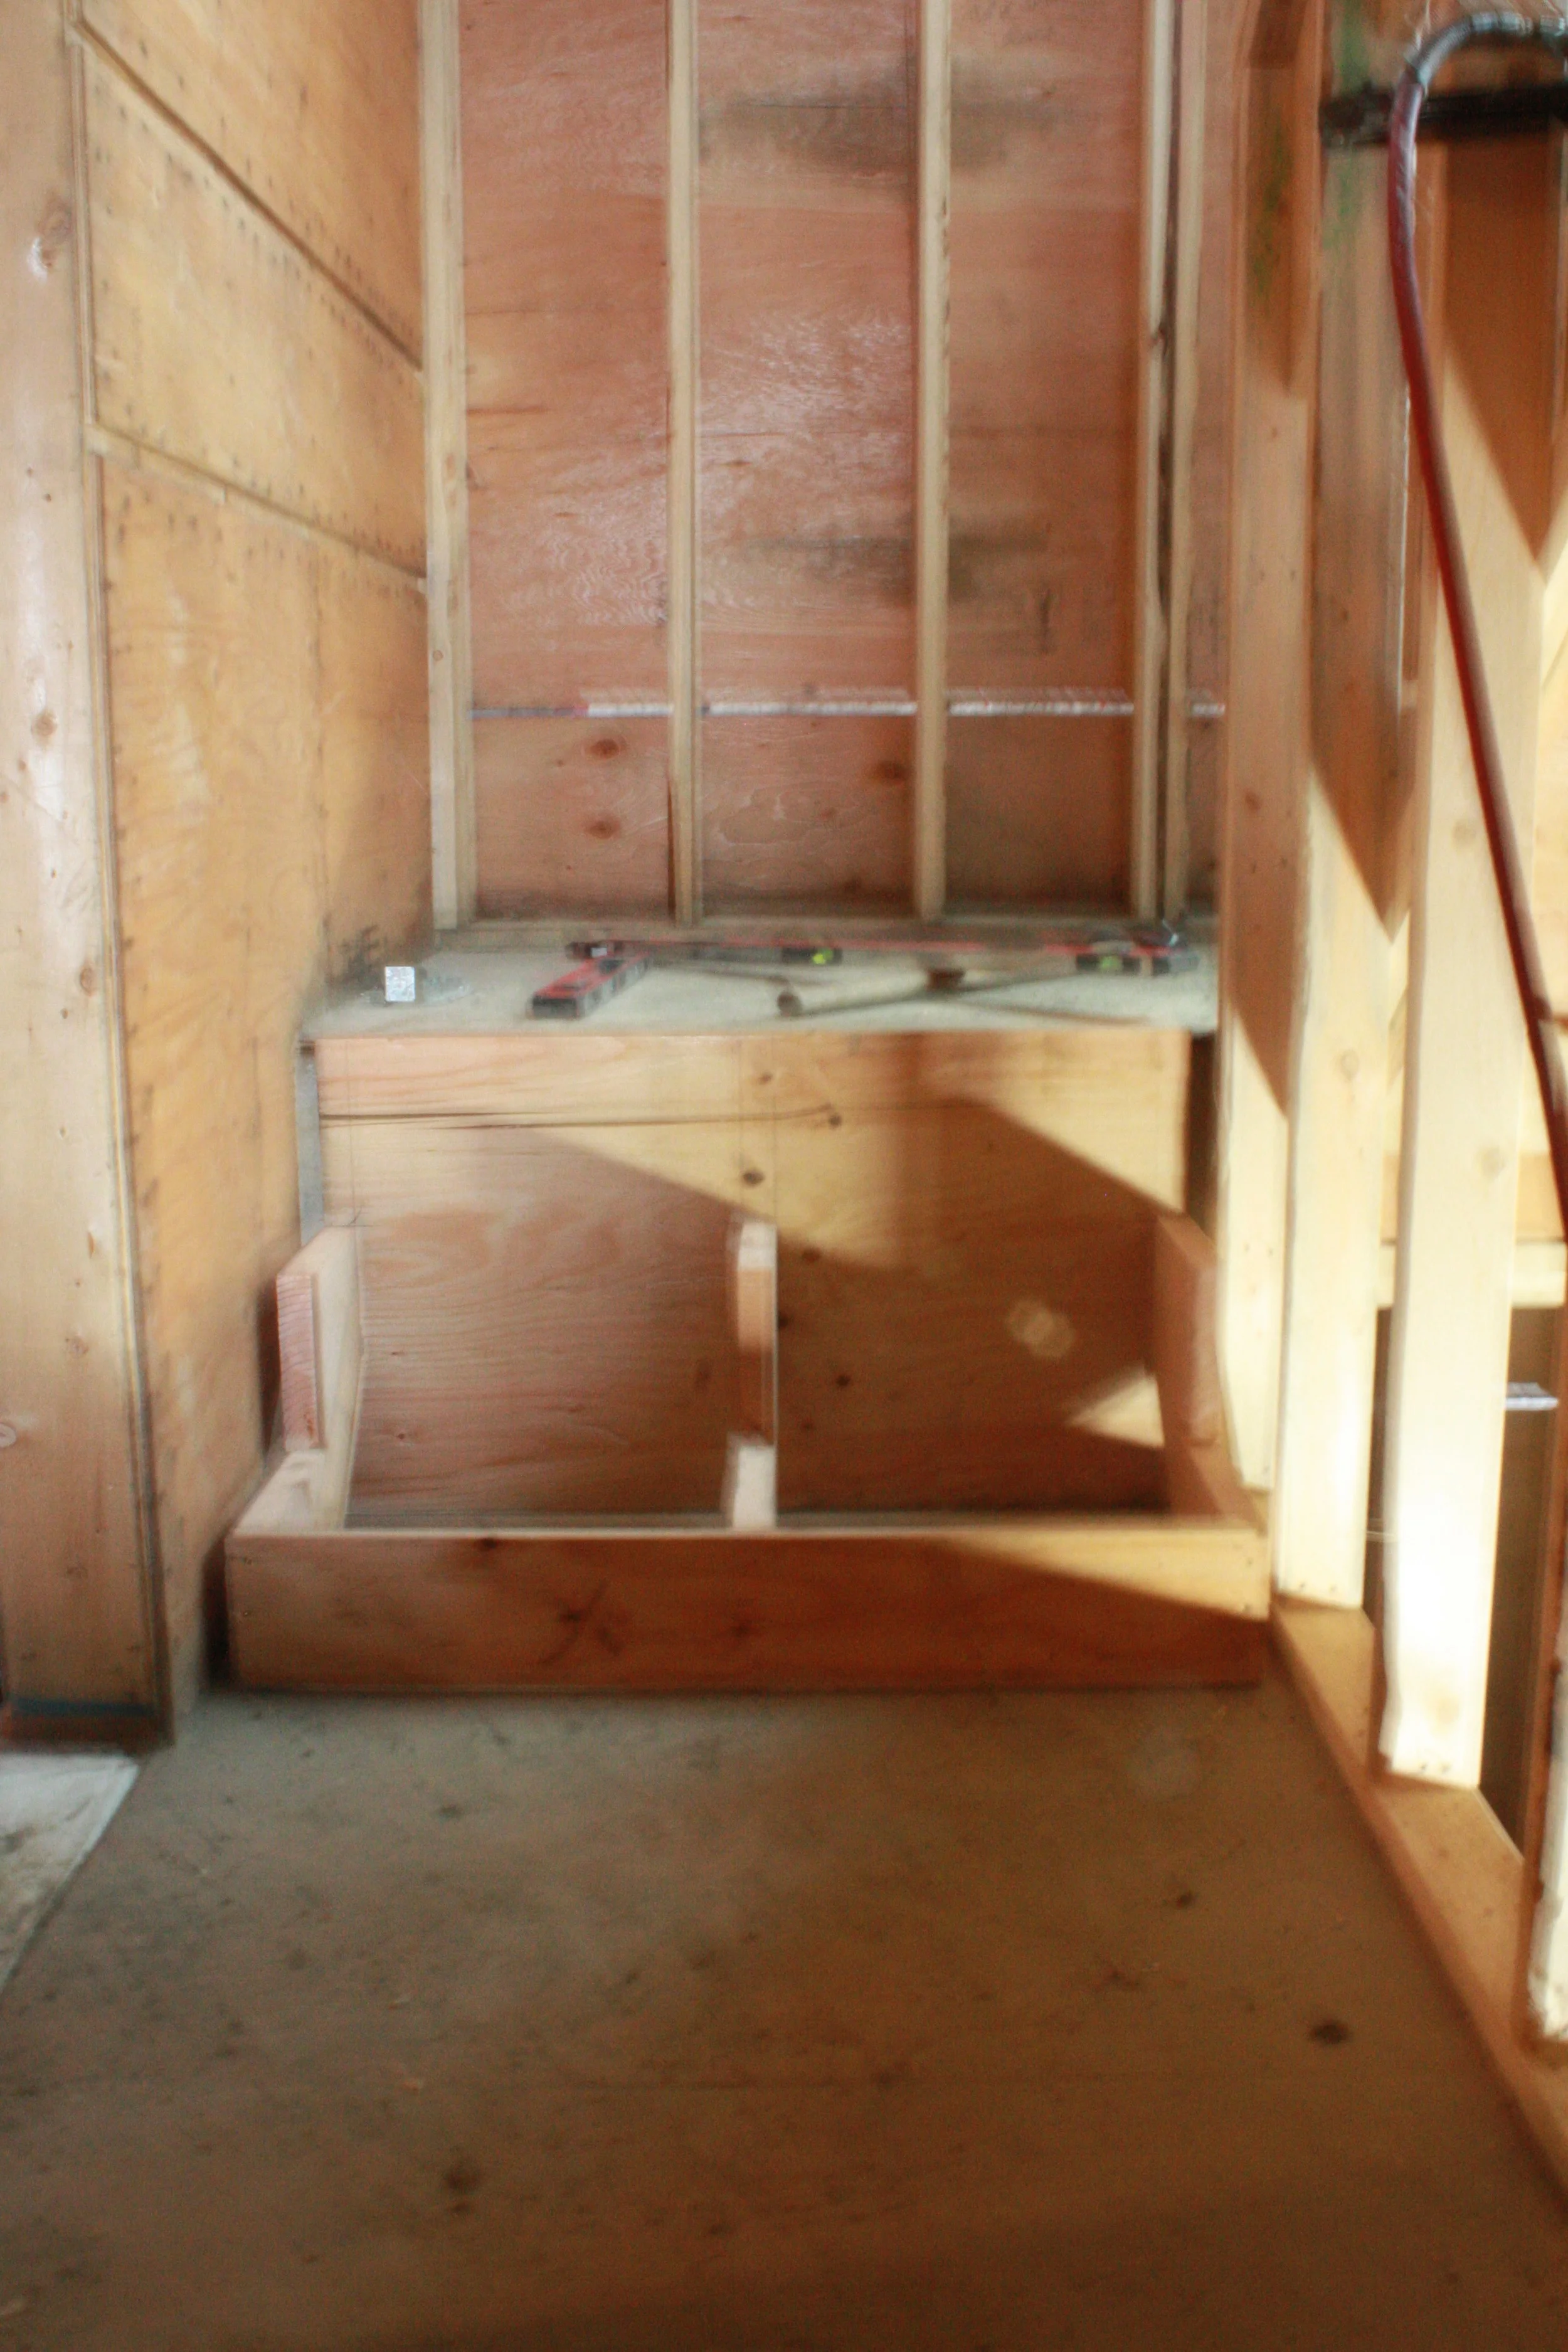
Mechanical room floor insulated in preparation for the concrete pour.
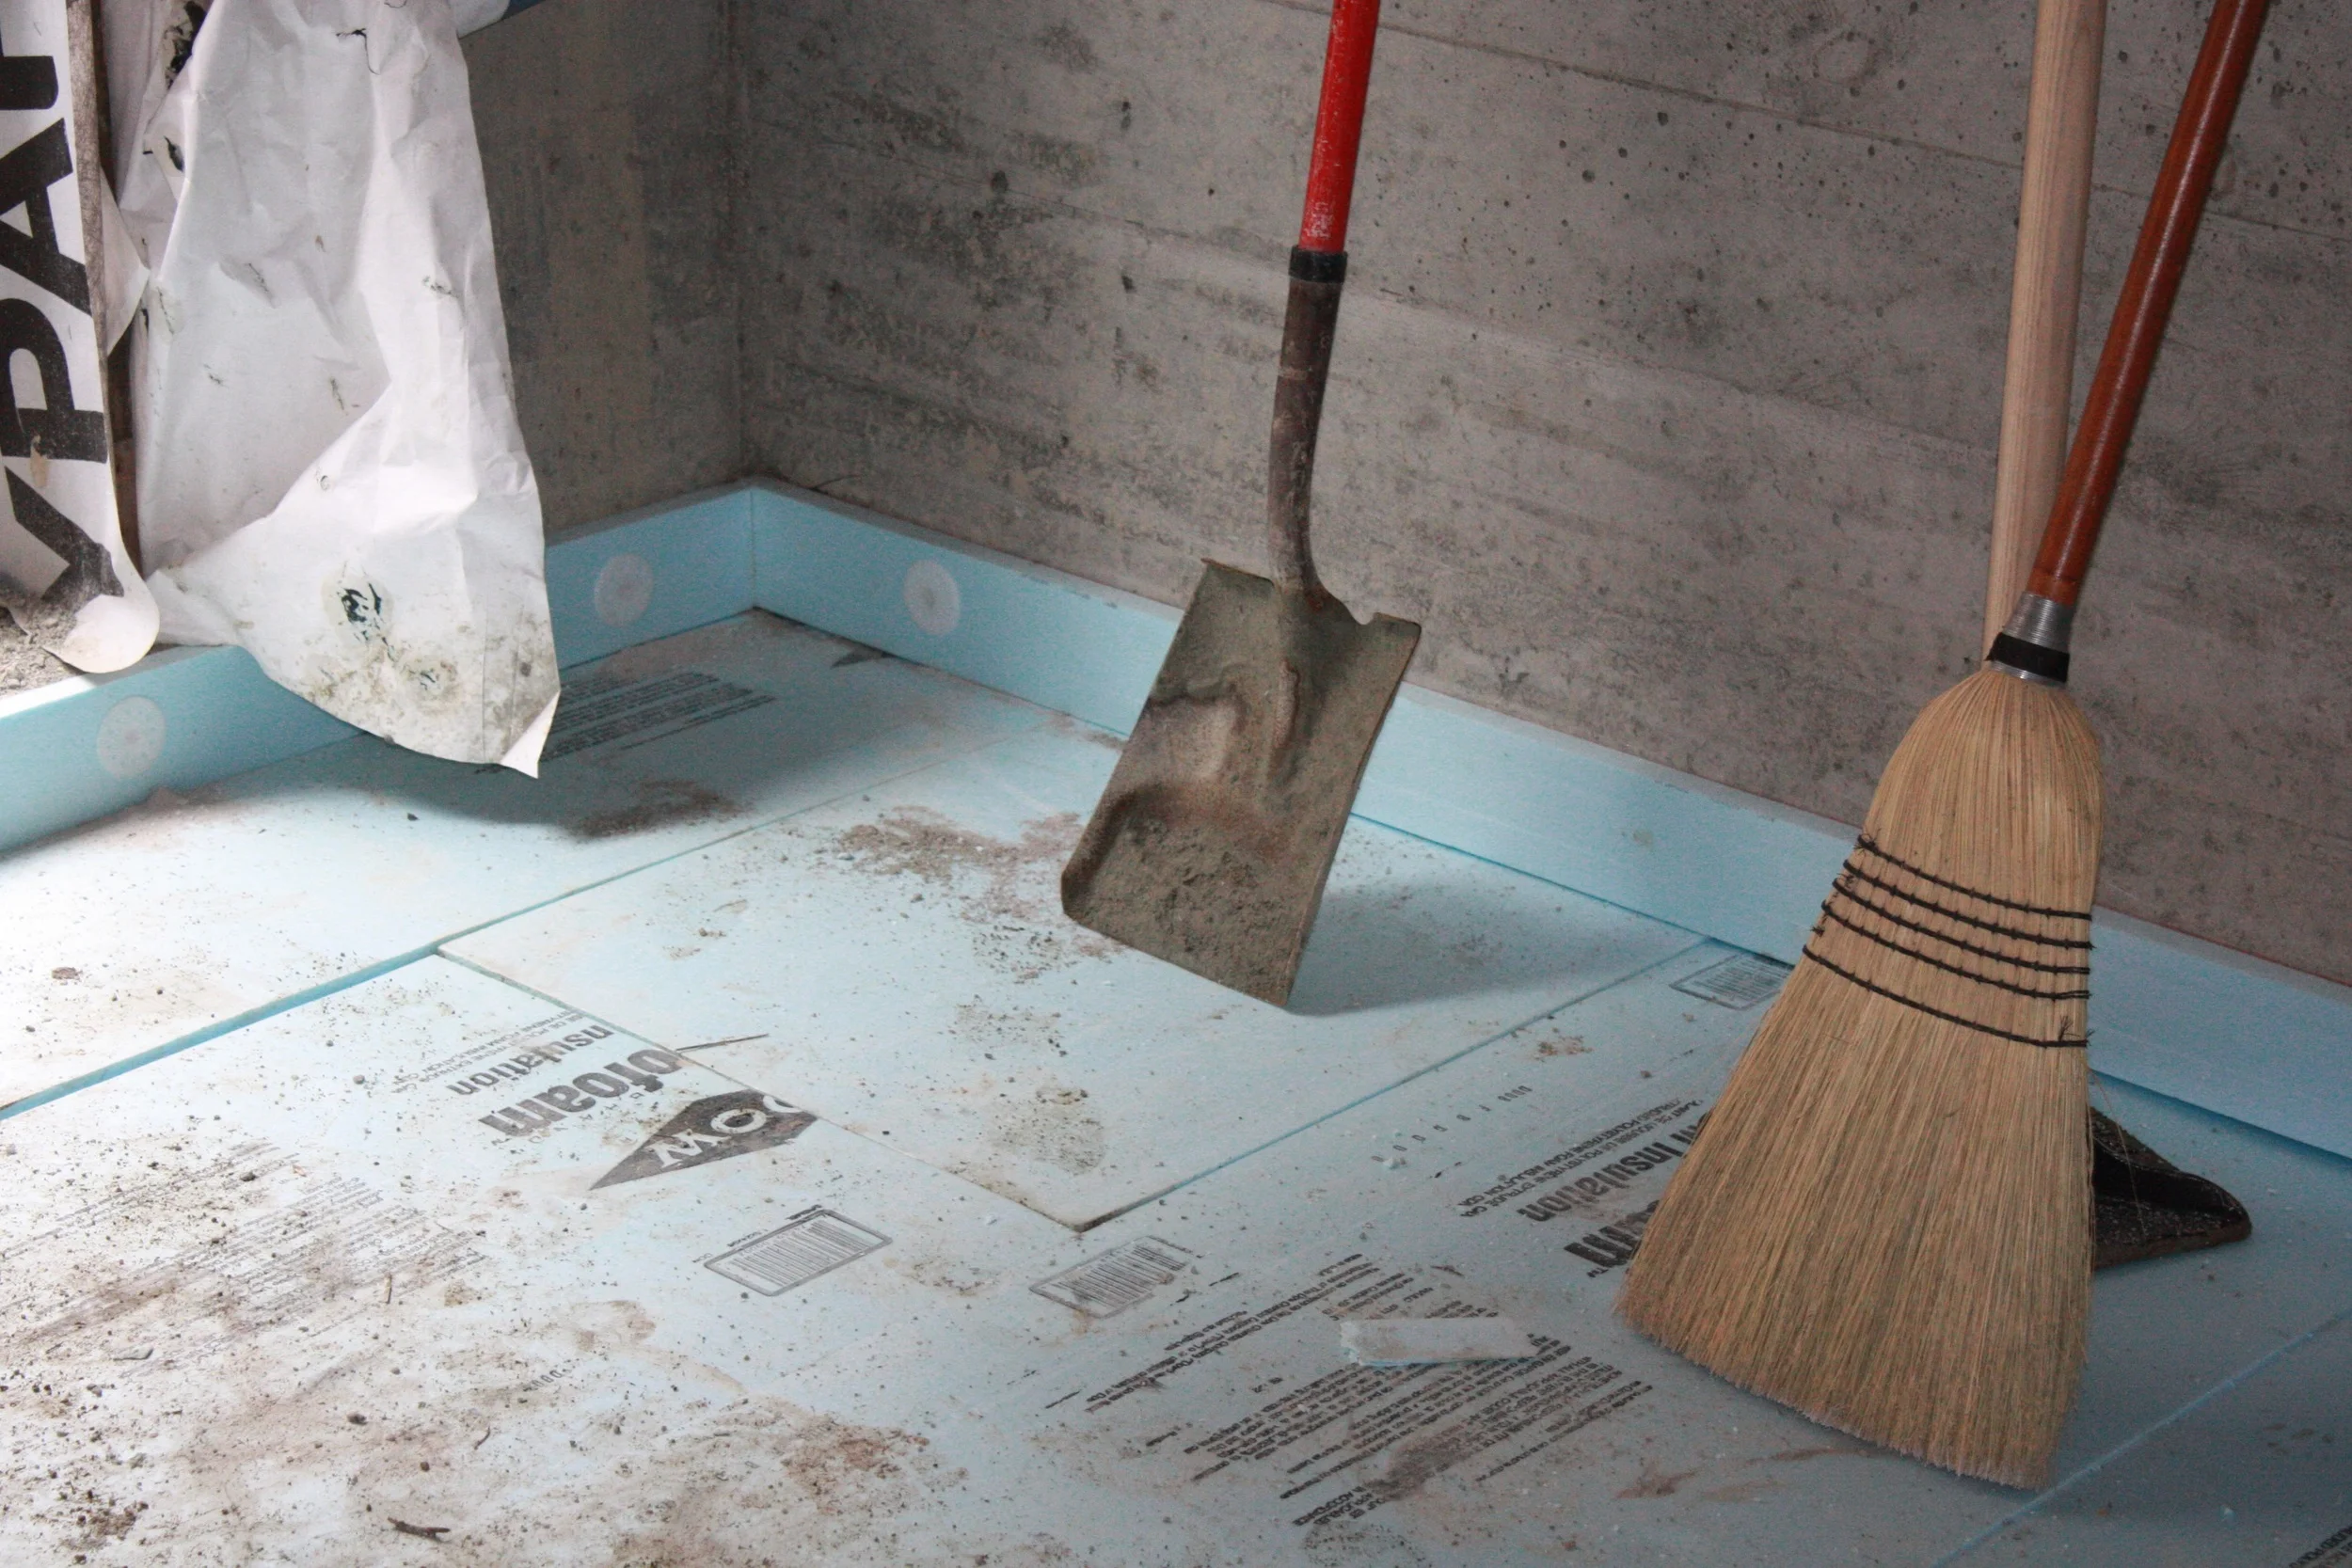
Detail of the mechanical room floor insulation
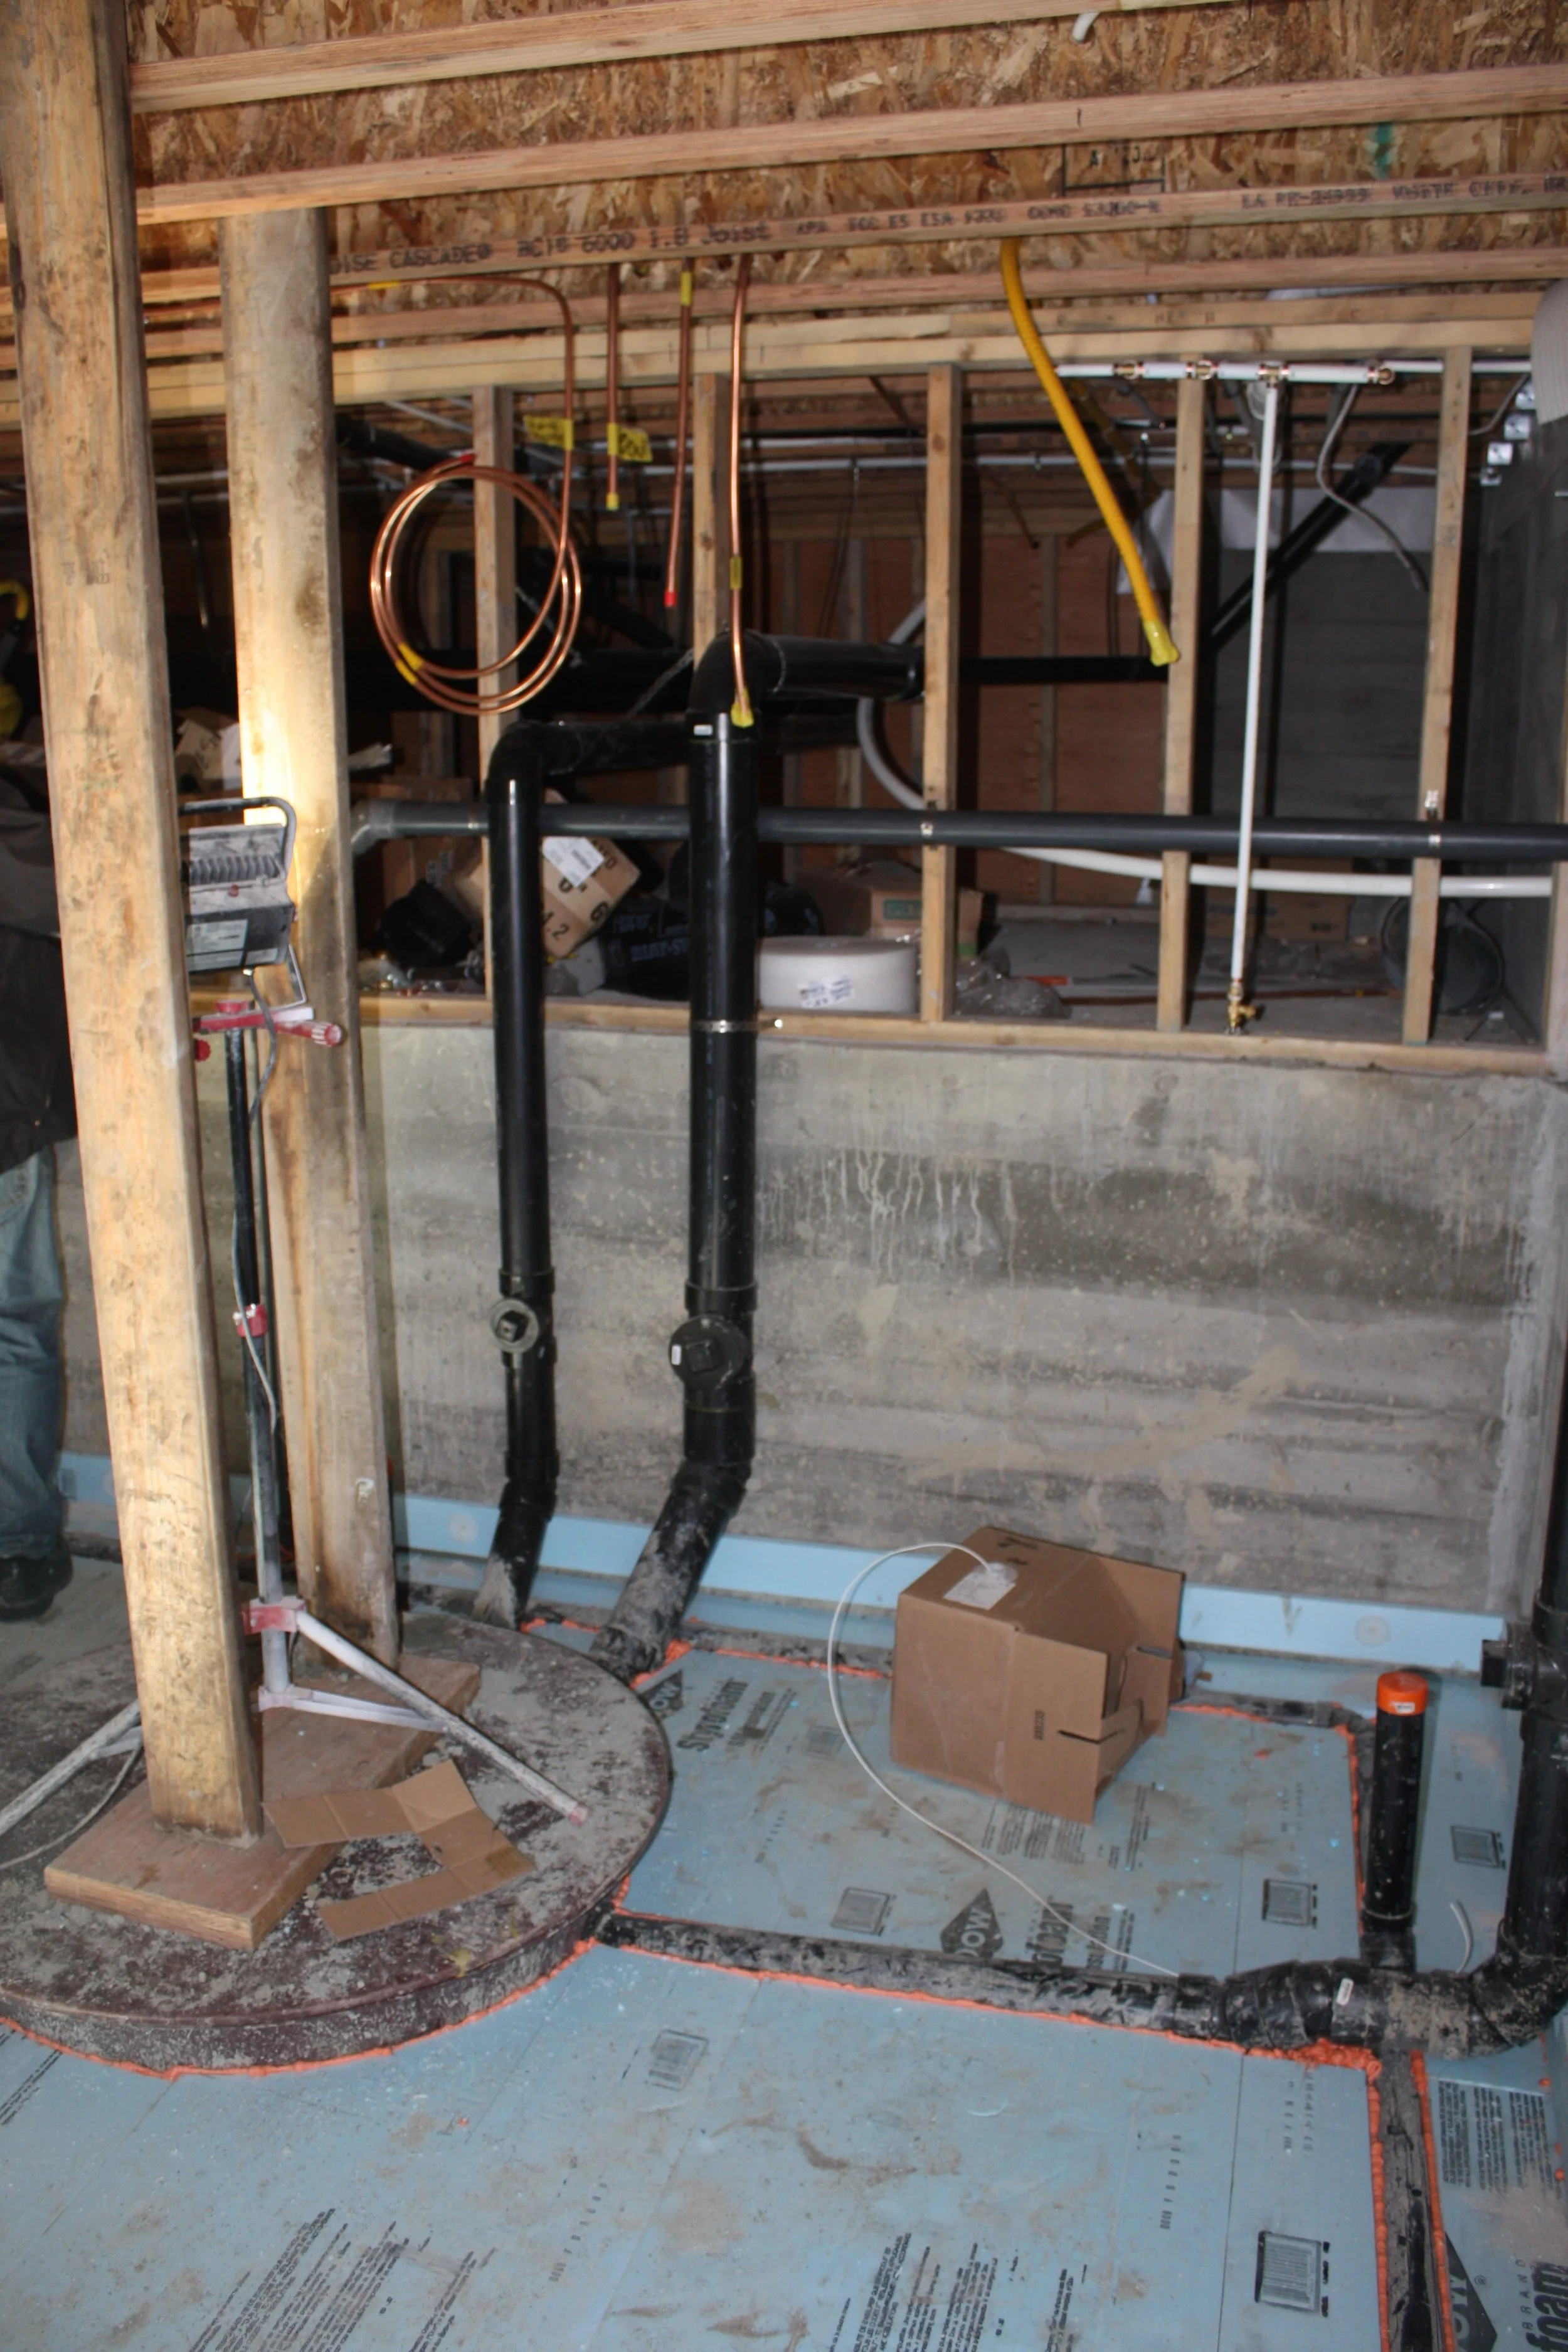
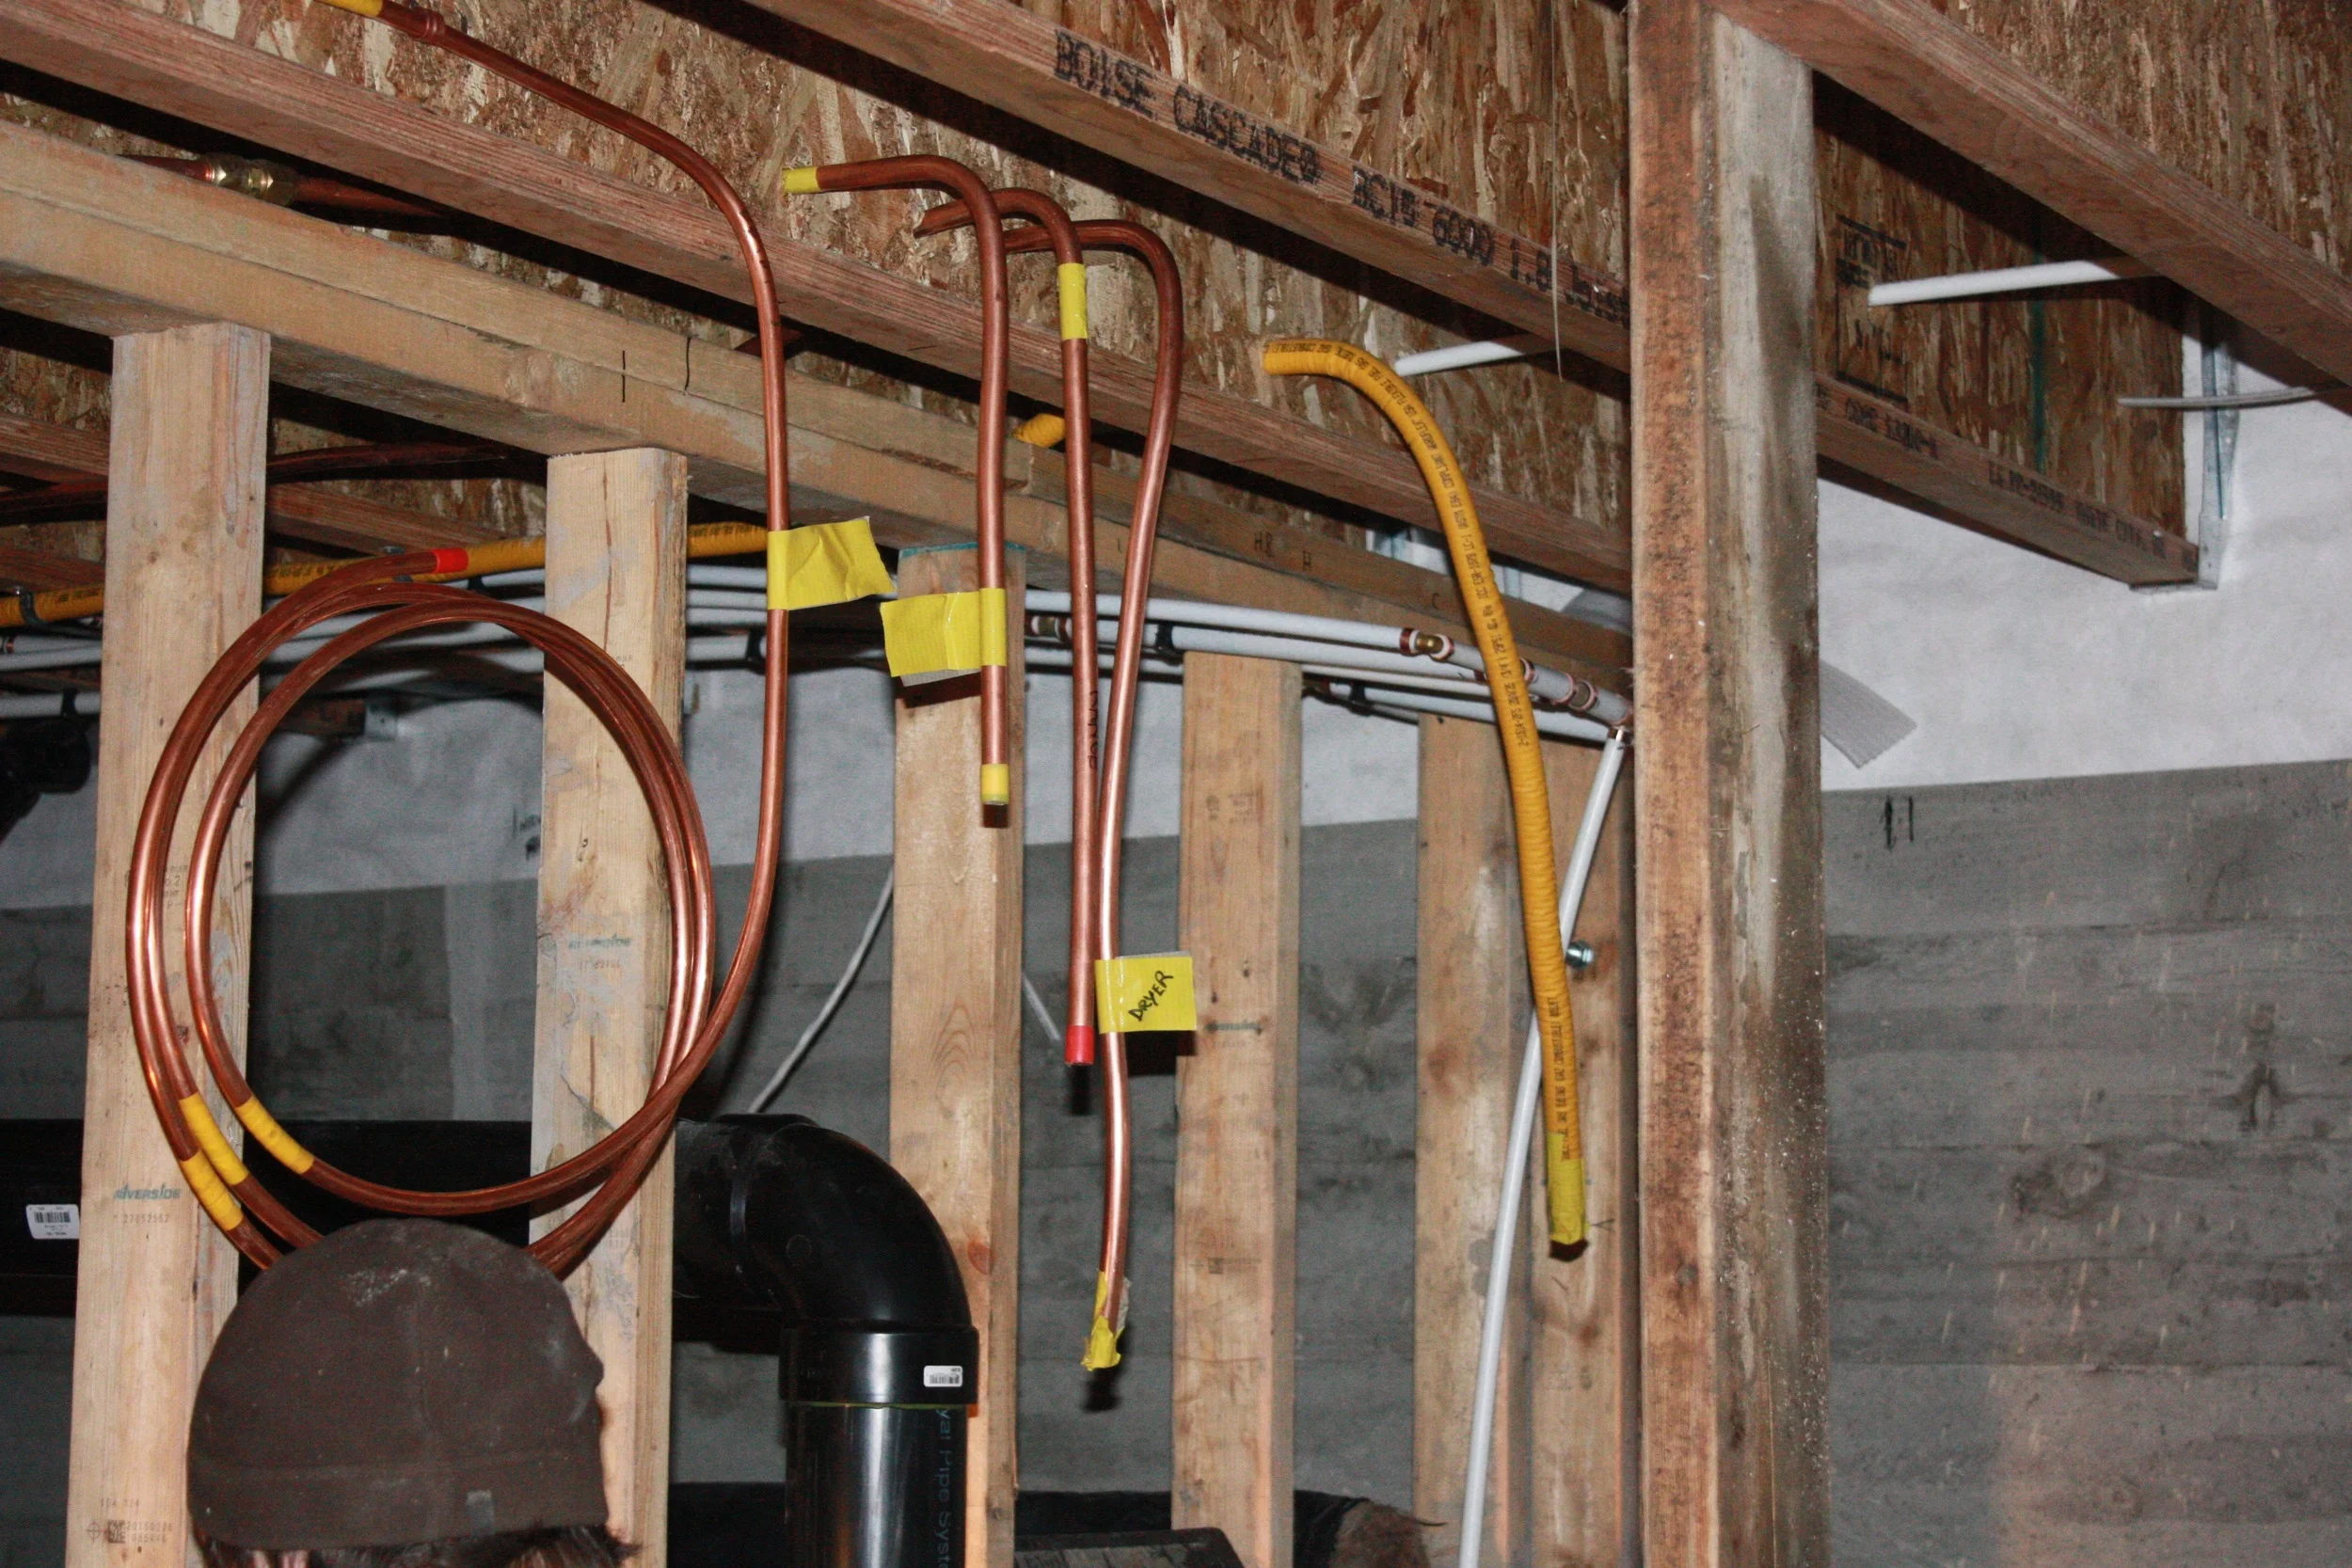
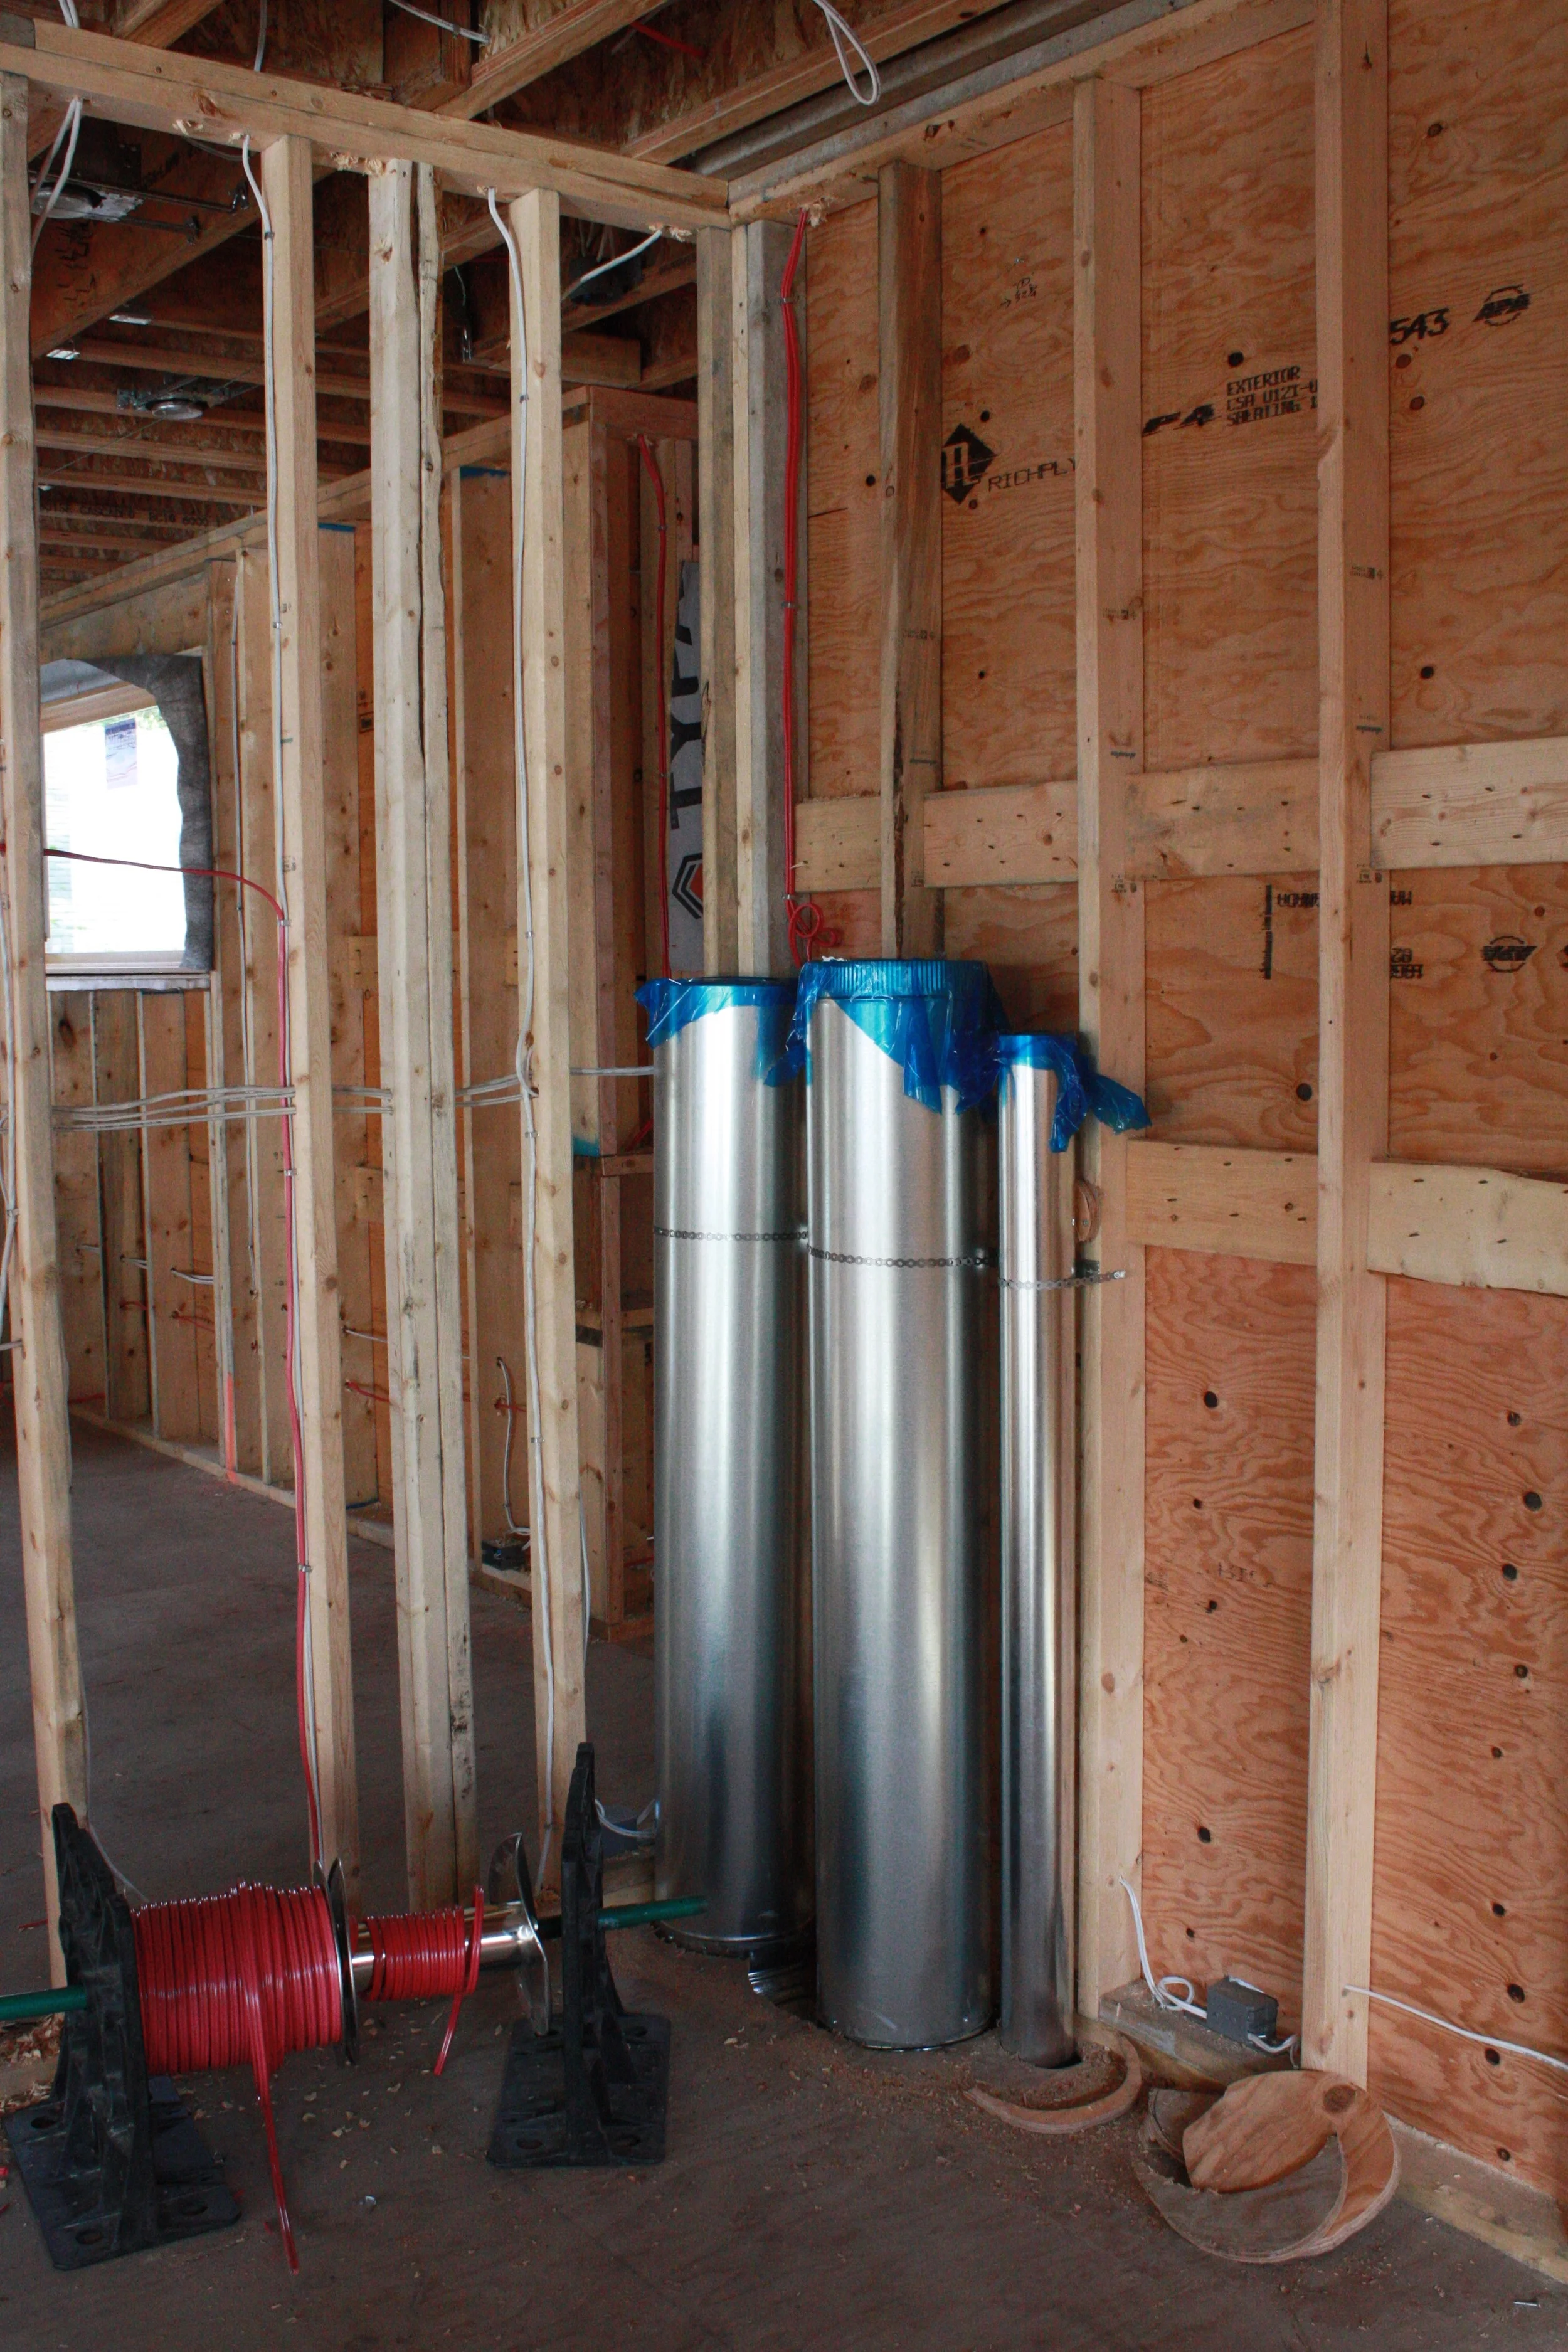
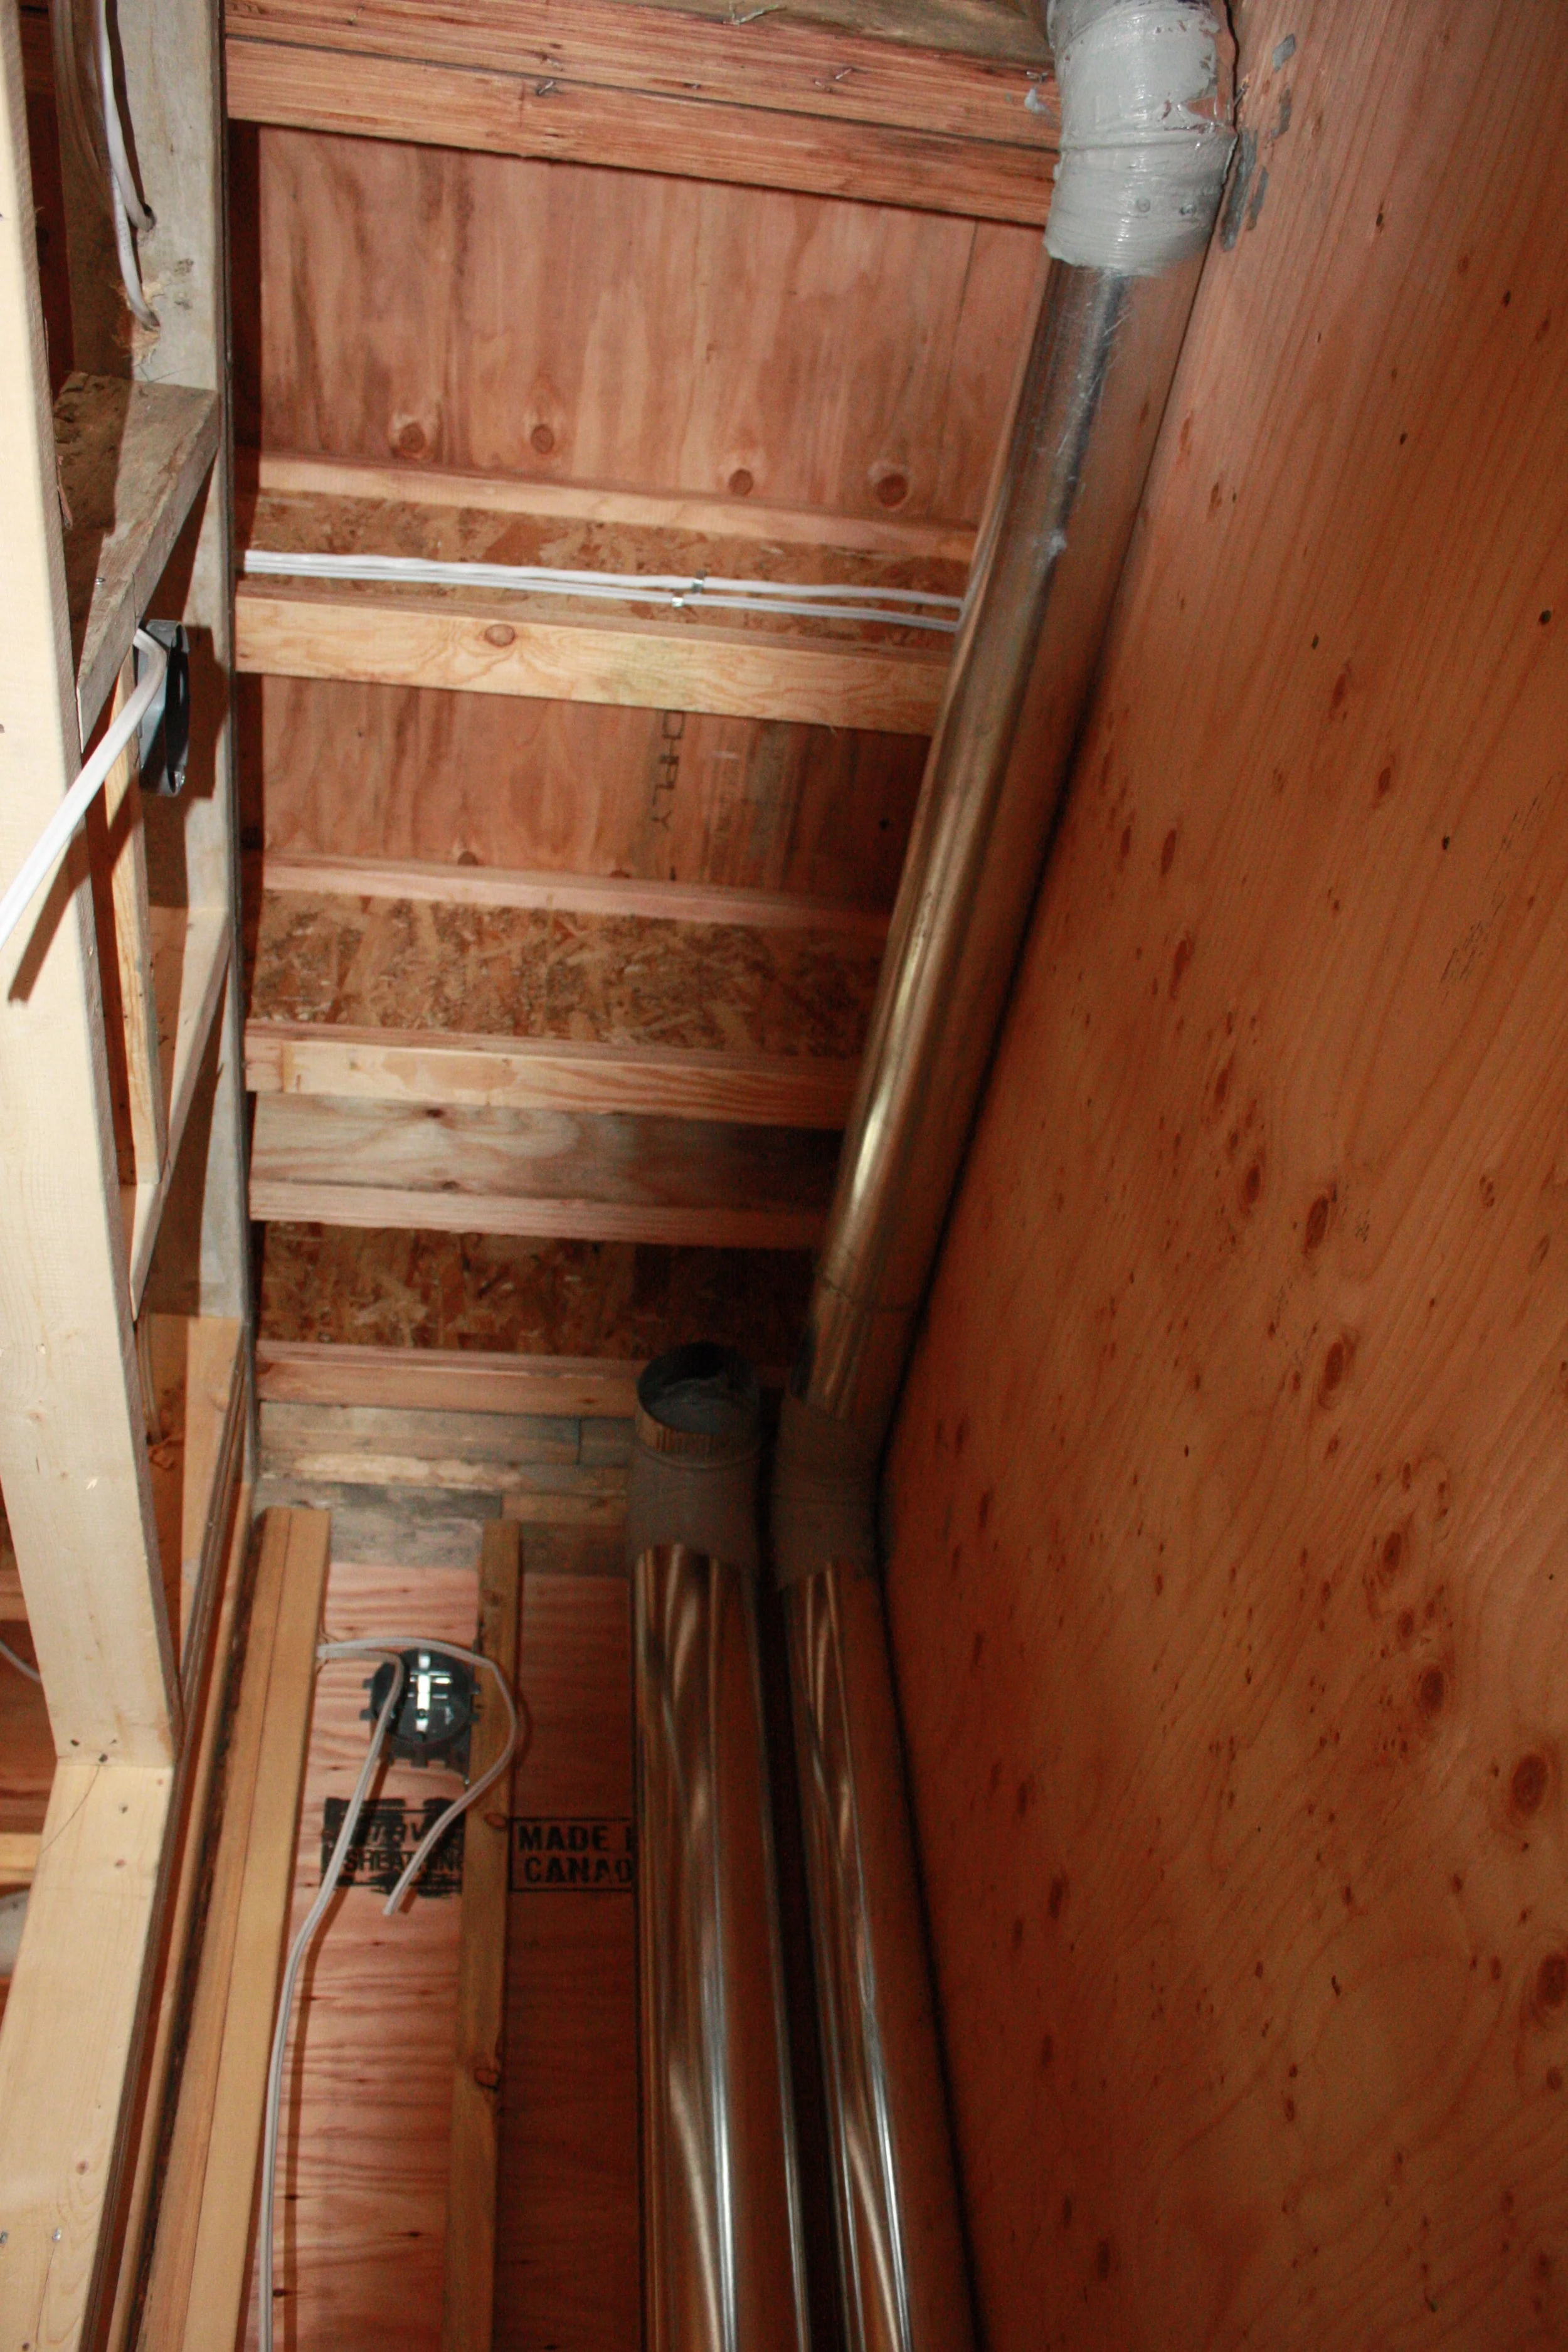
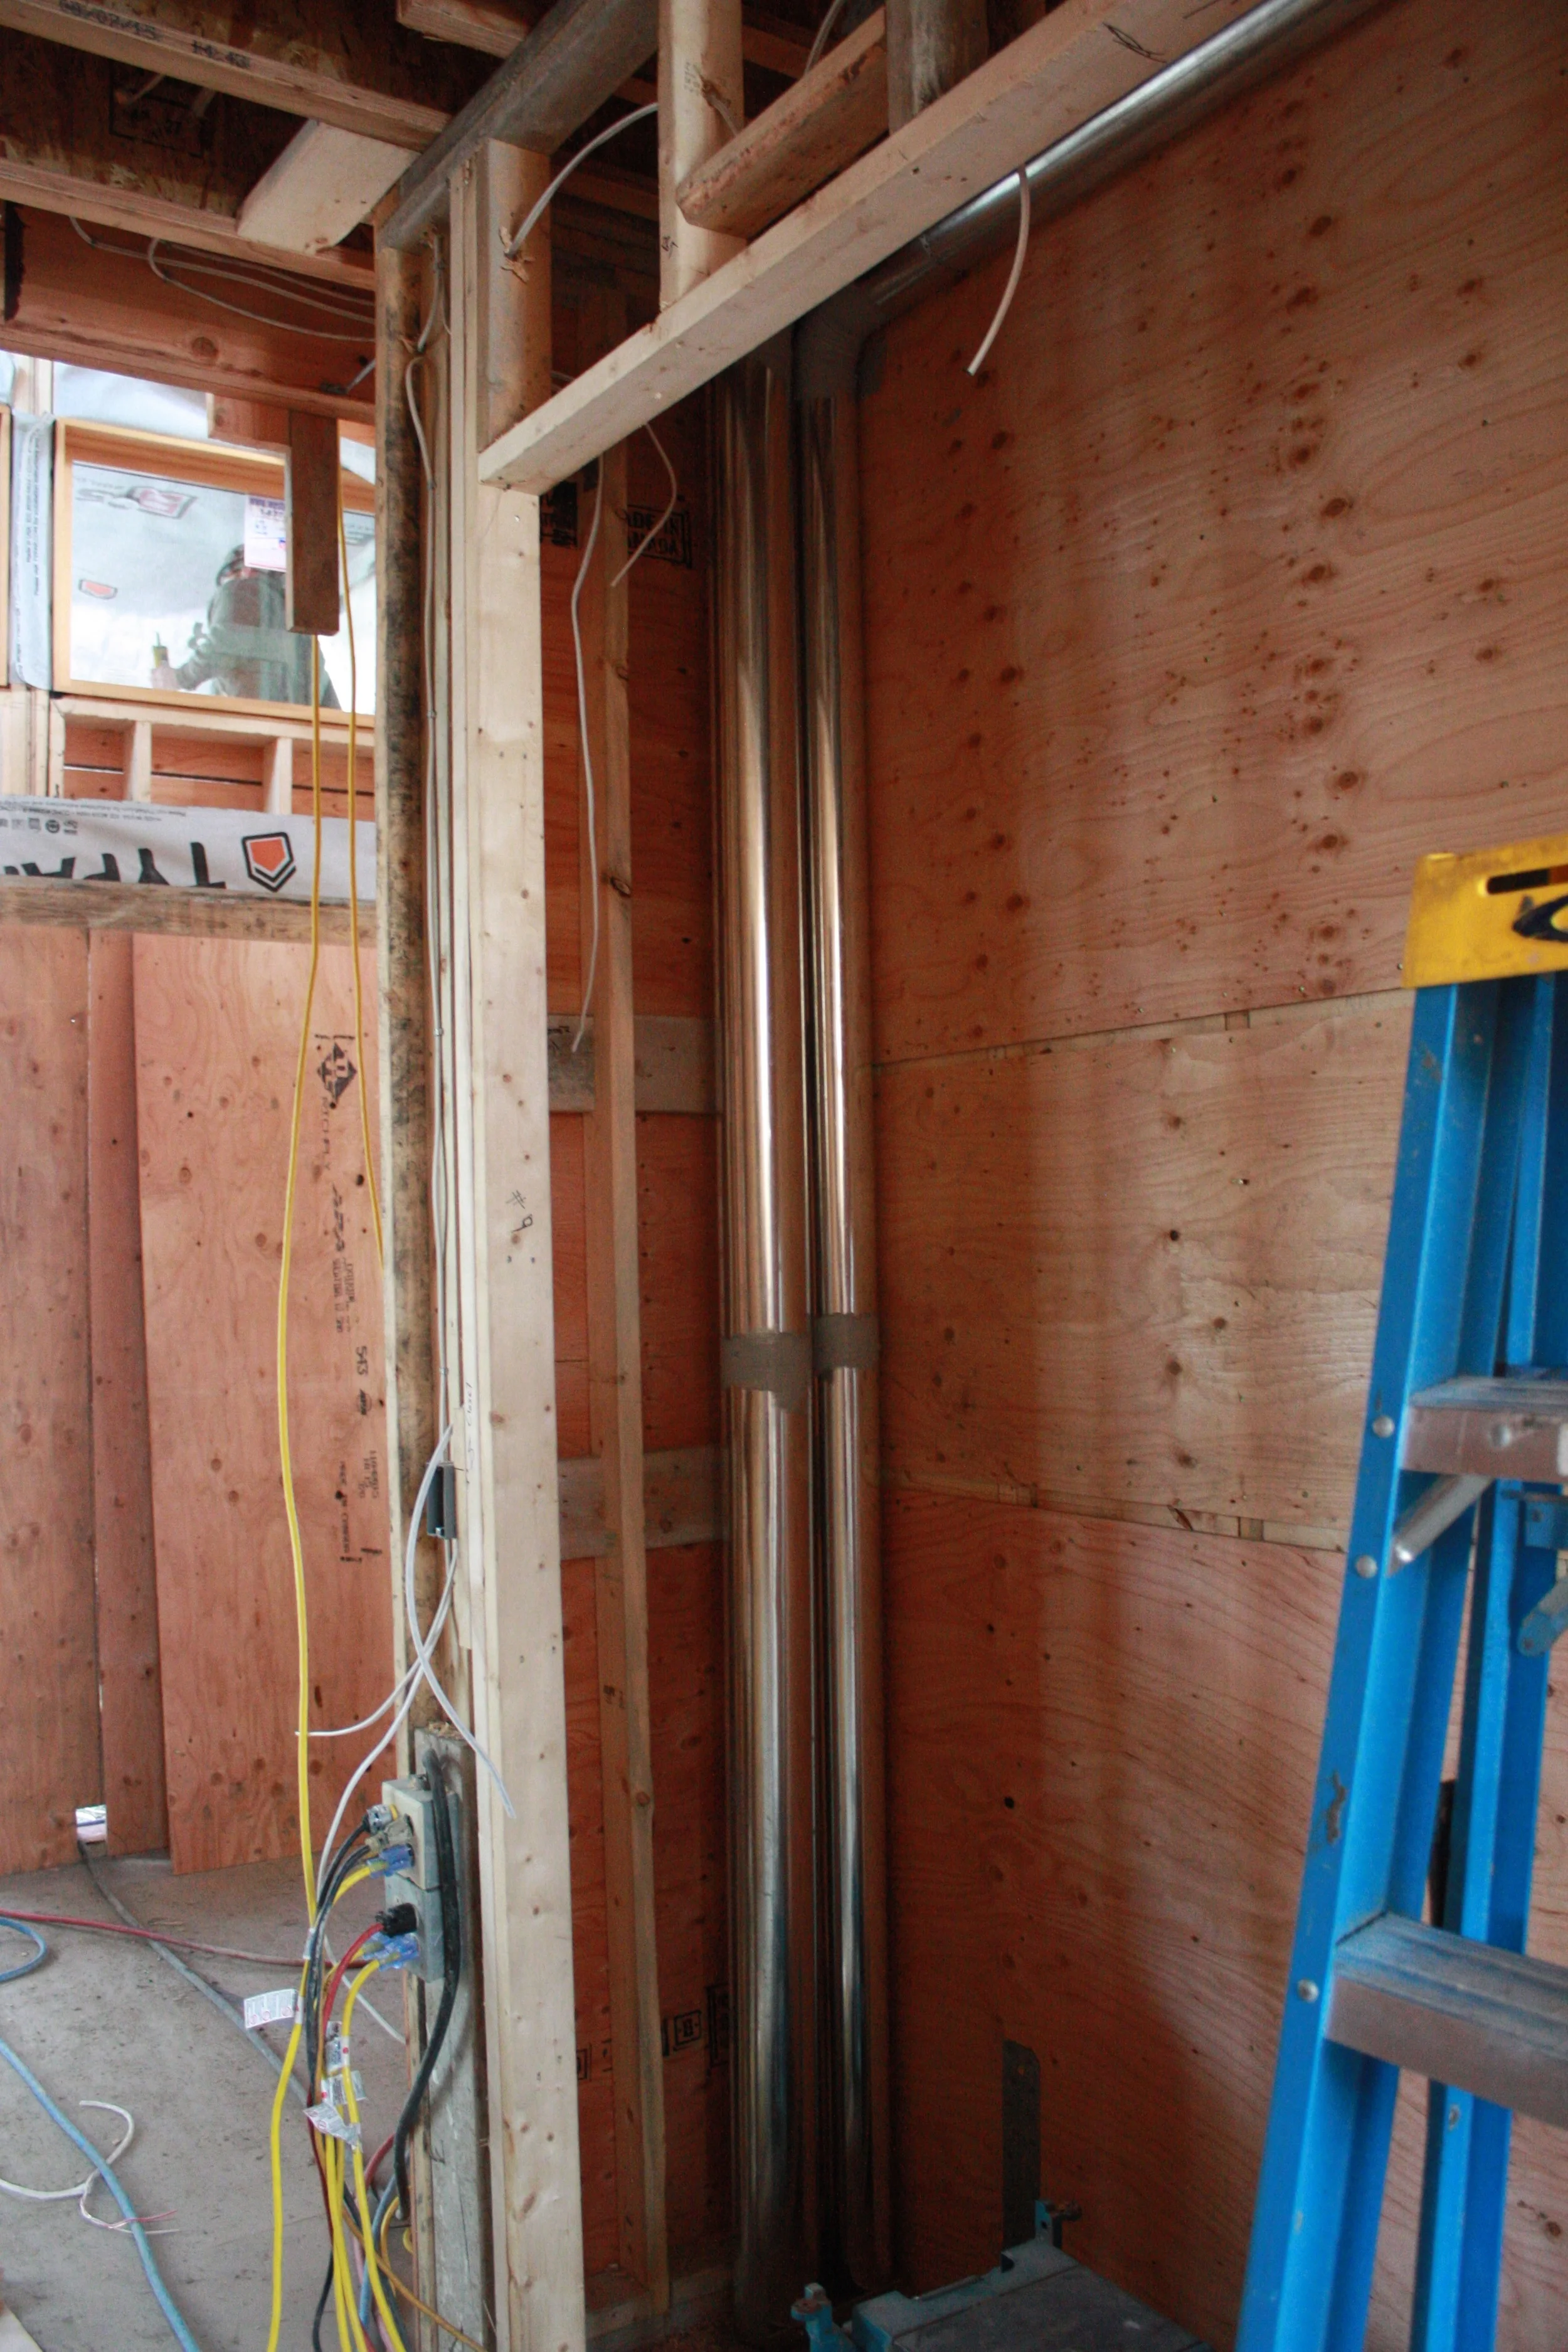
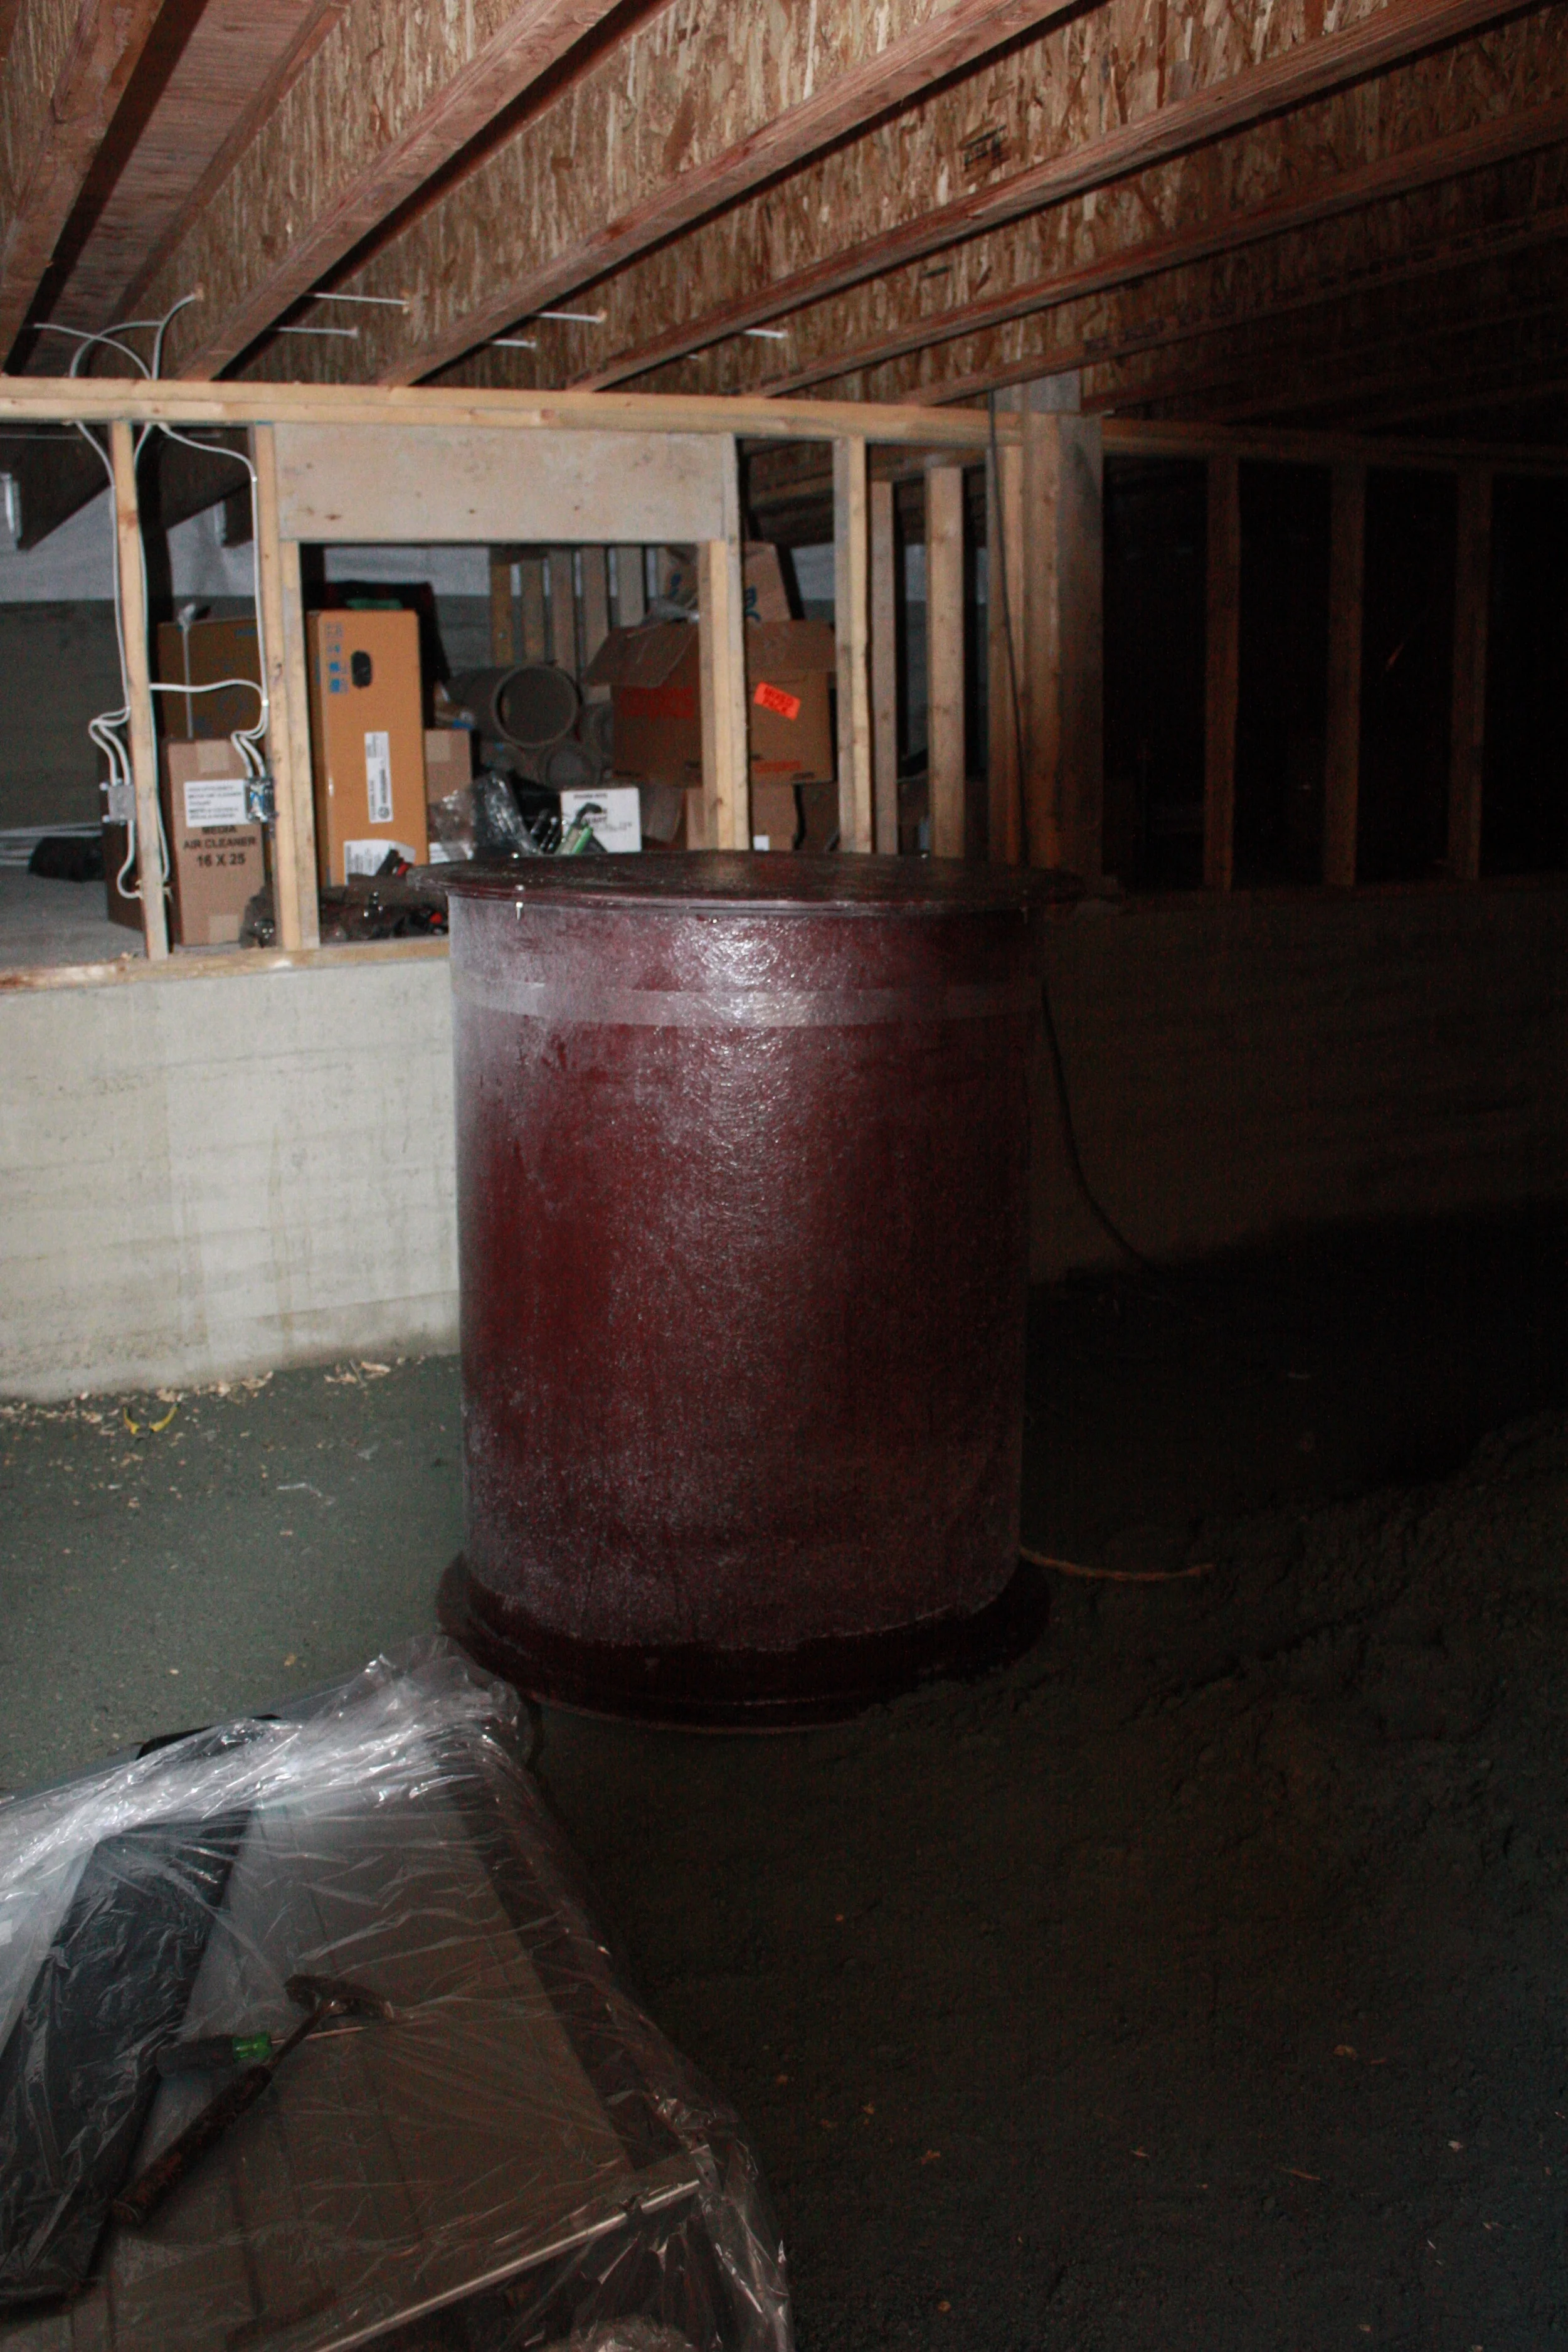
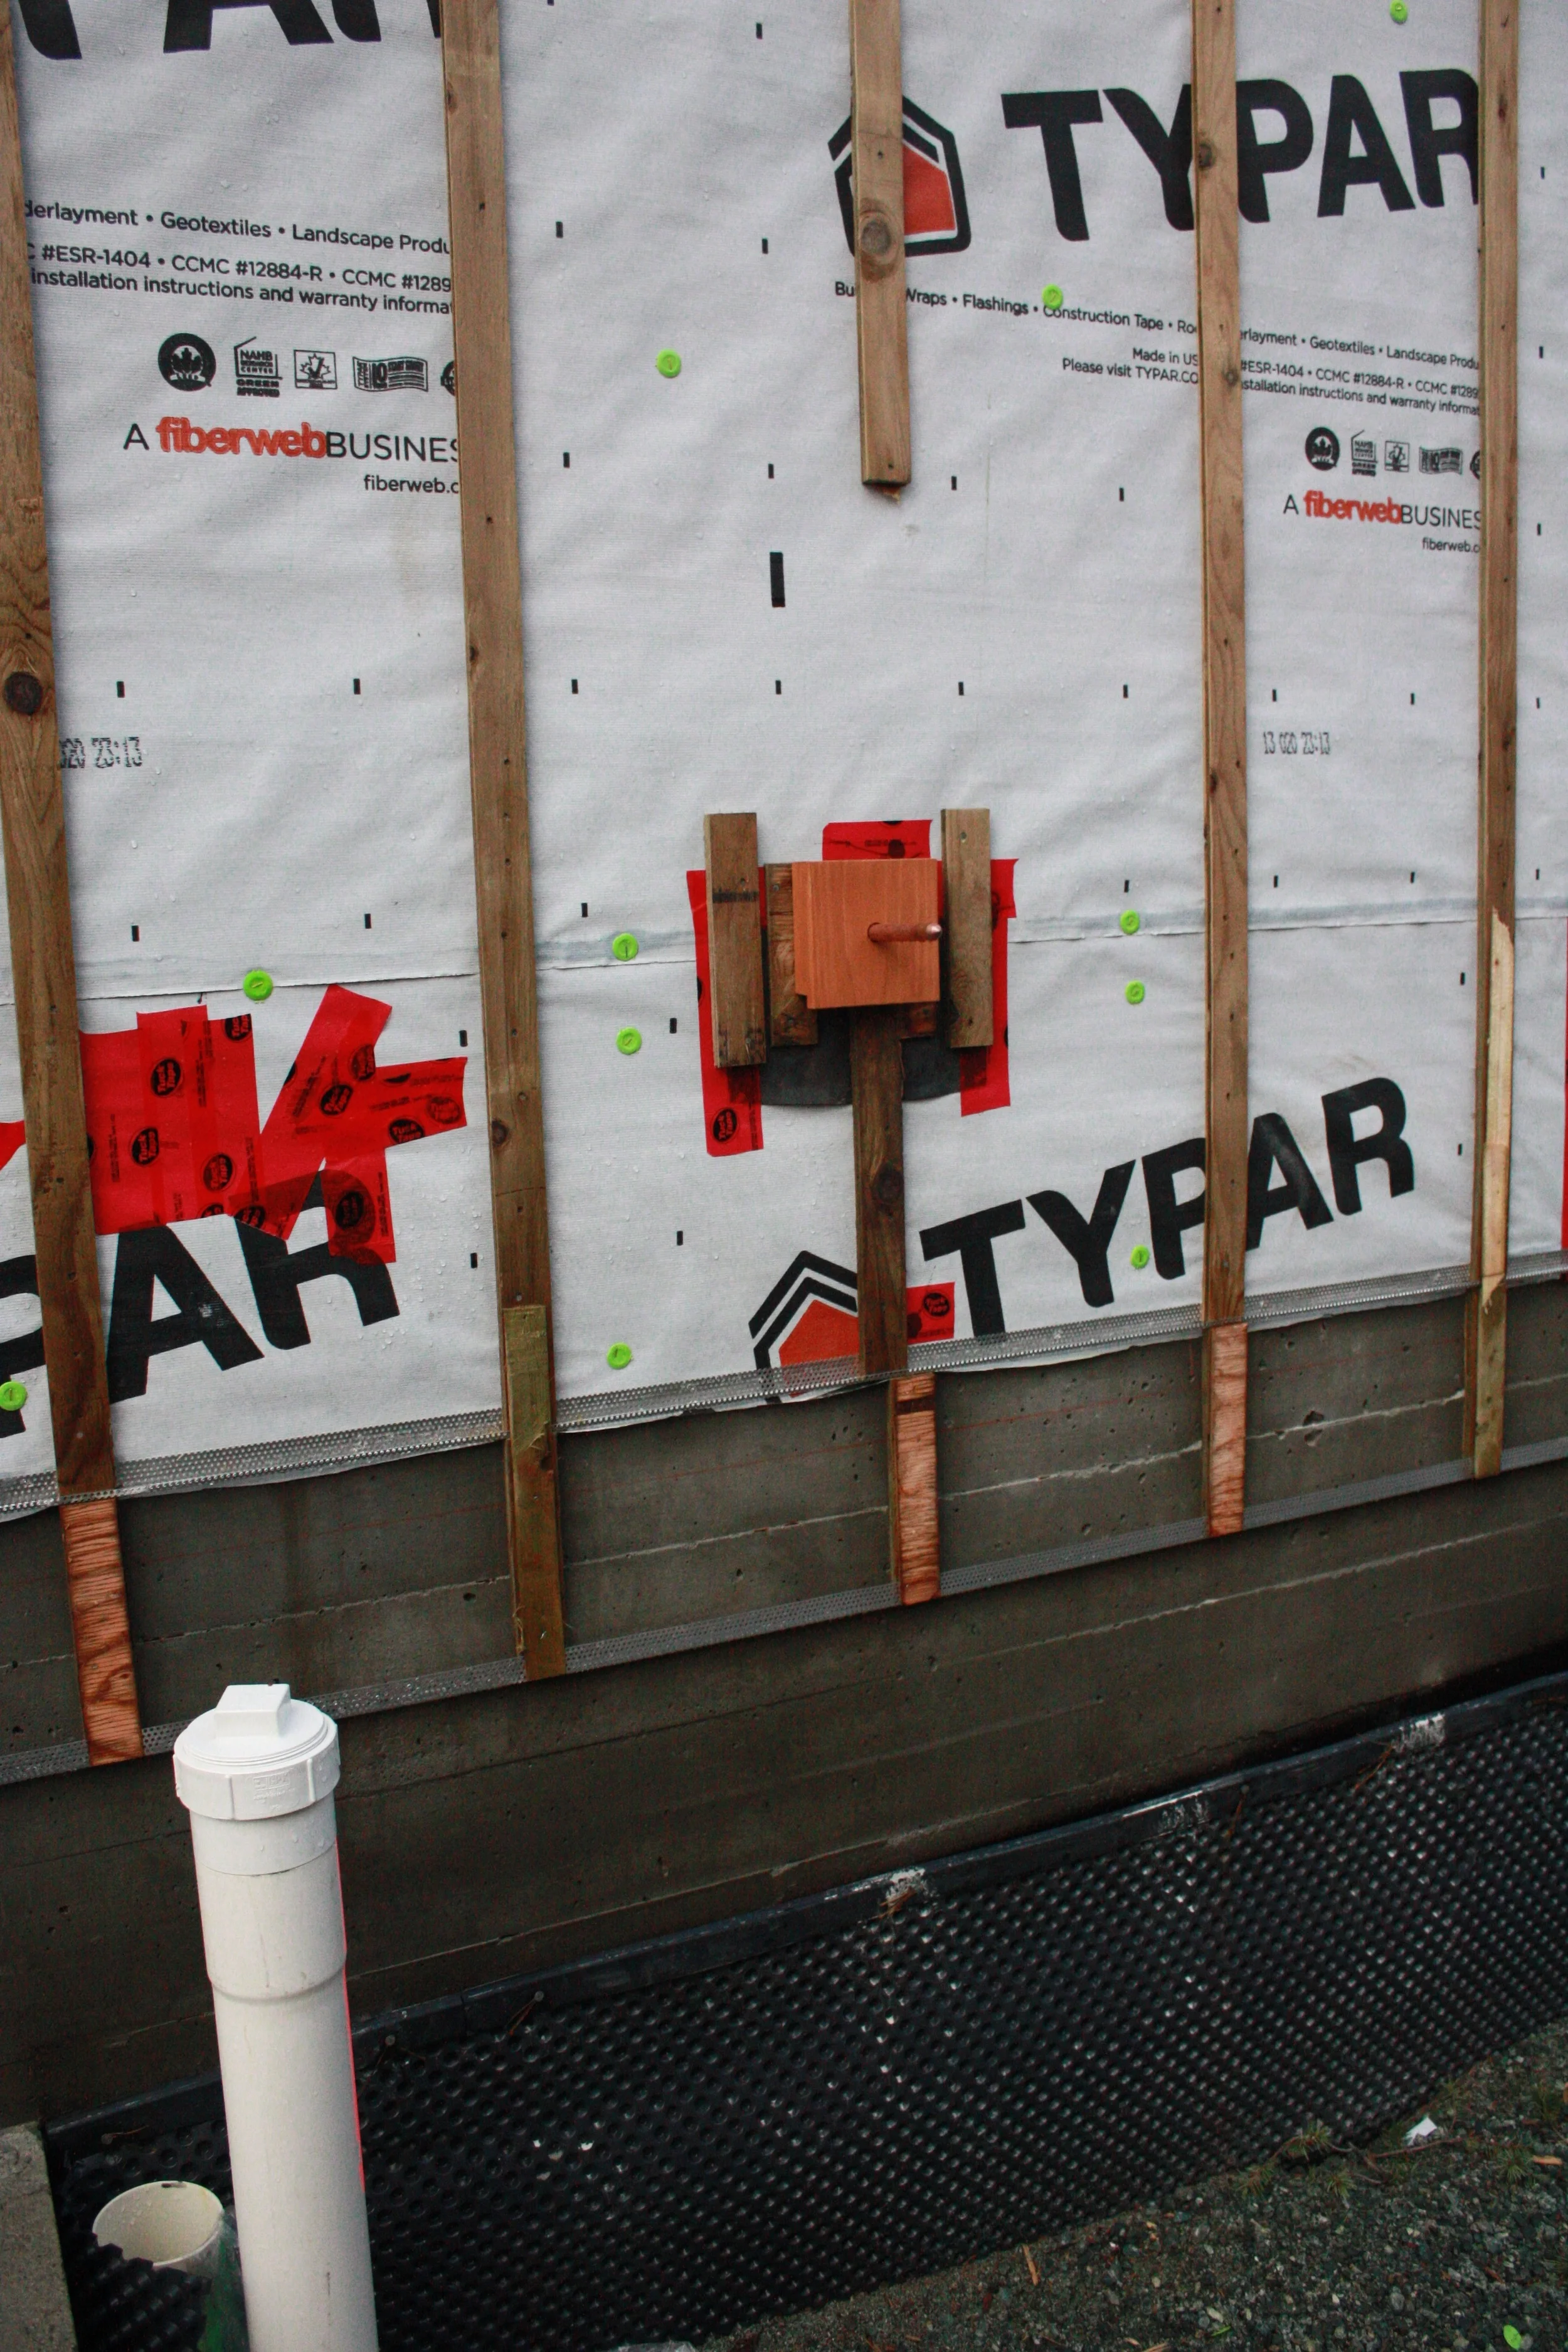
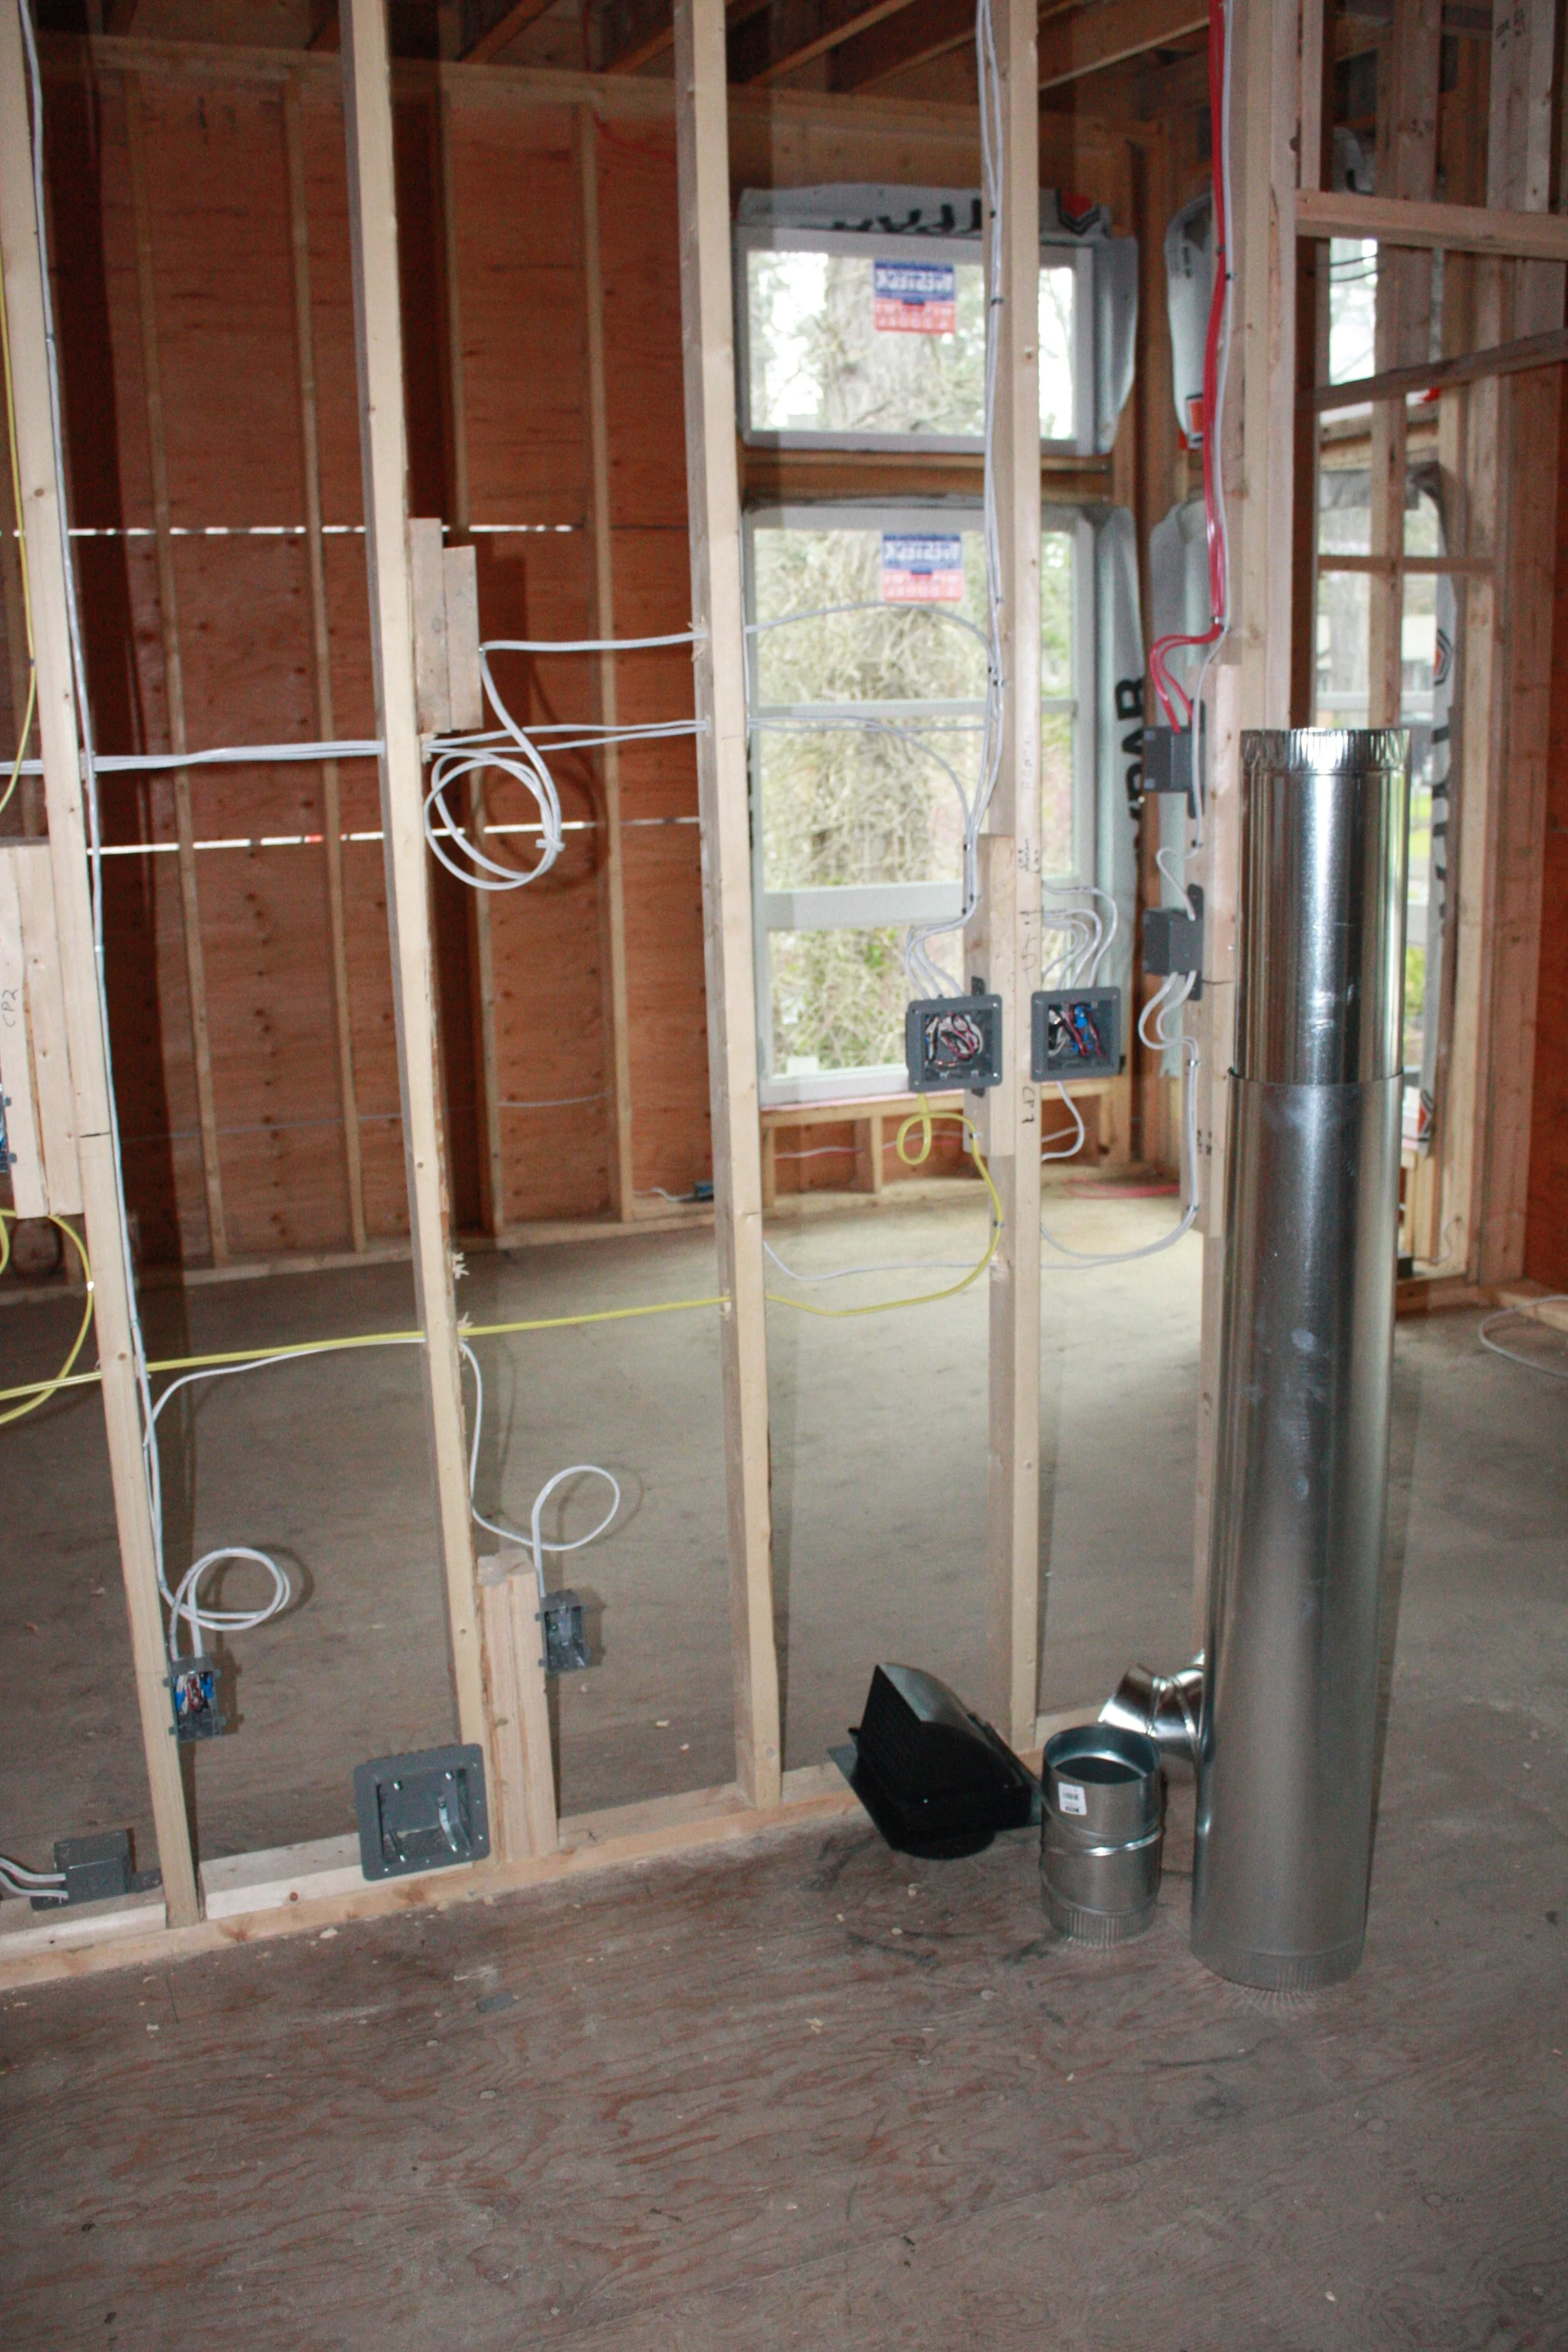
Pipes insulated, set into the floor, and connected to the holding tank. I assume the pipes will be buried under the concrete floor.
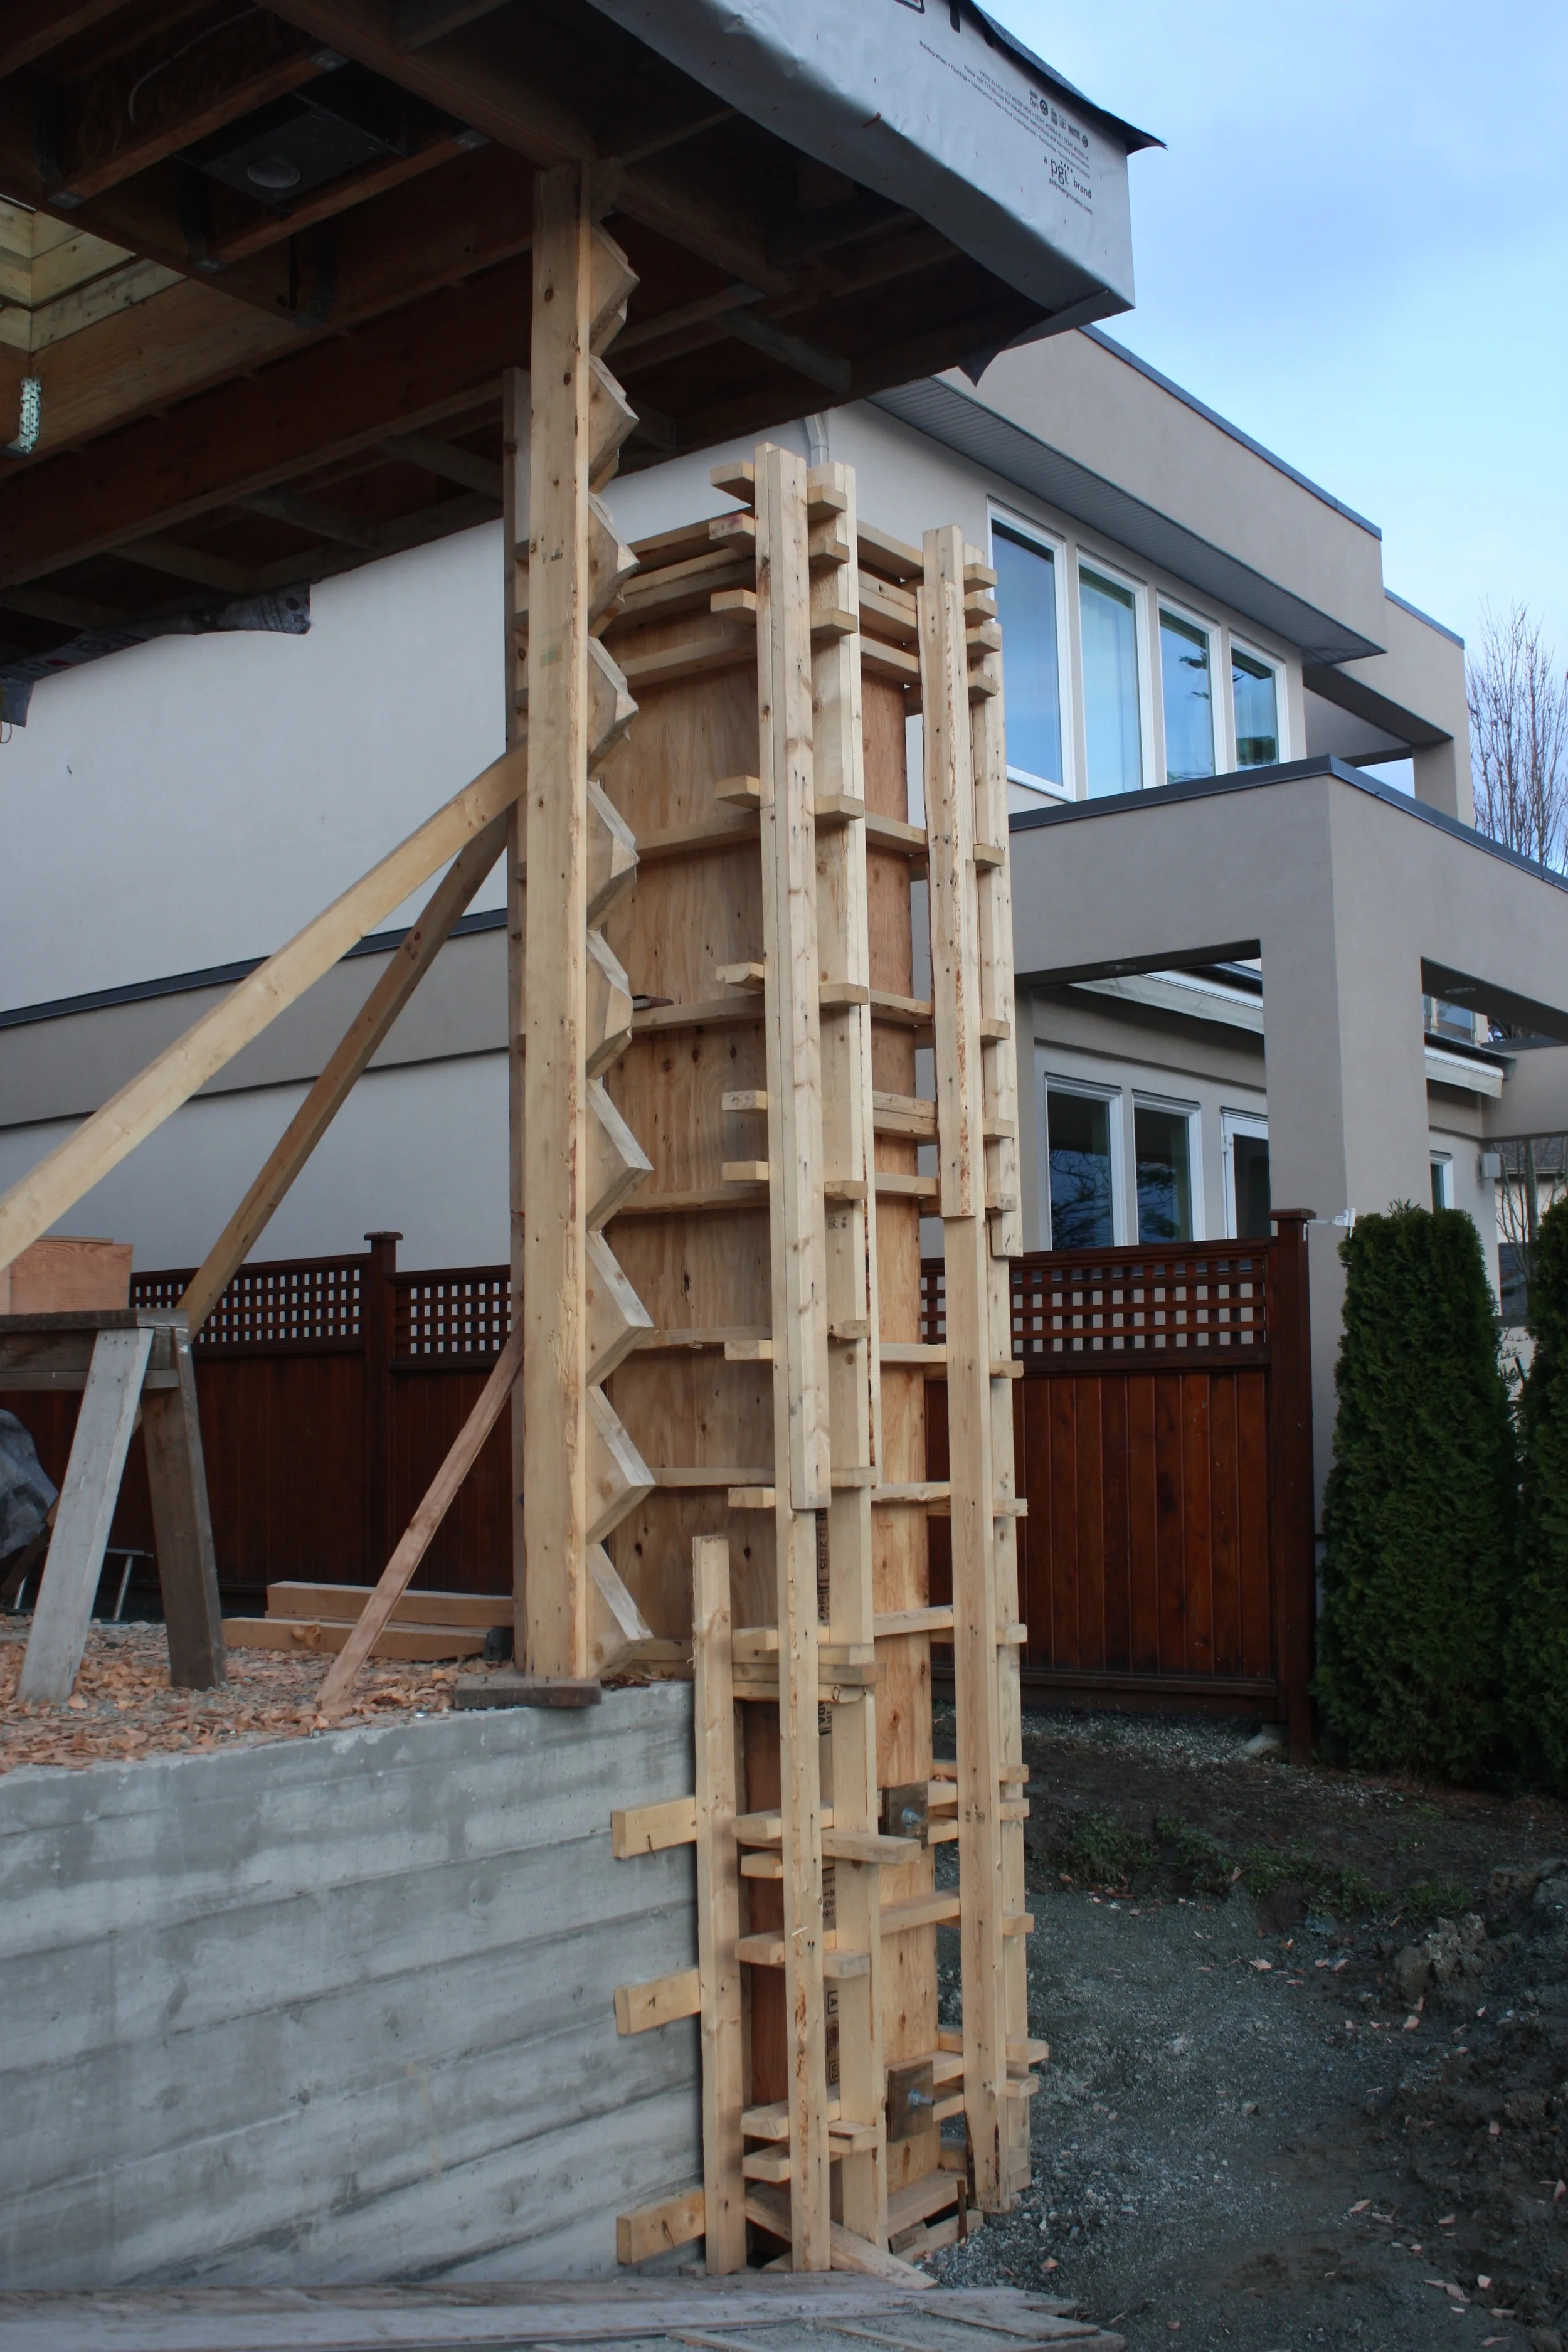
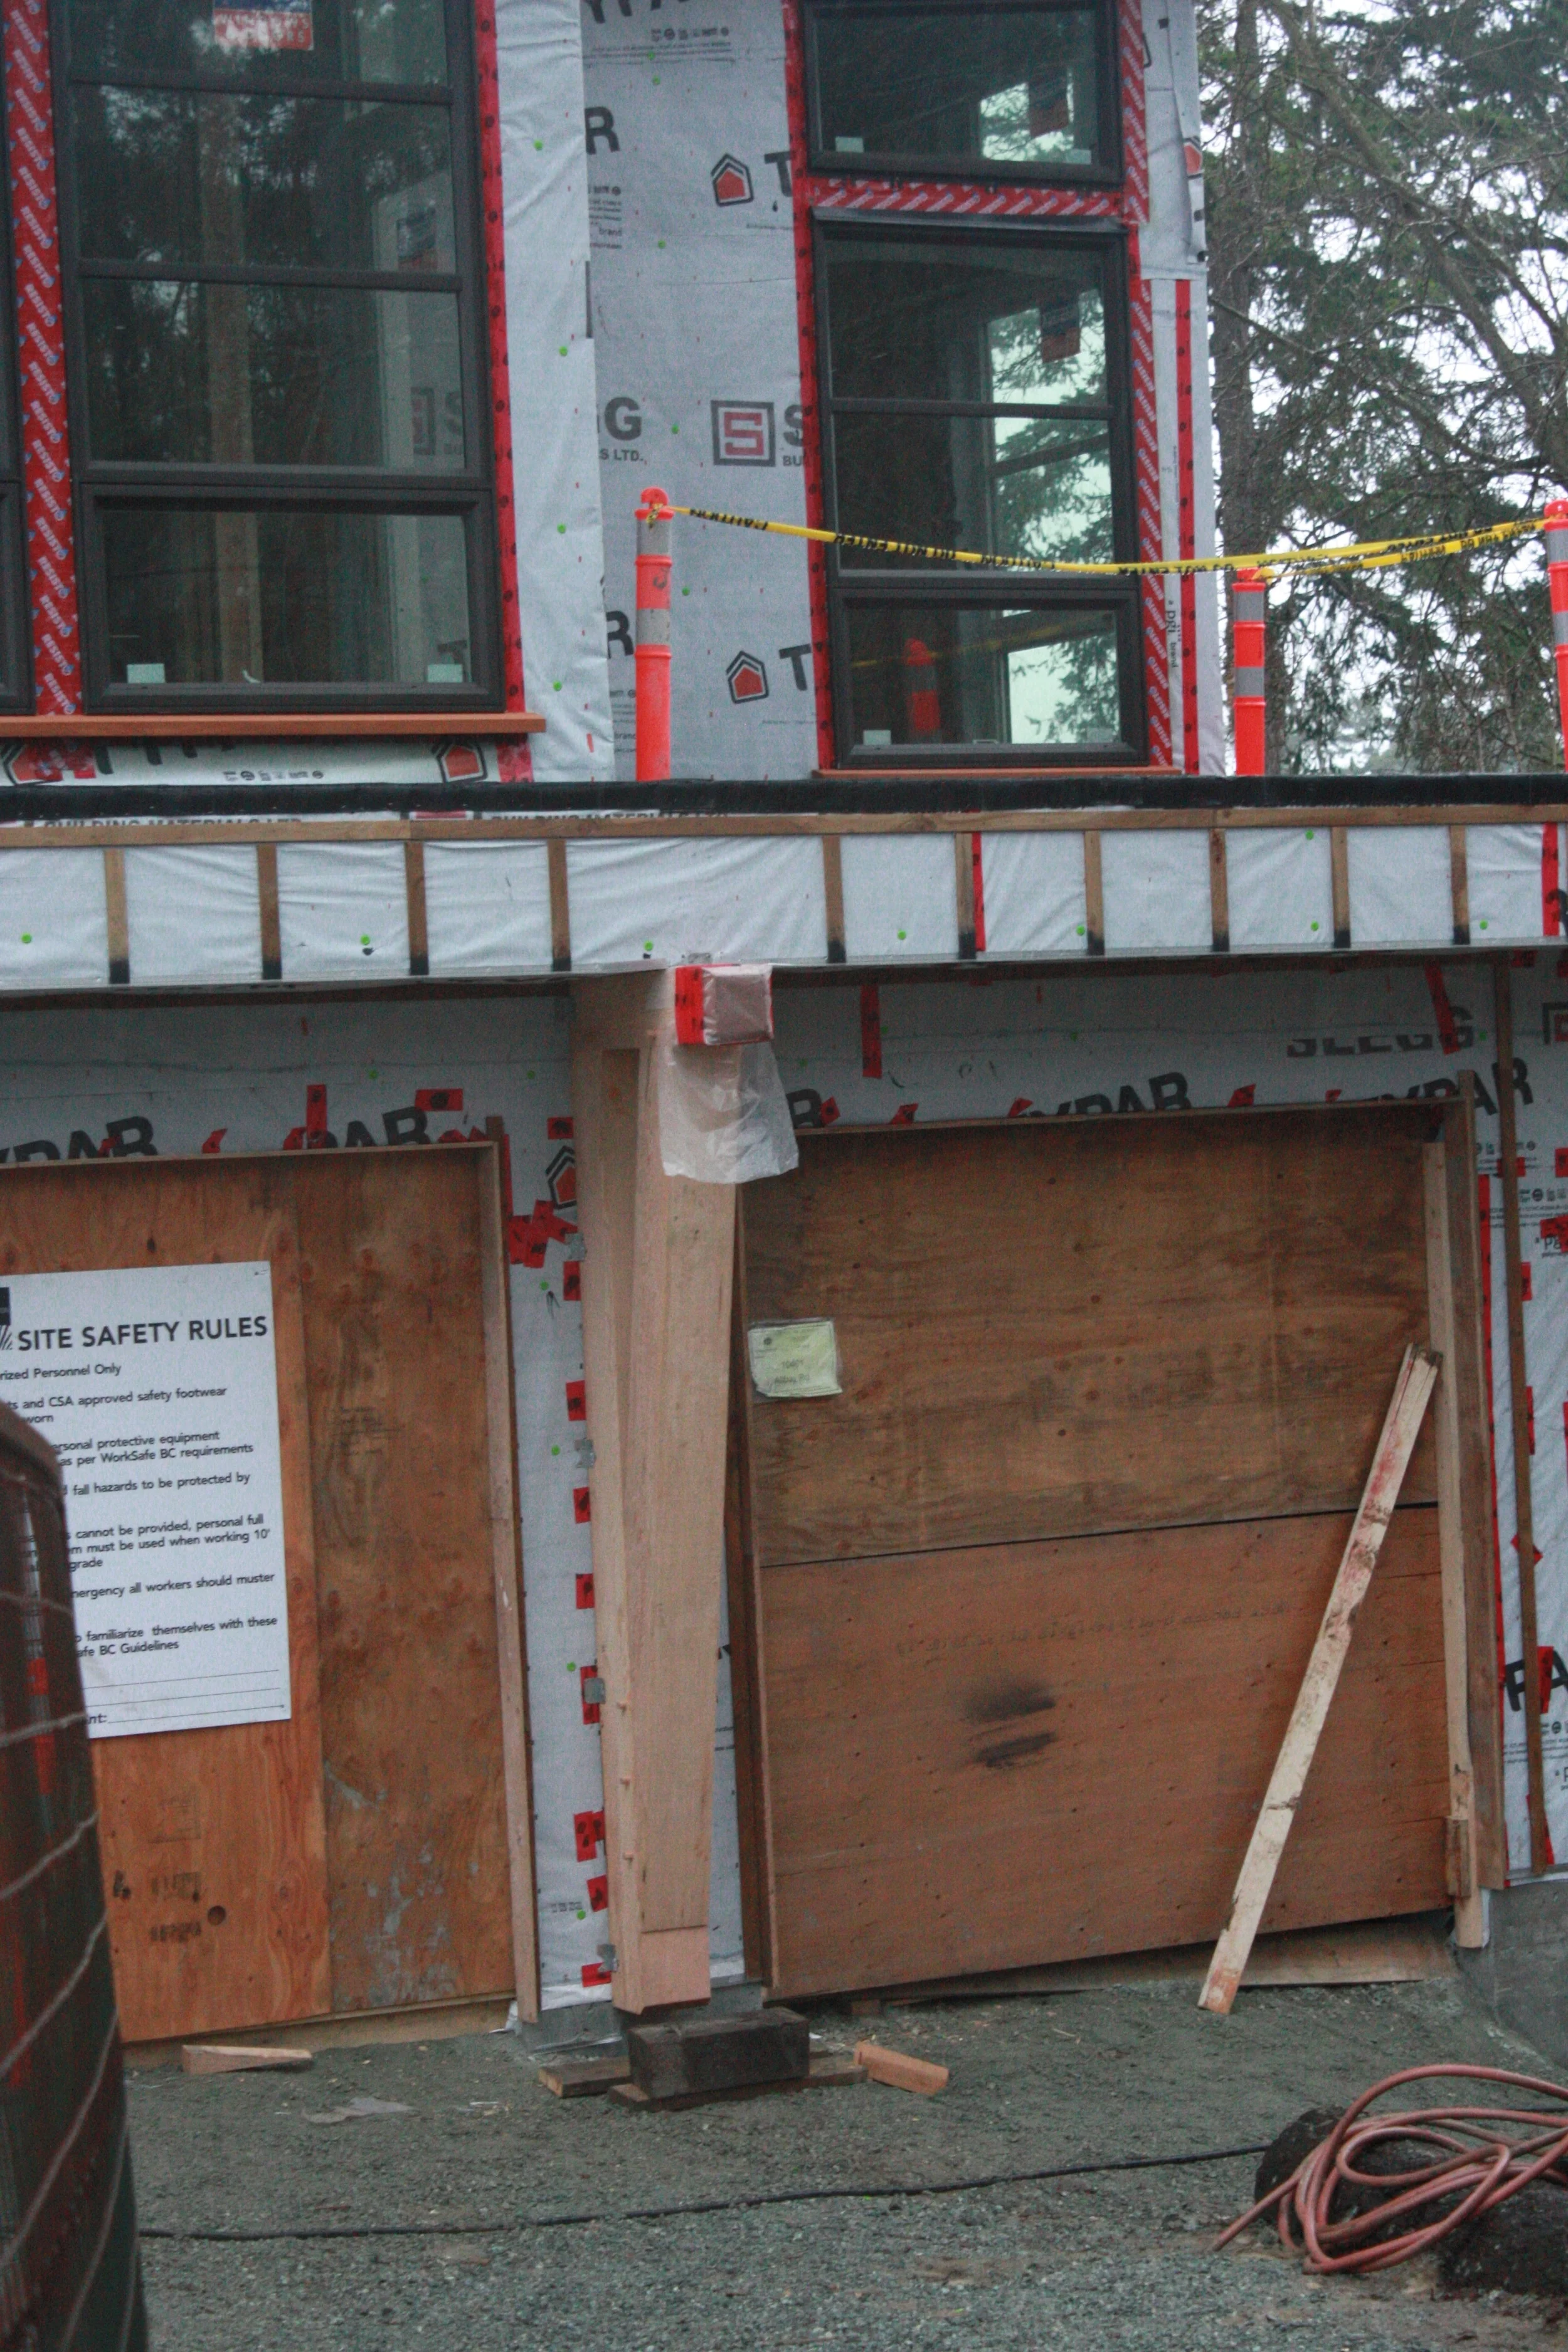
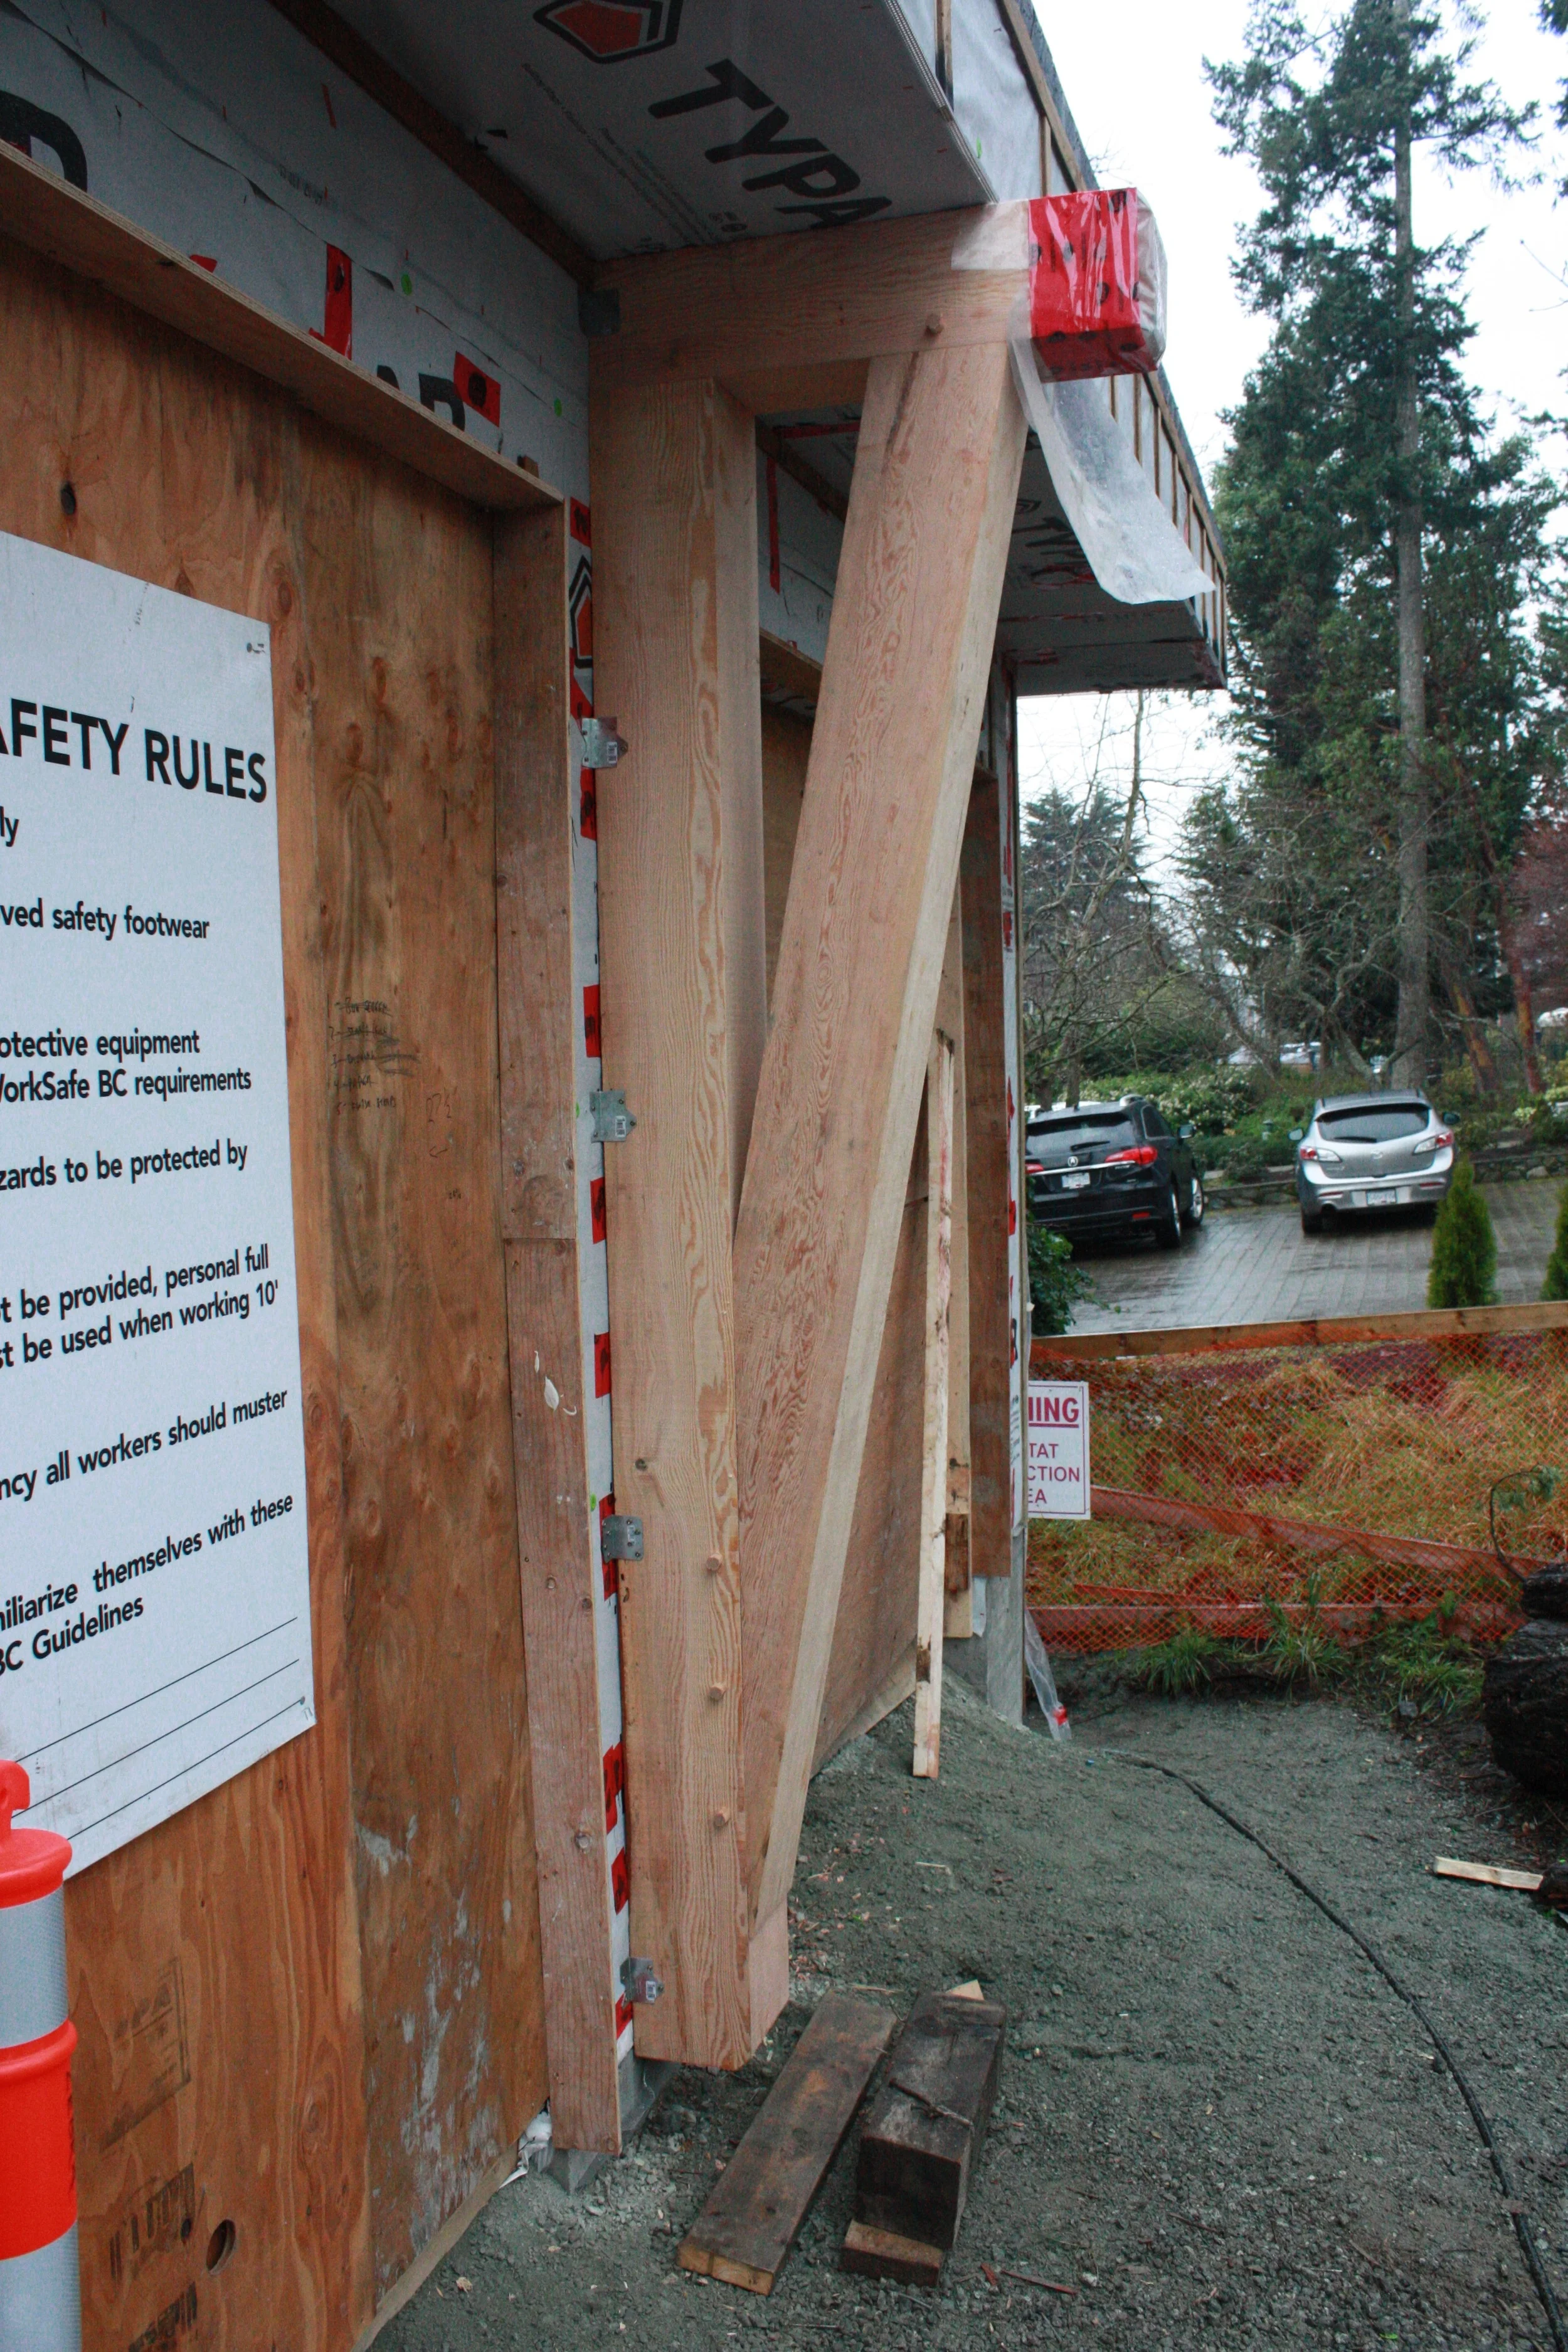
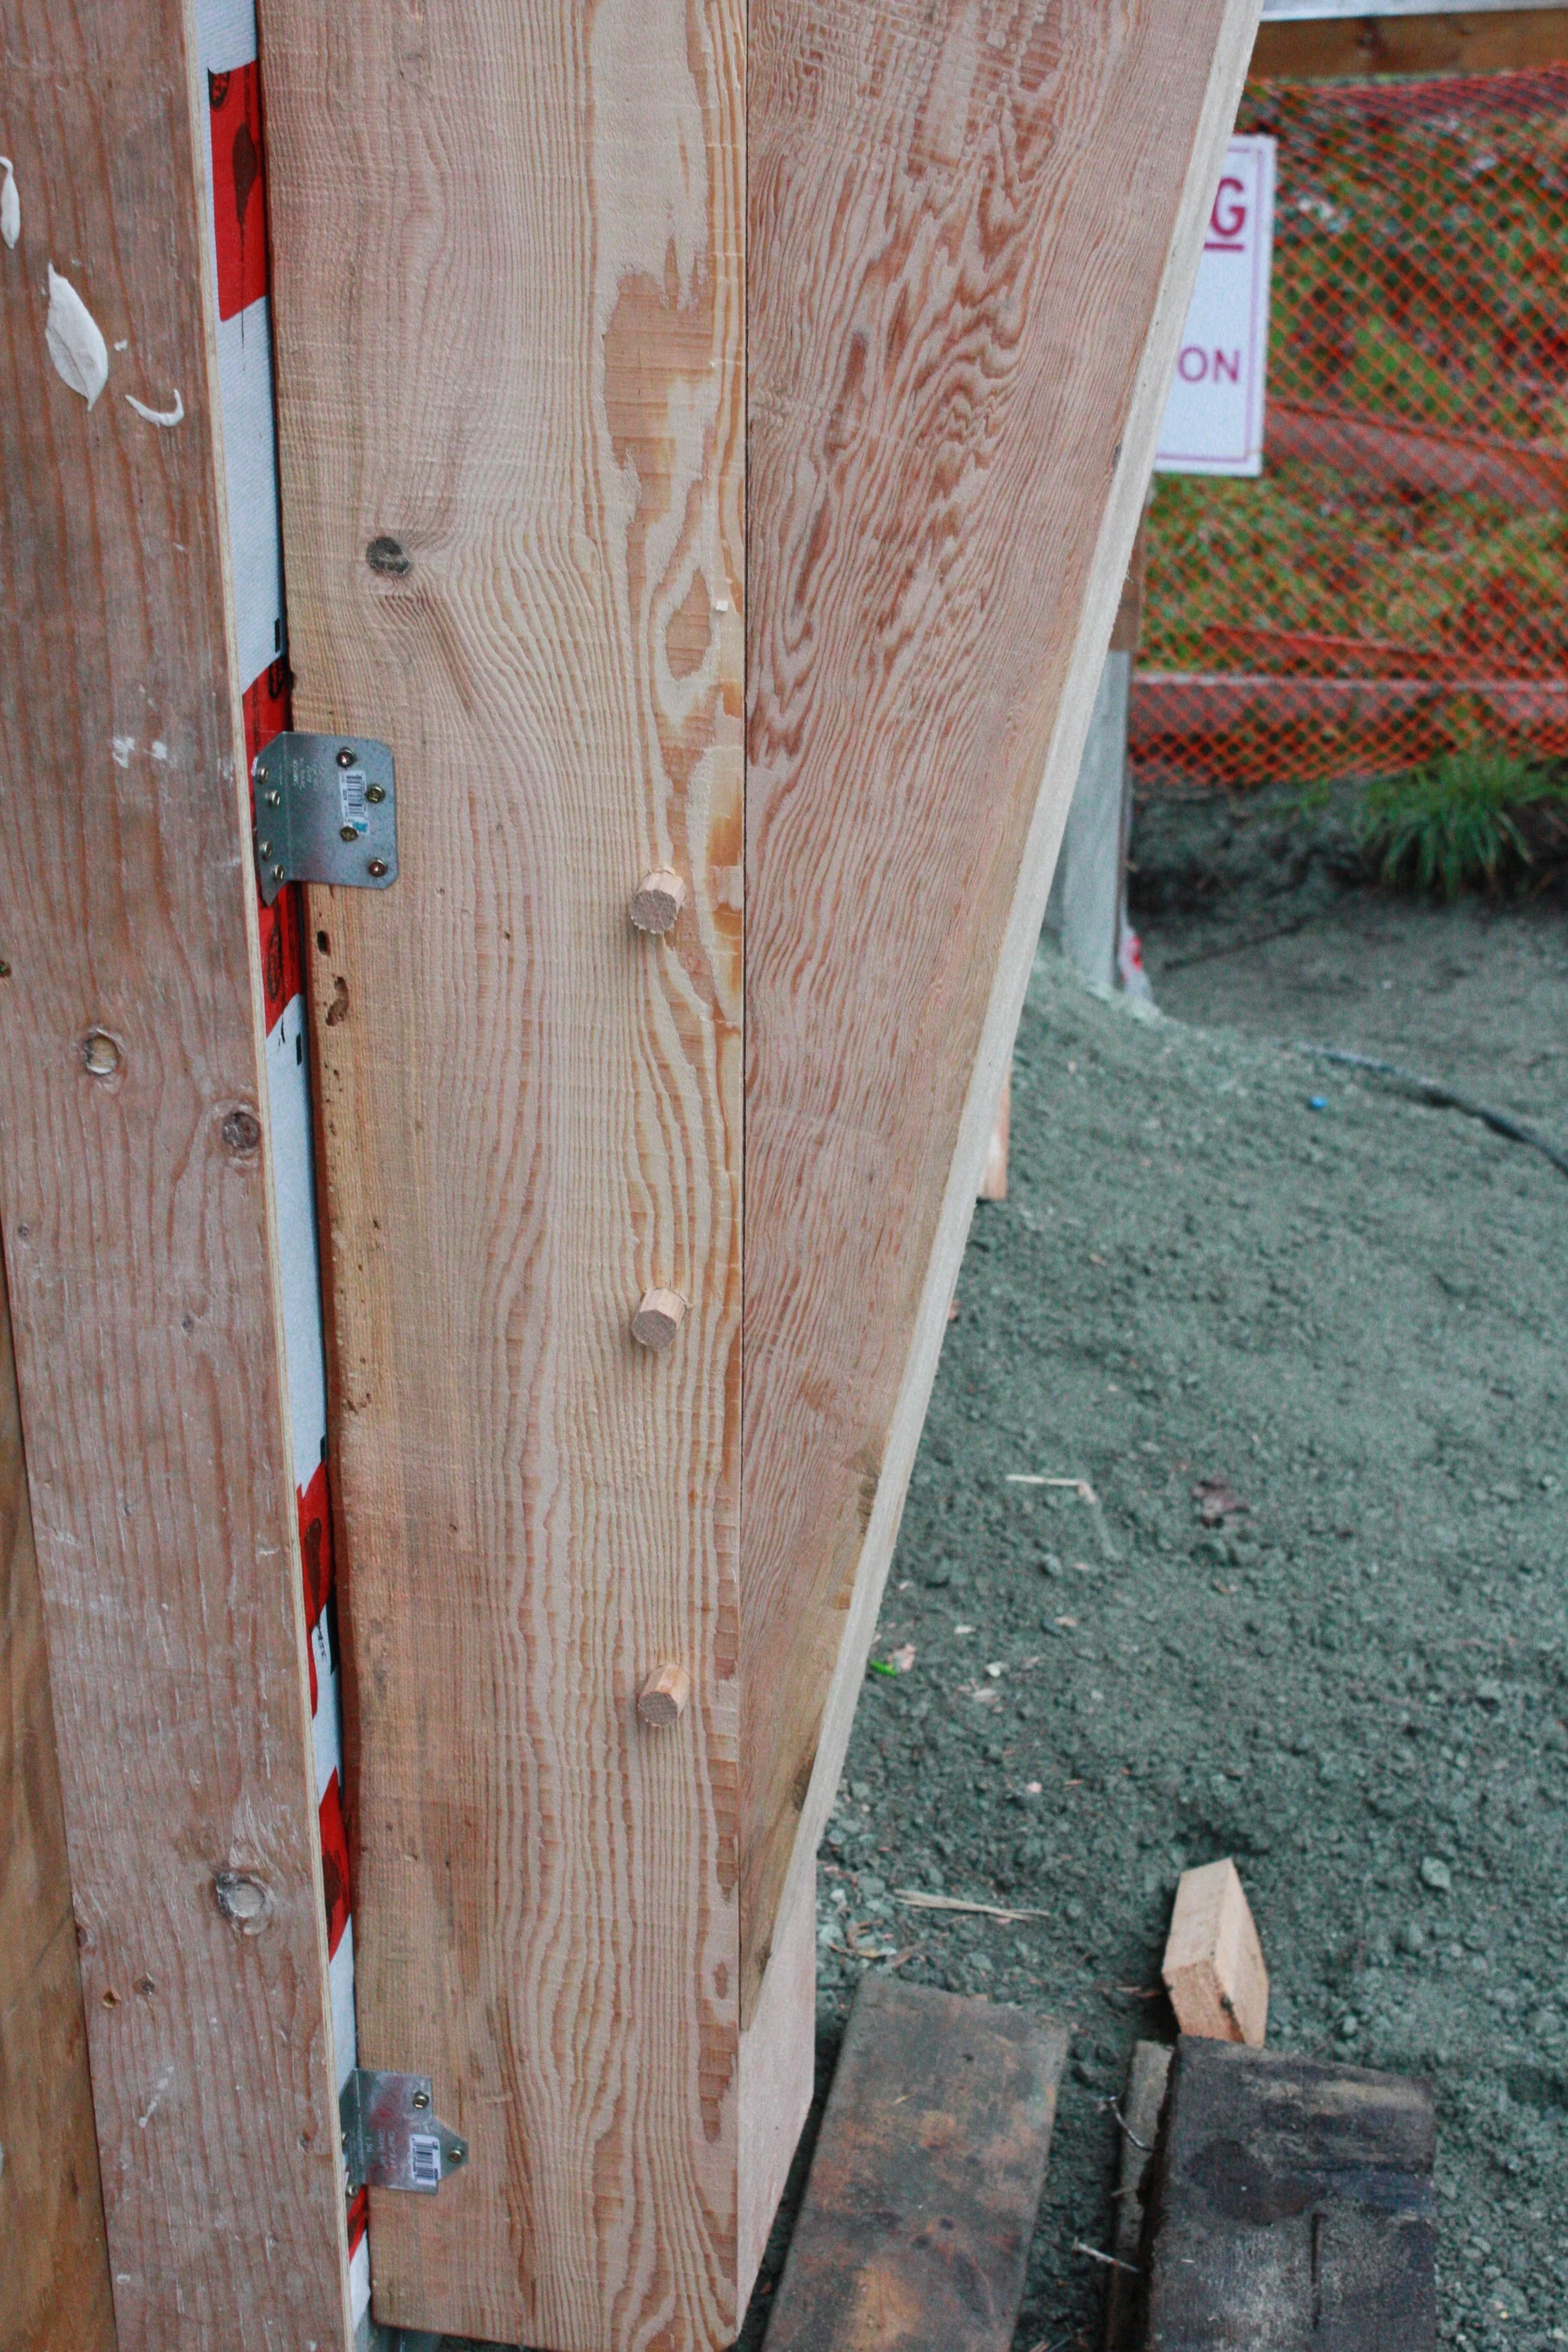
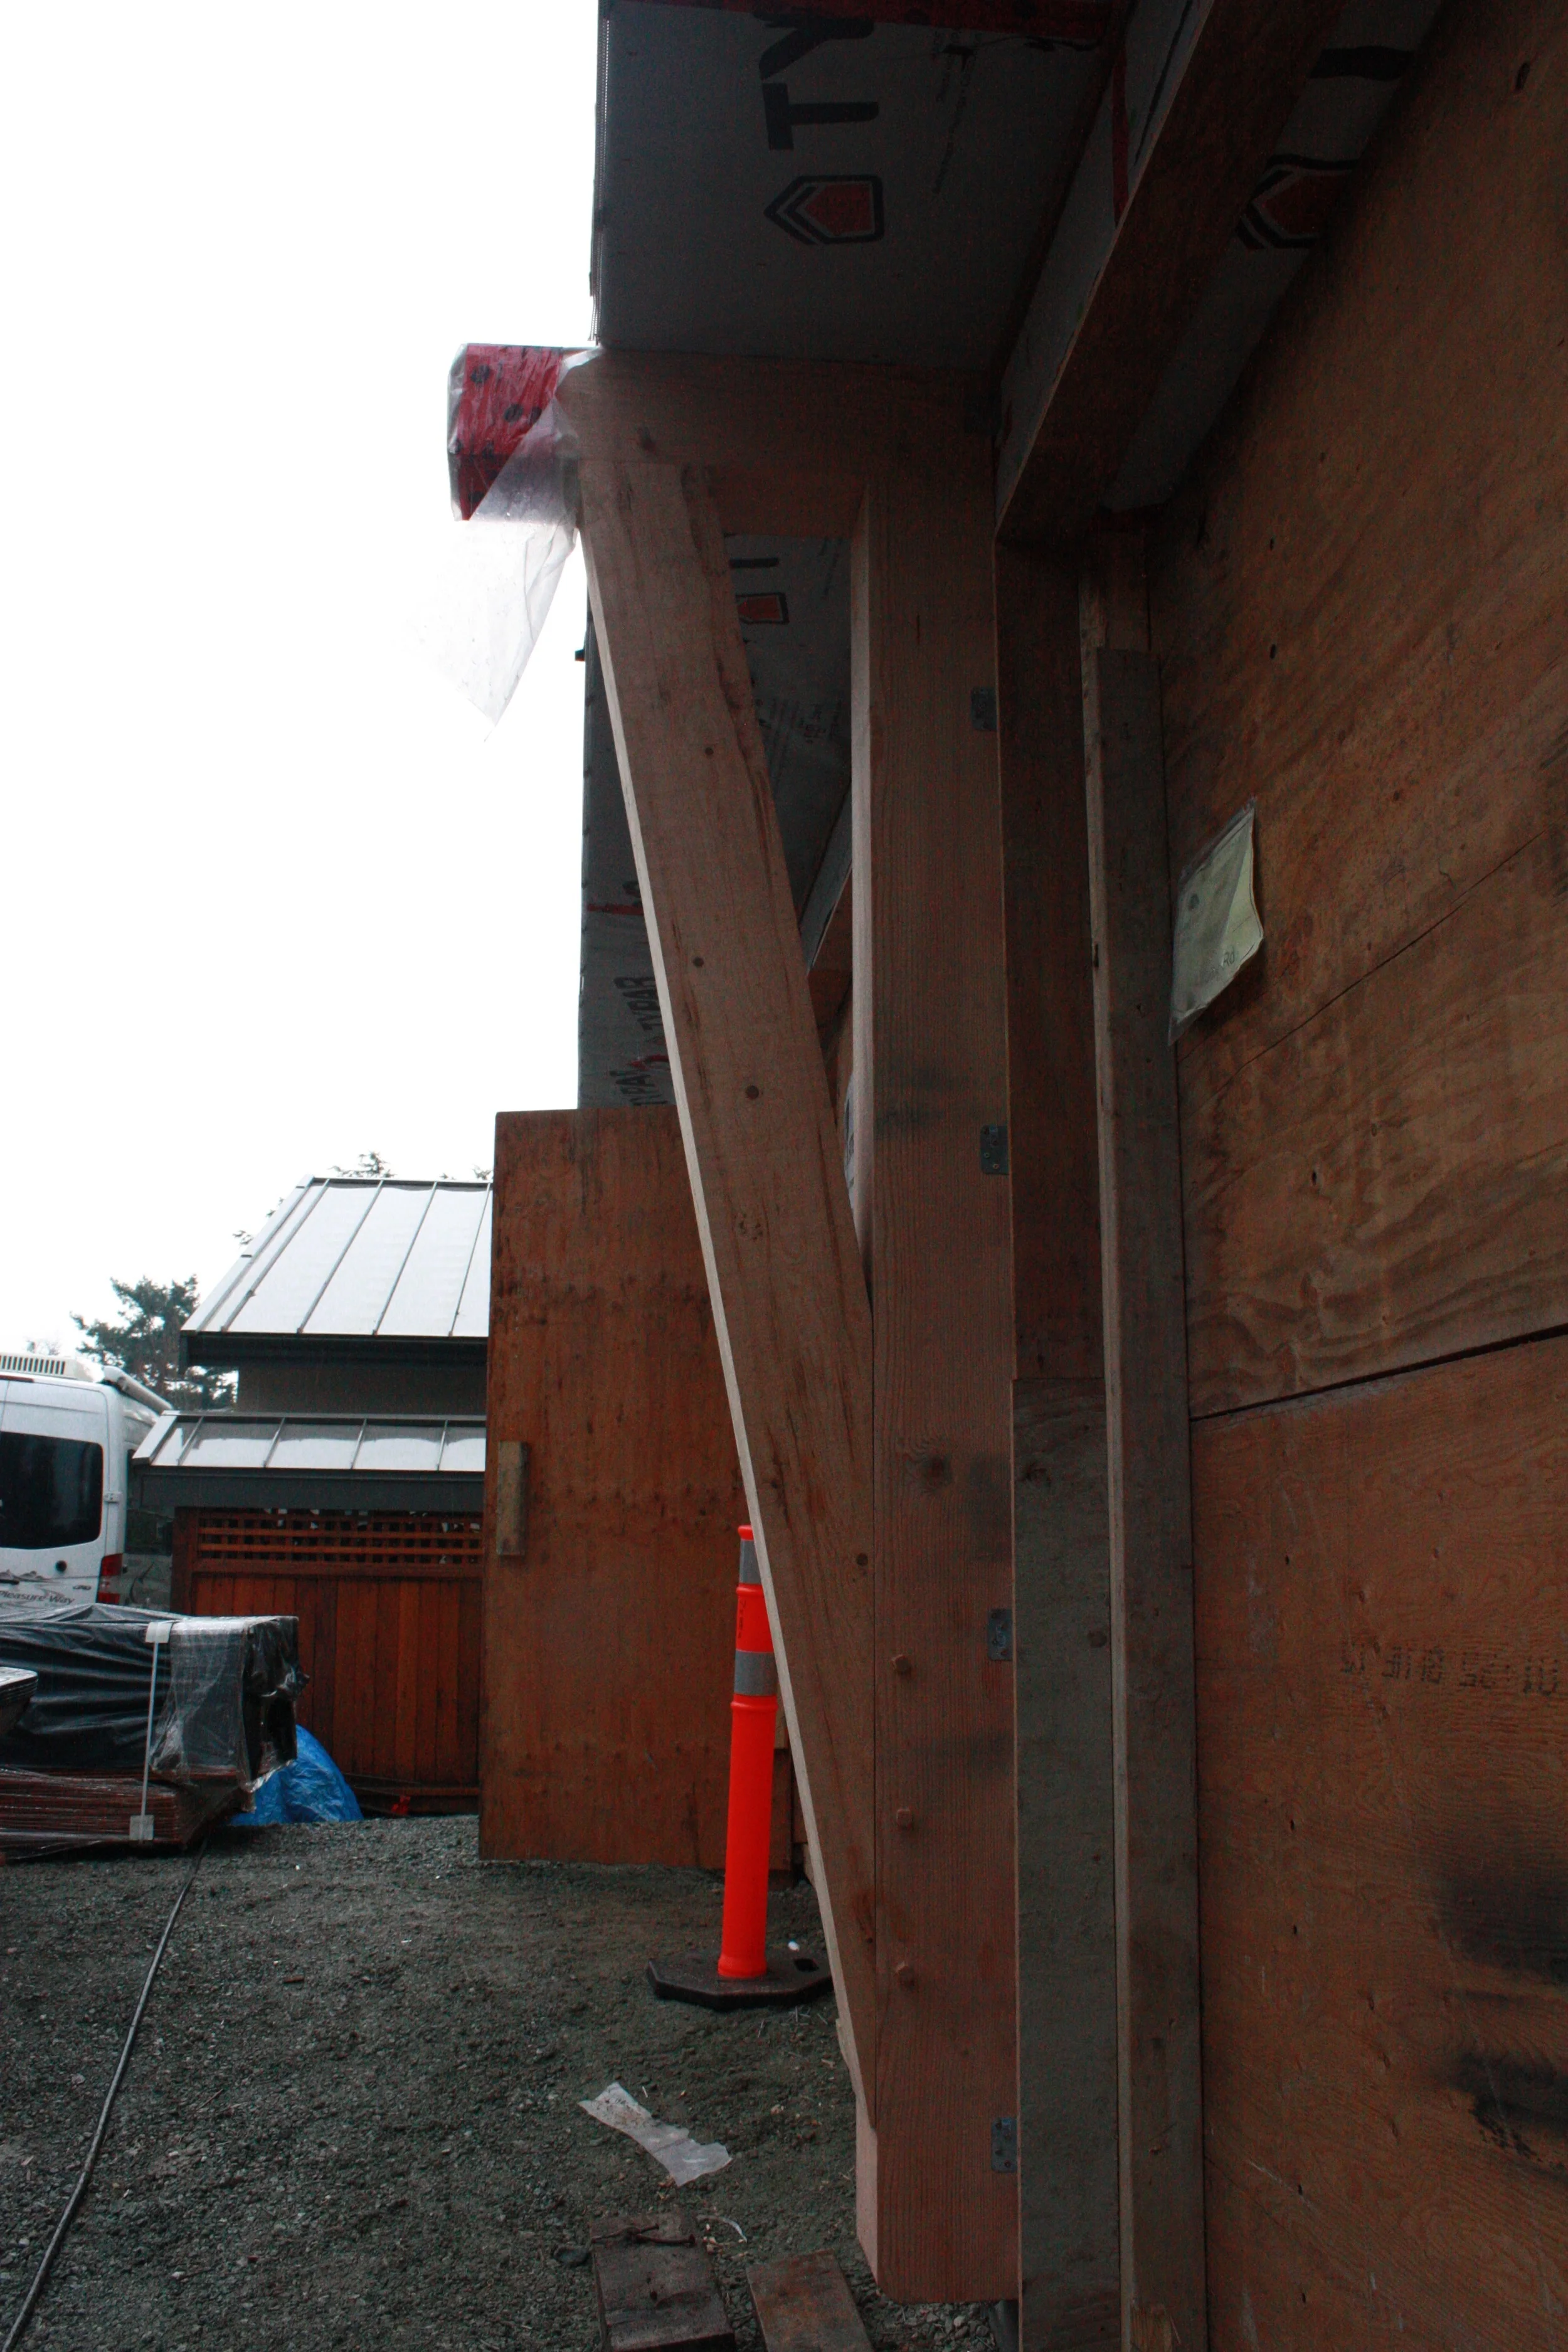
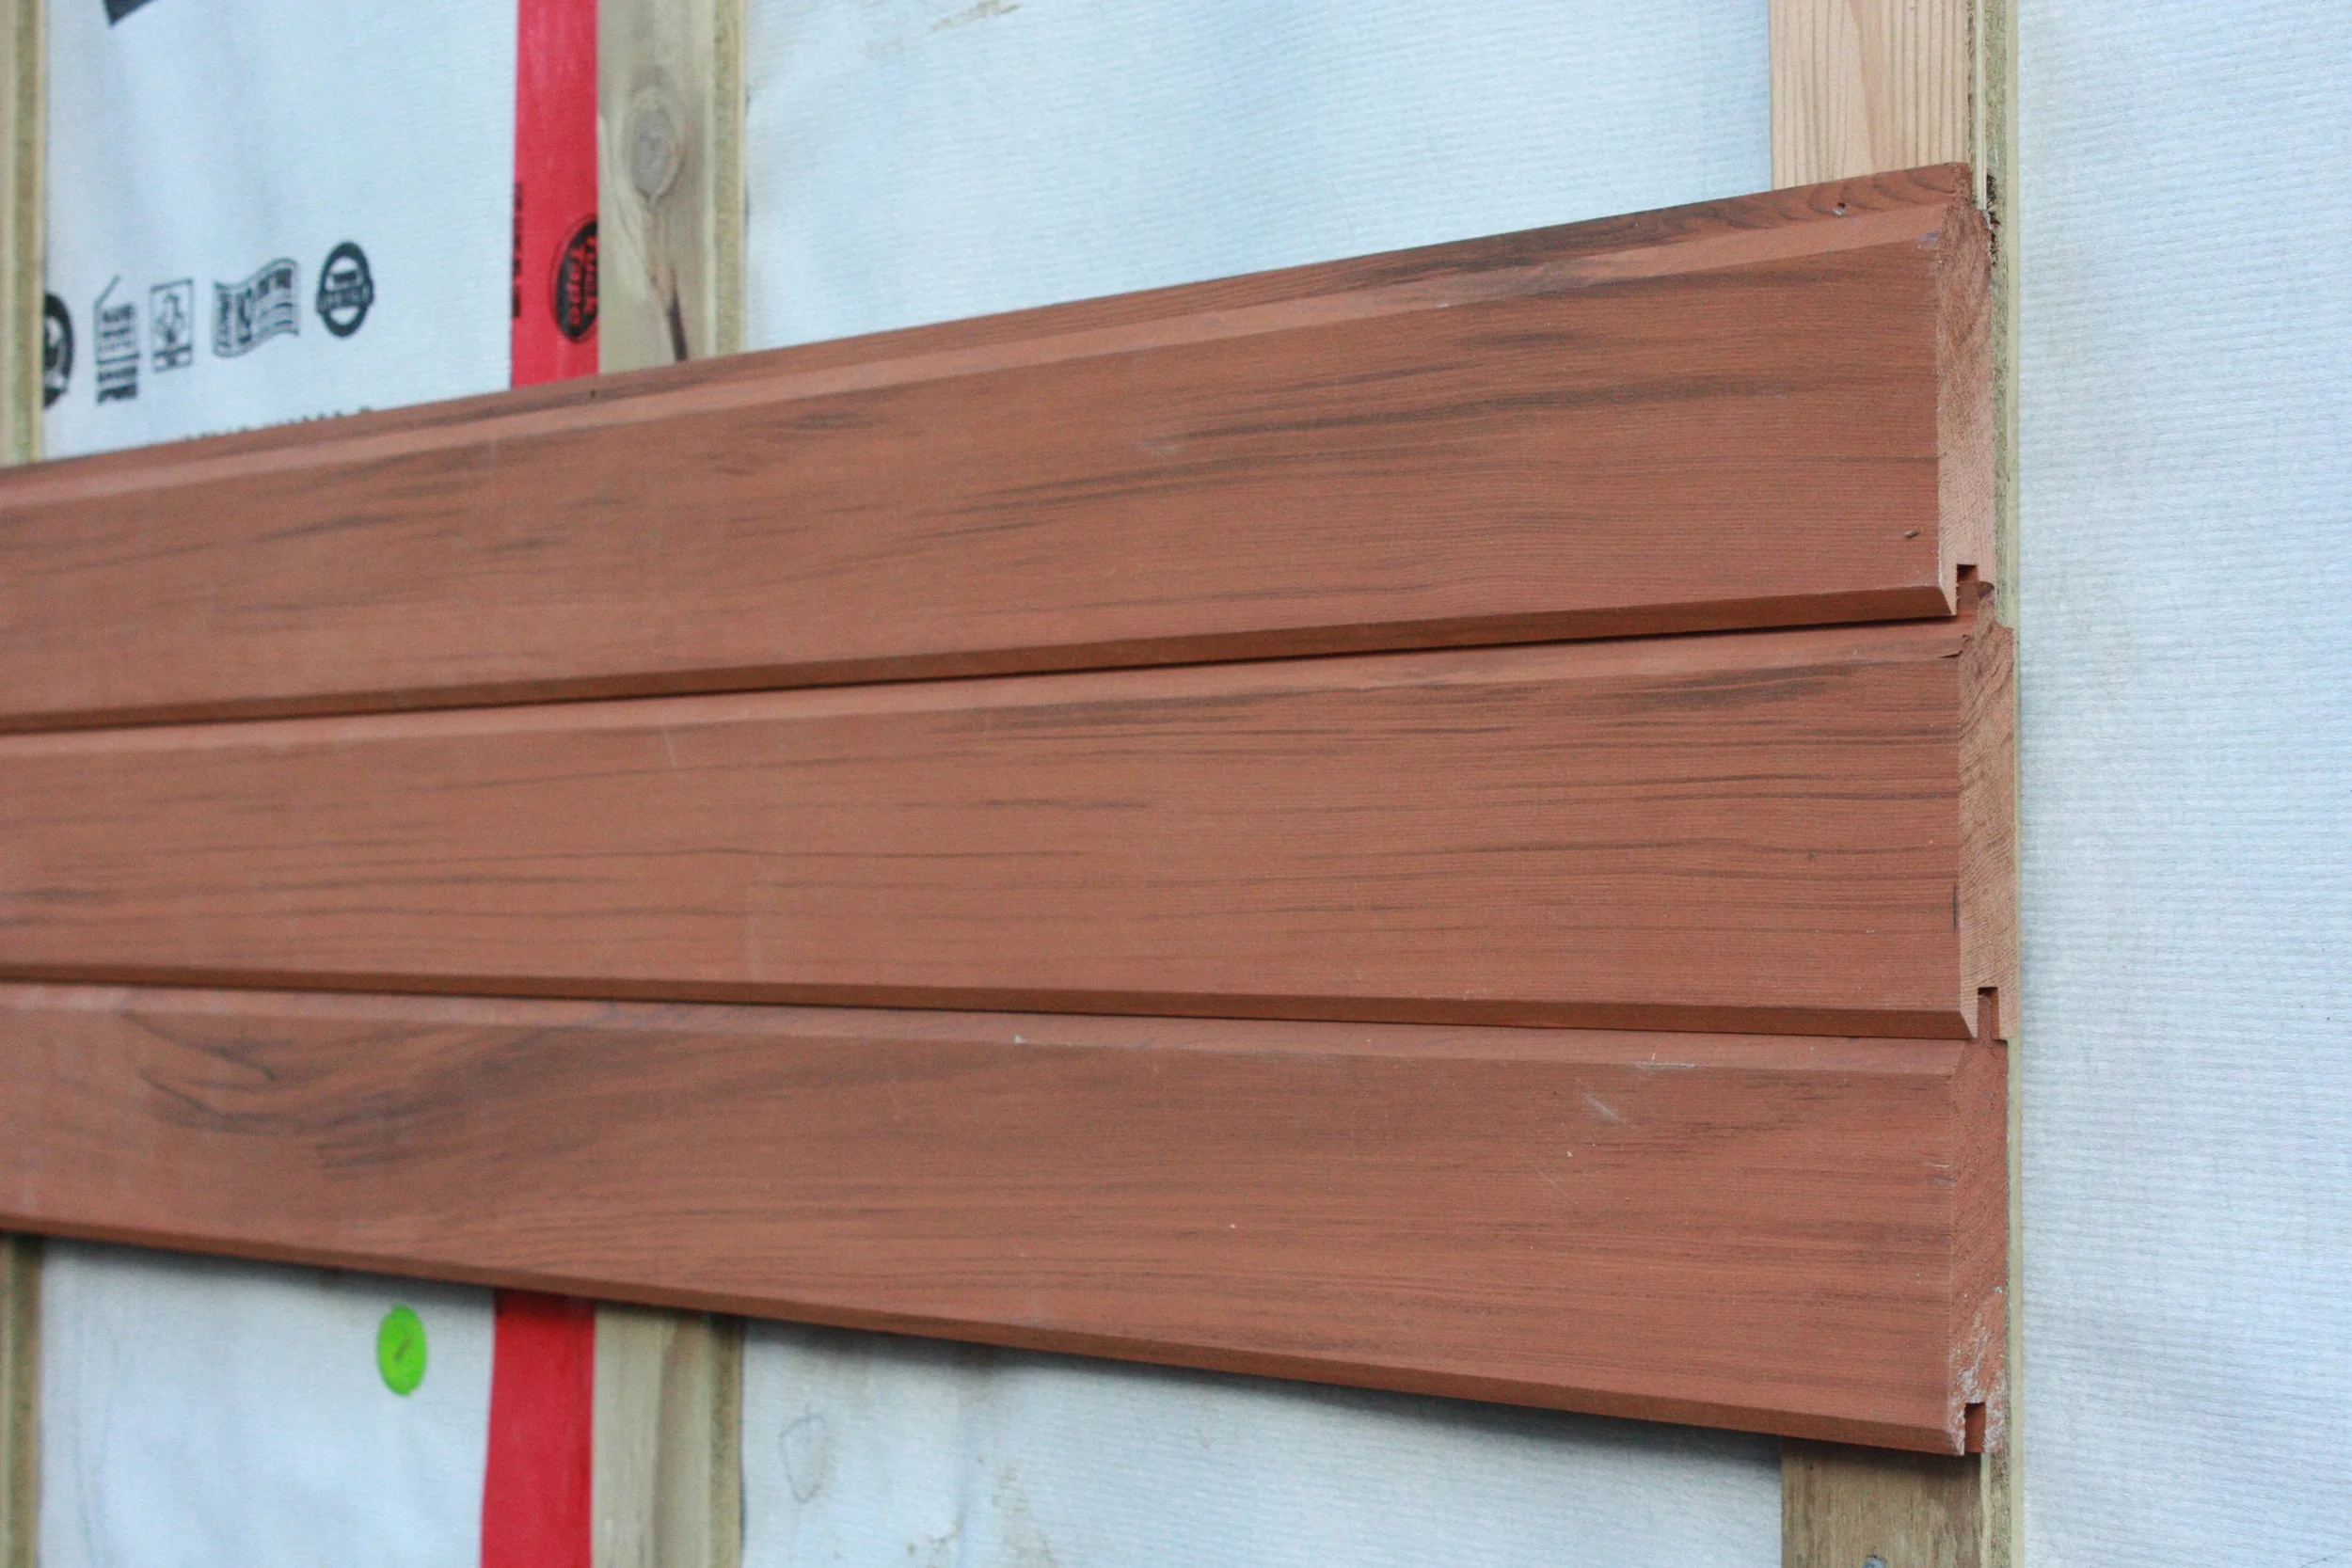
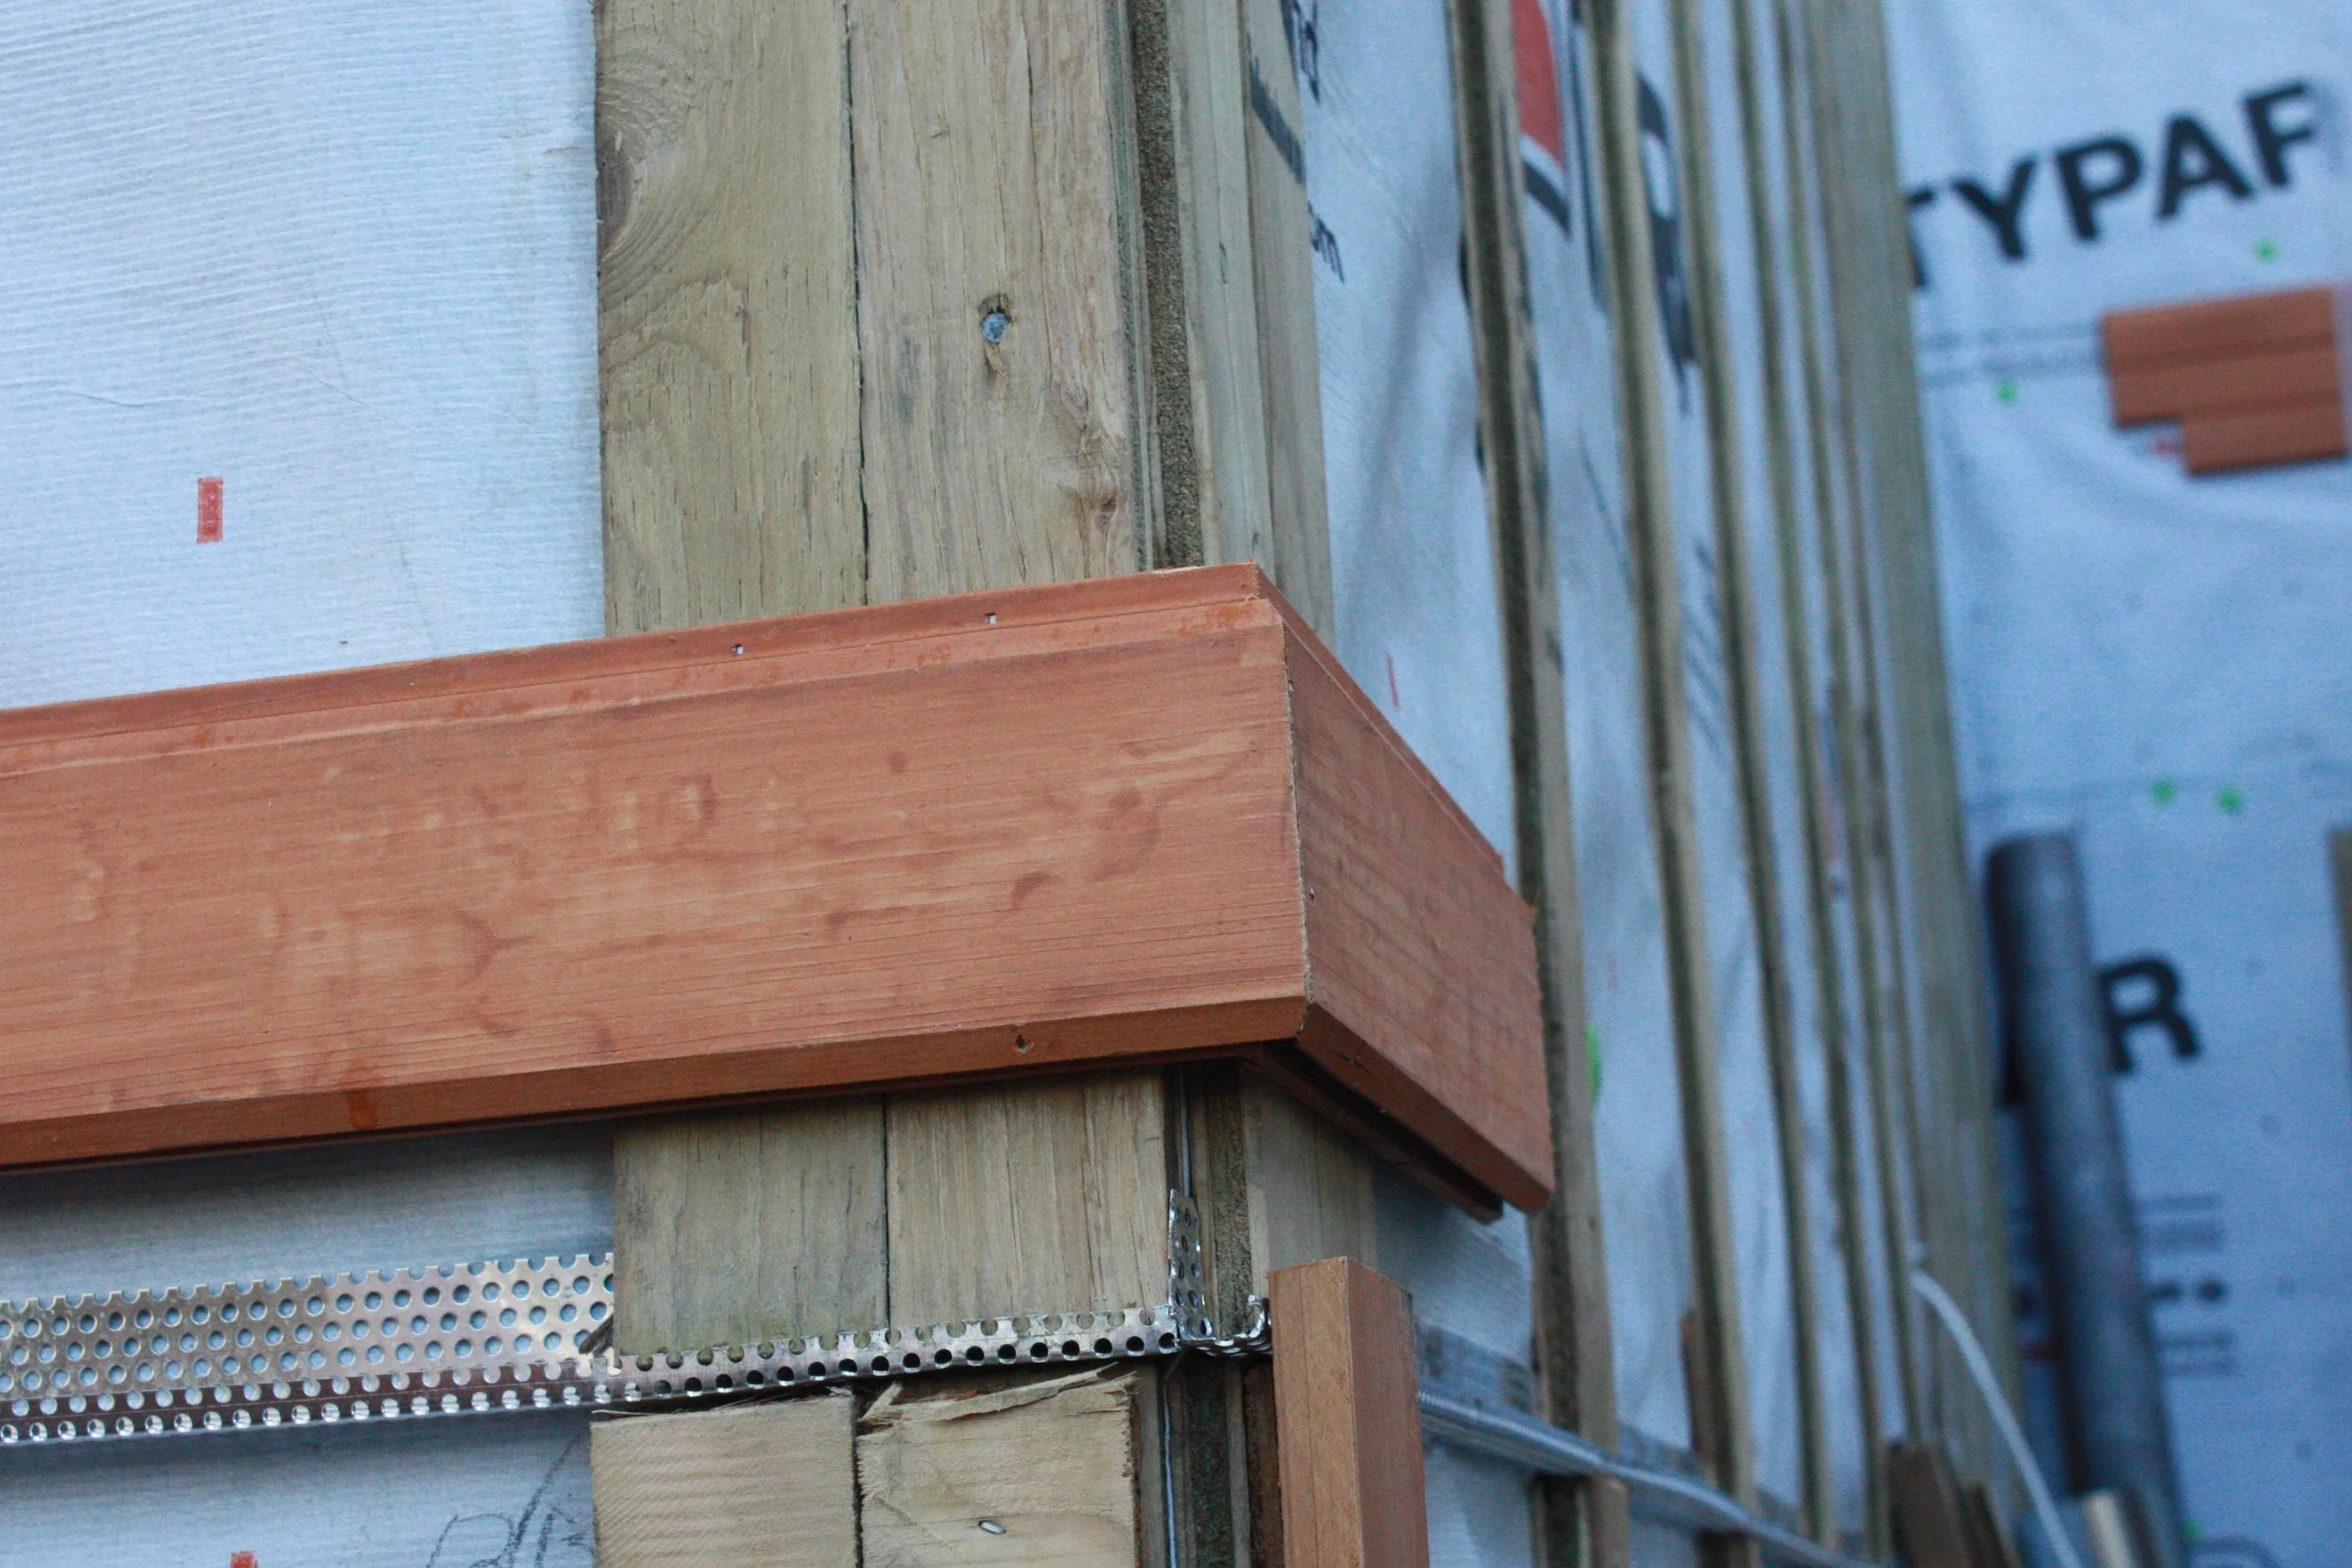
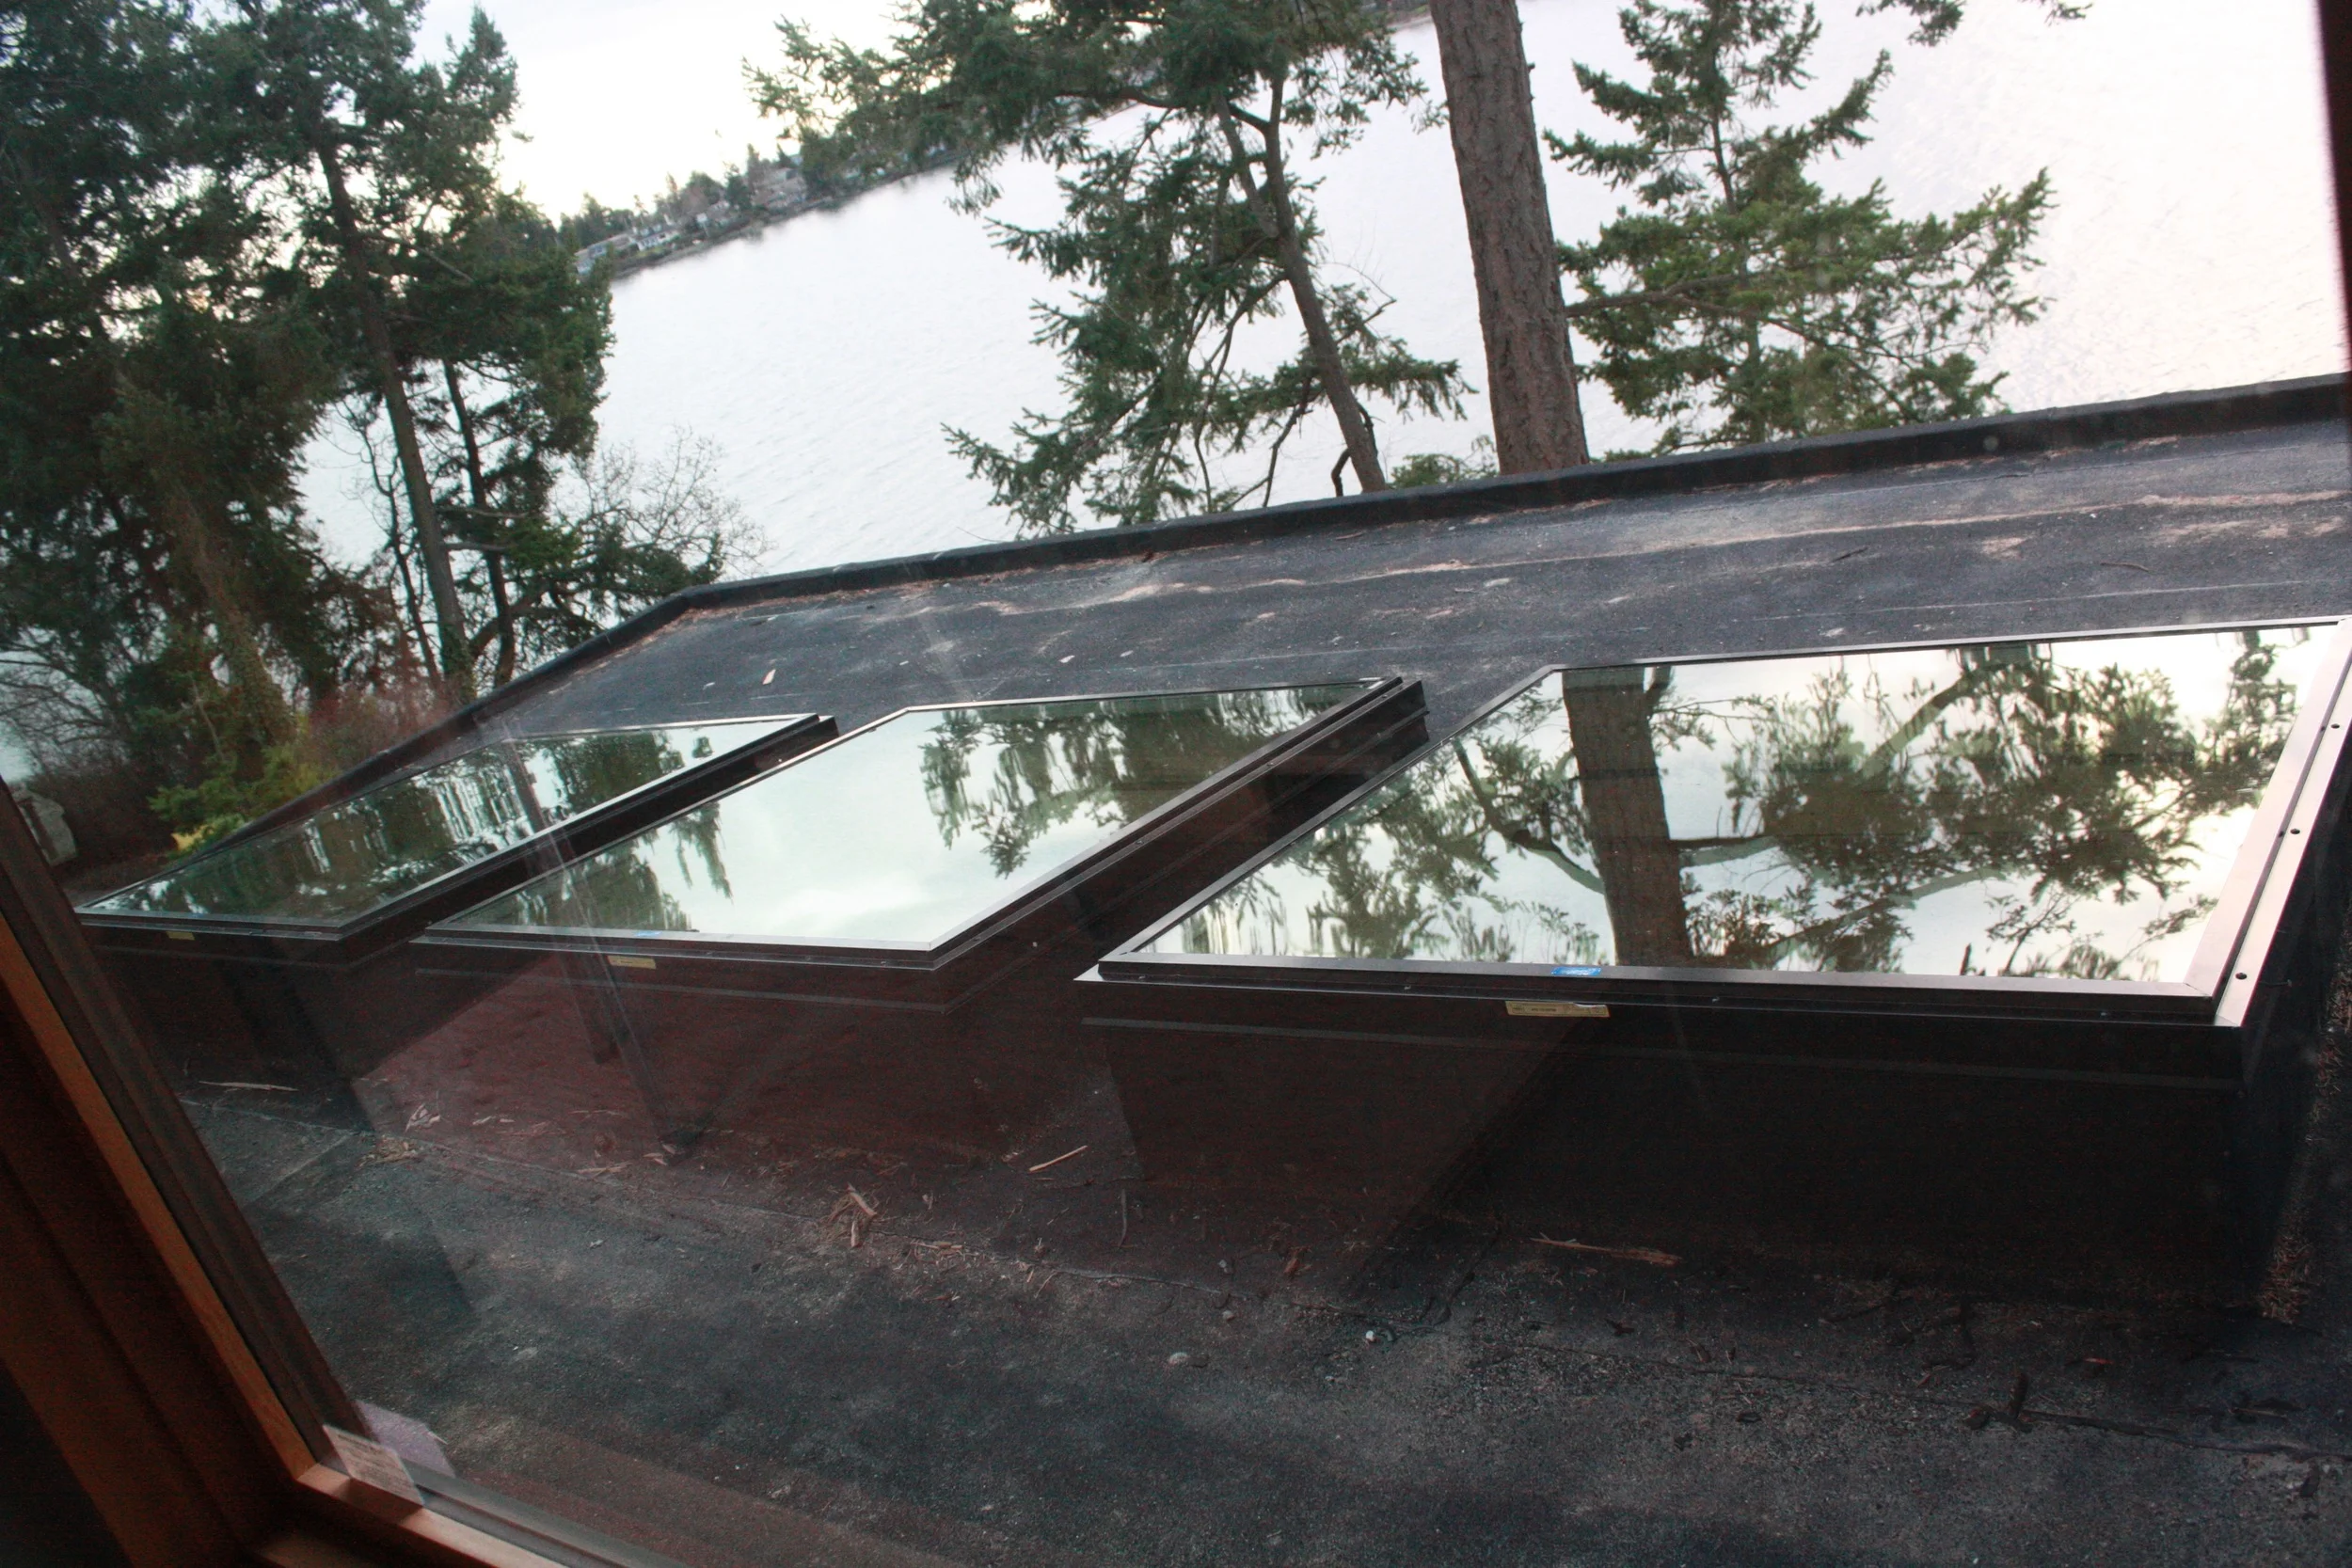
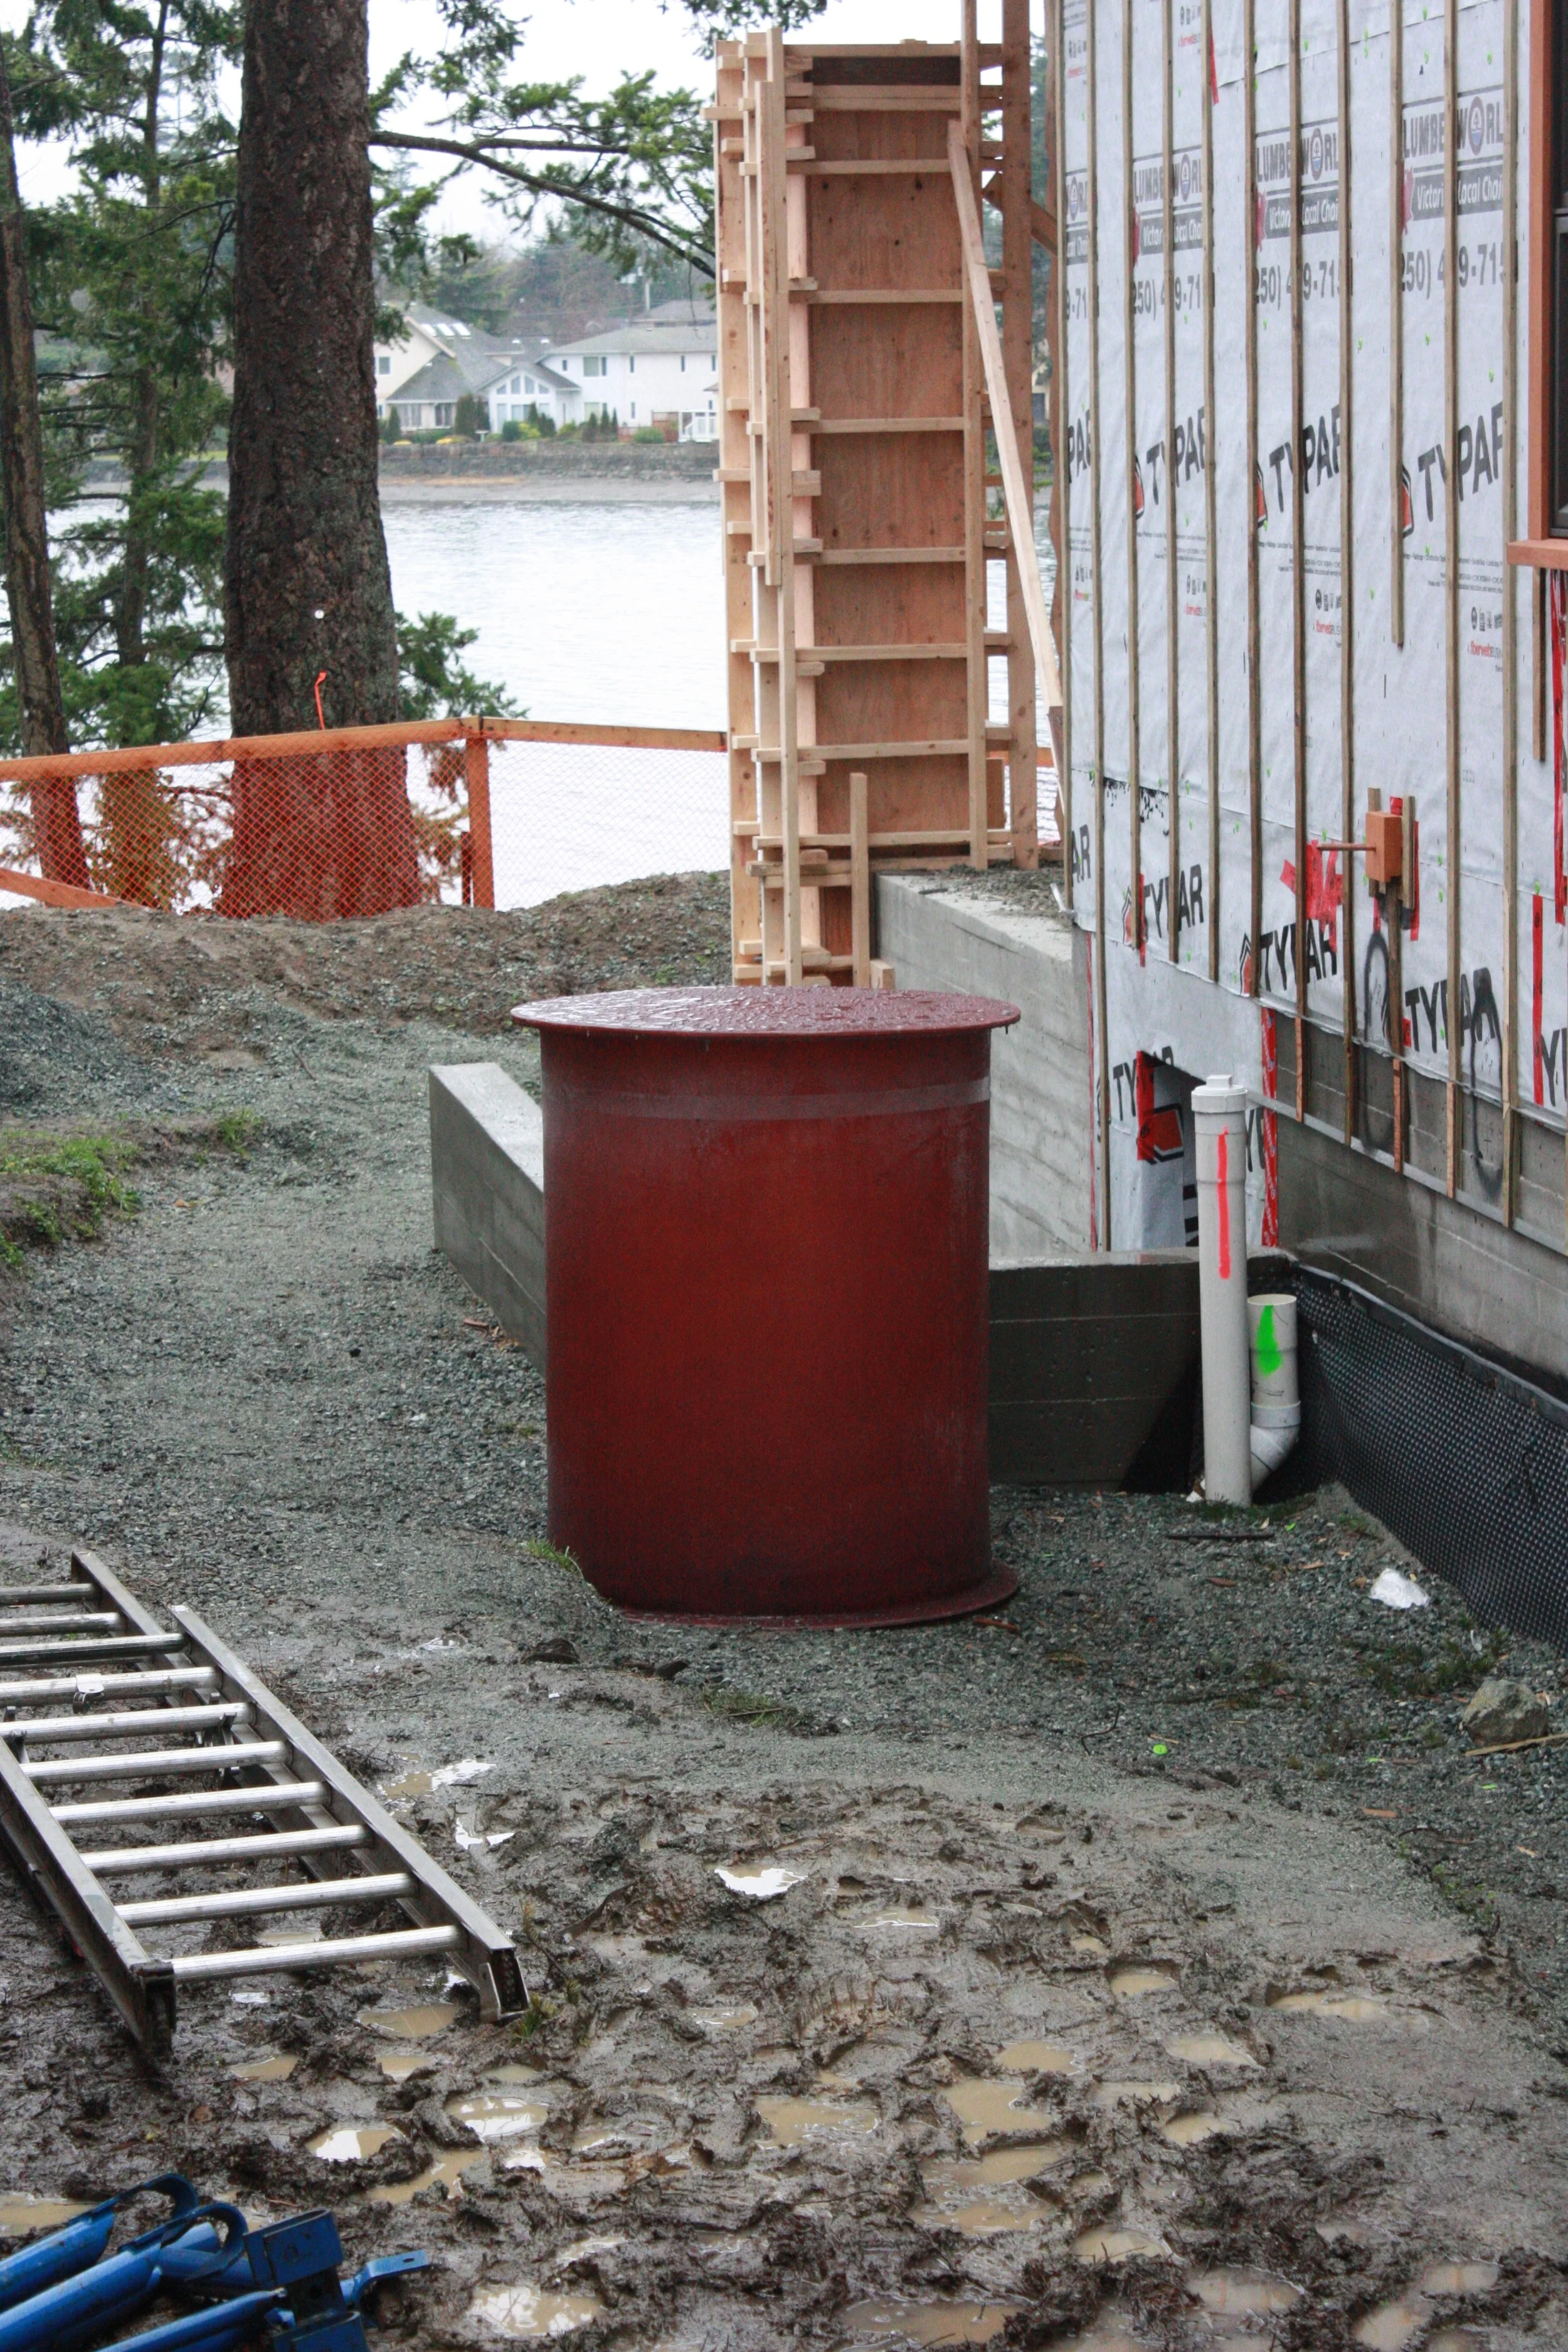
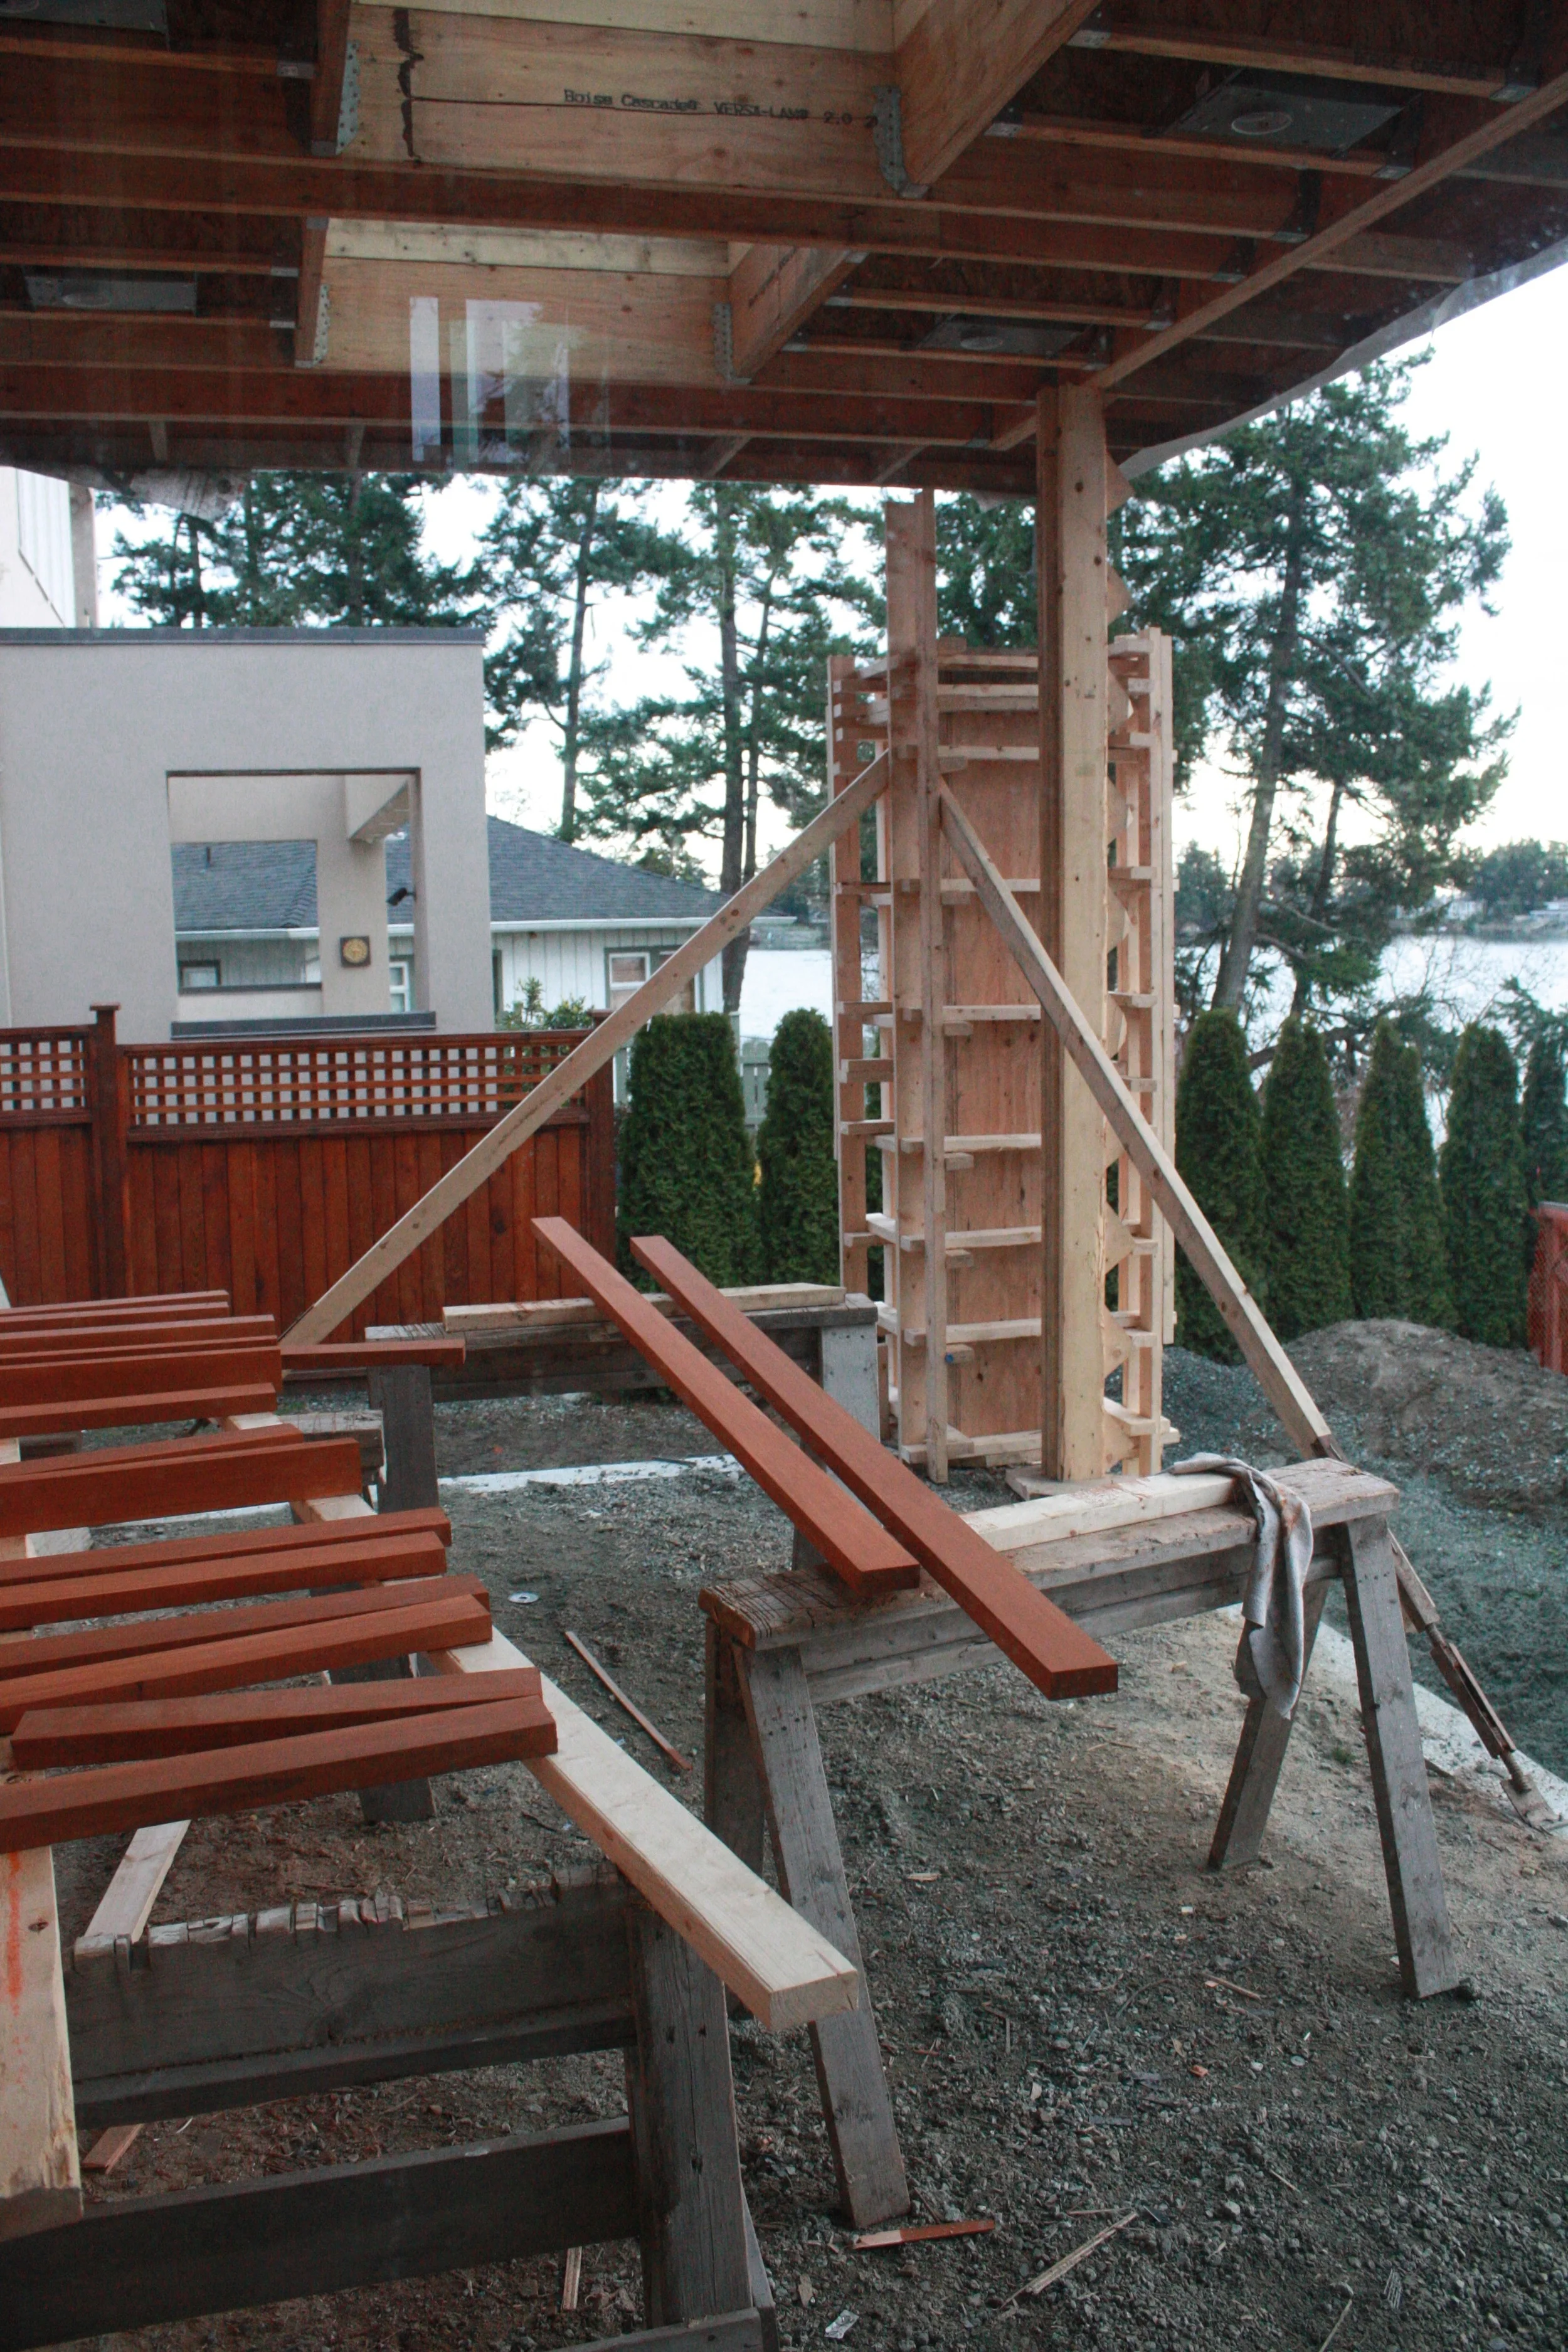
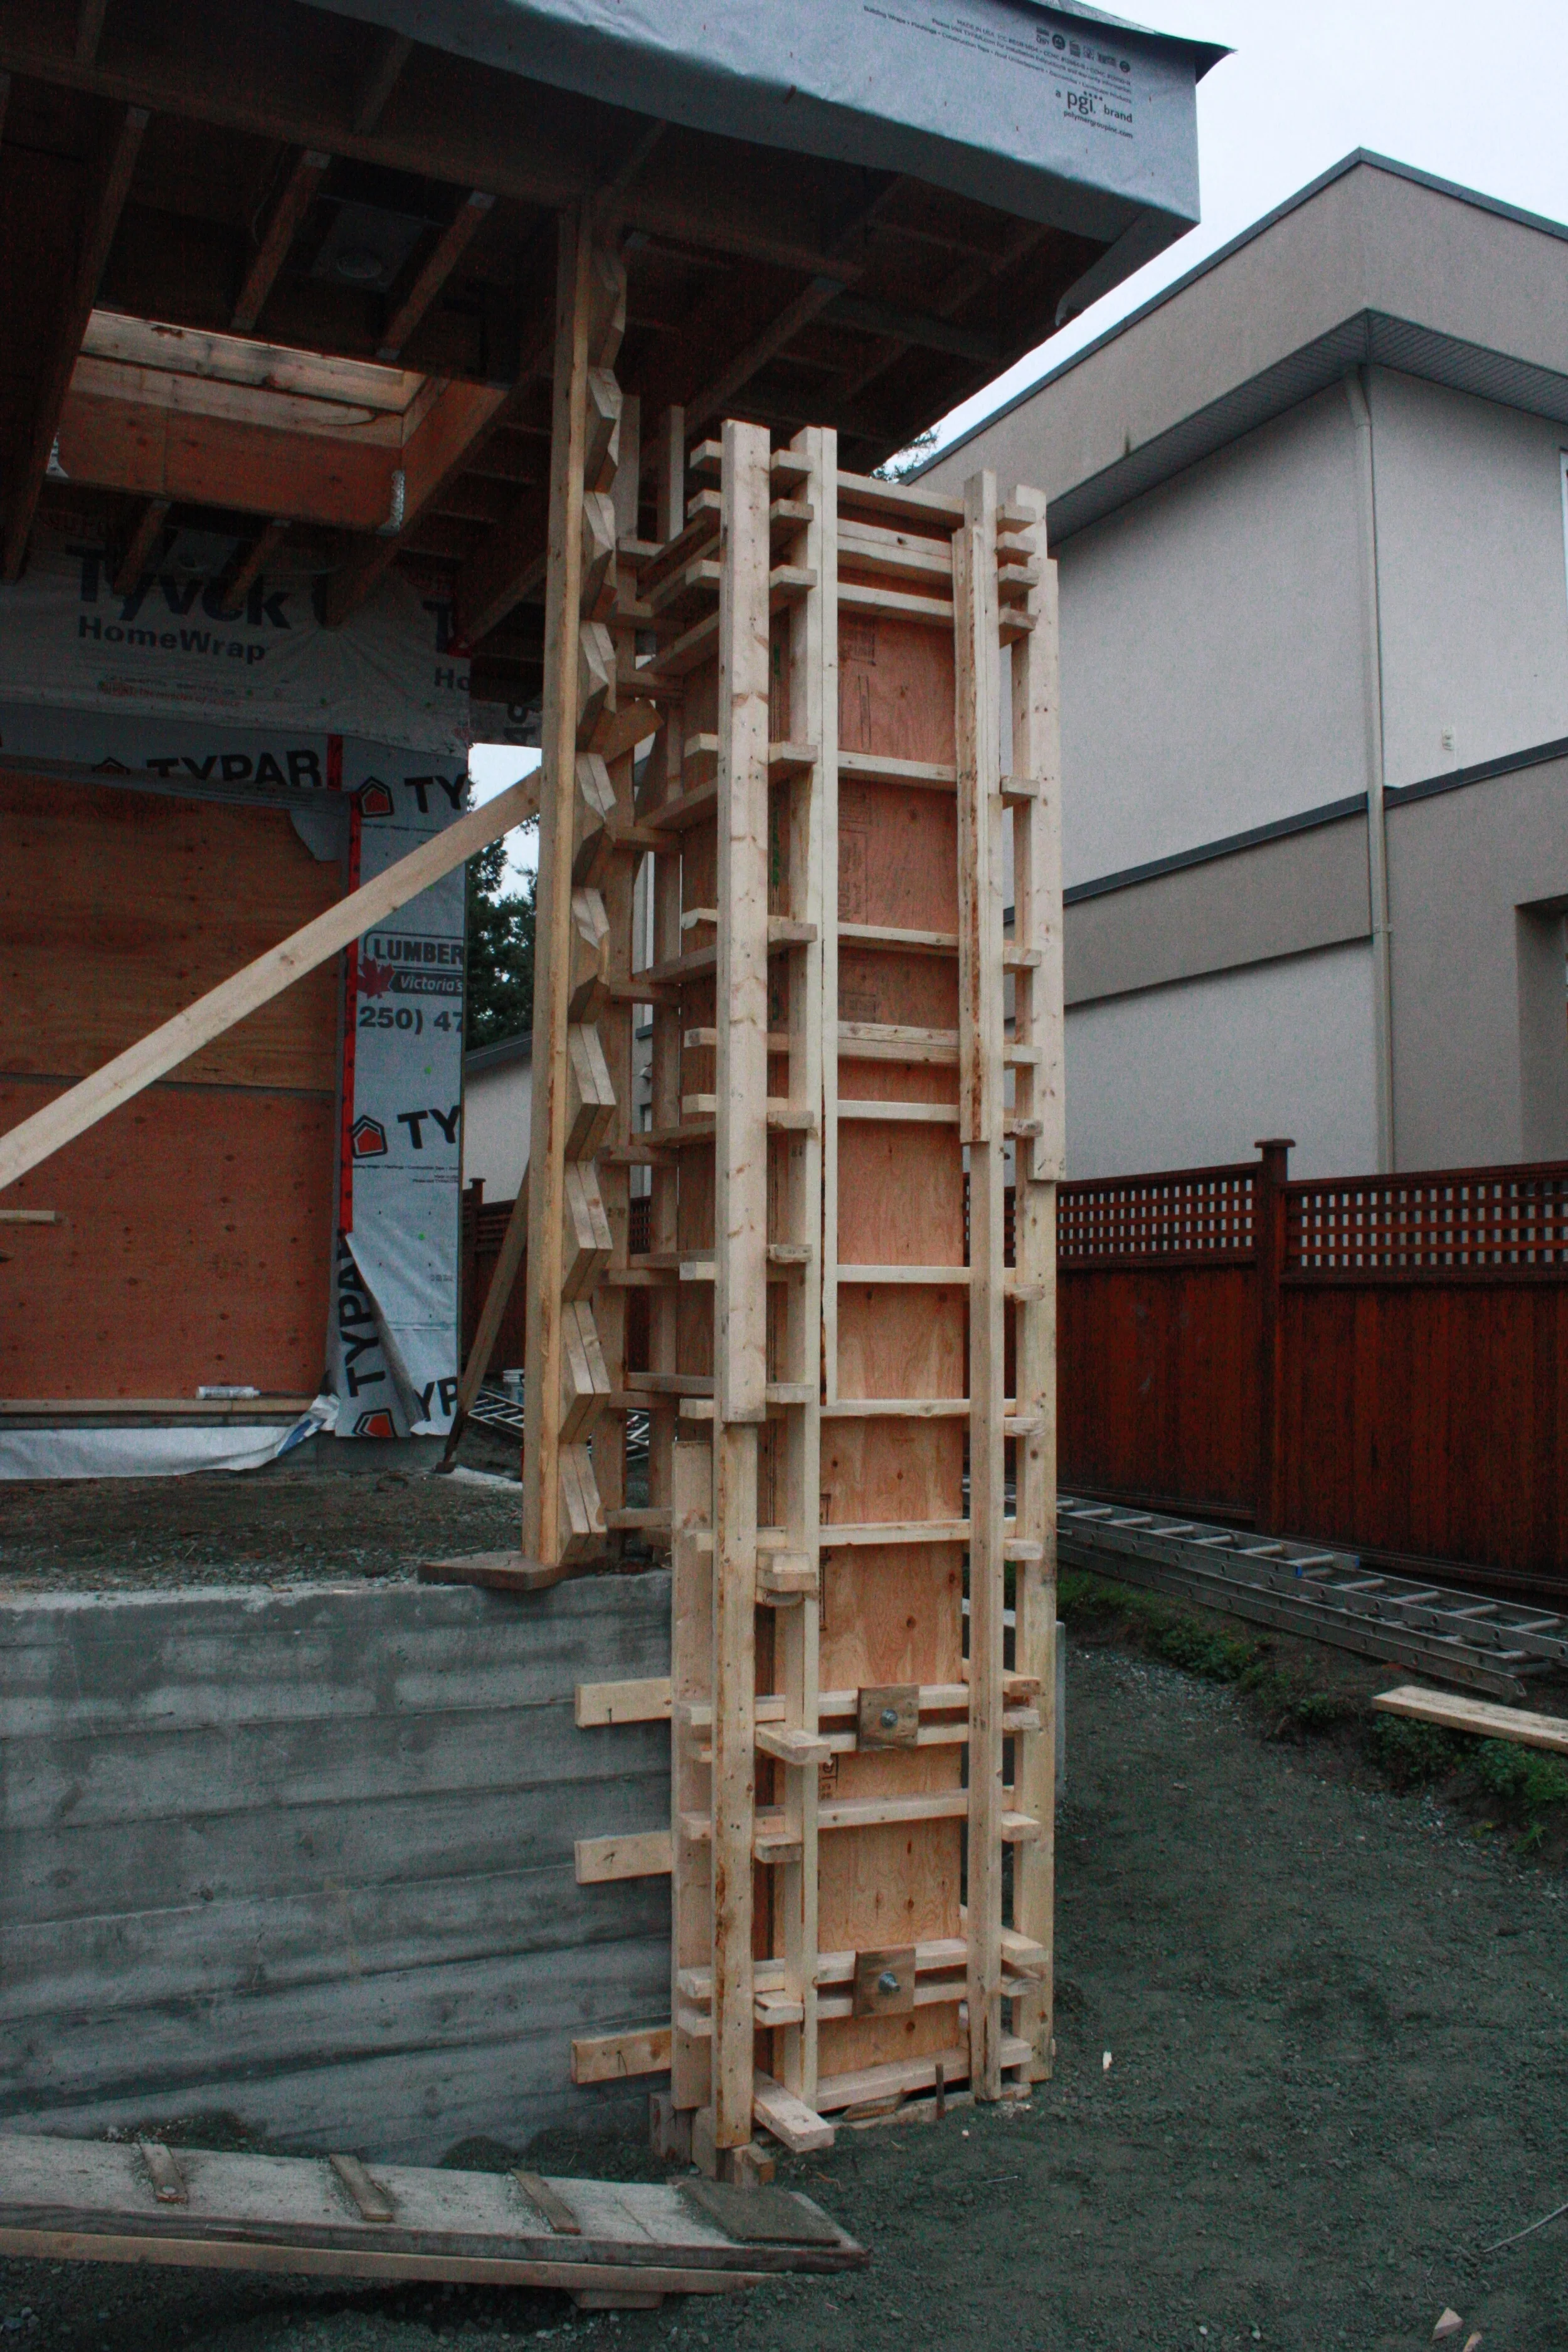
Frame for column on the patio. The column will be covered with Vancouver Island stone.