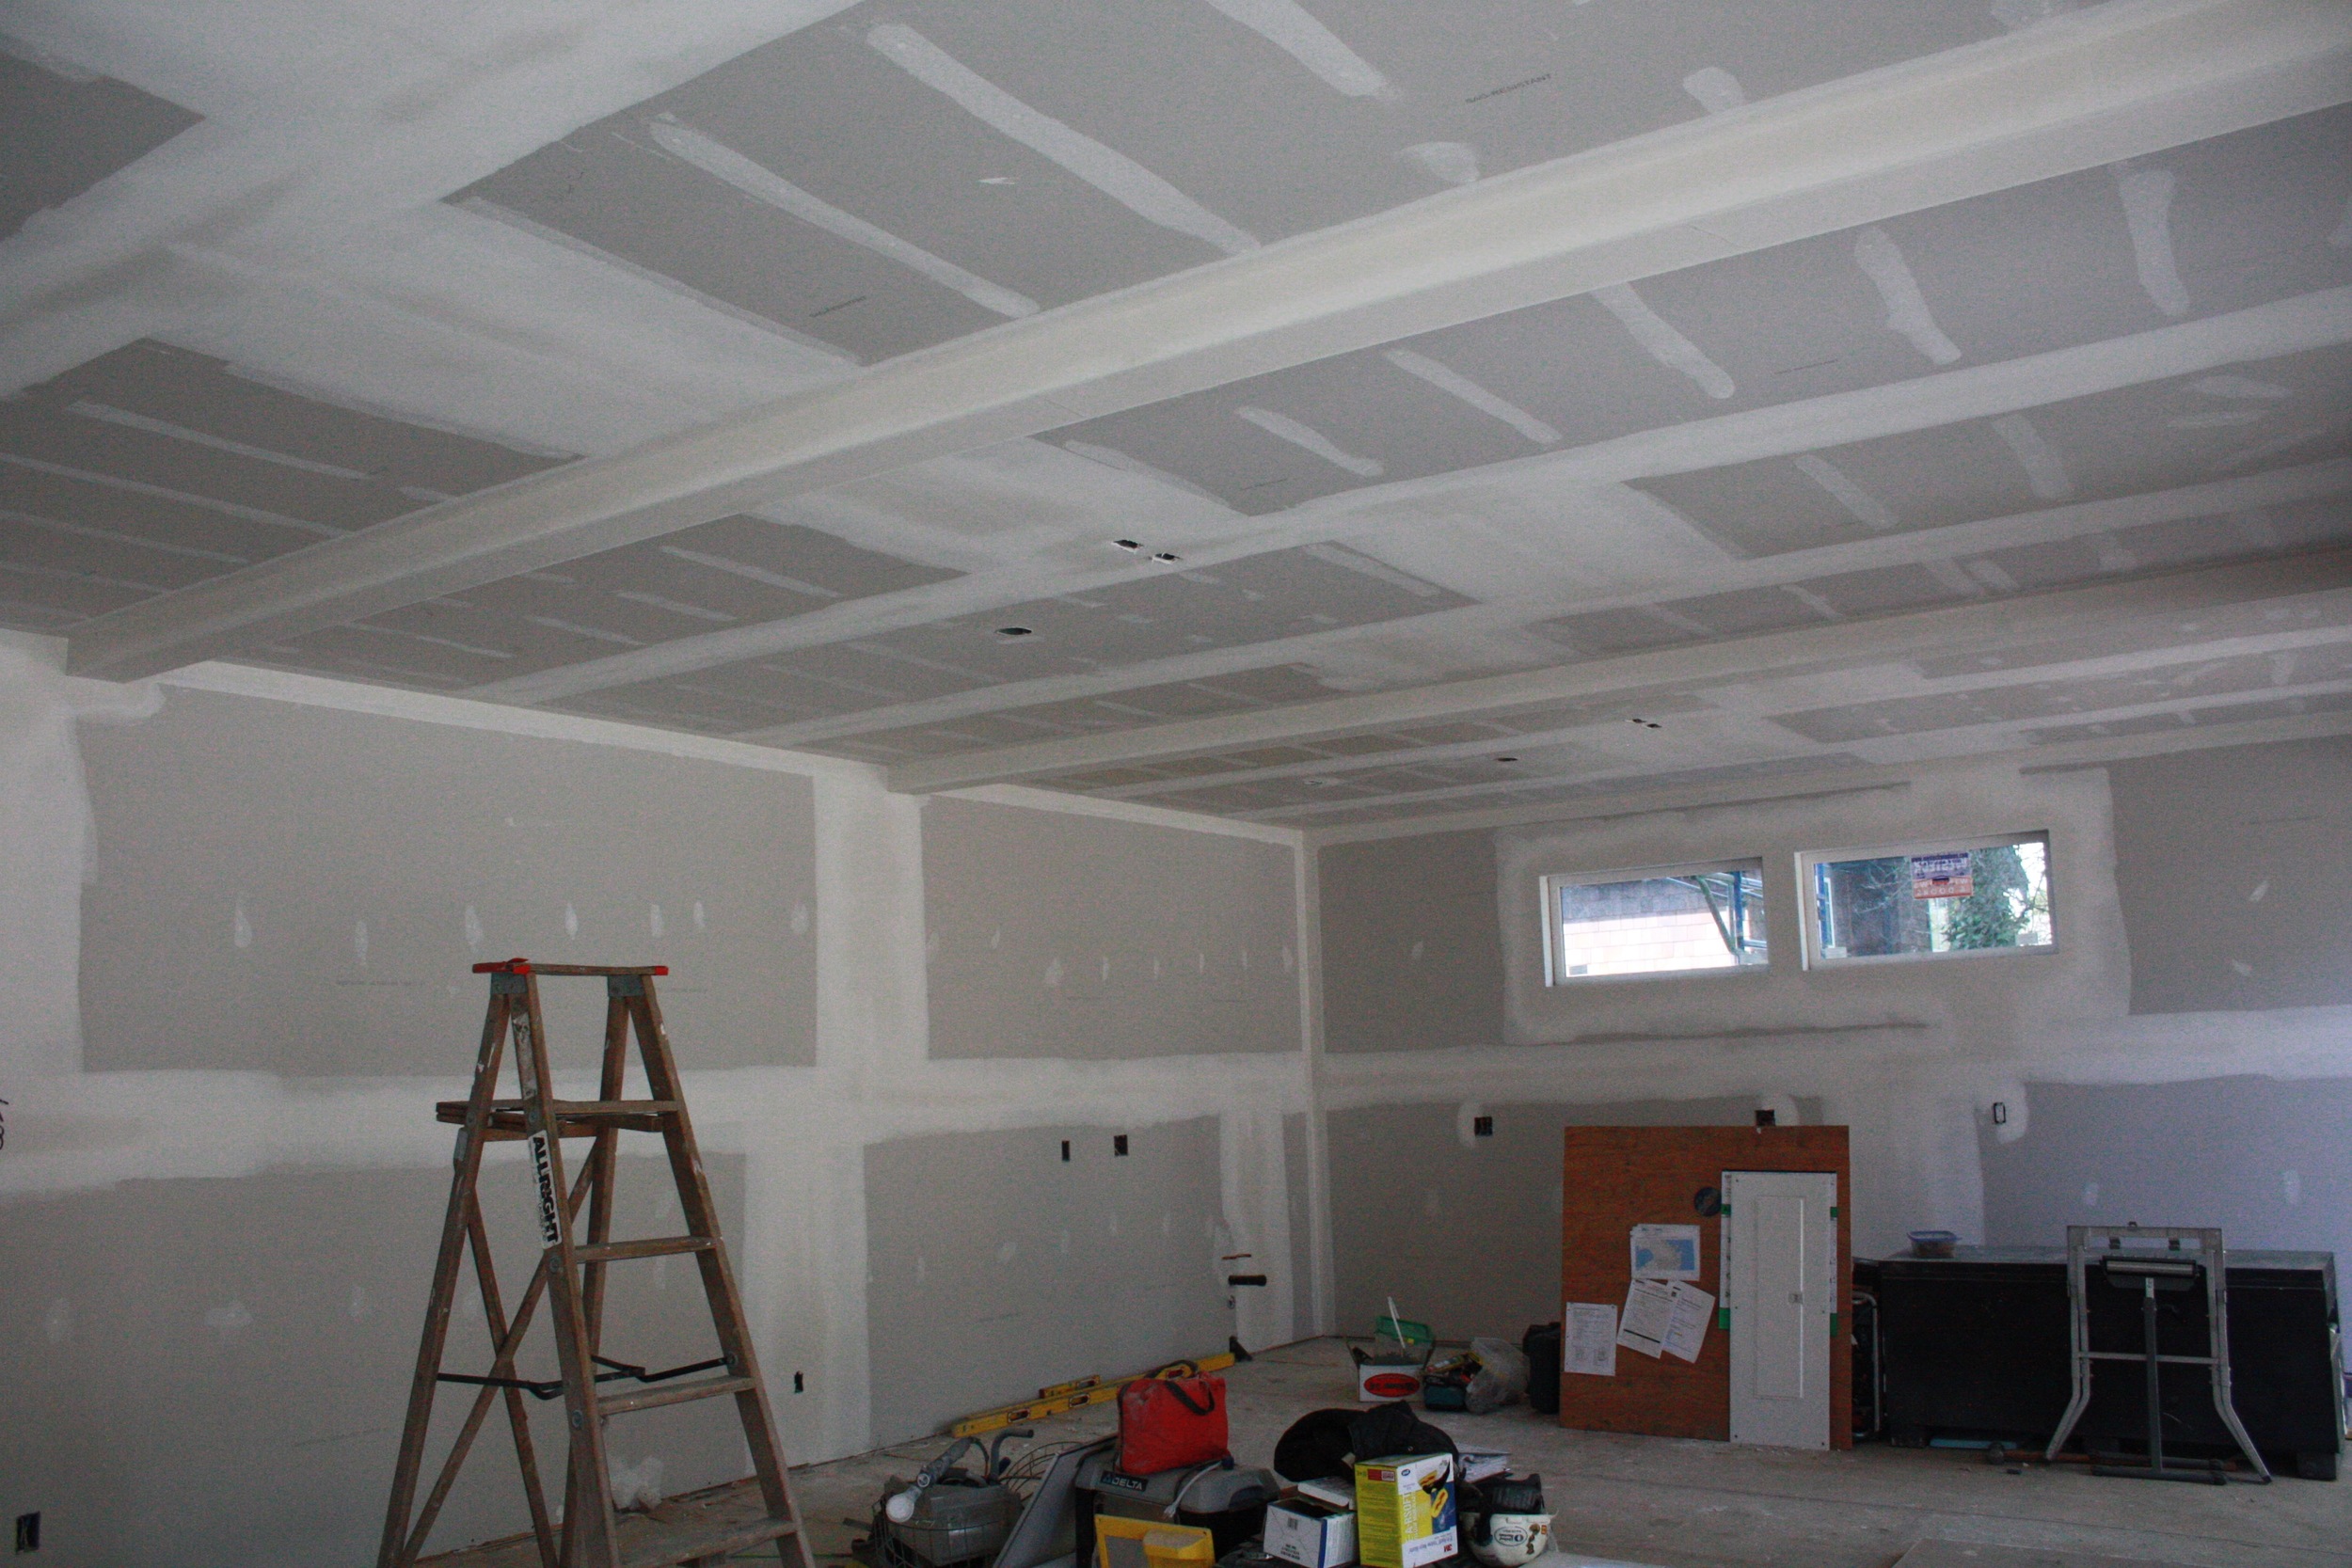
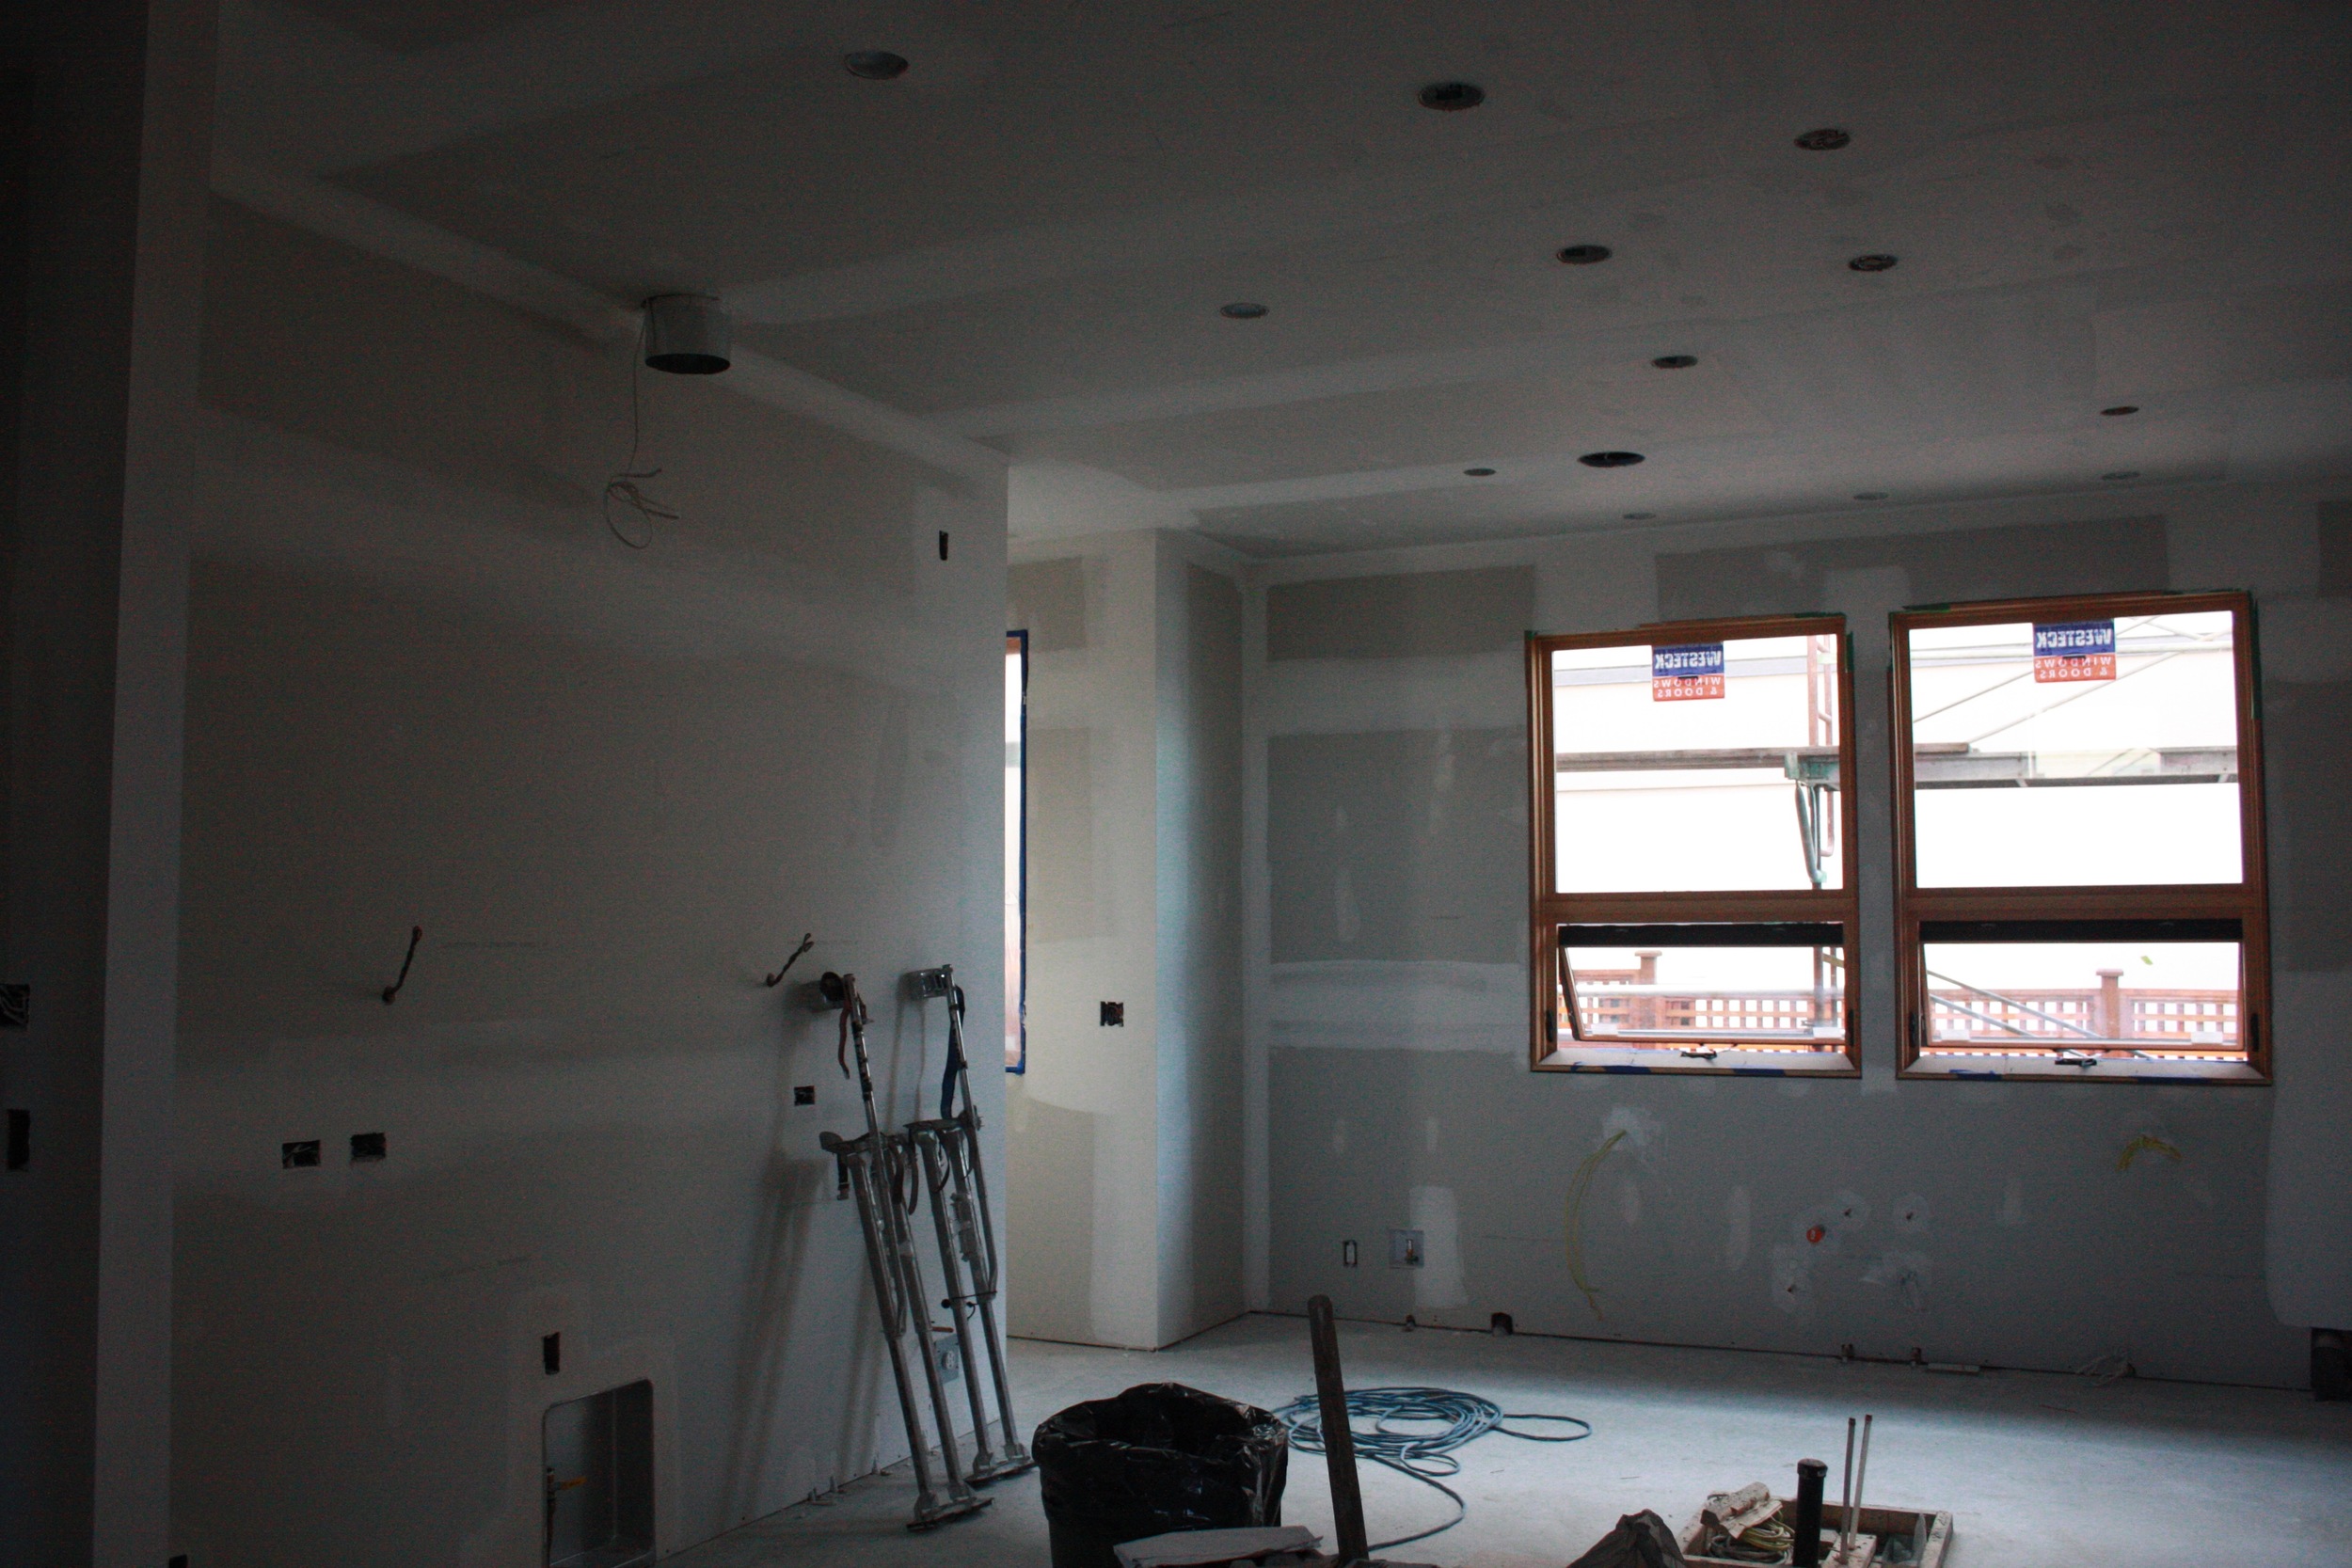
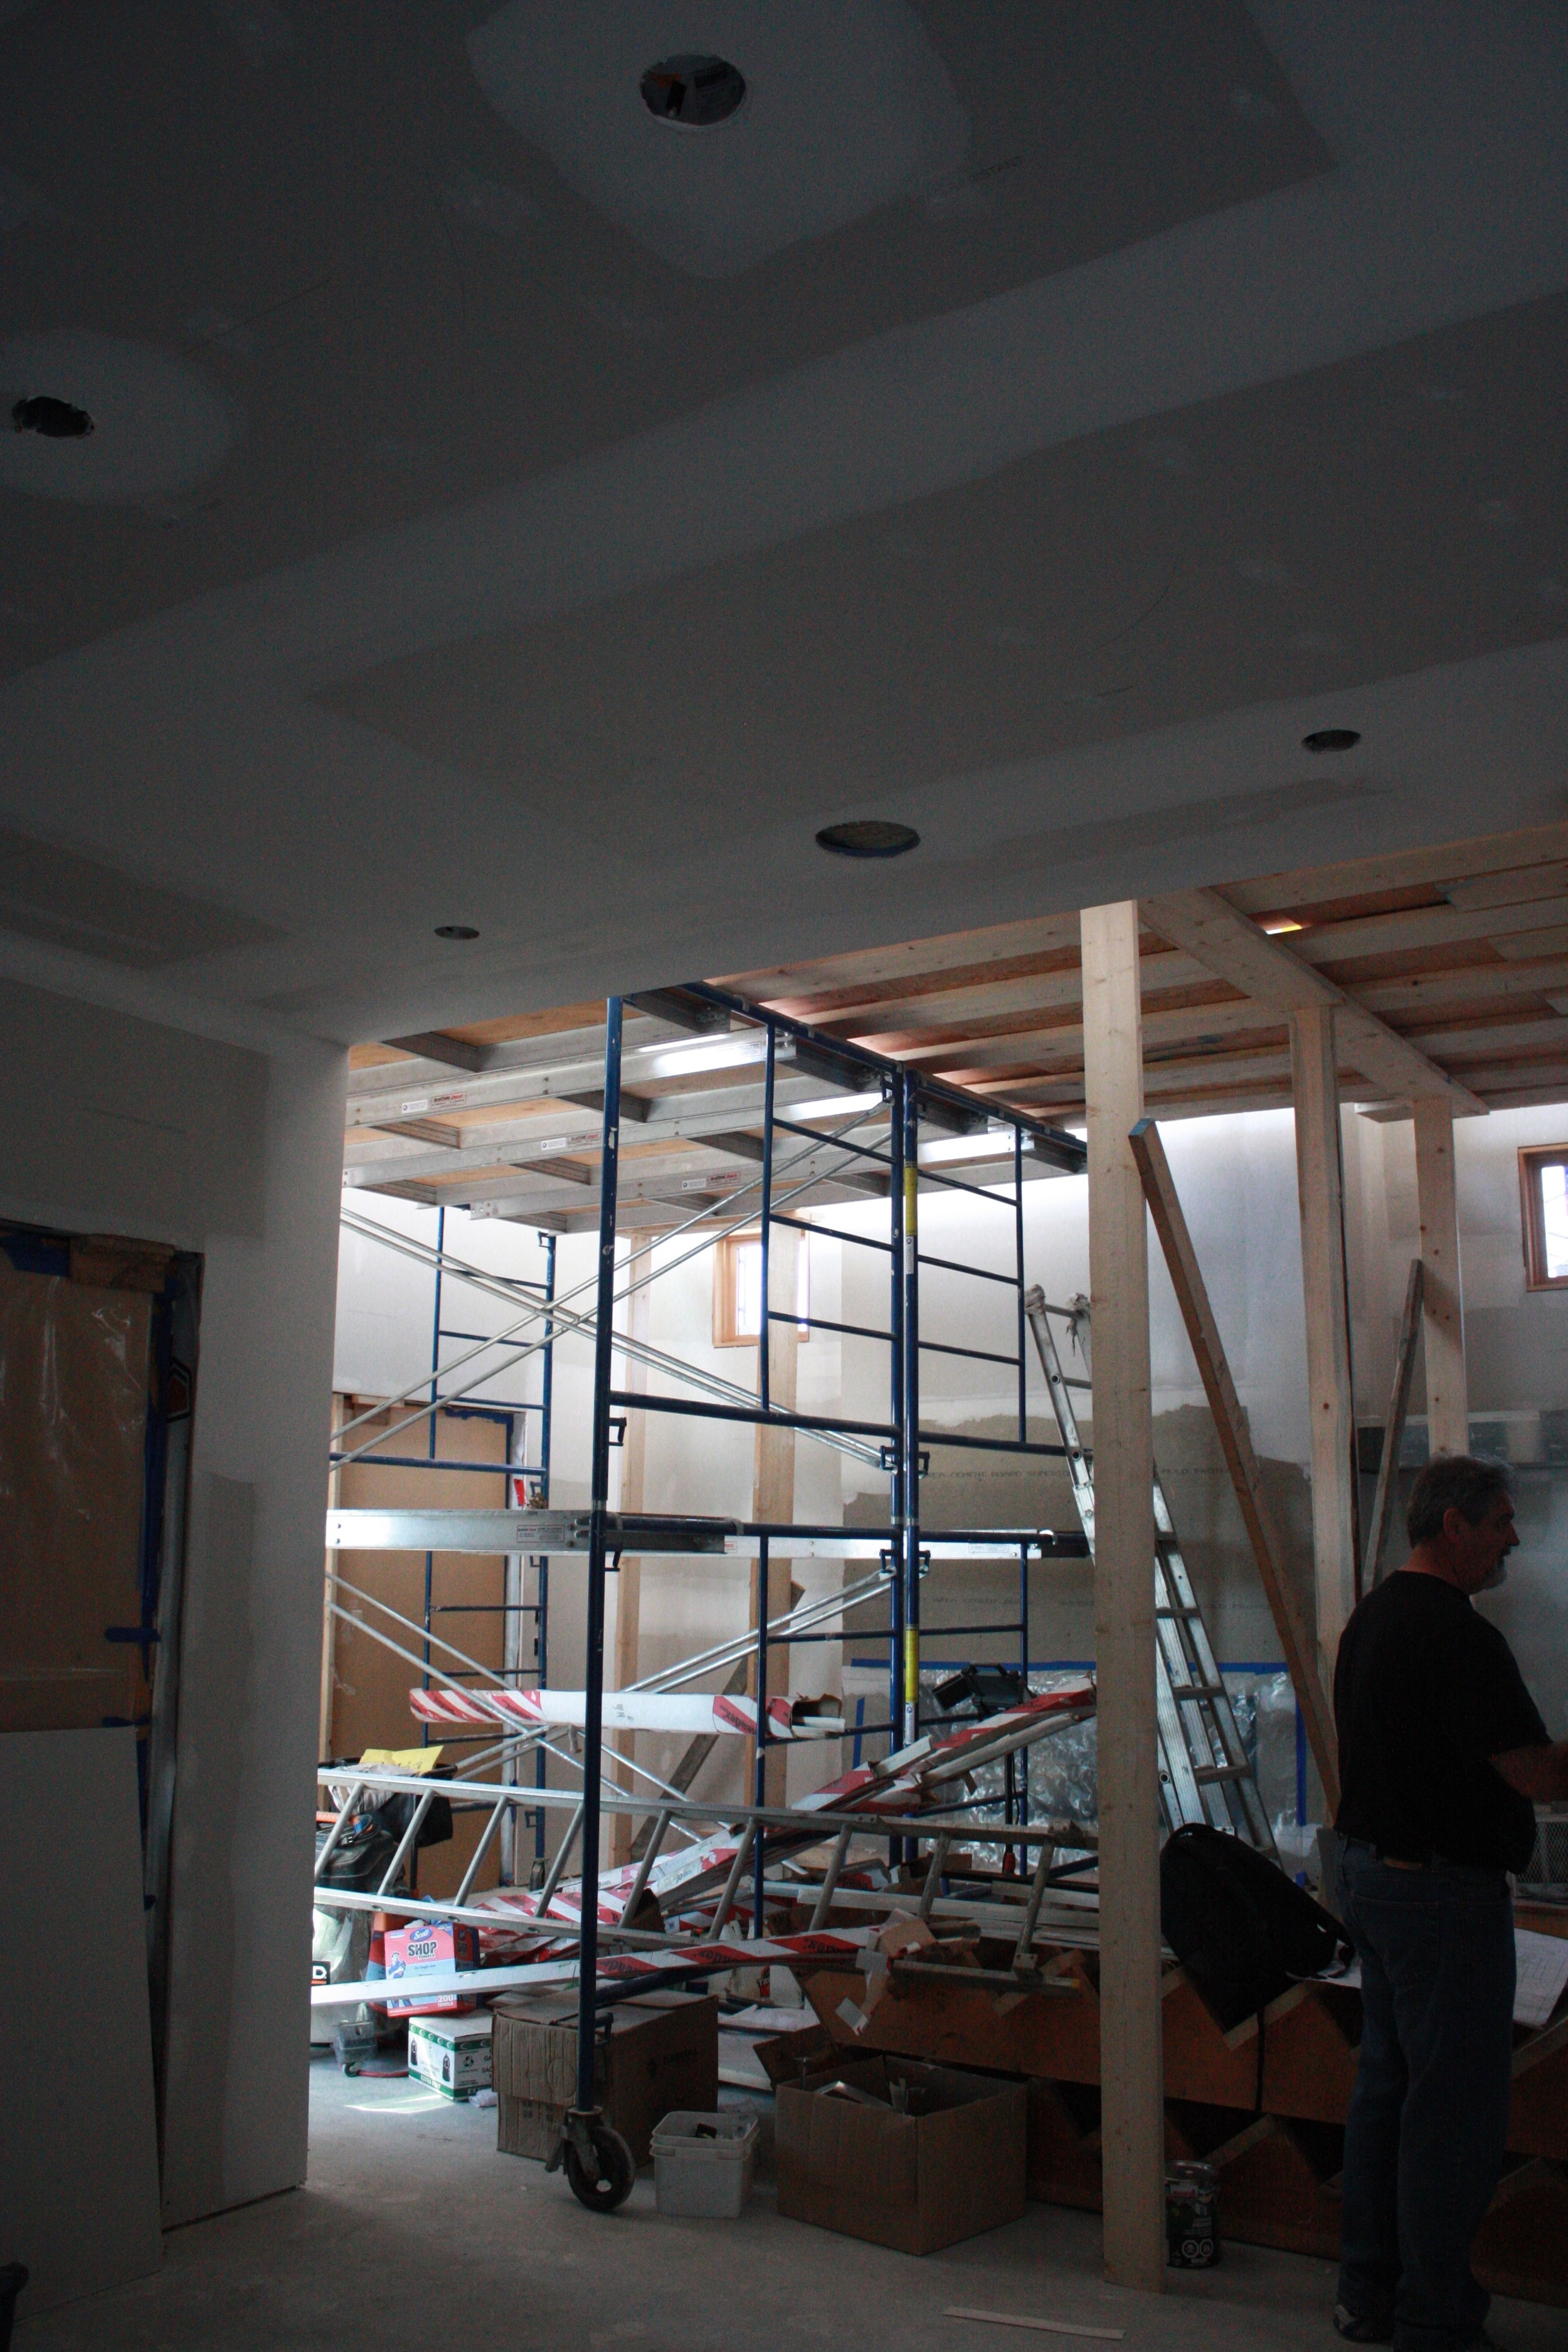
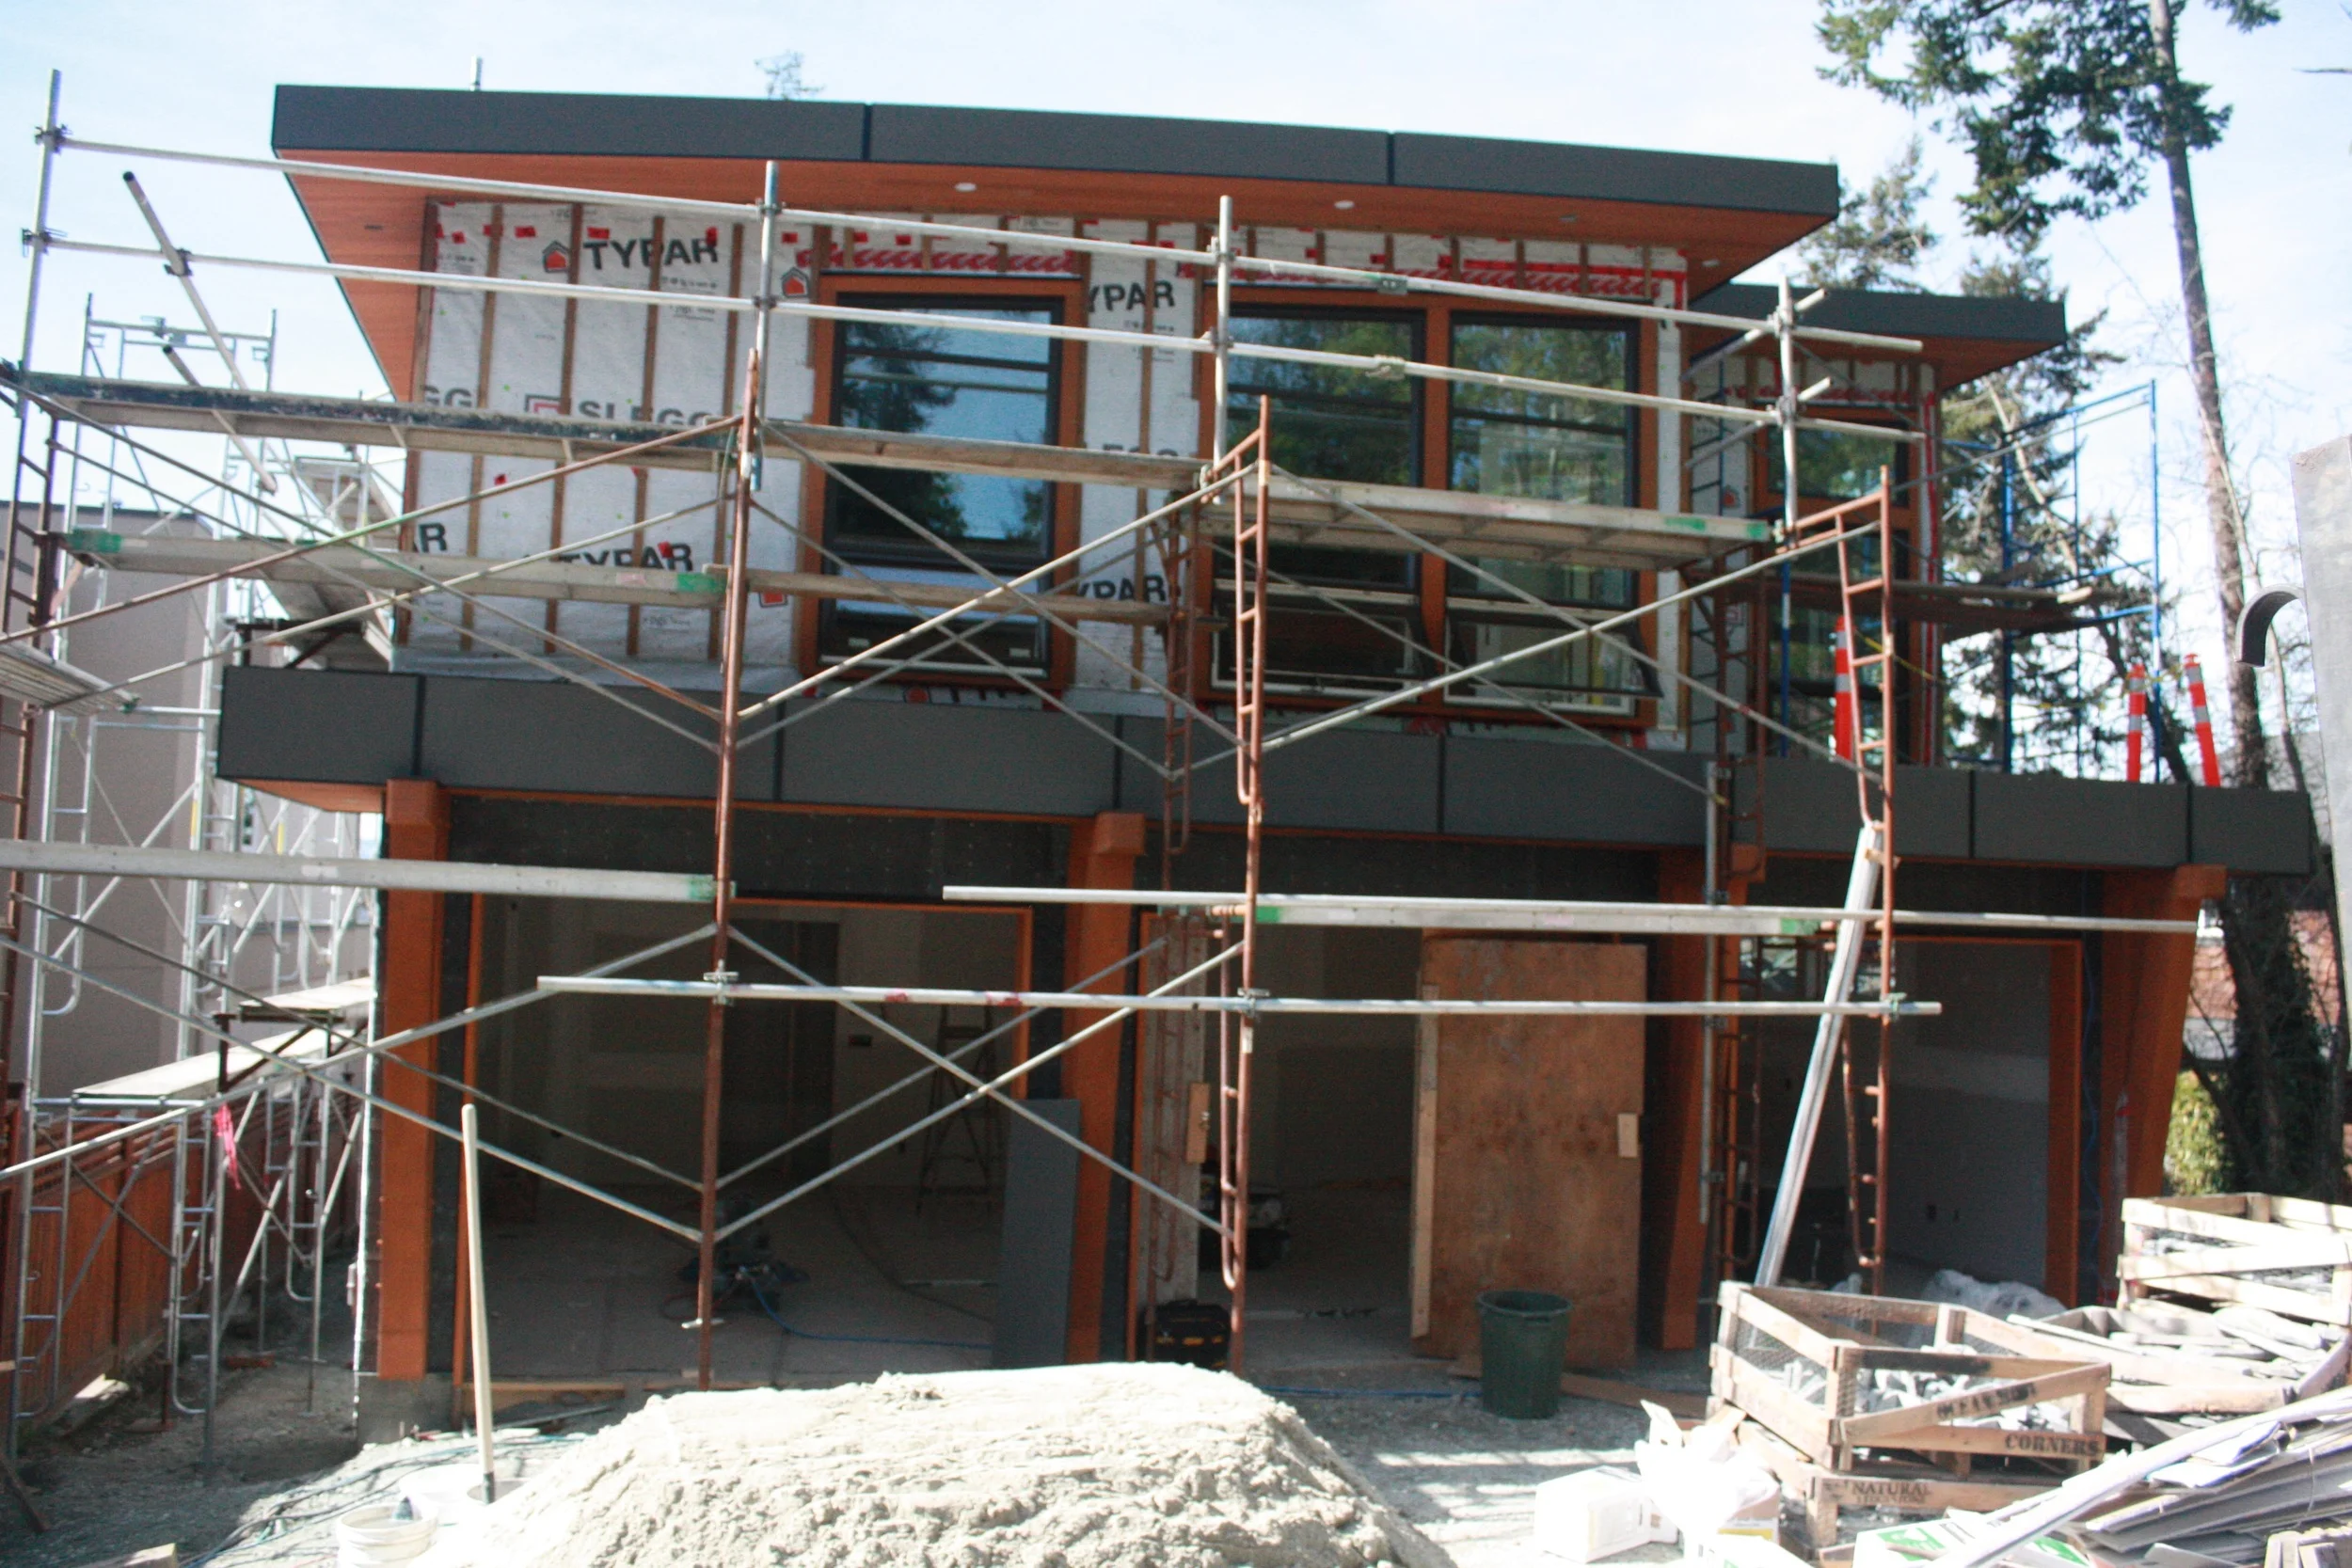
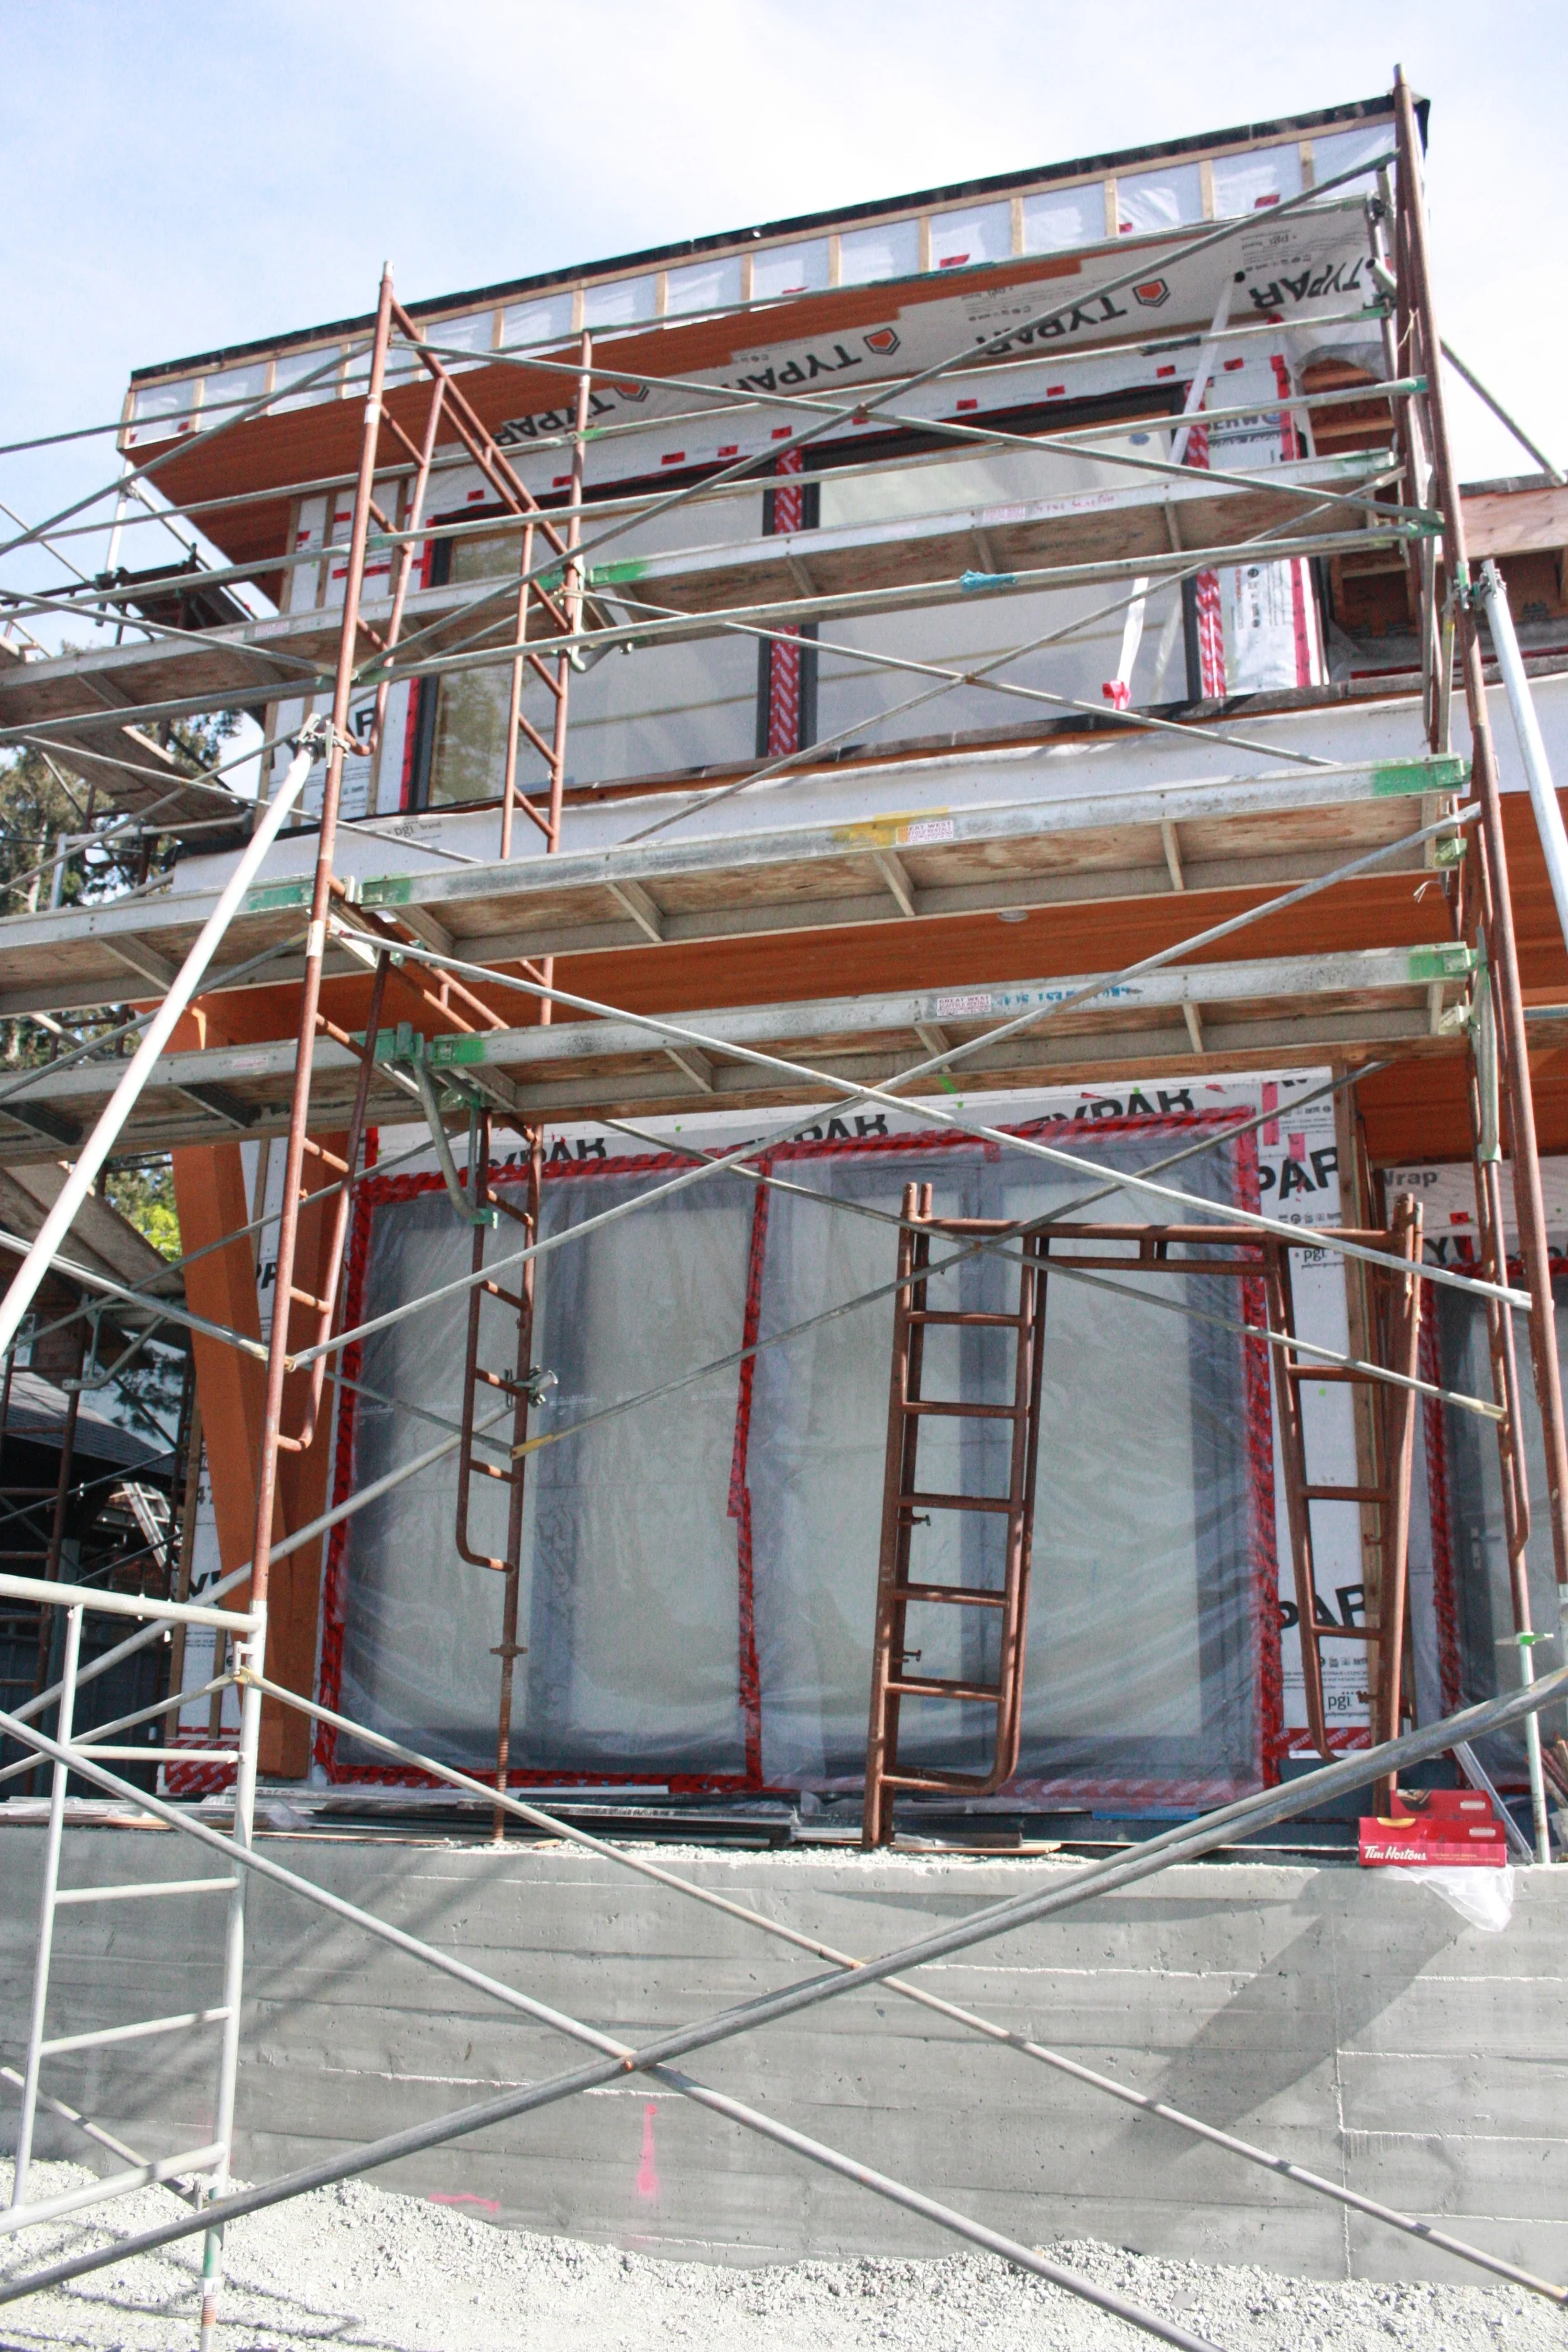
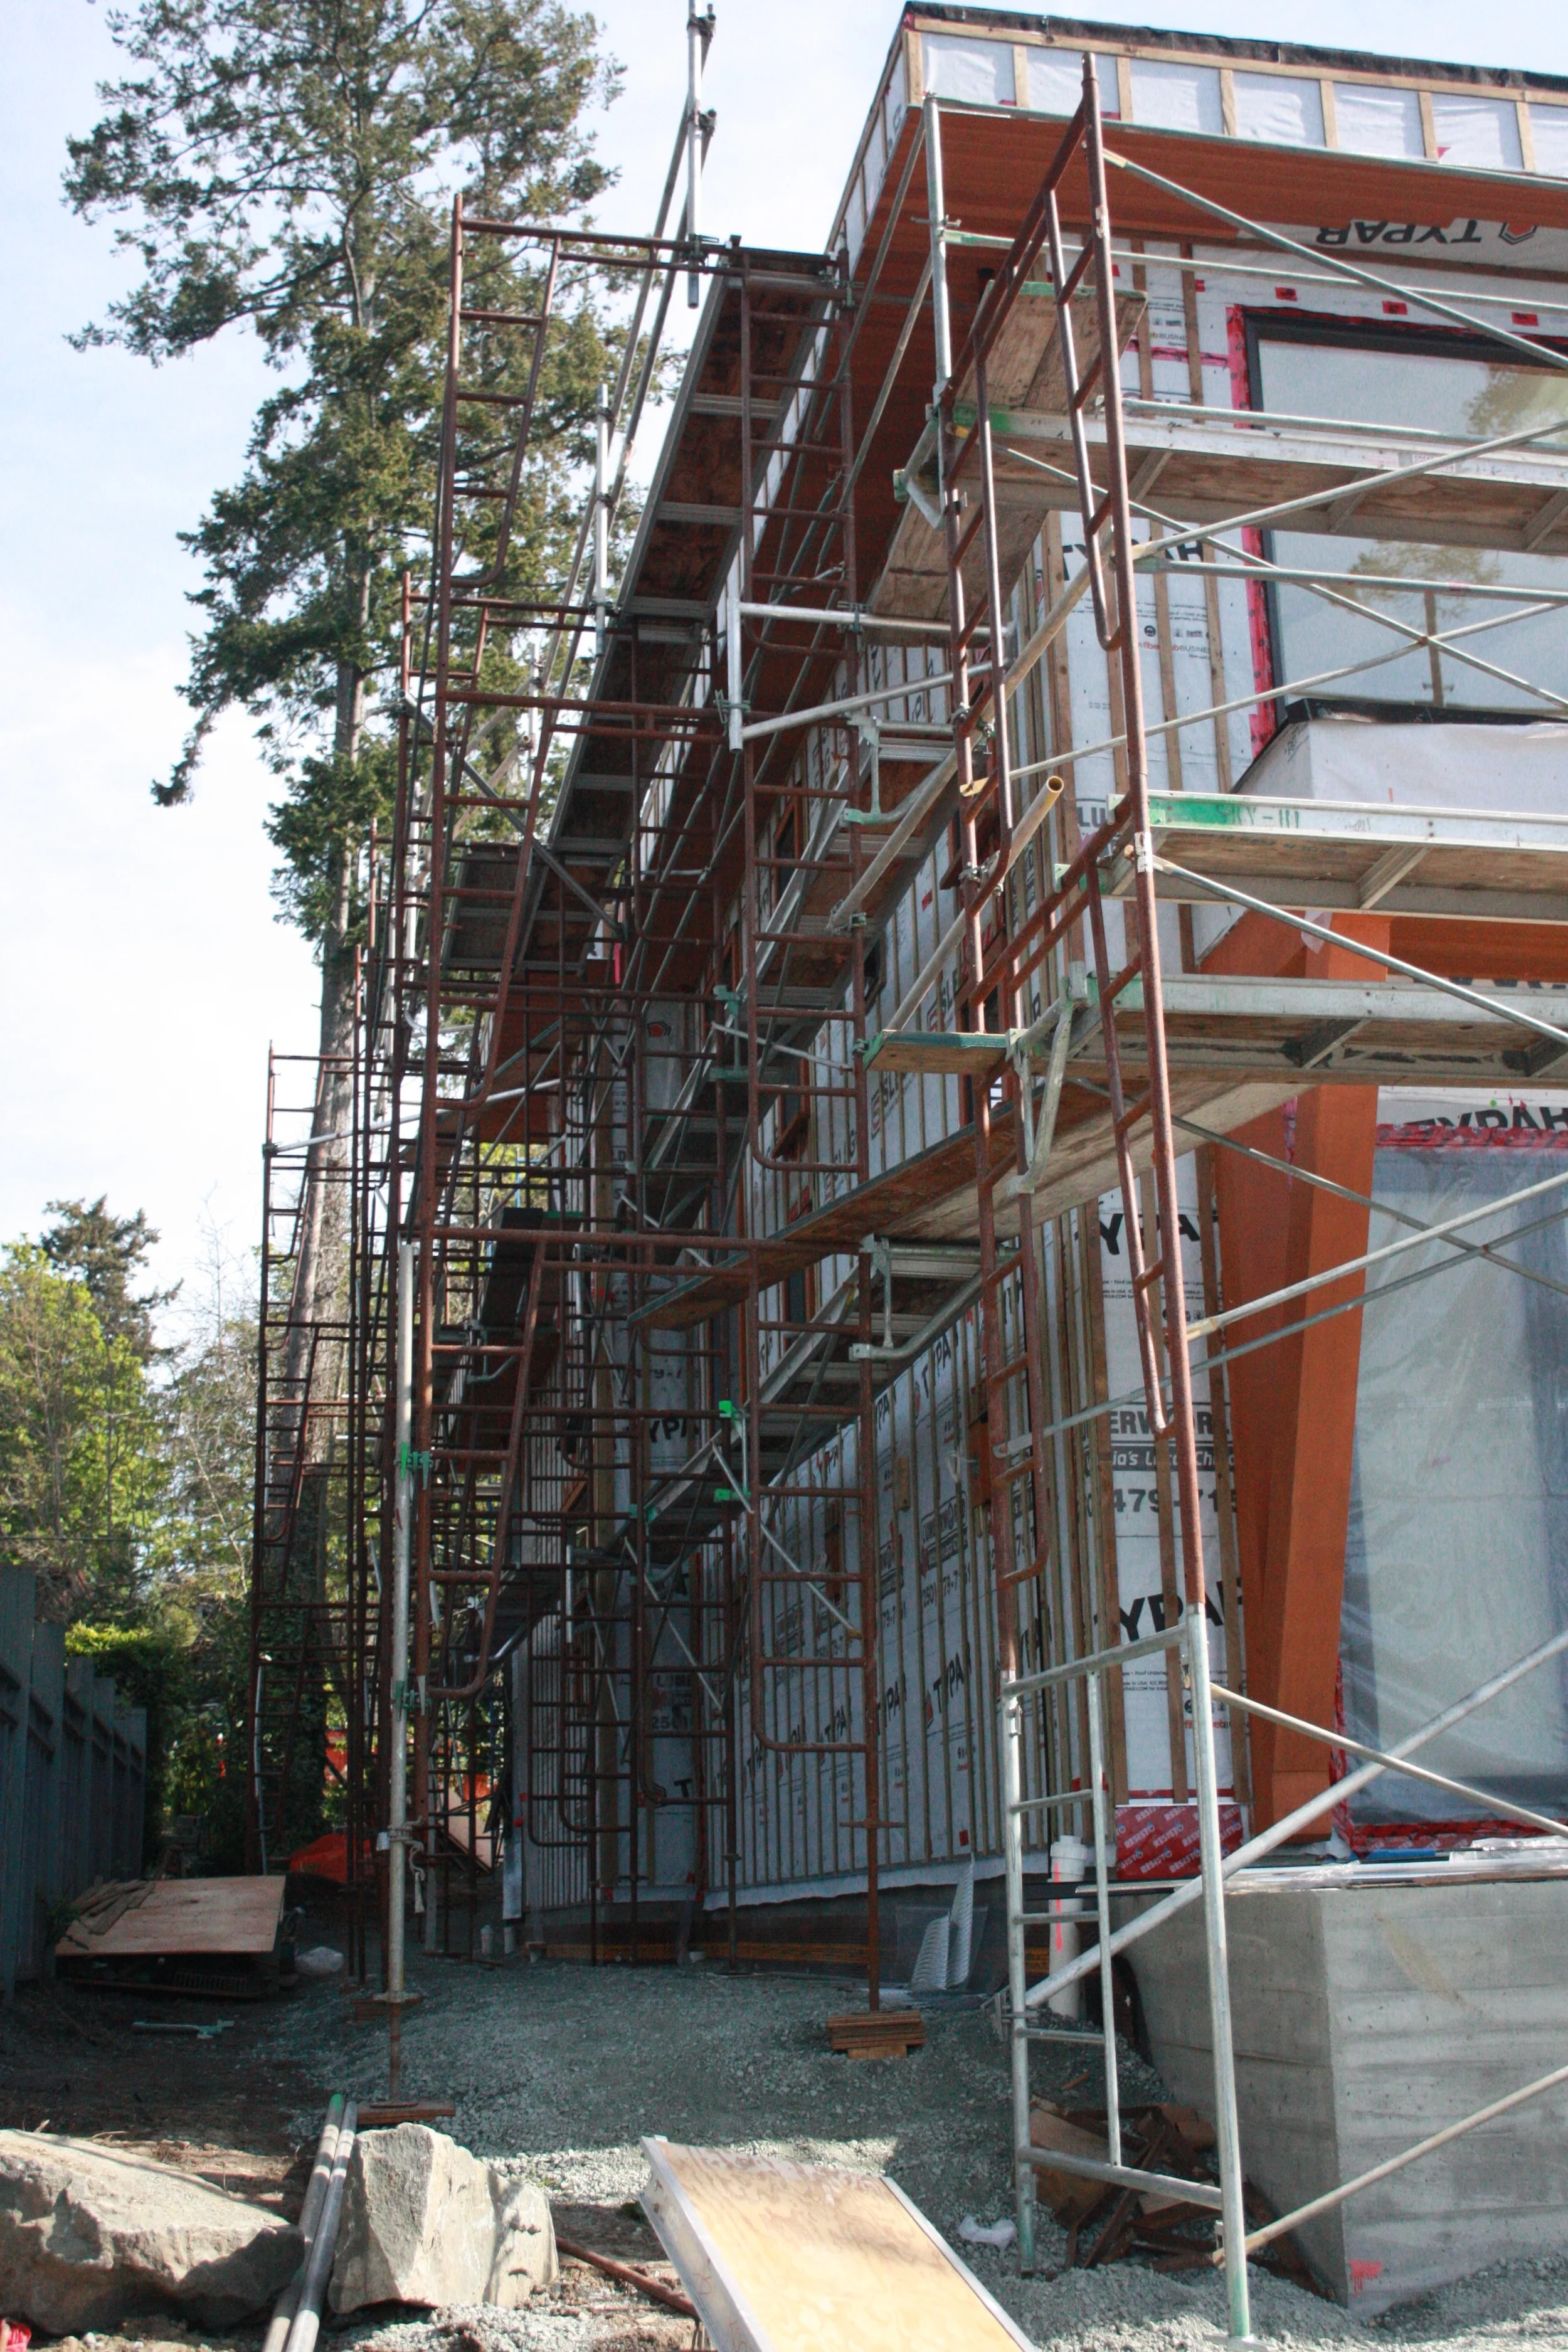
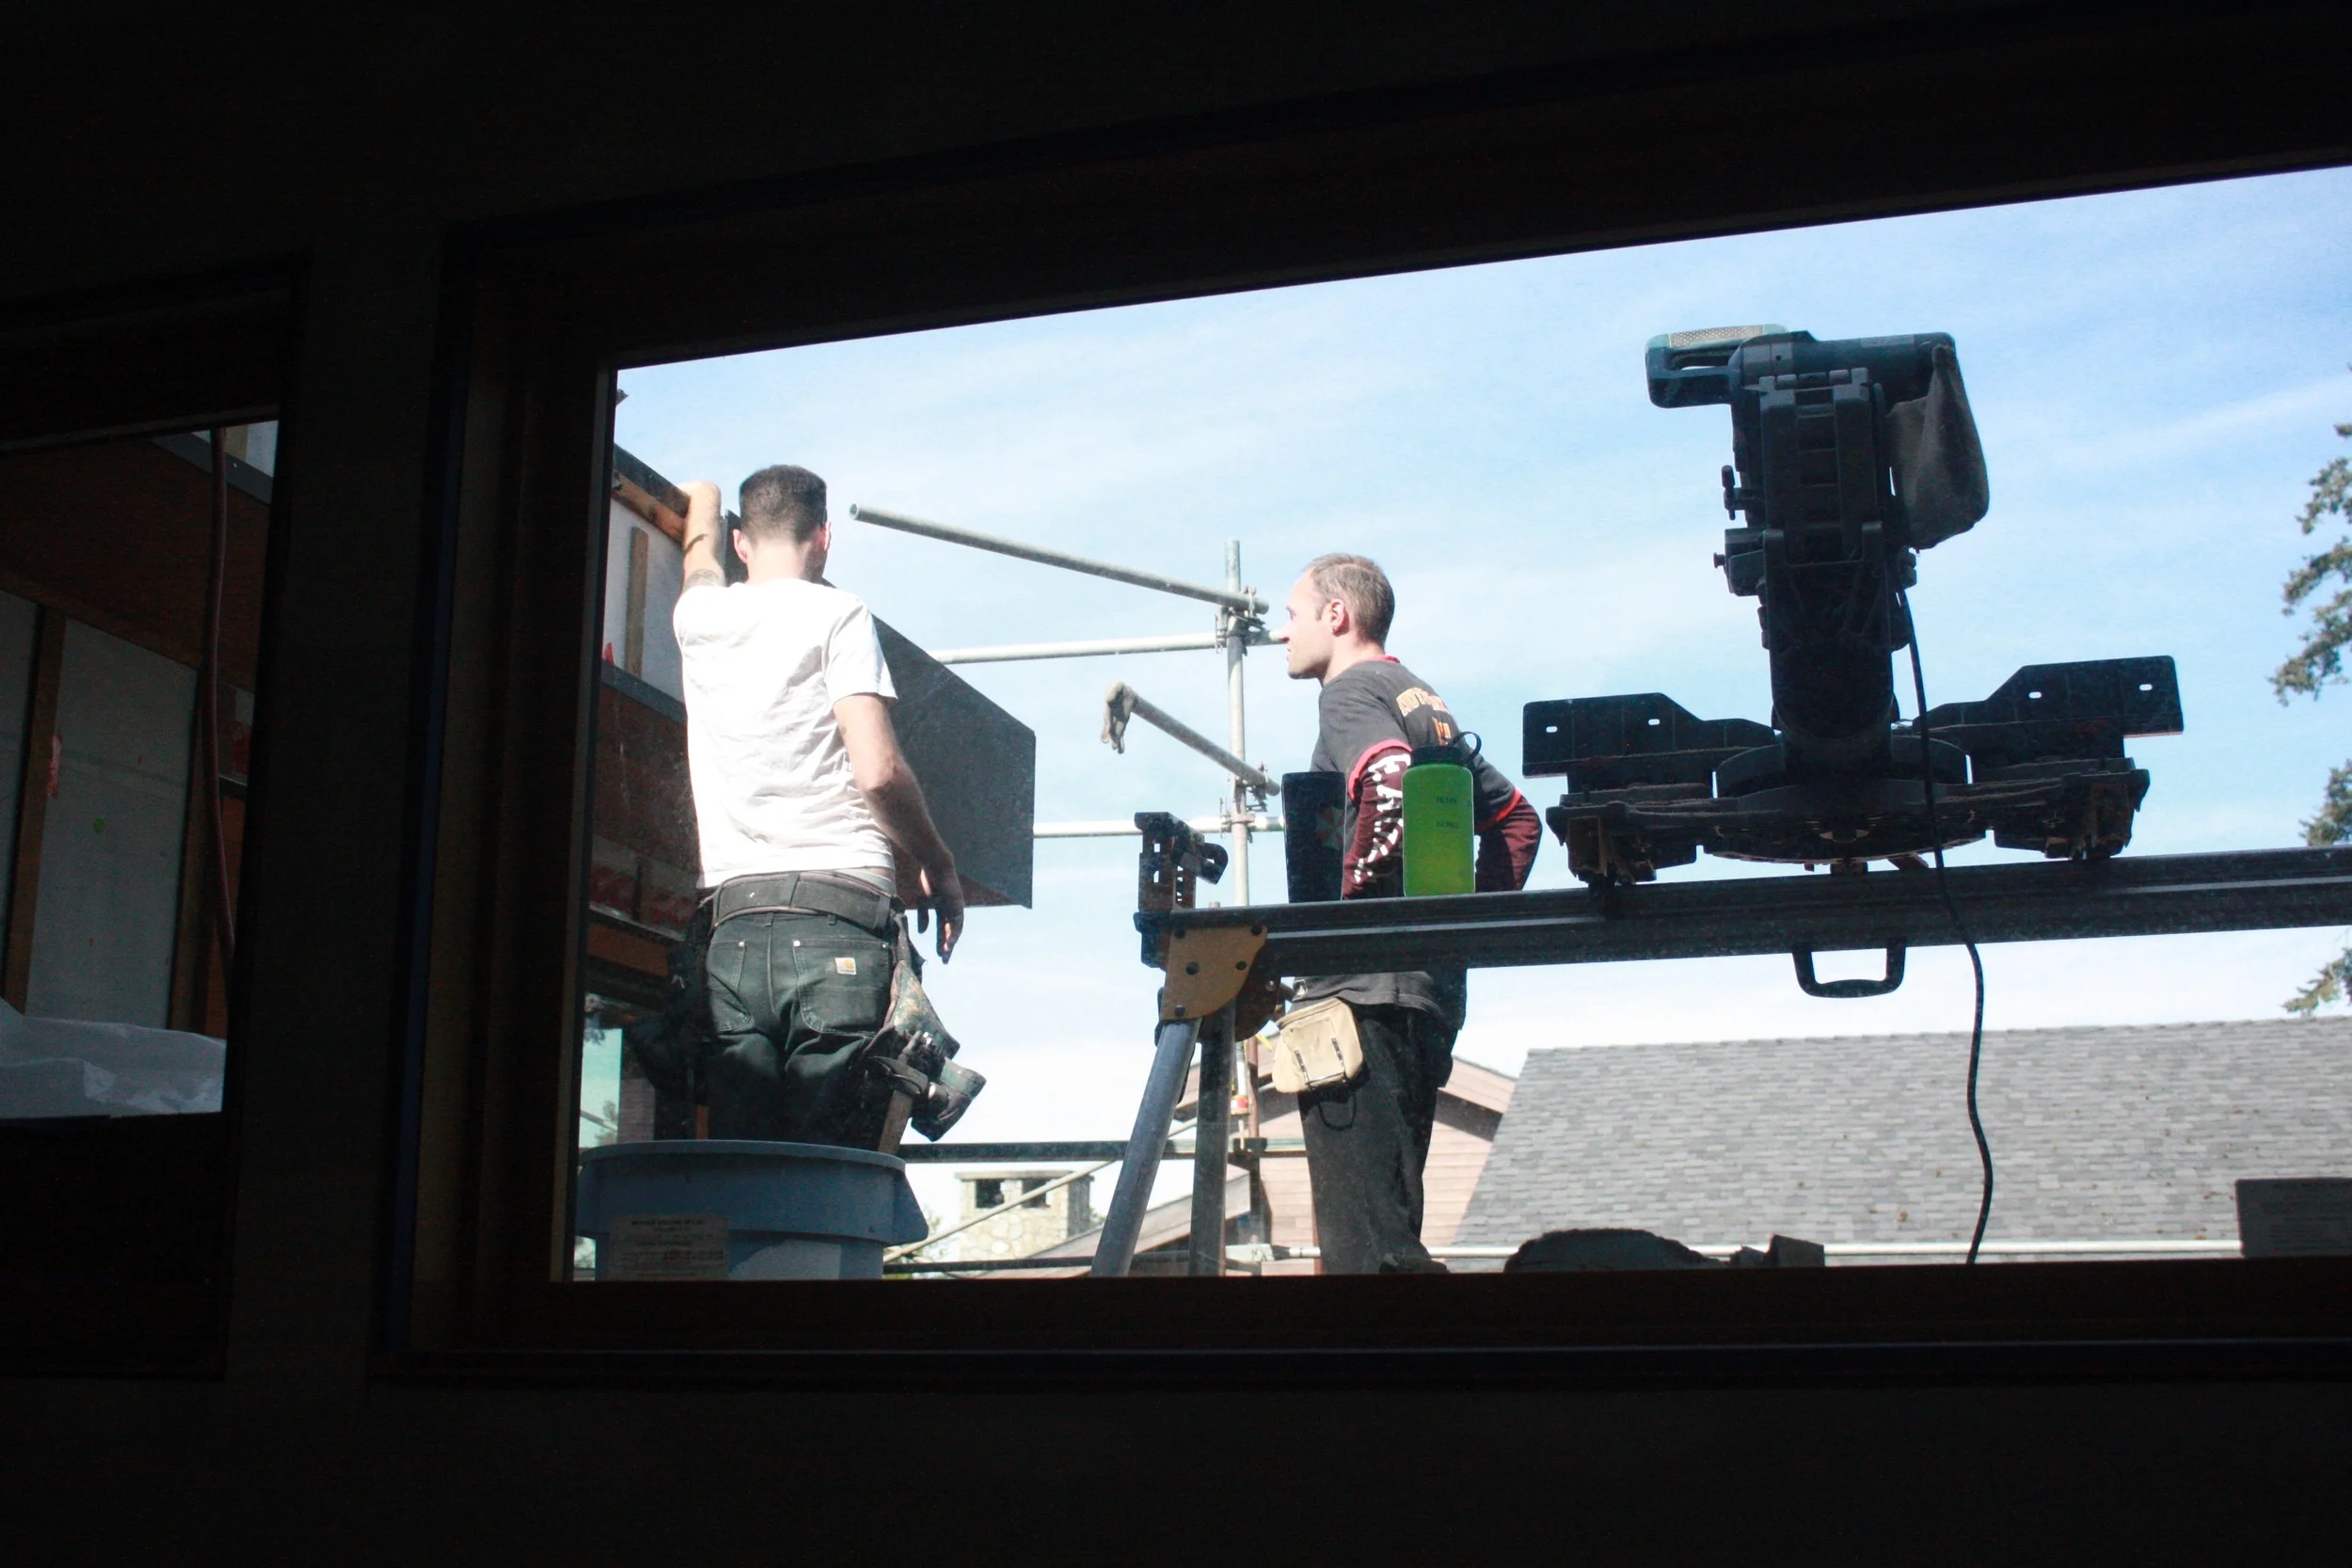
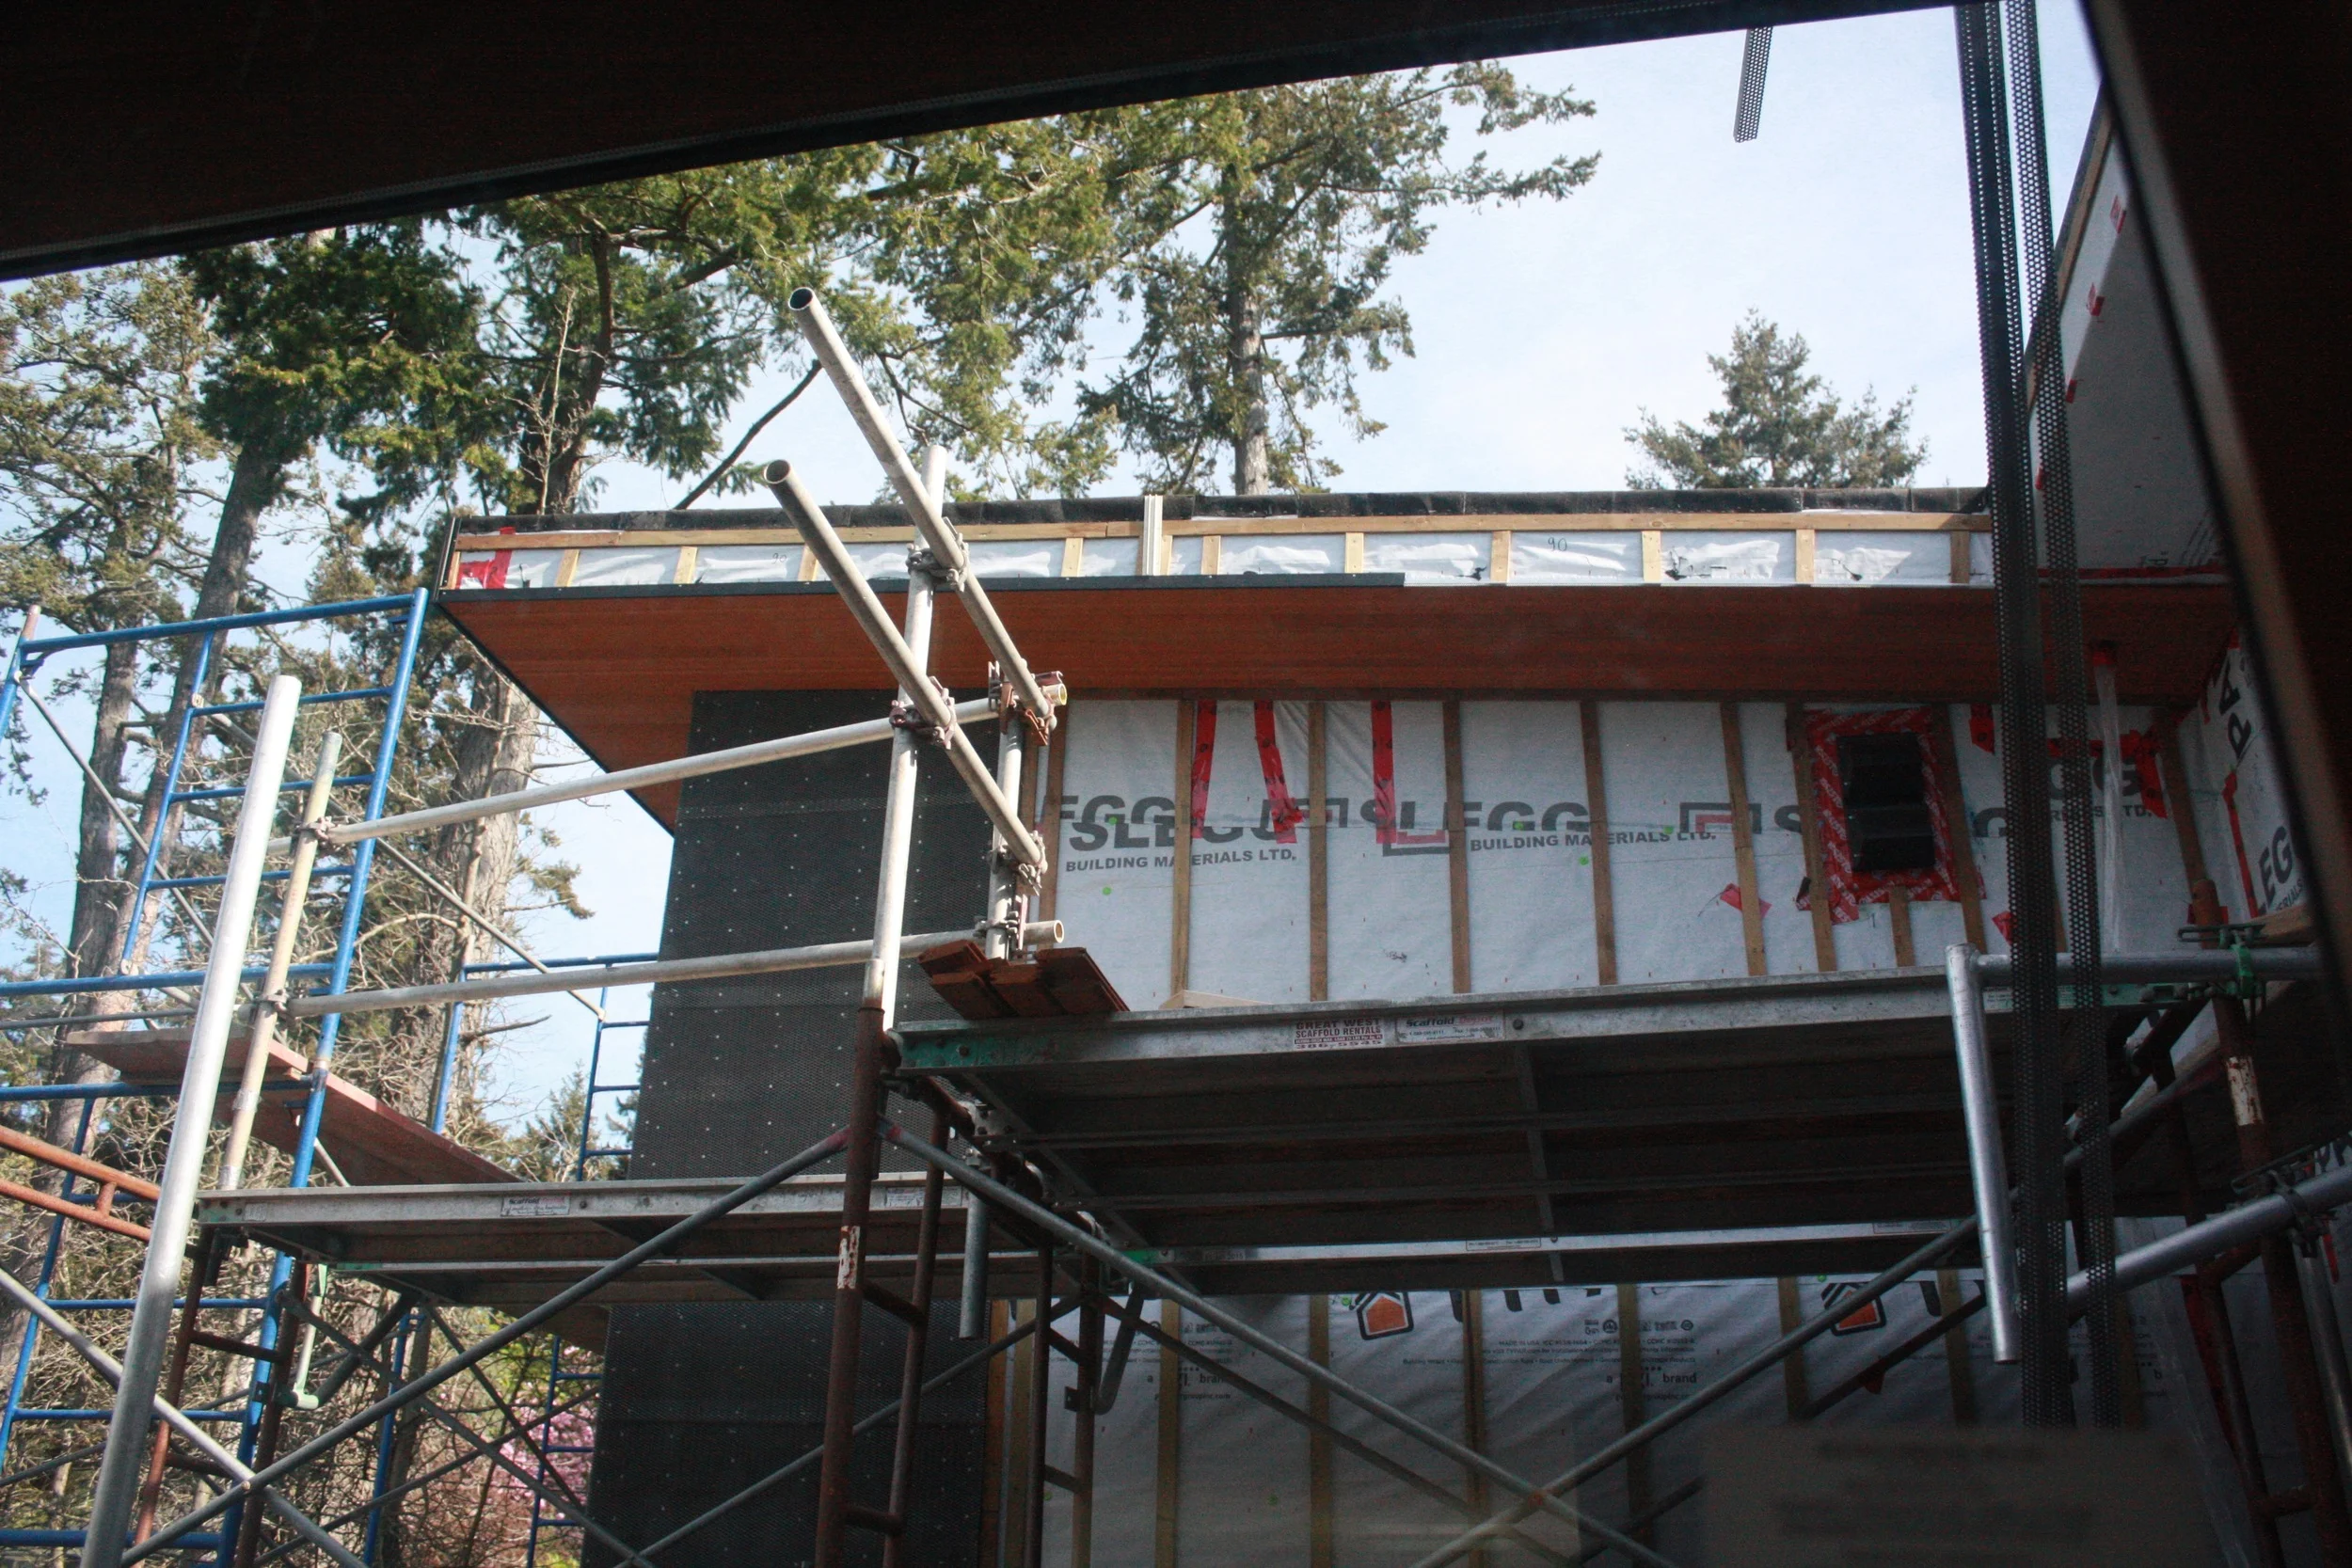
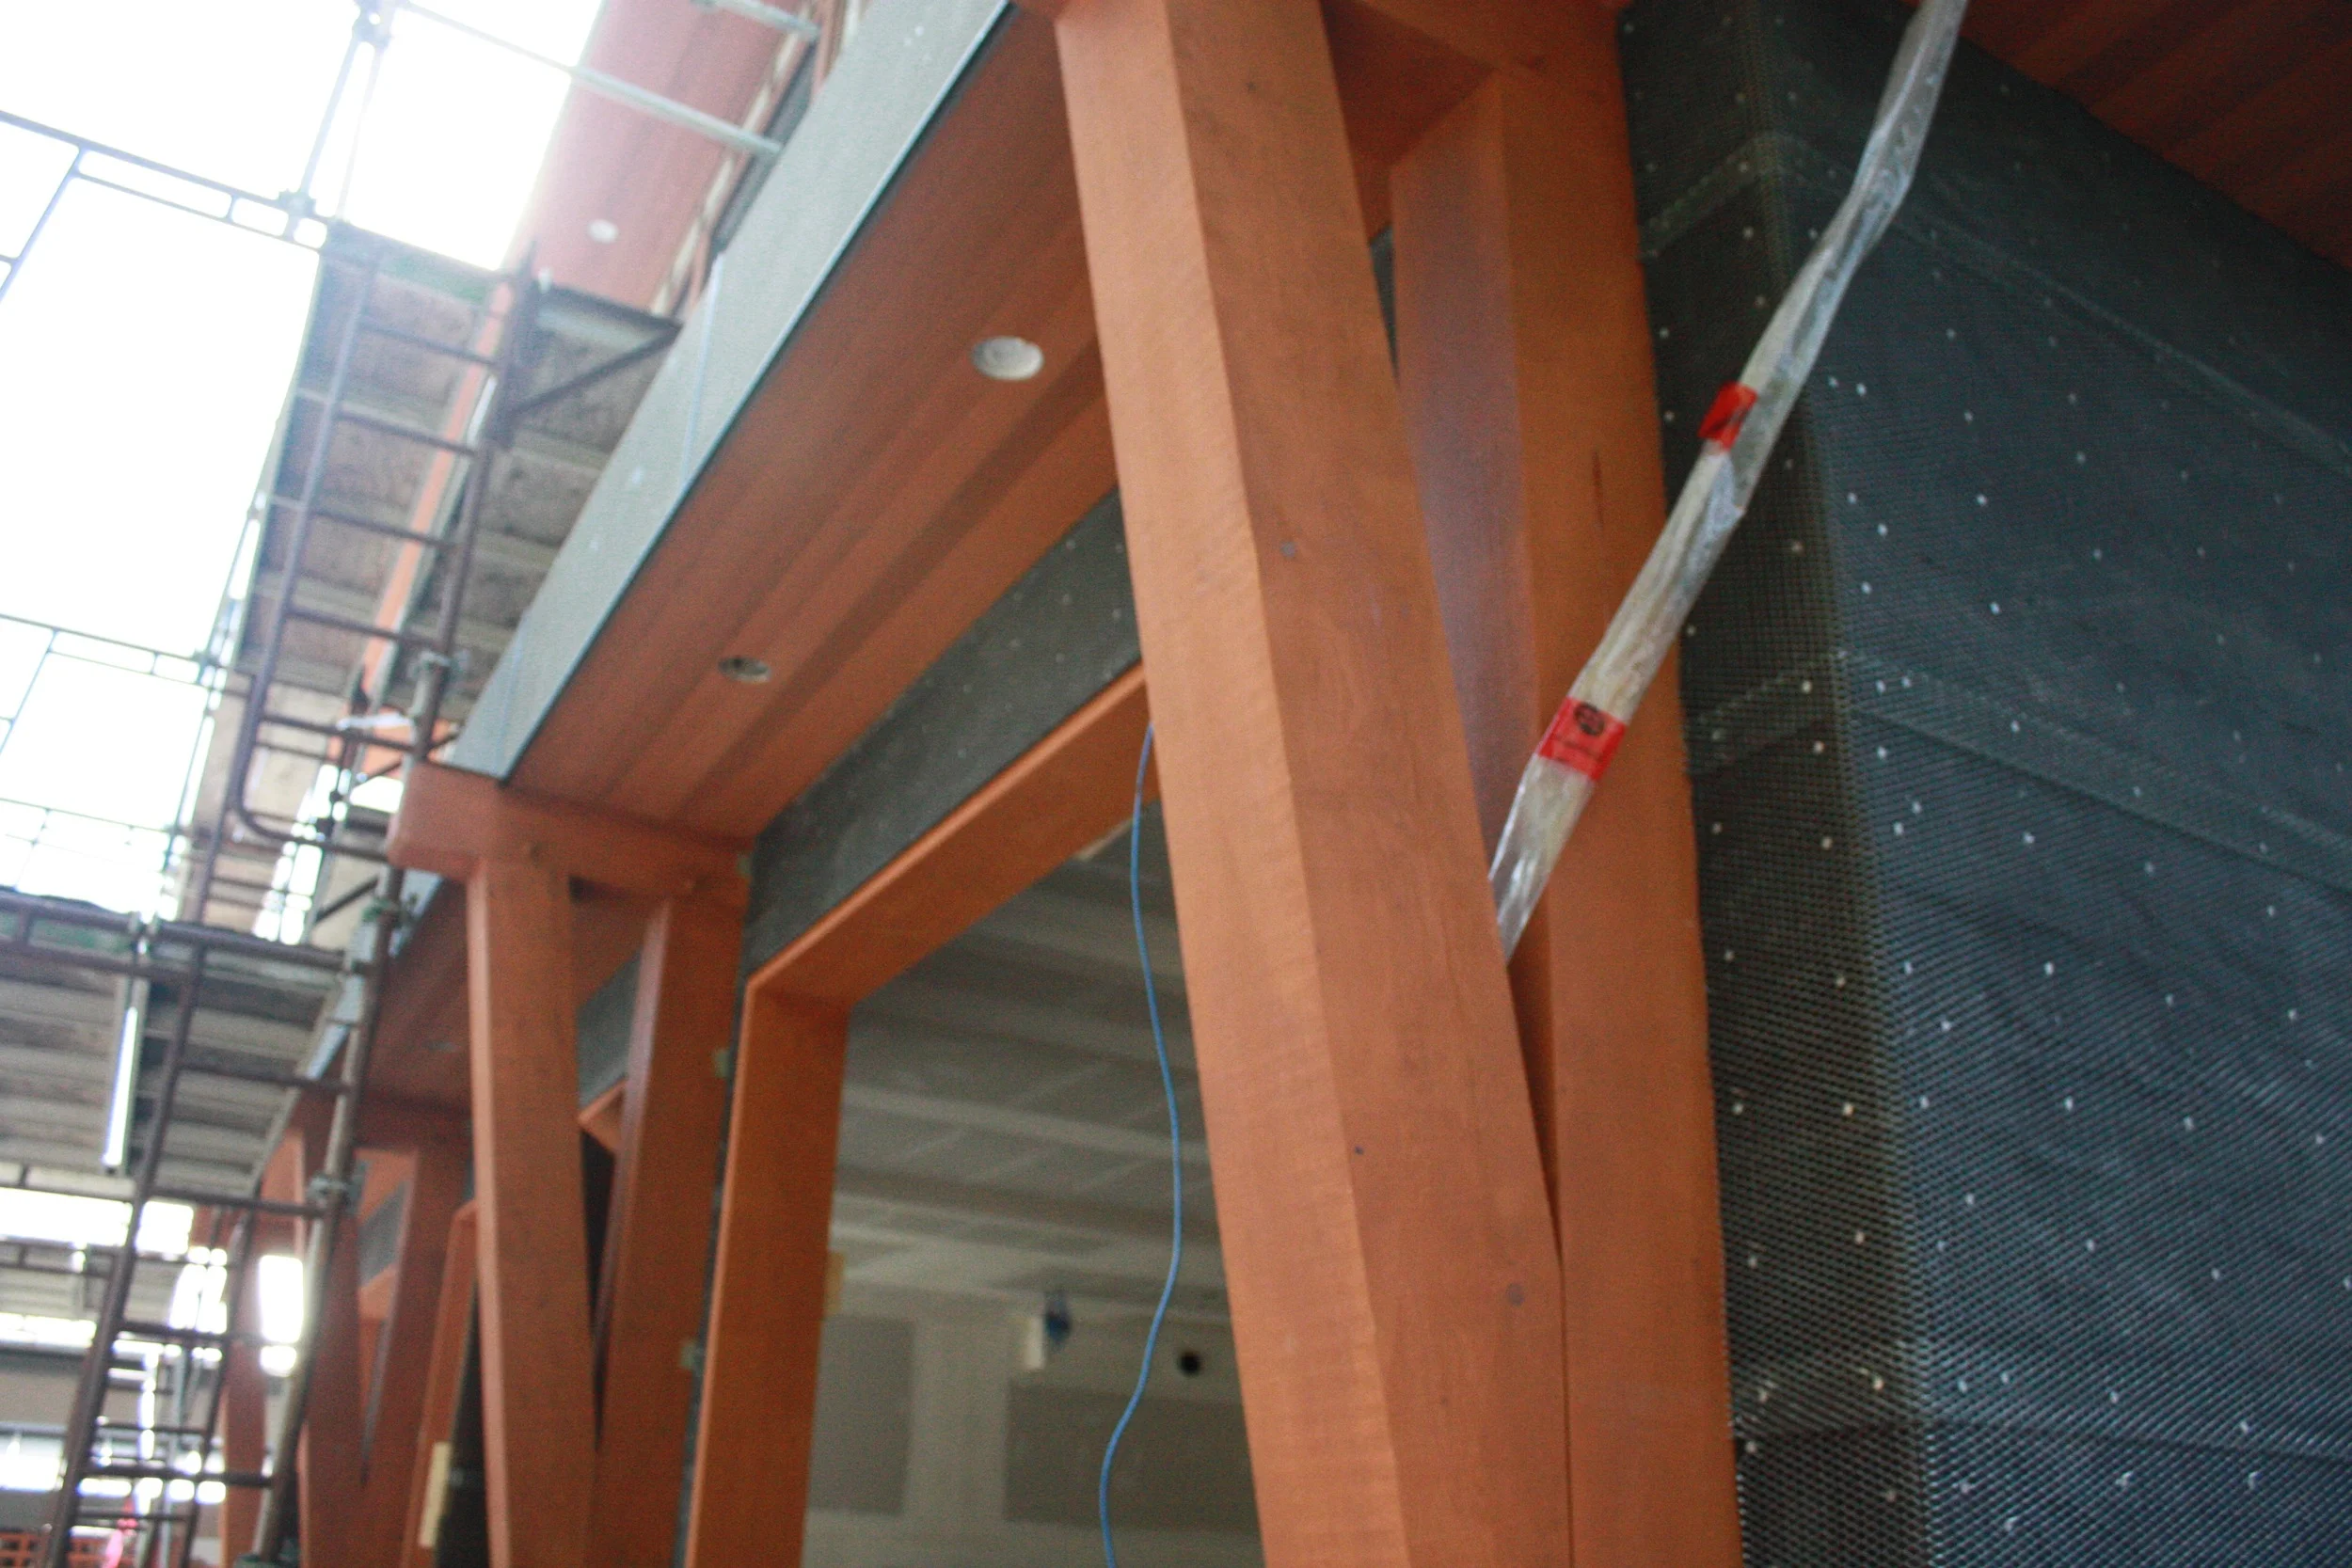
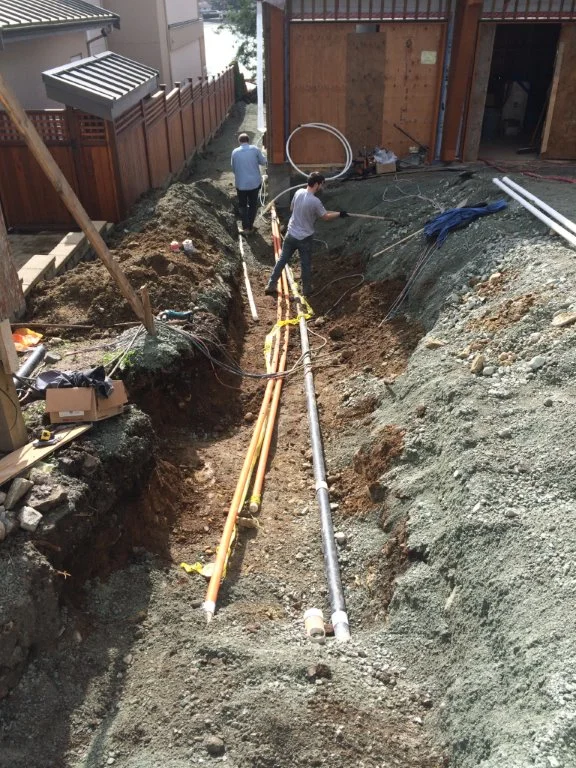
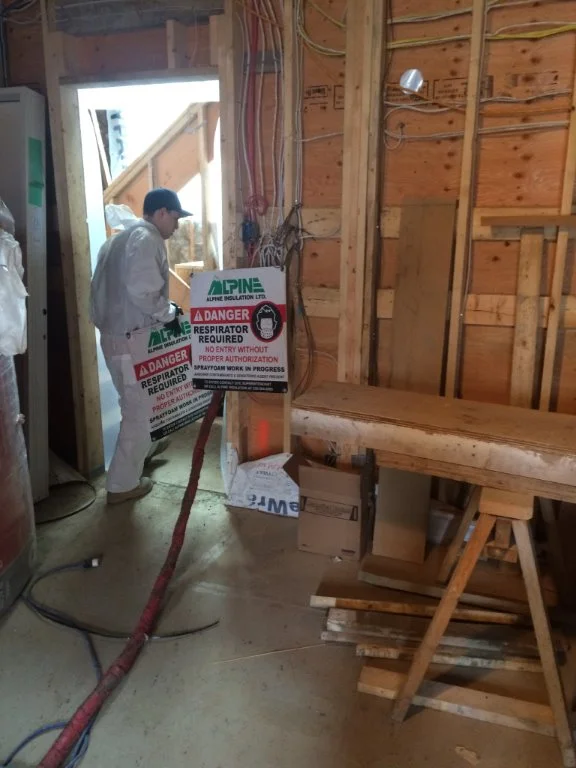
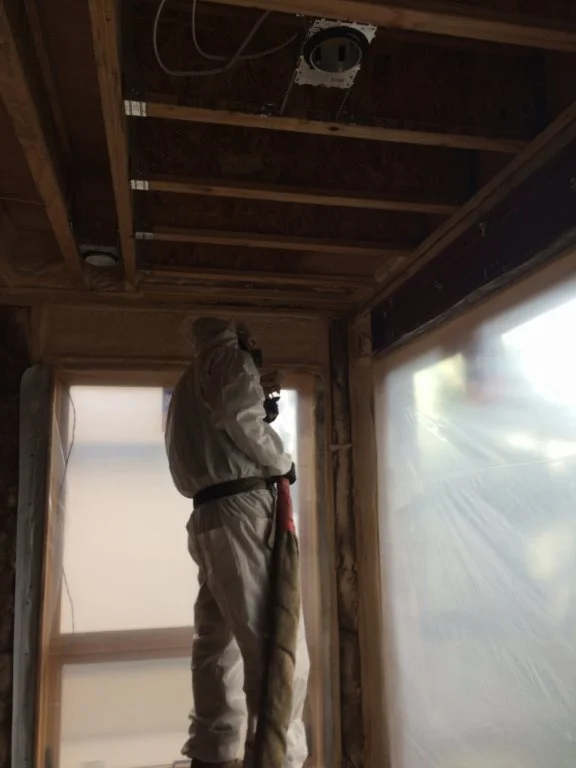
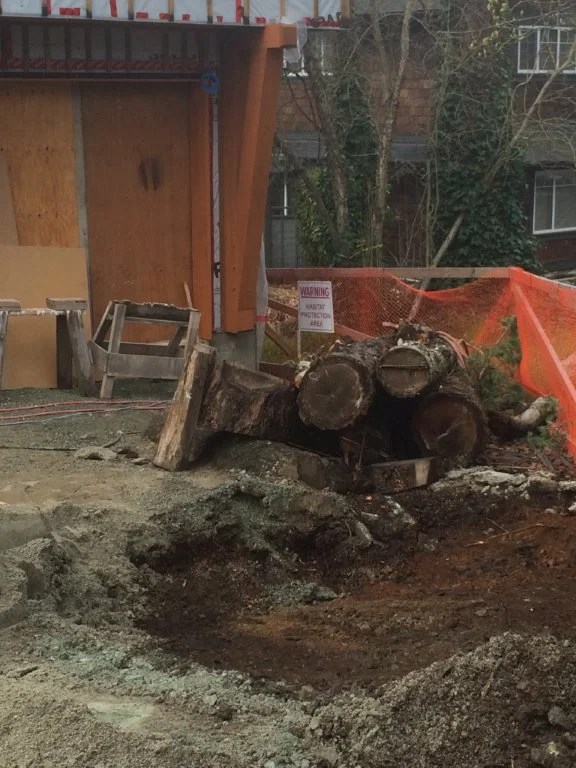
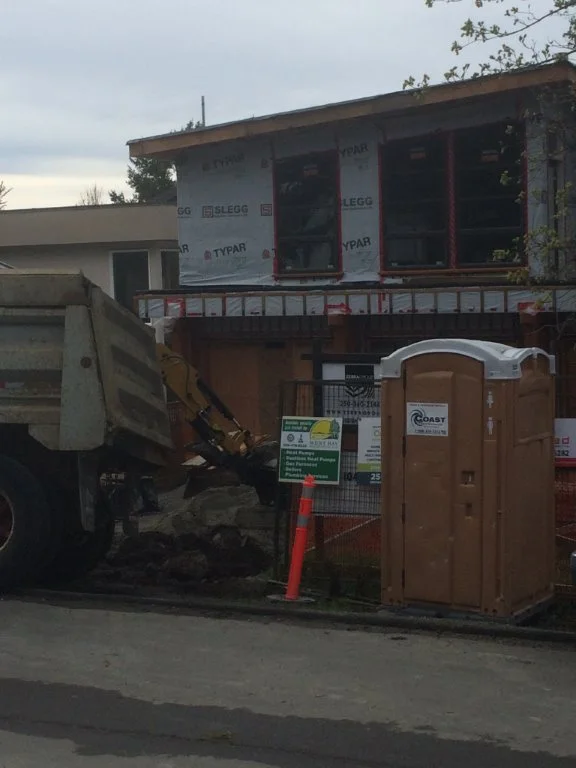
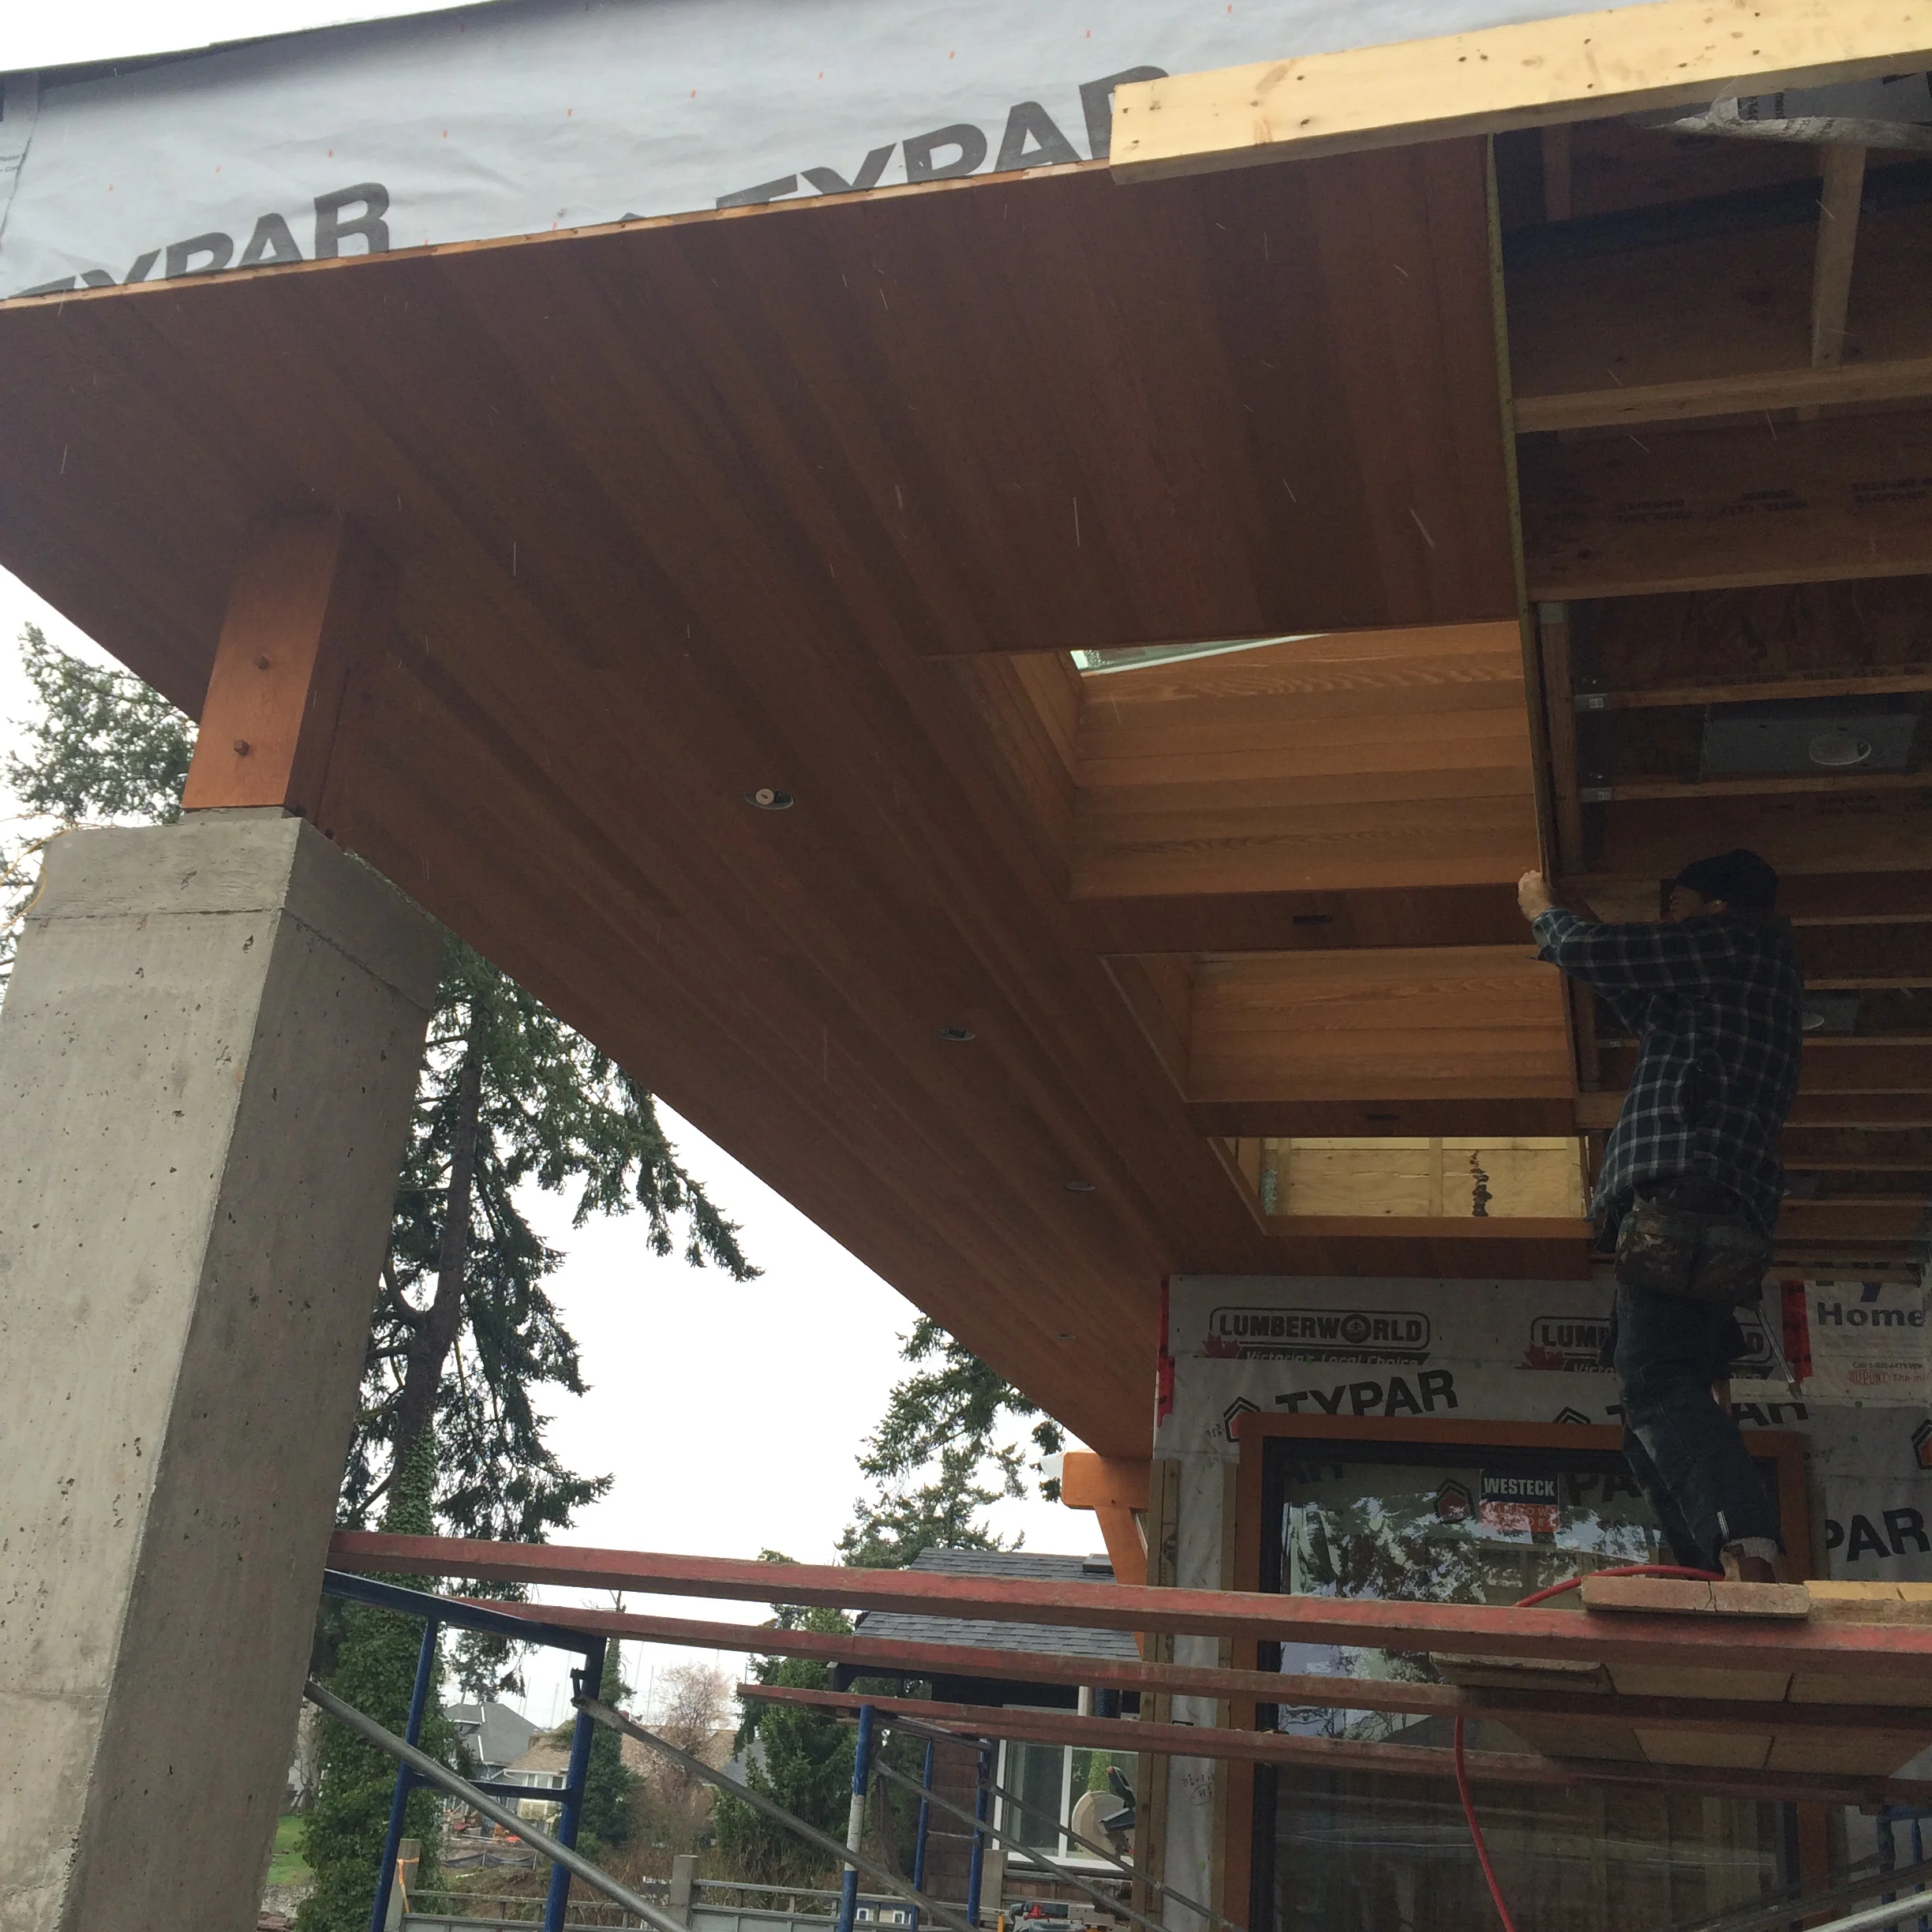
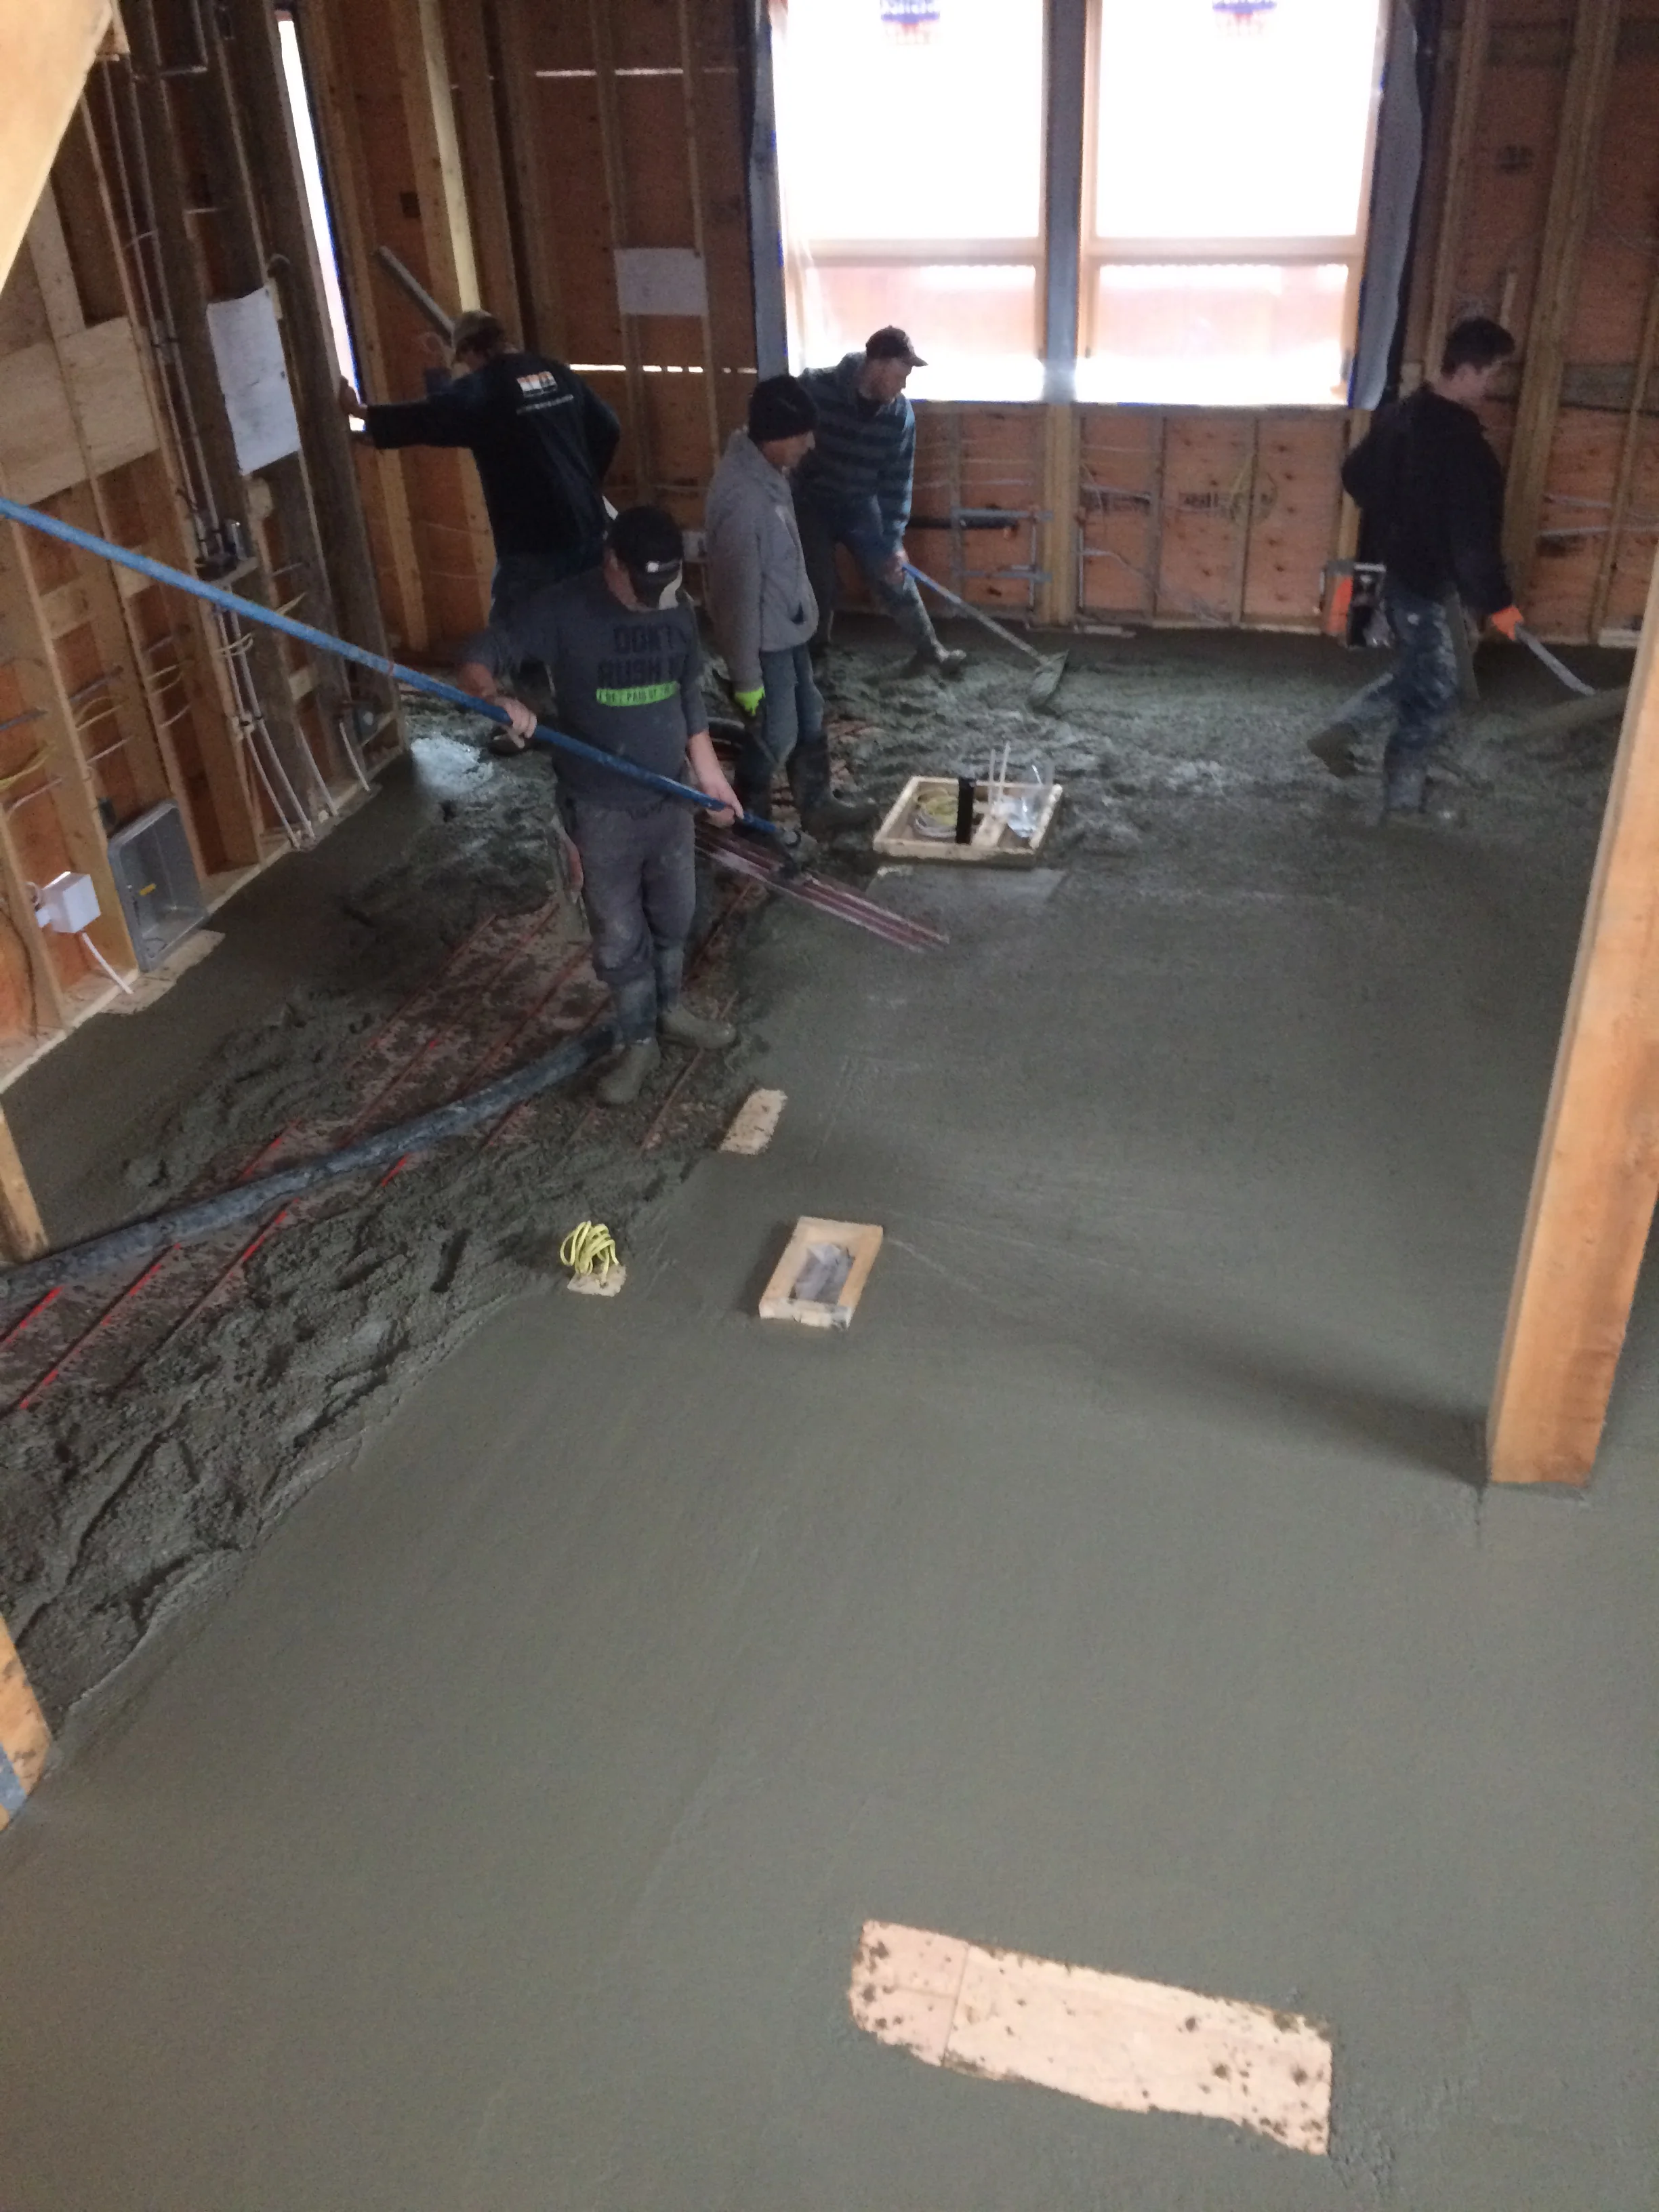
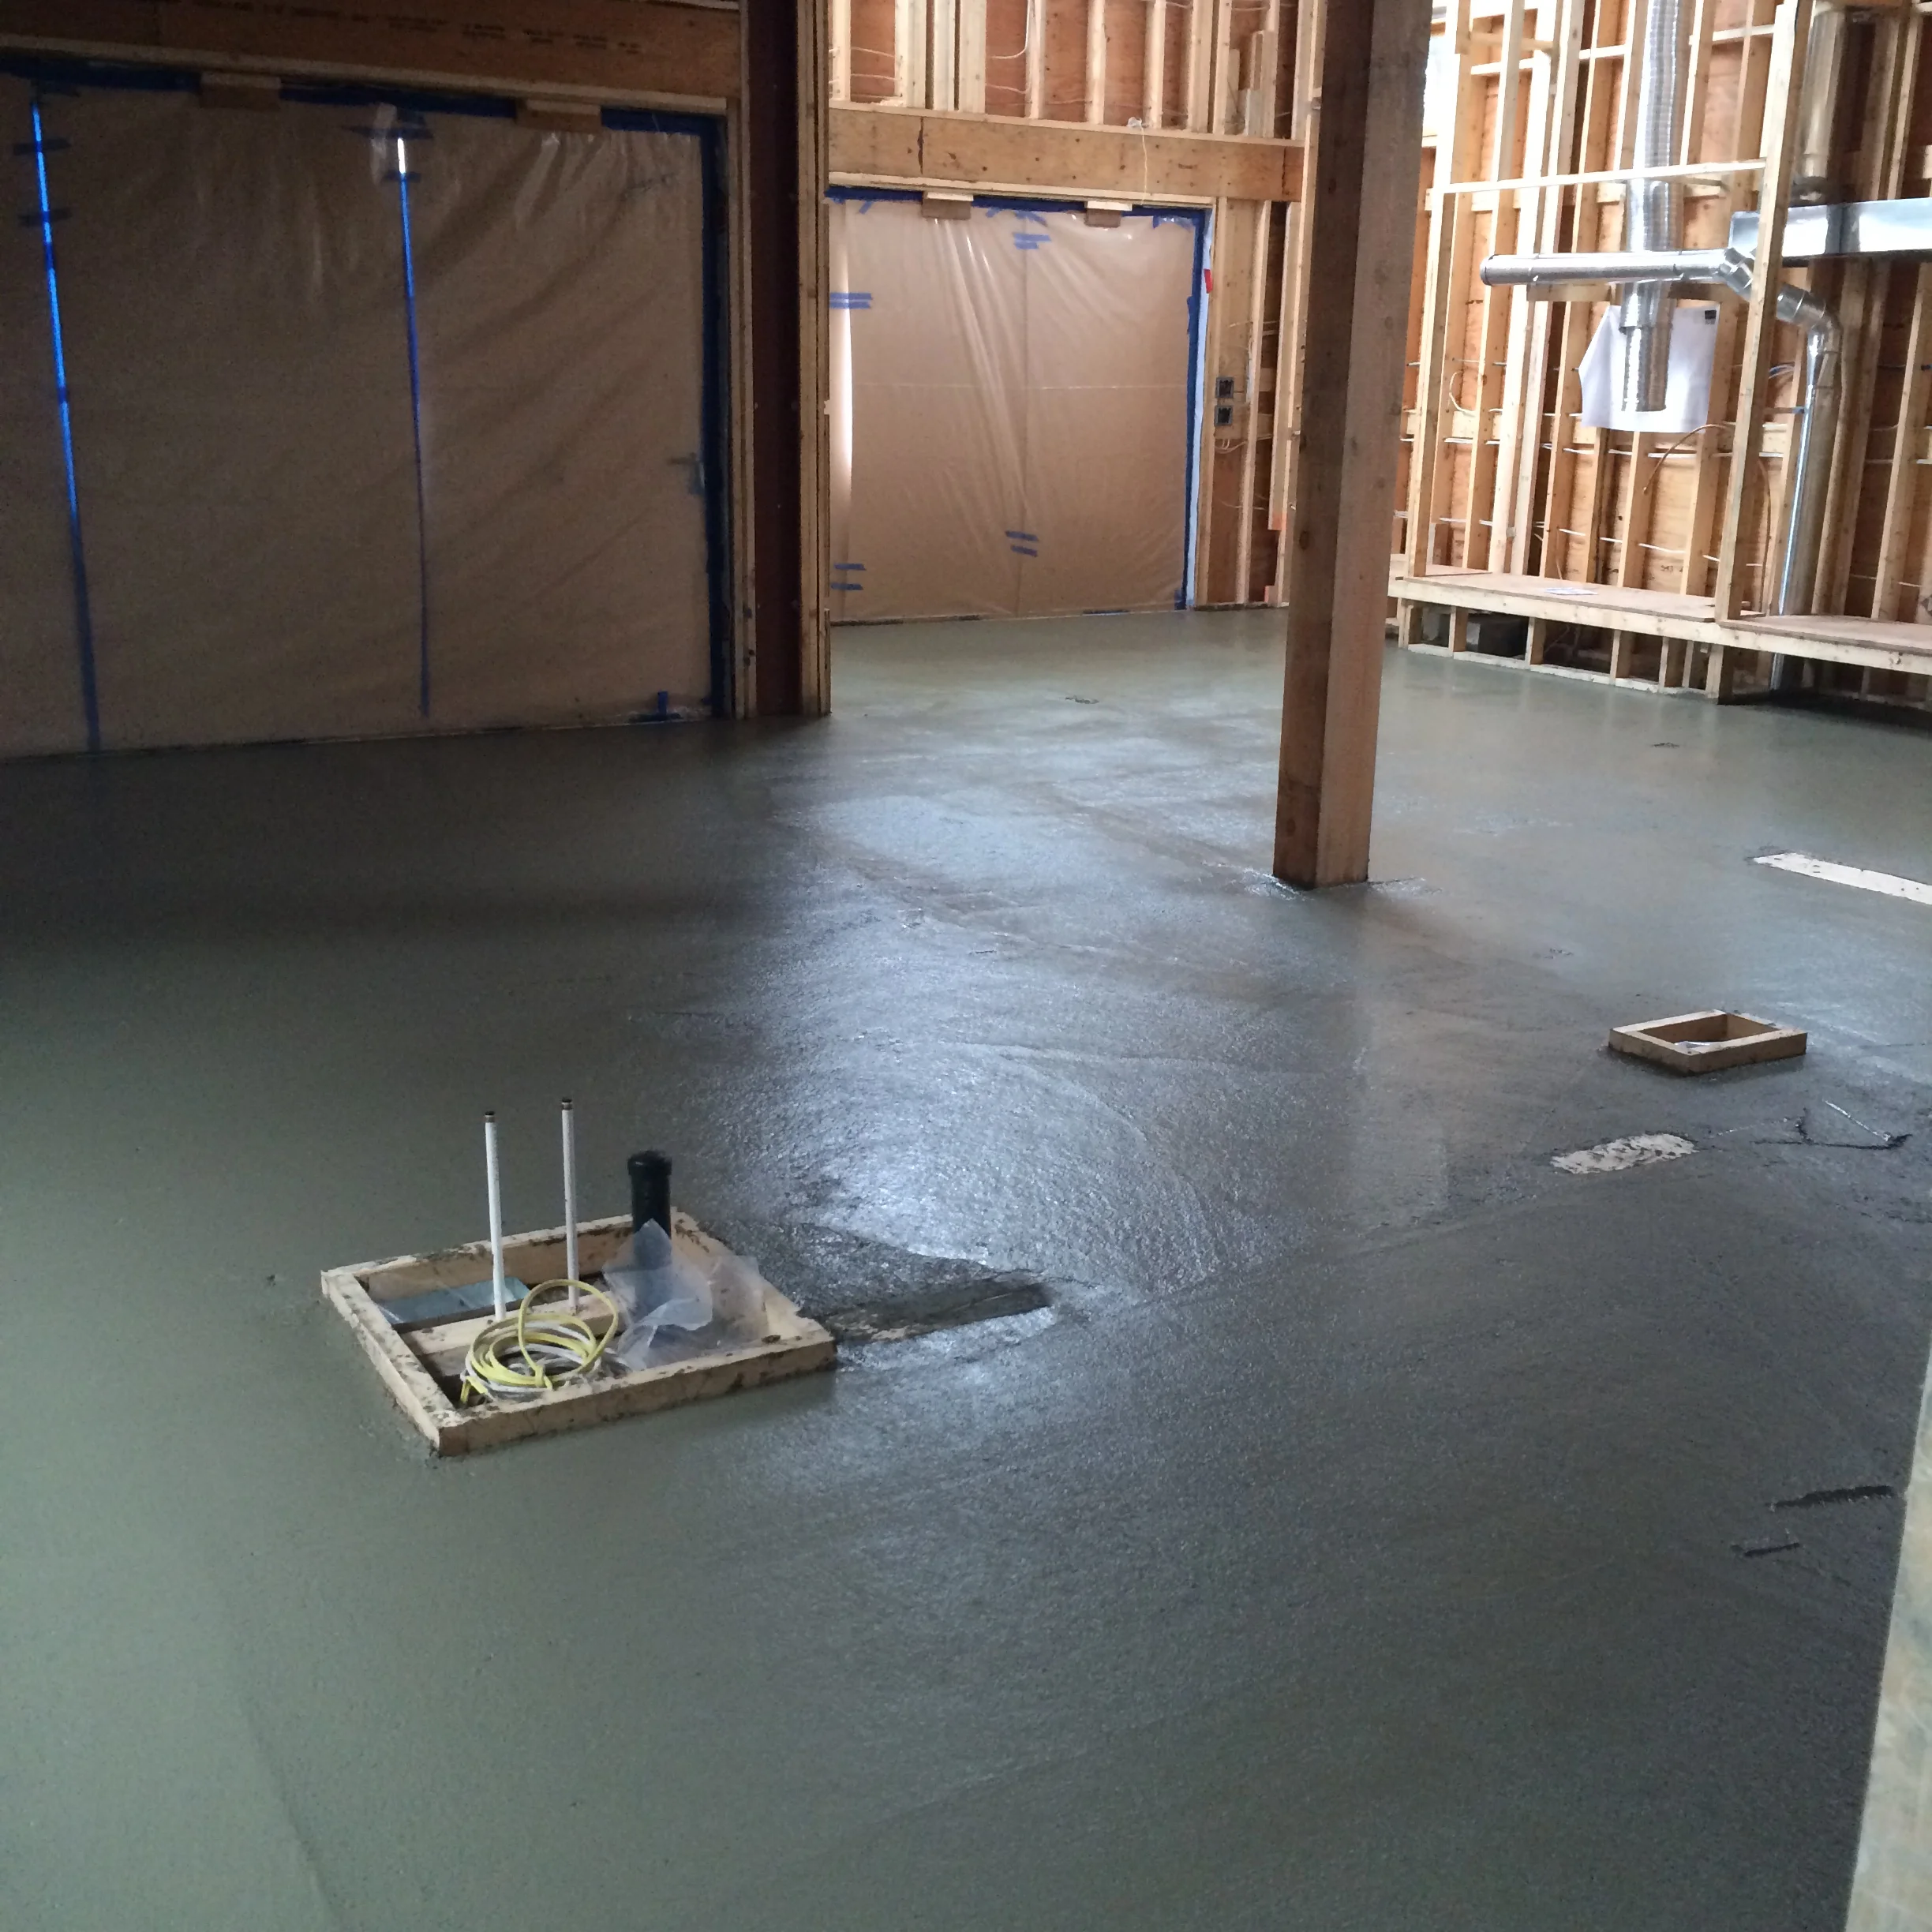
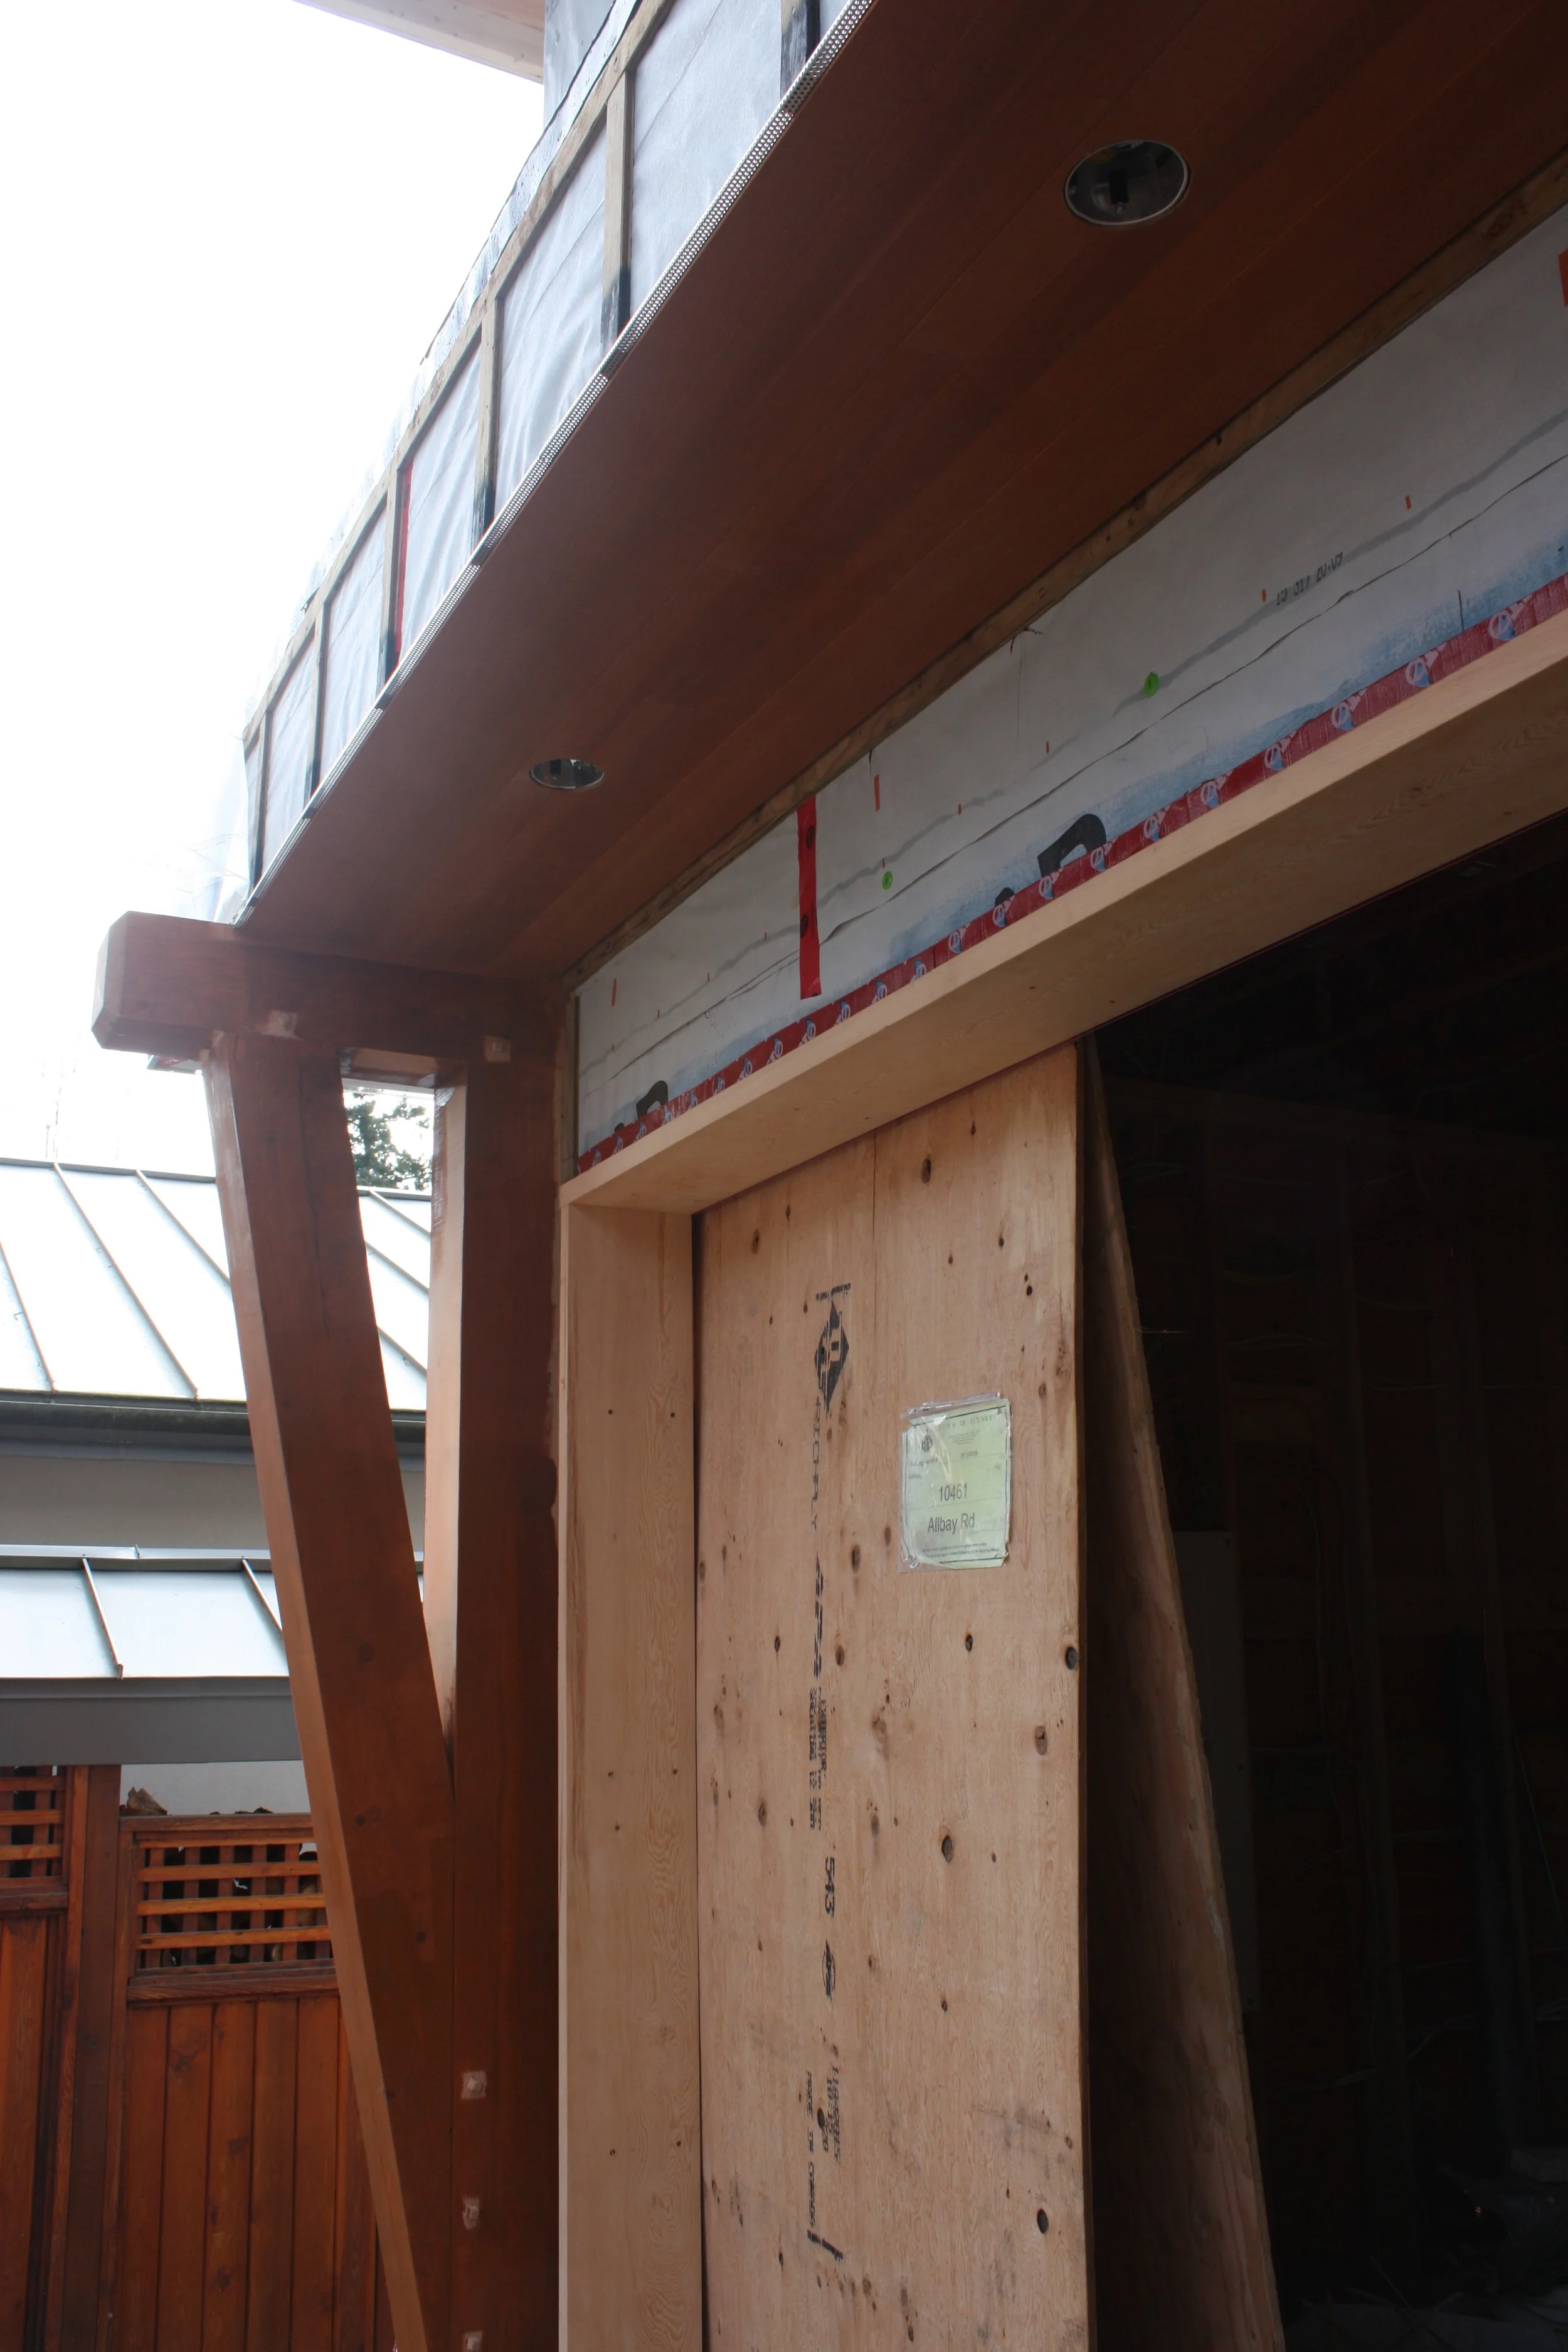
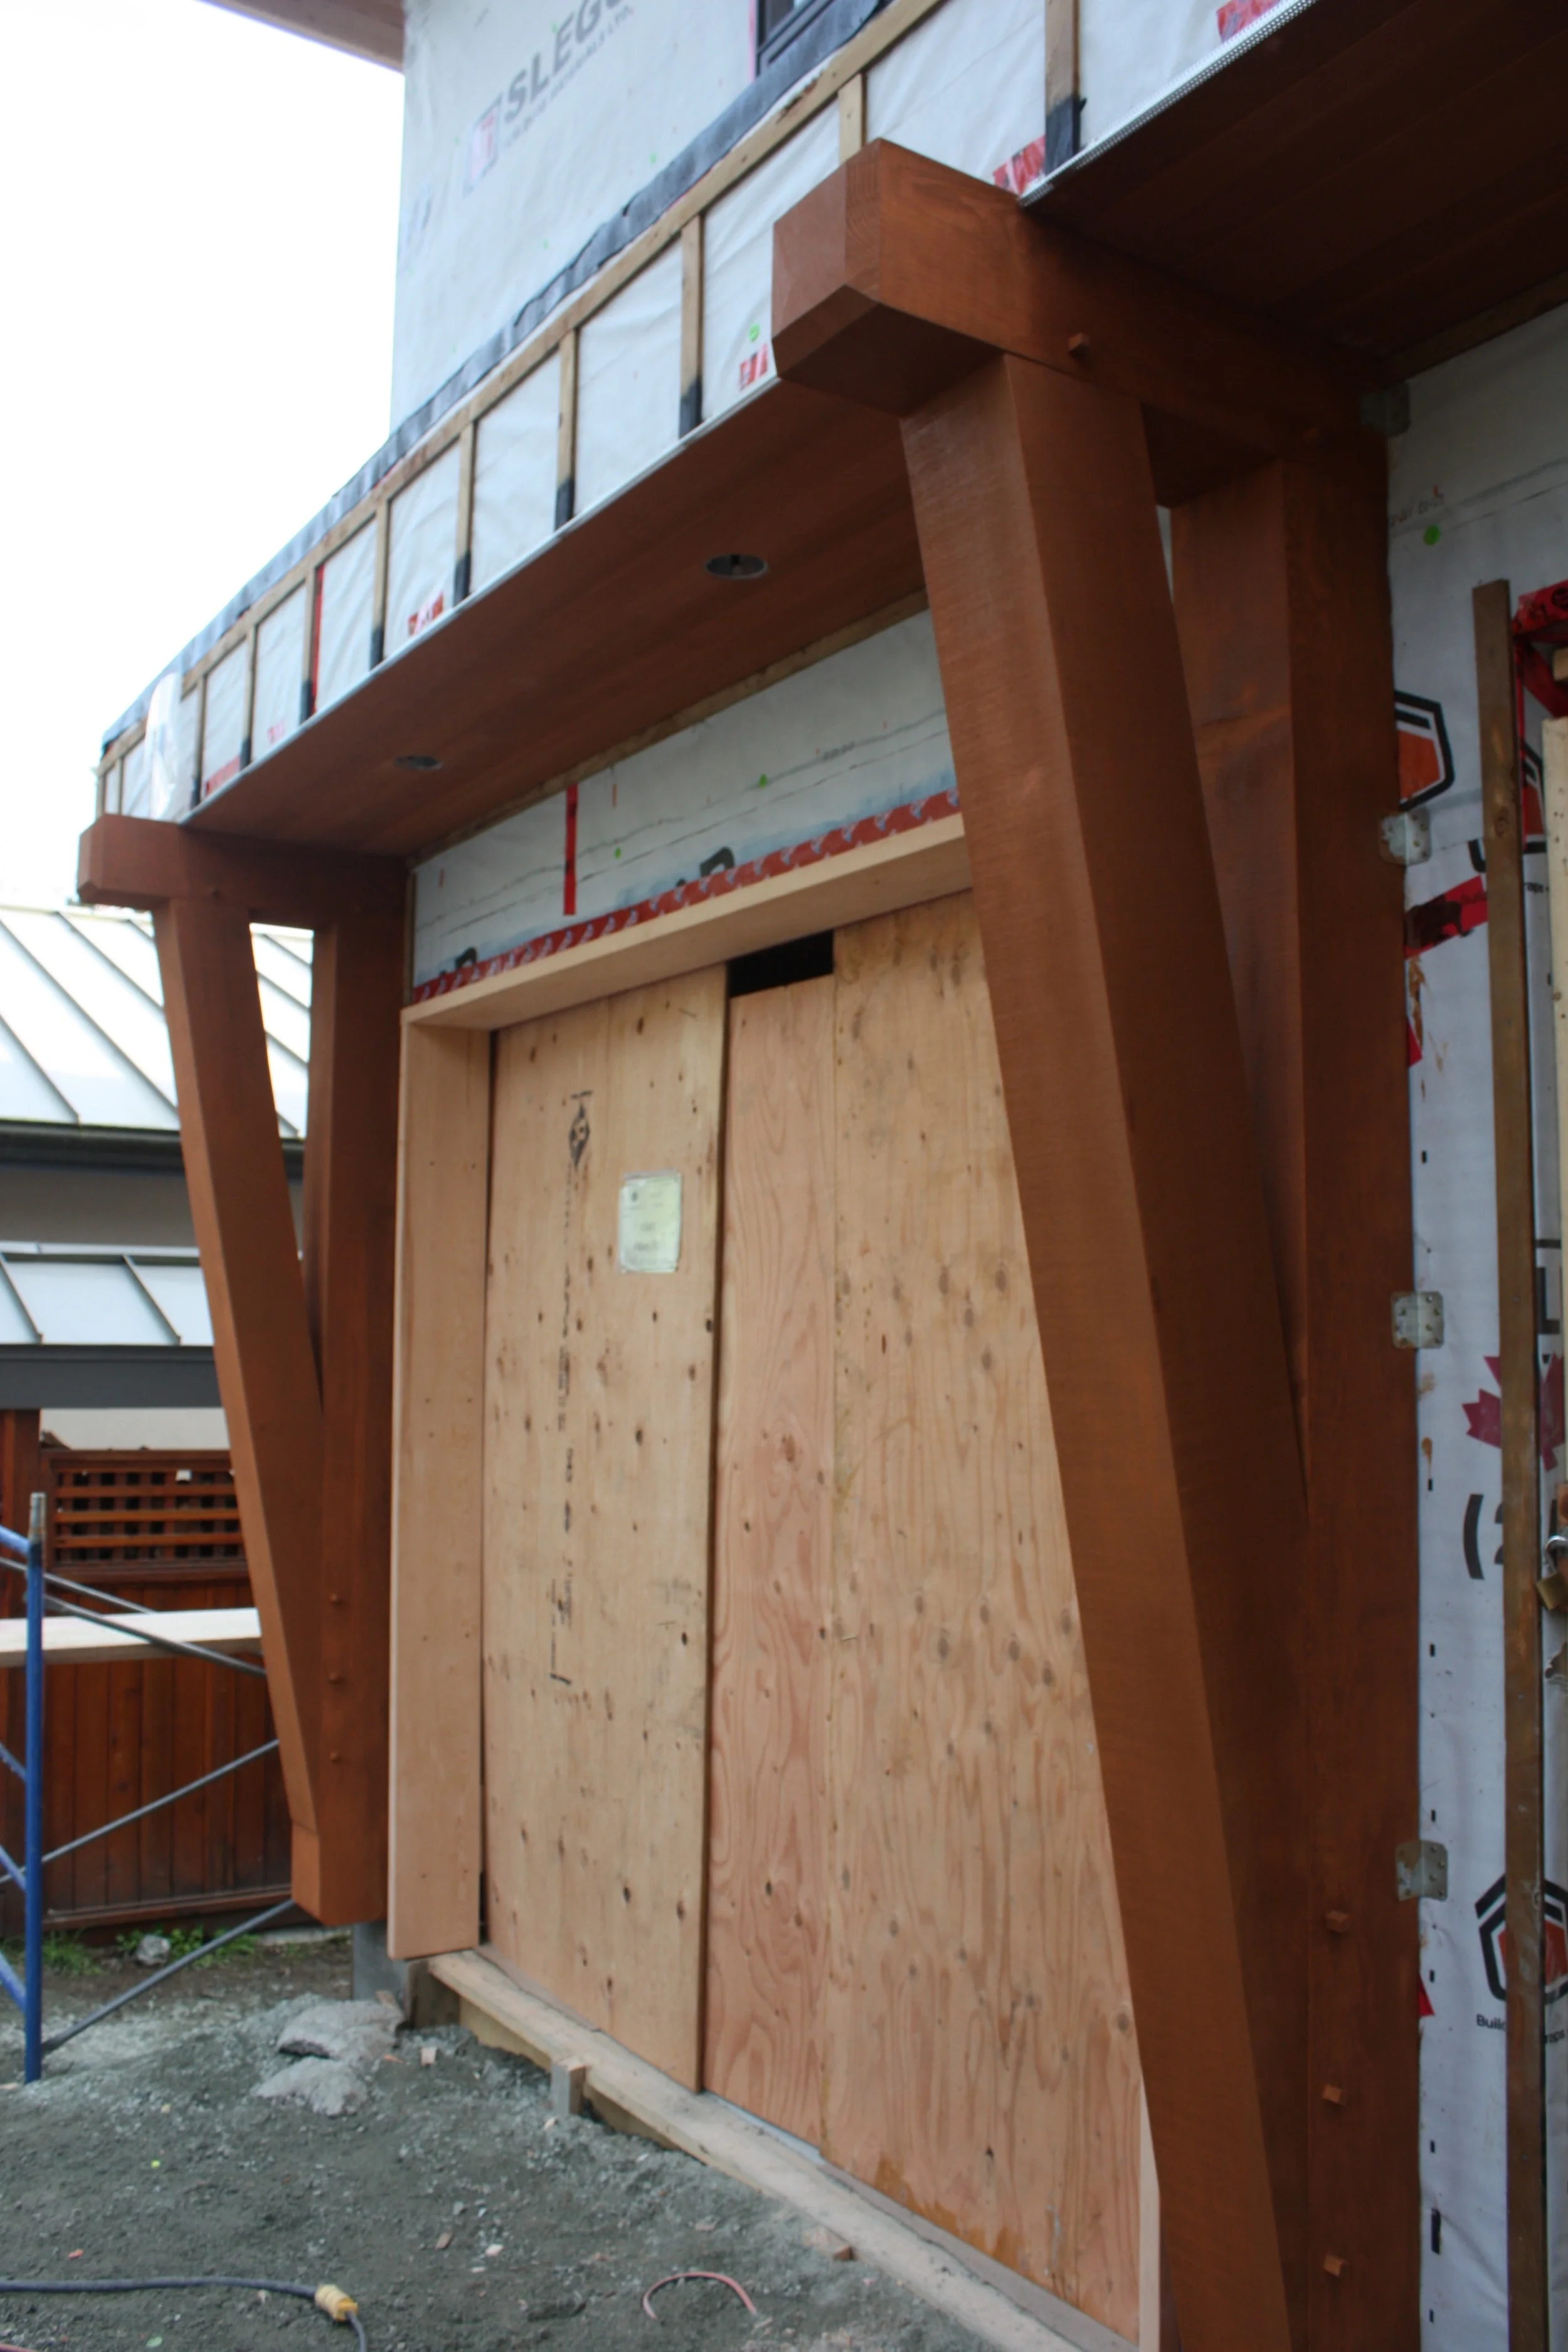
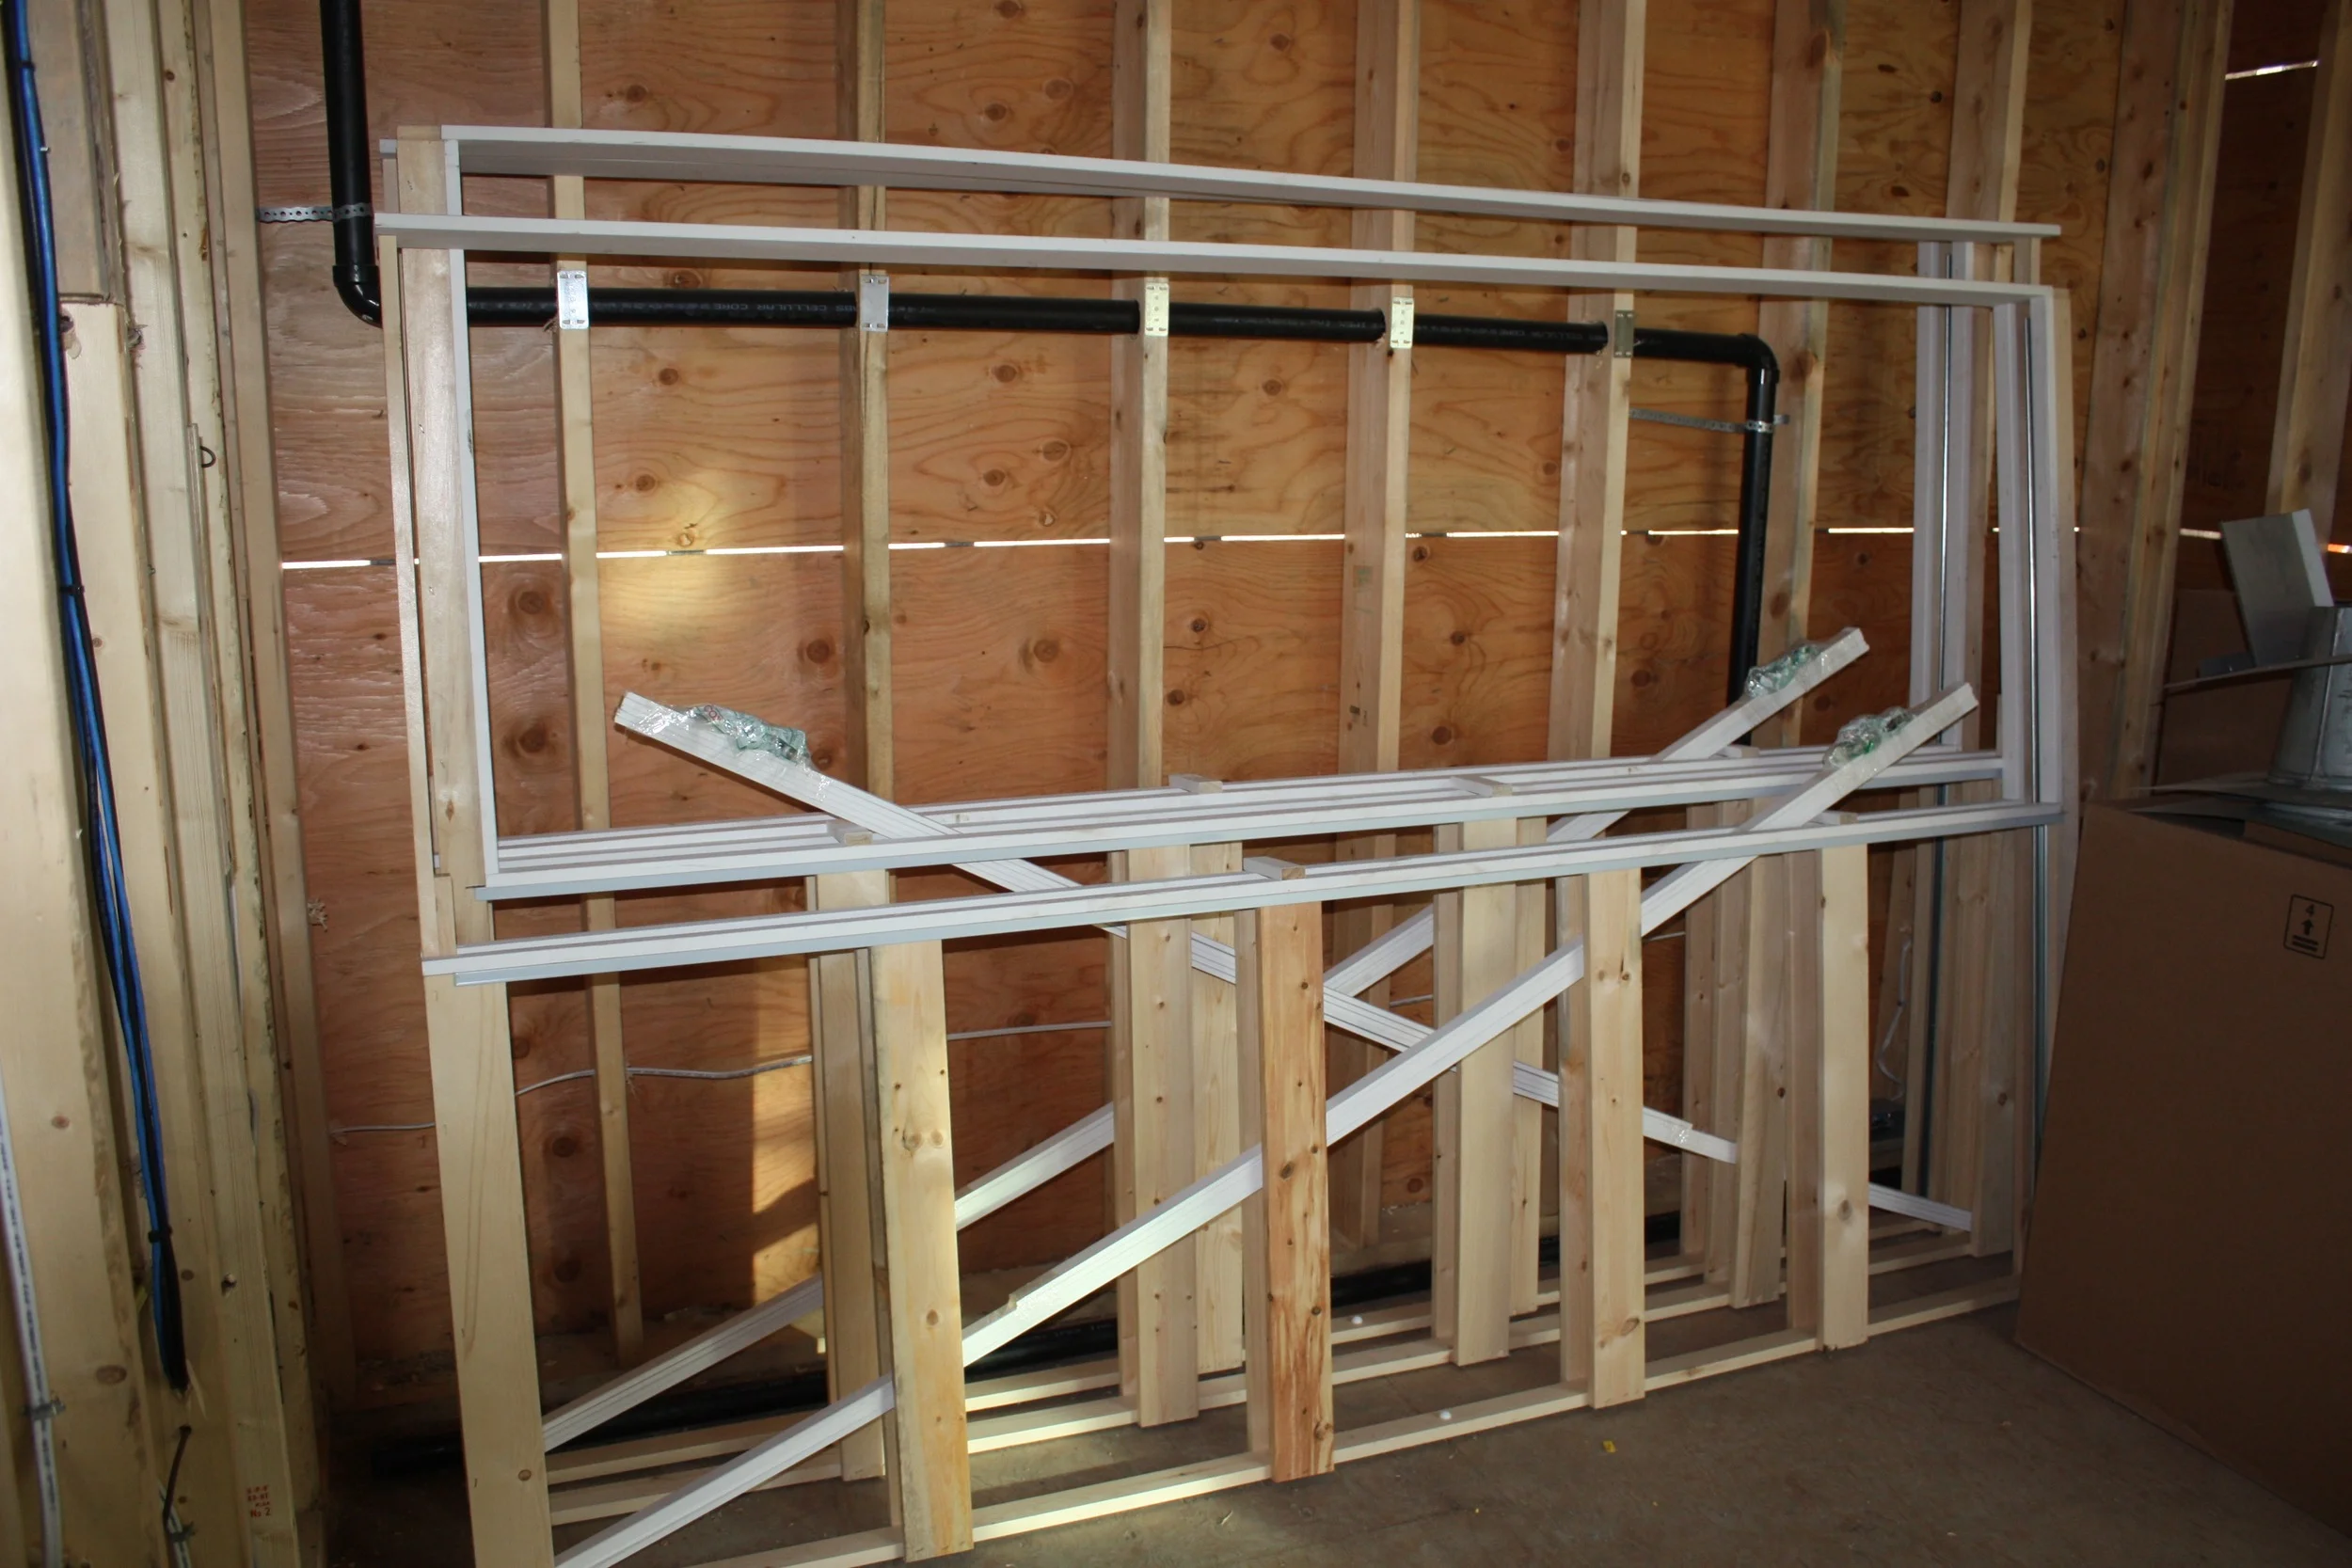
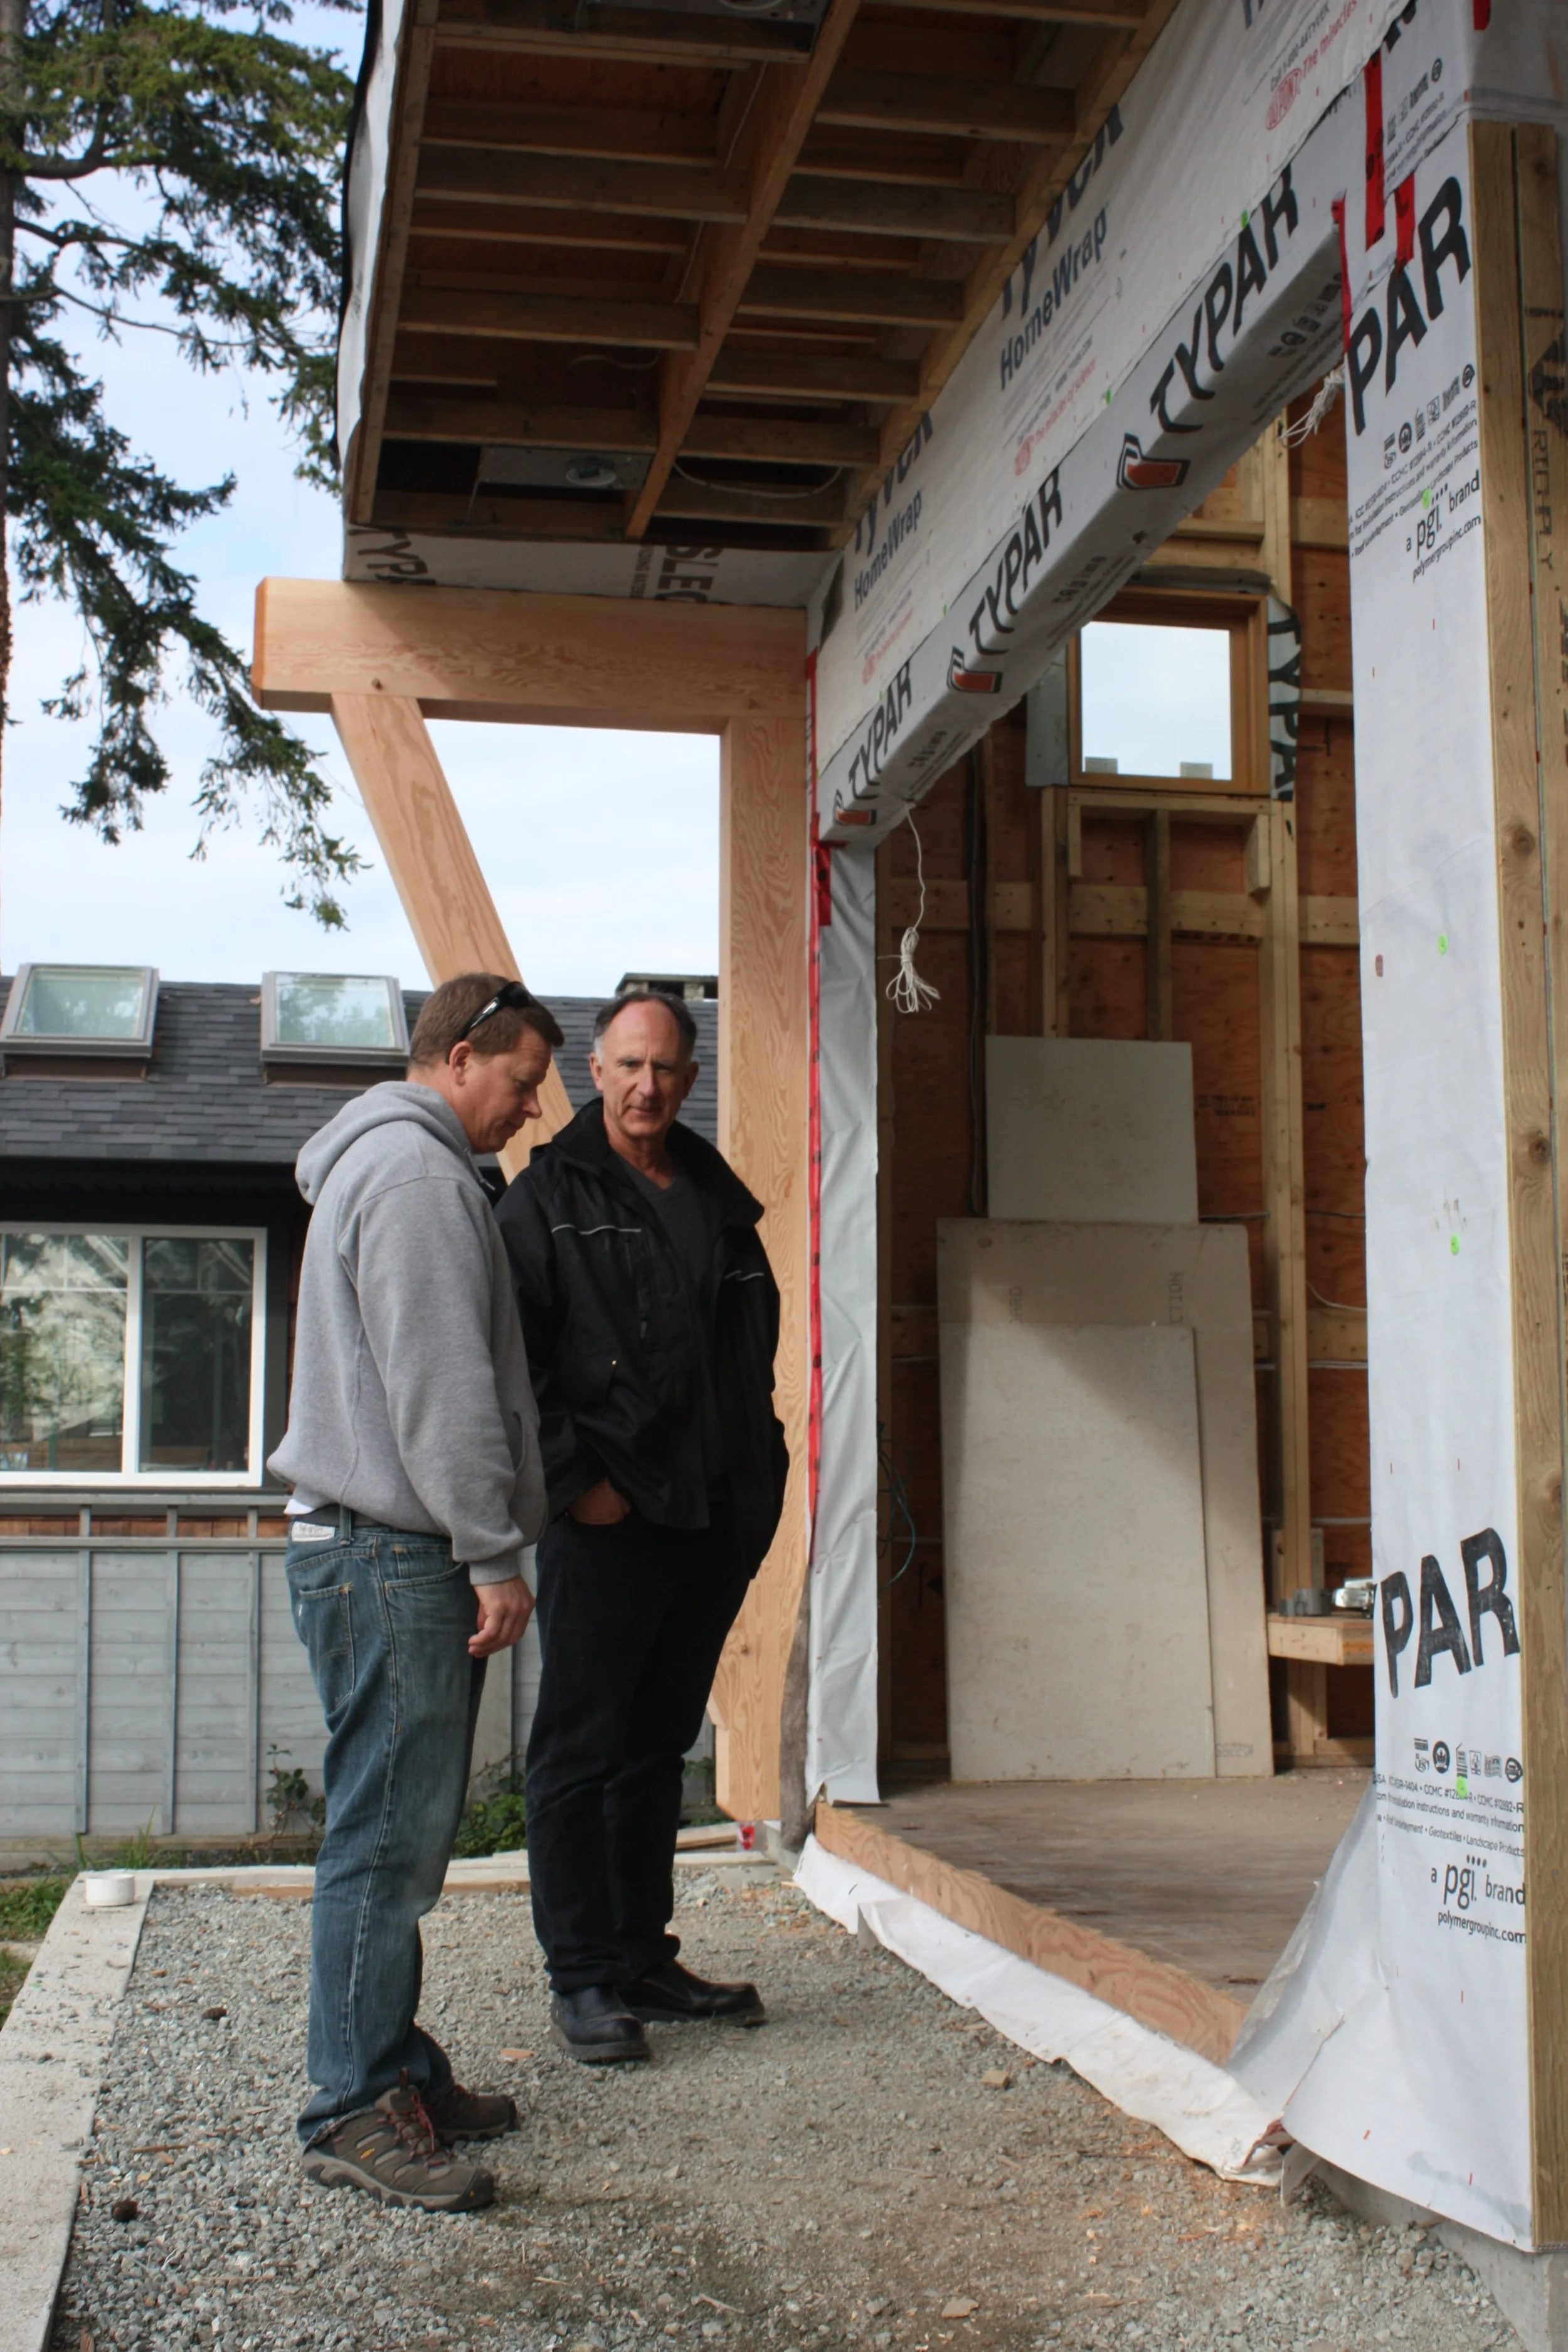
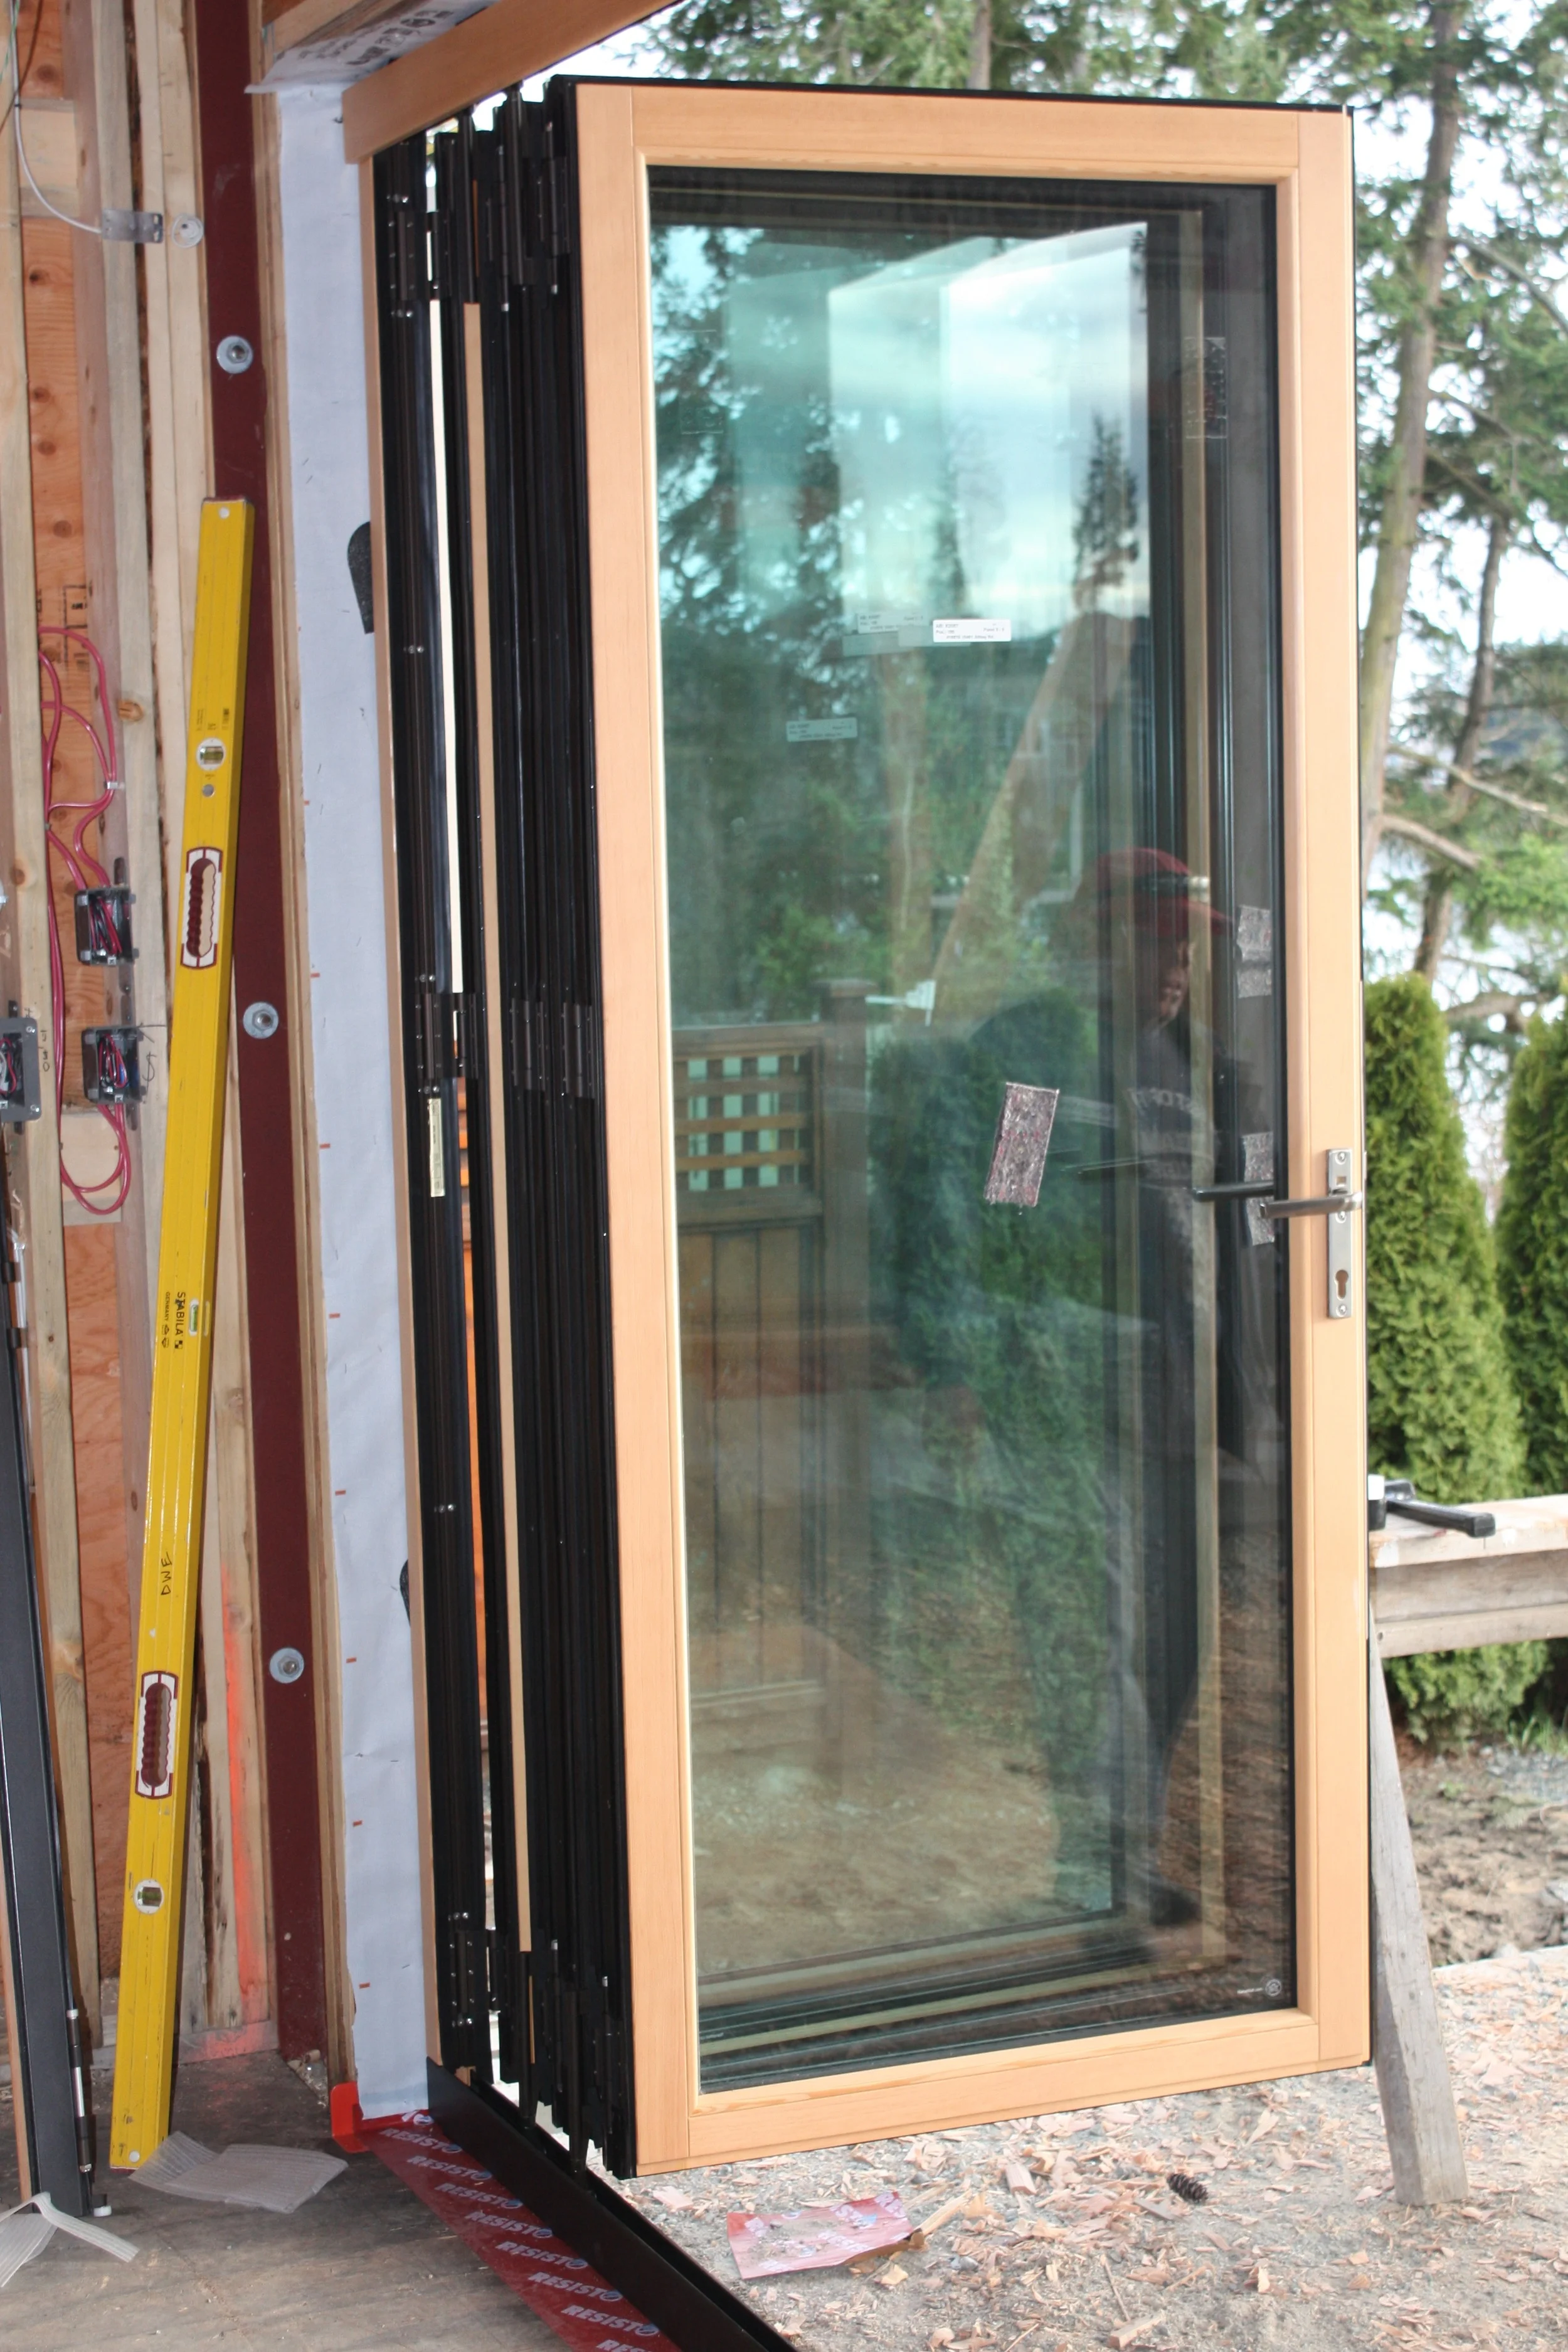
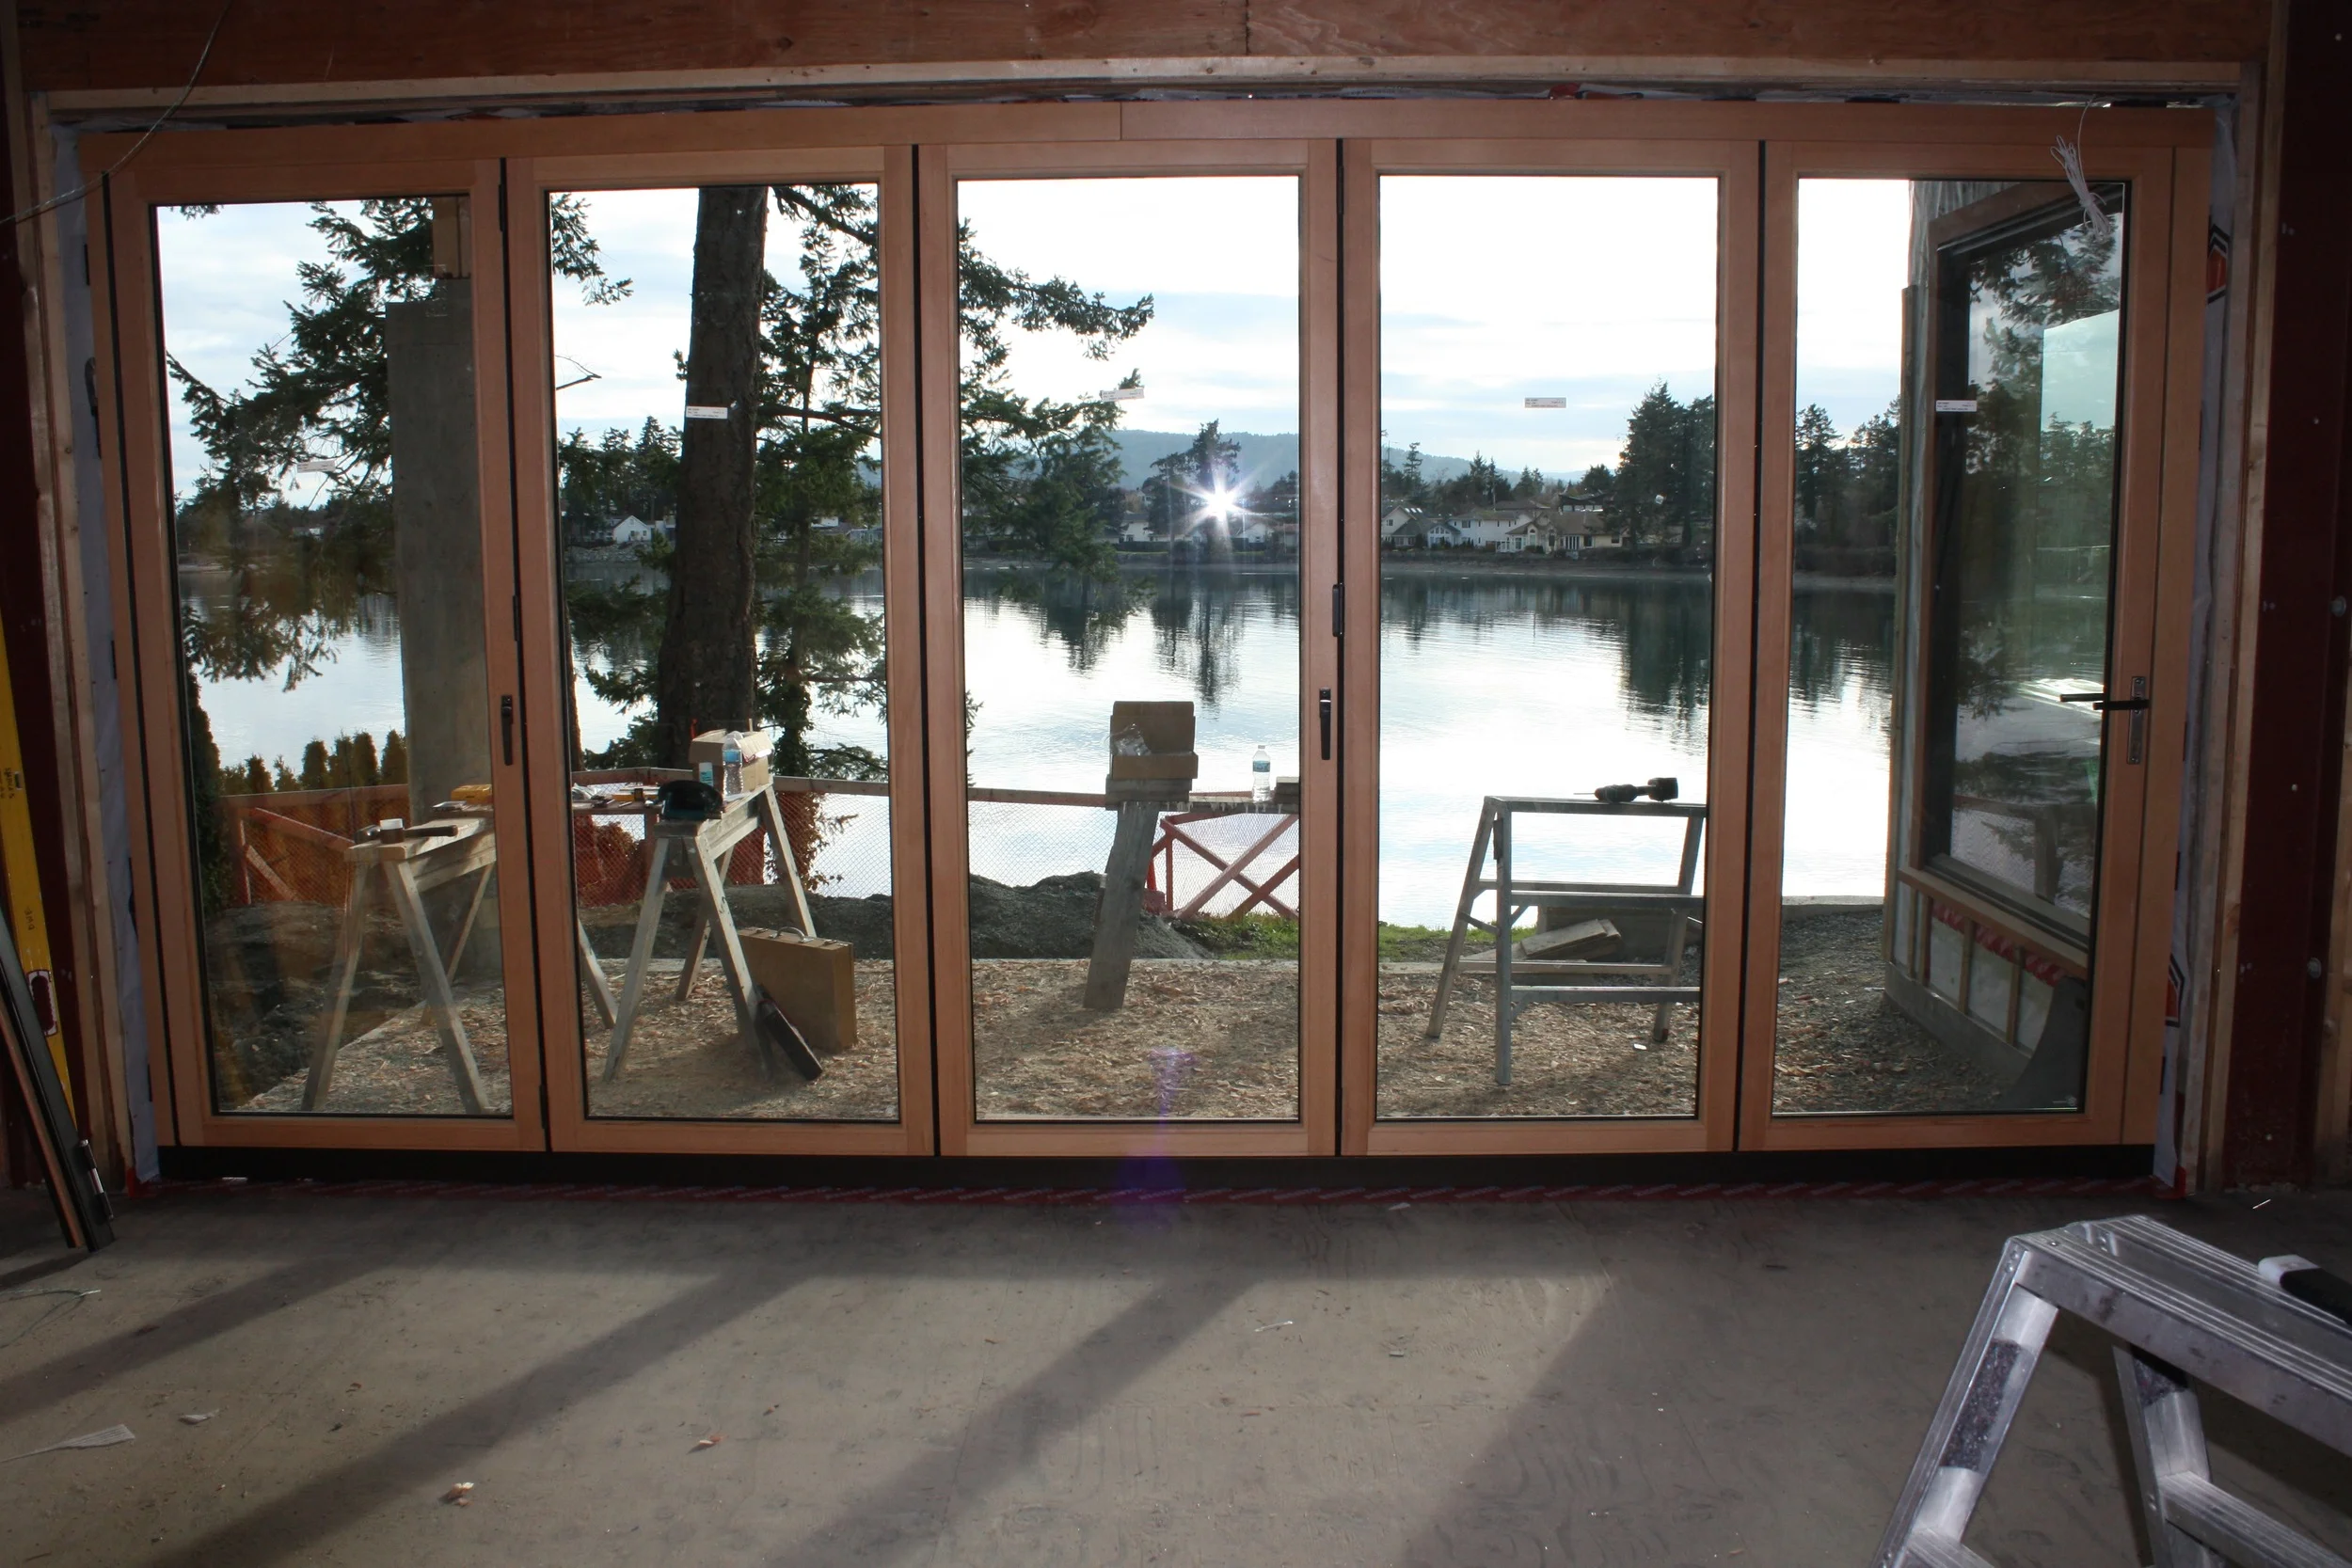
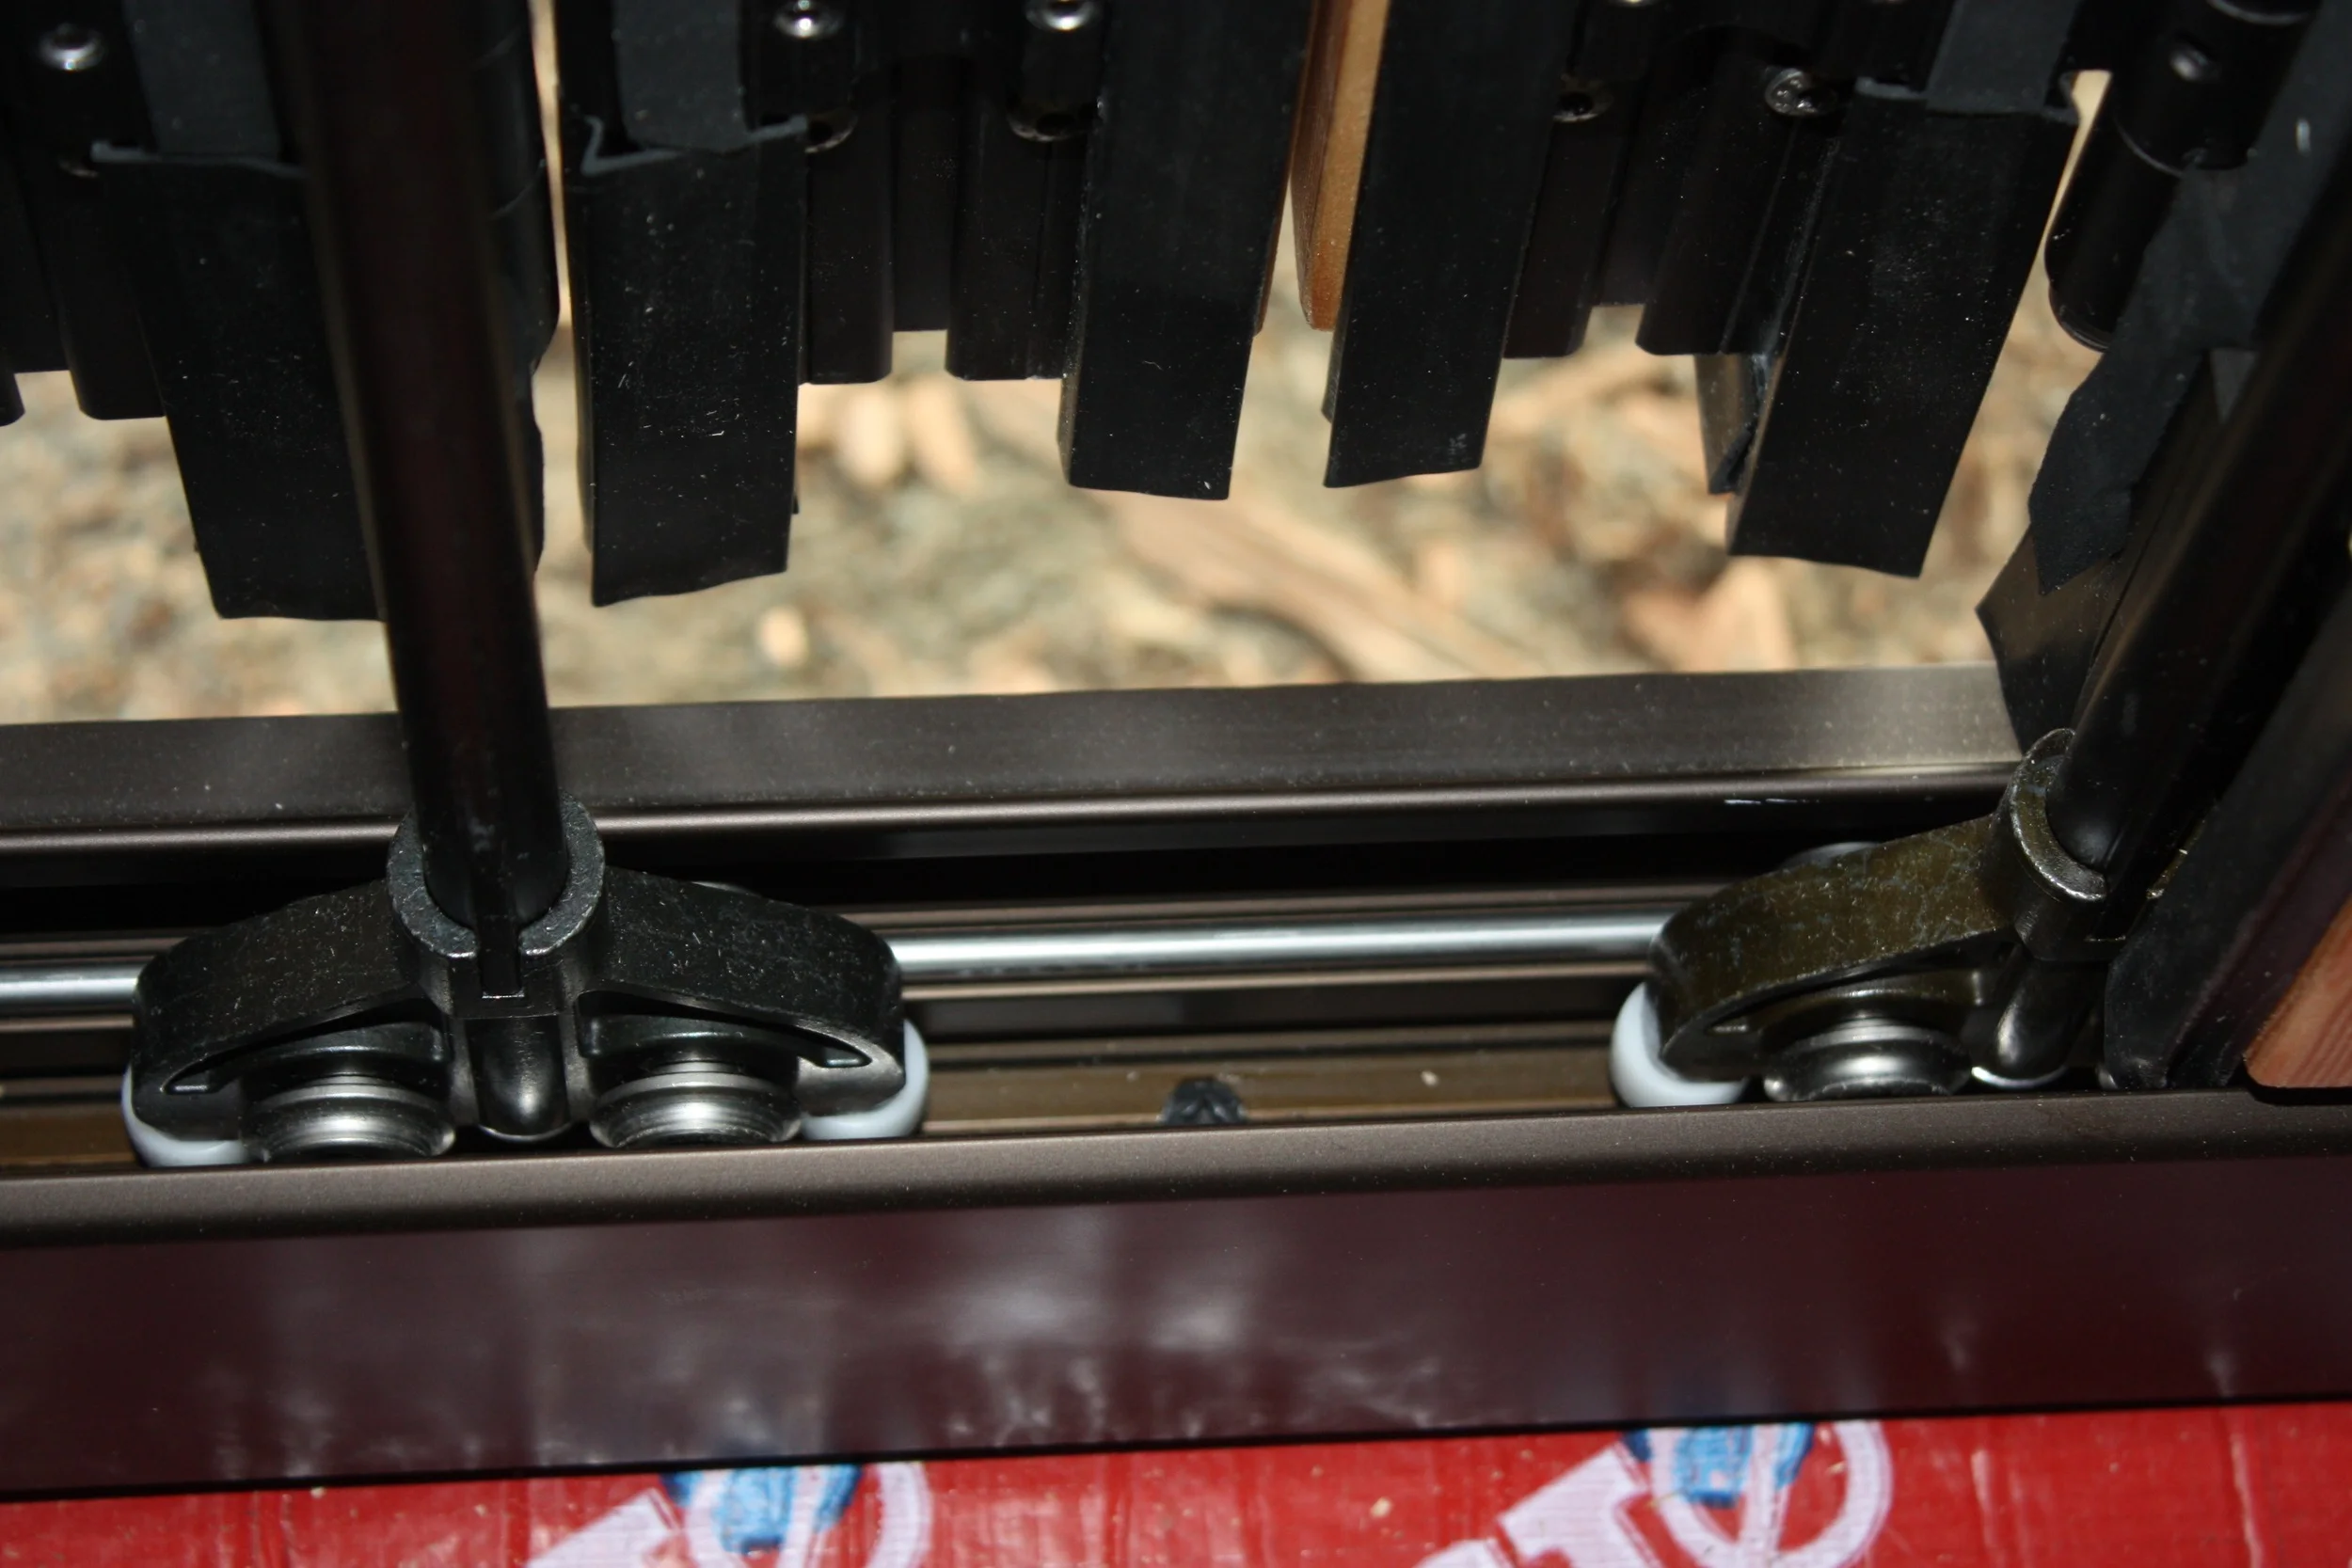
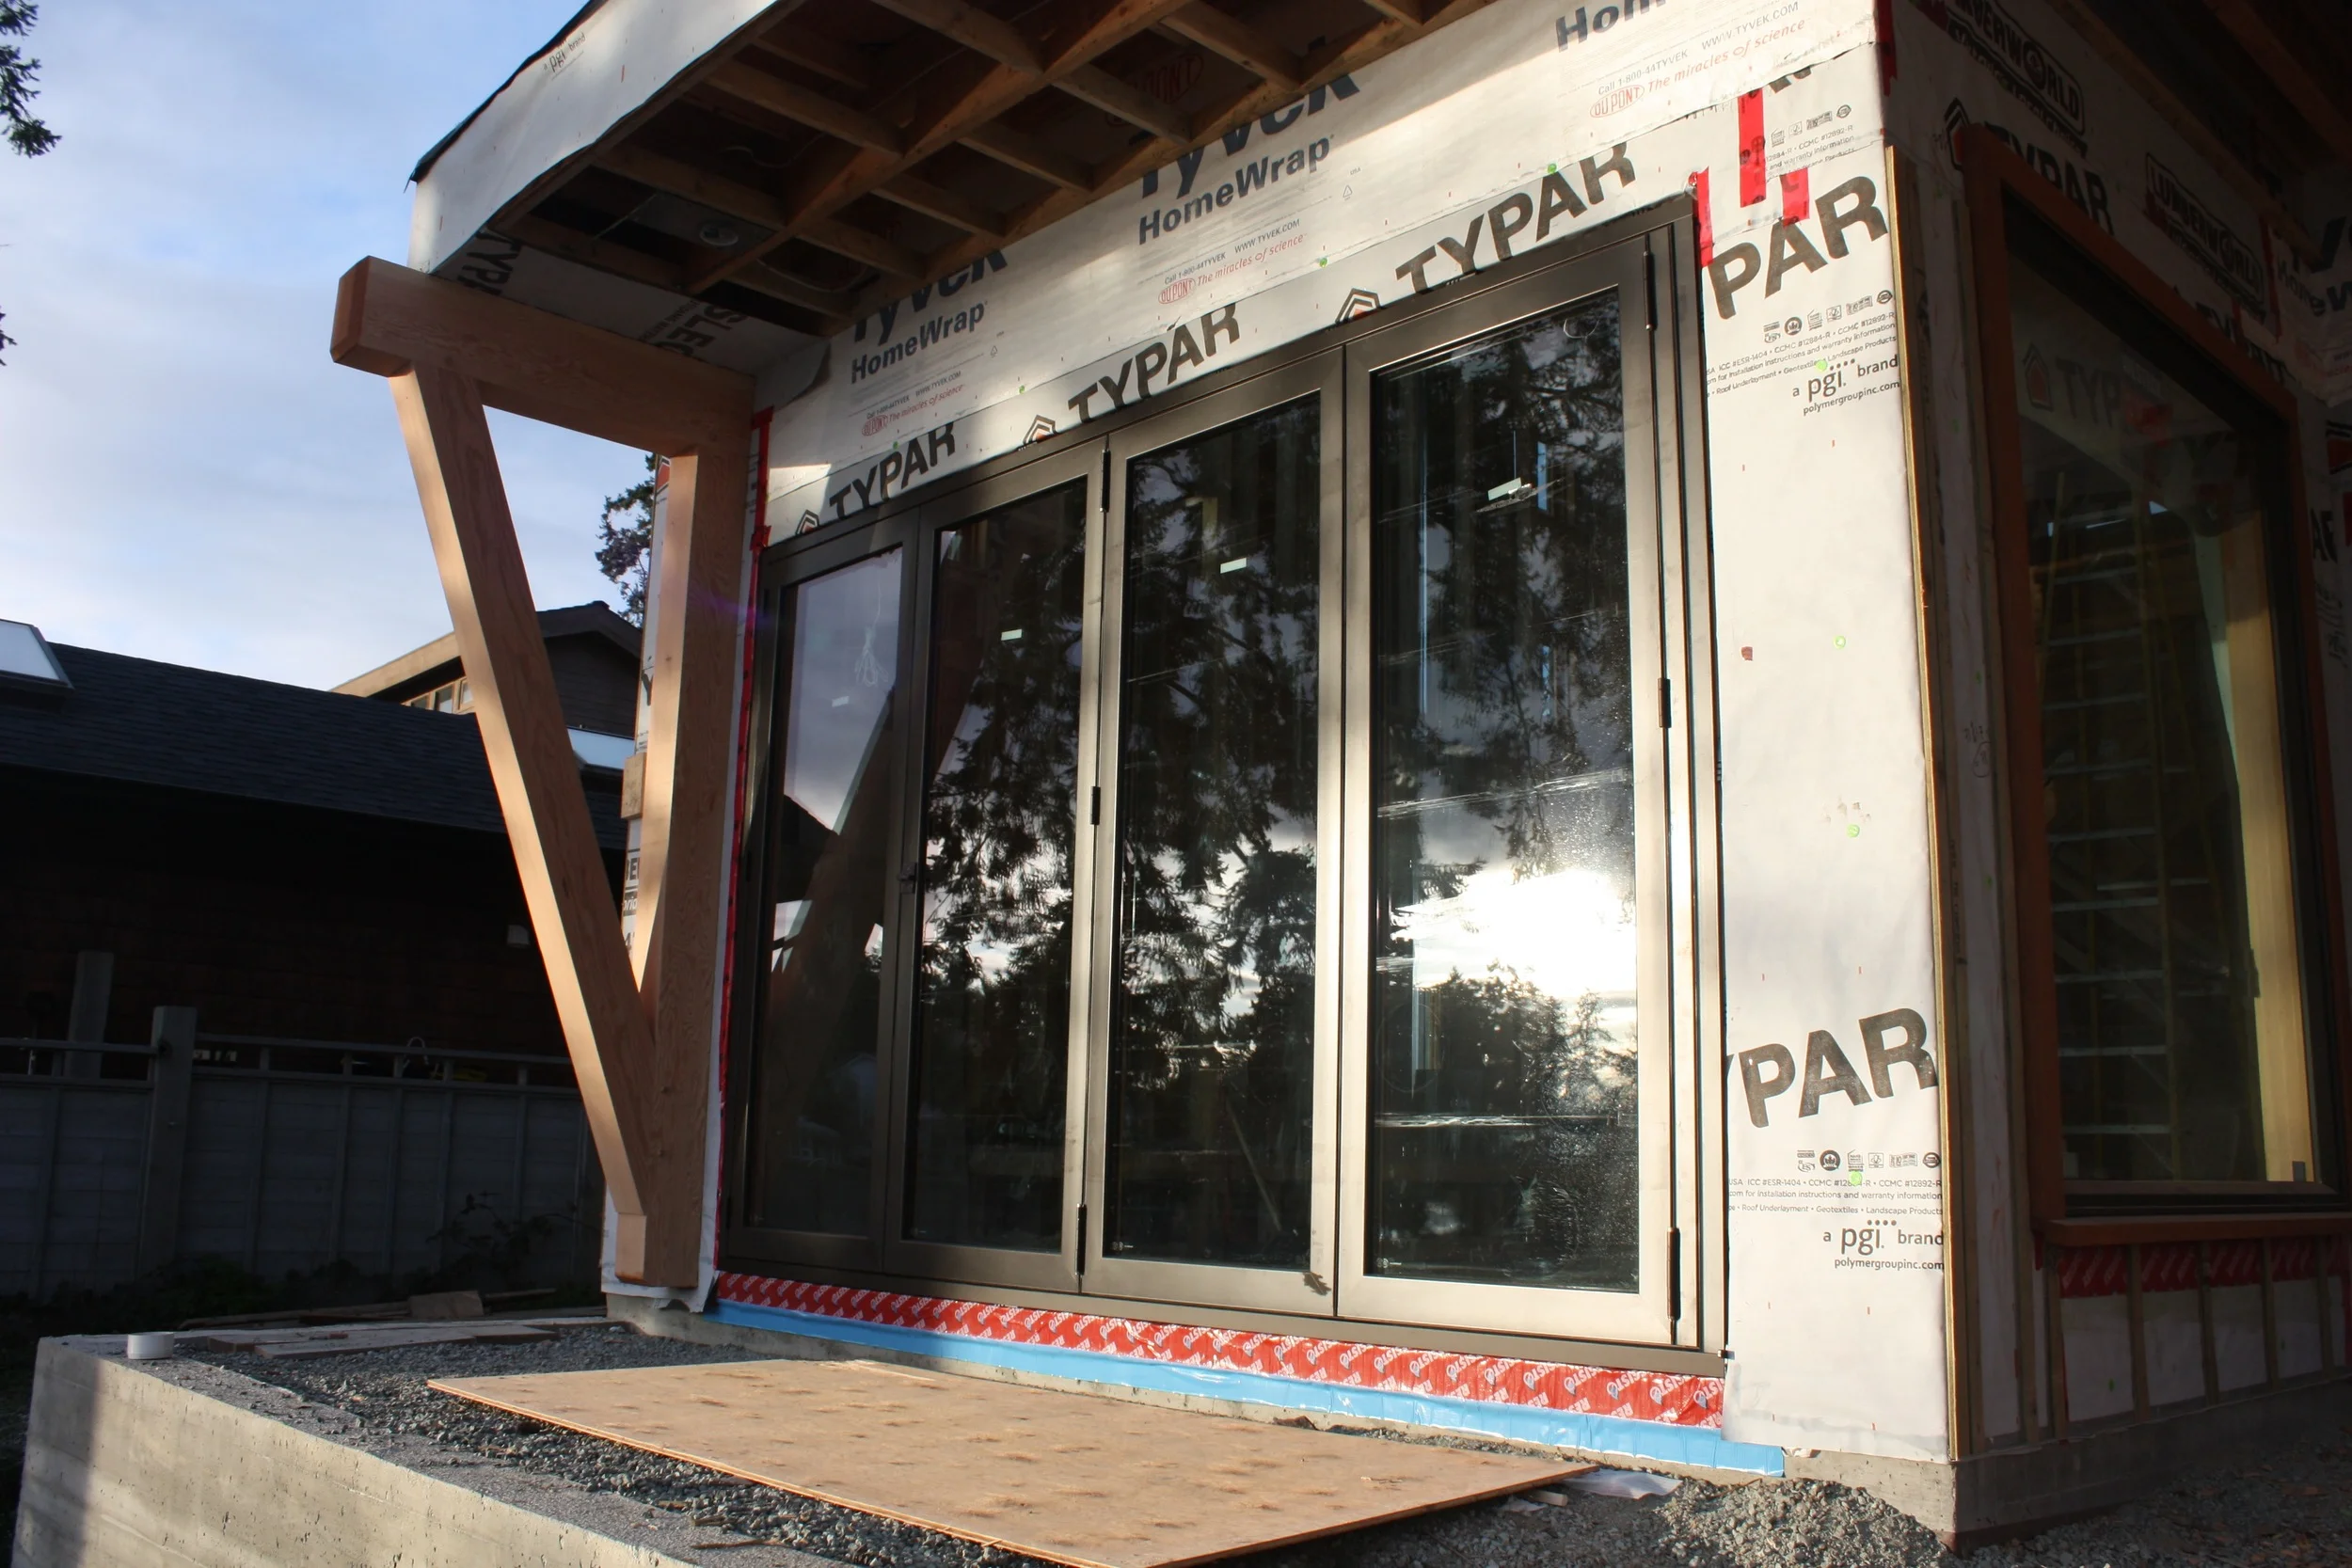
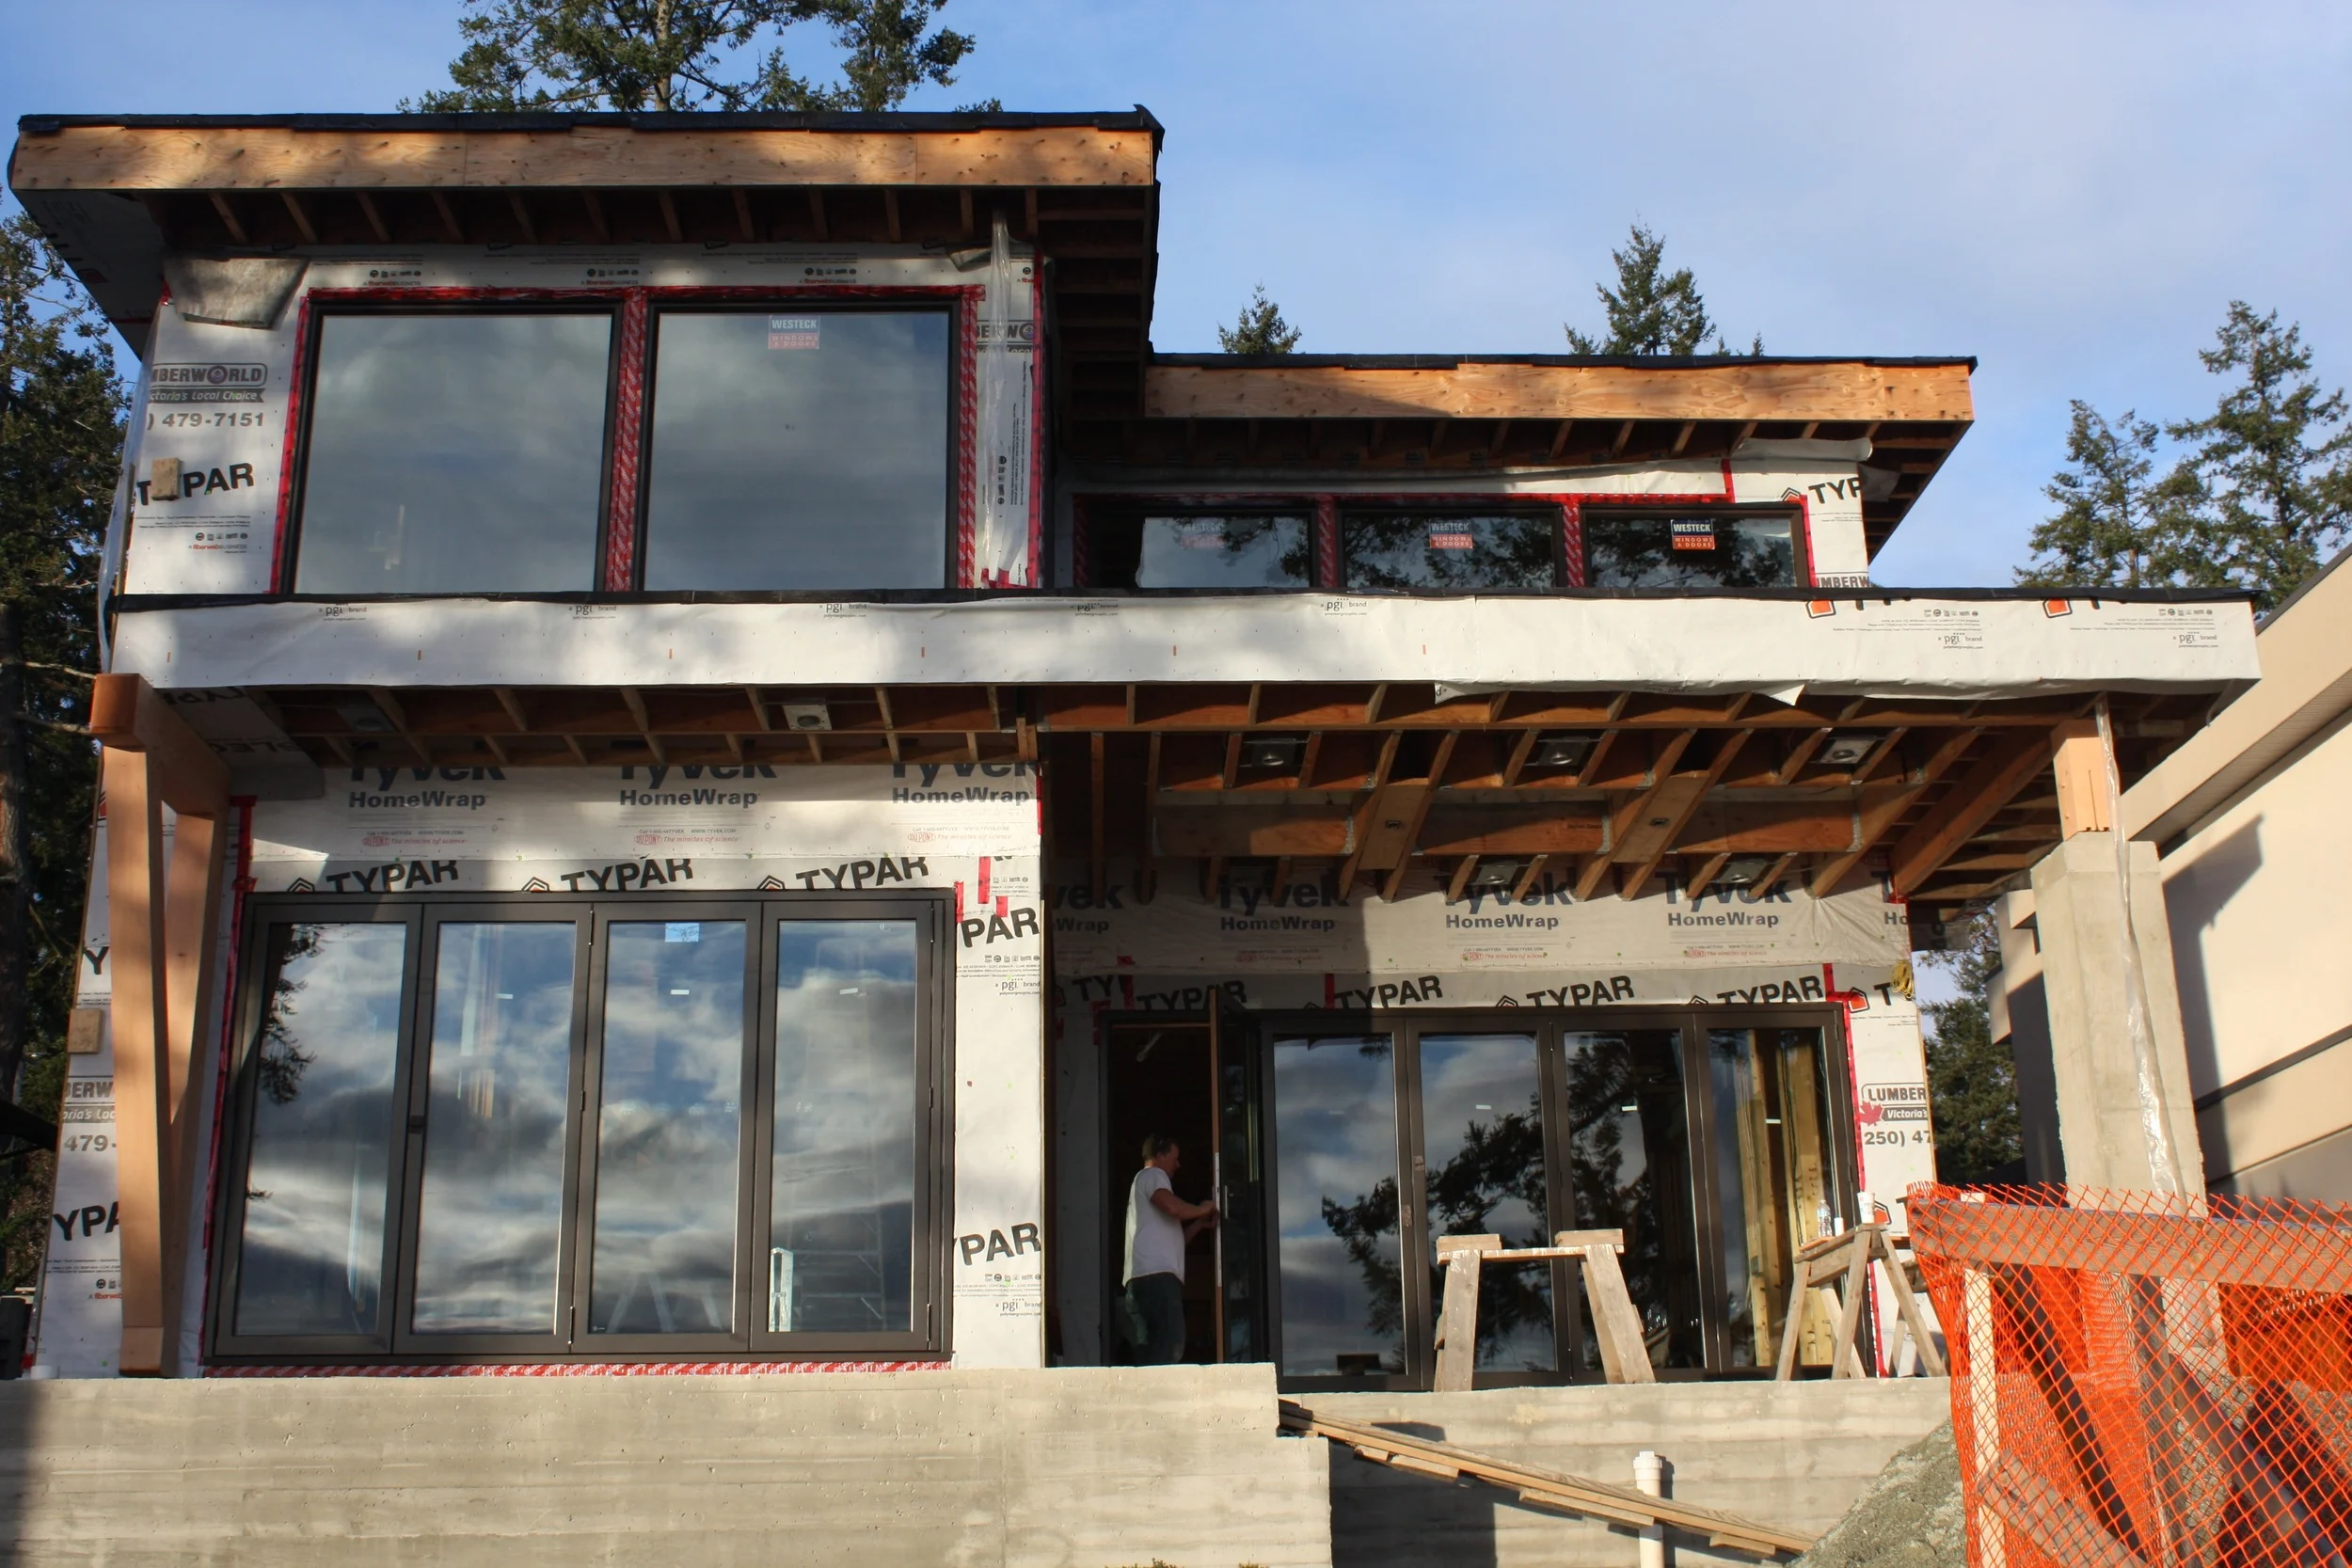
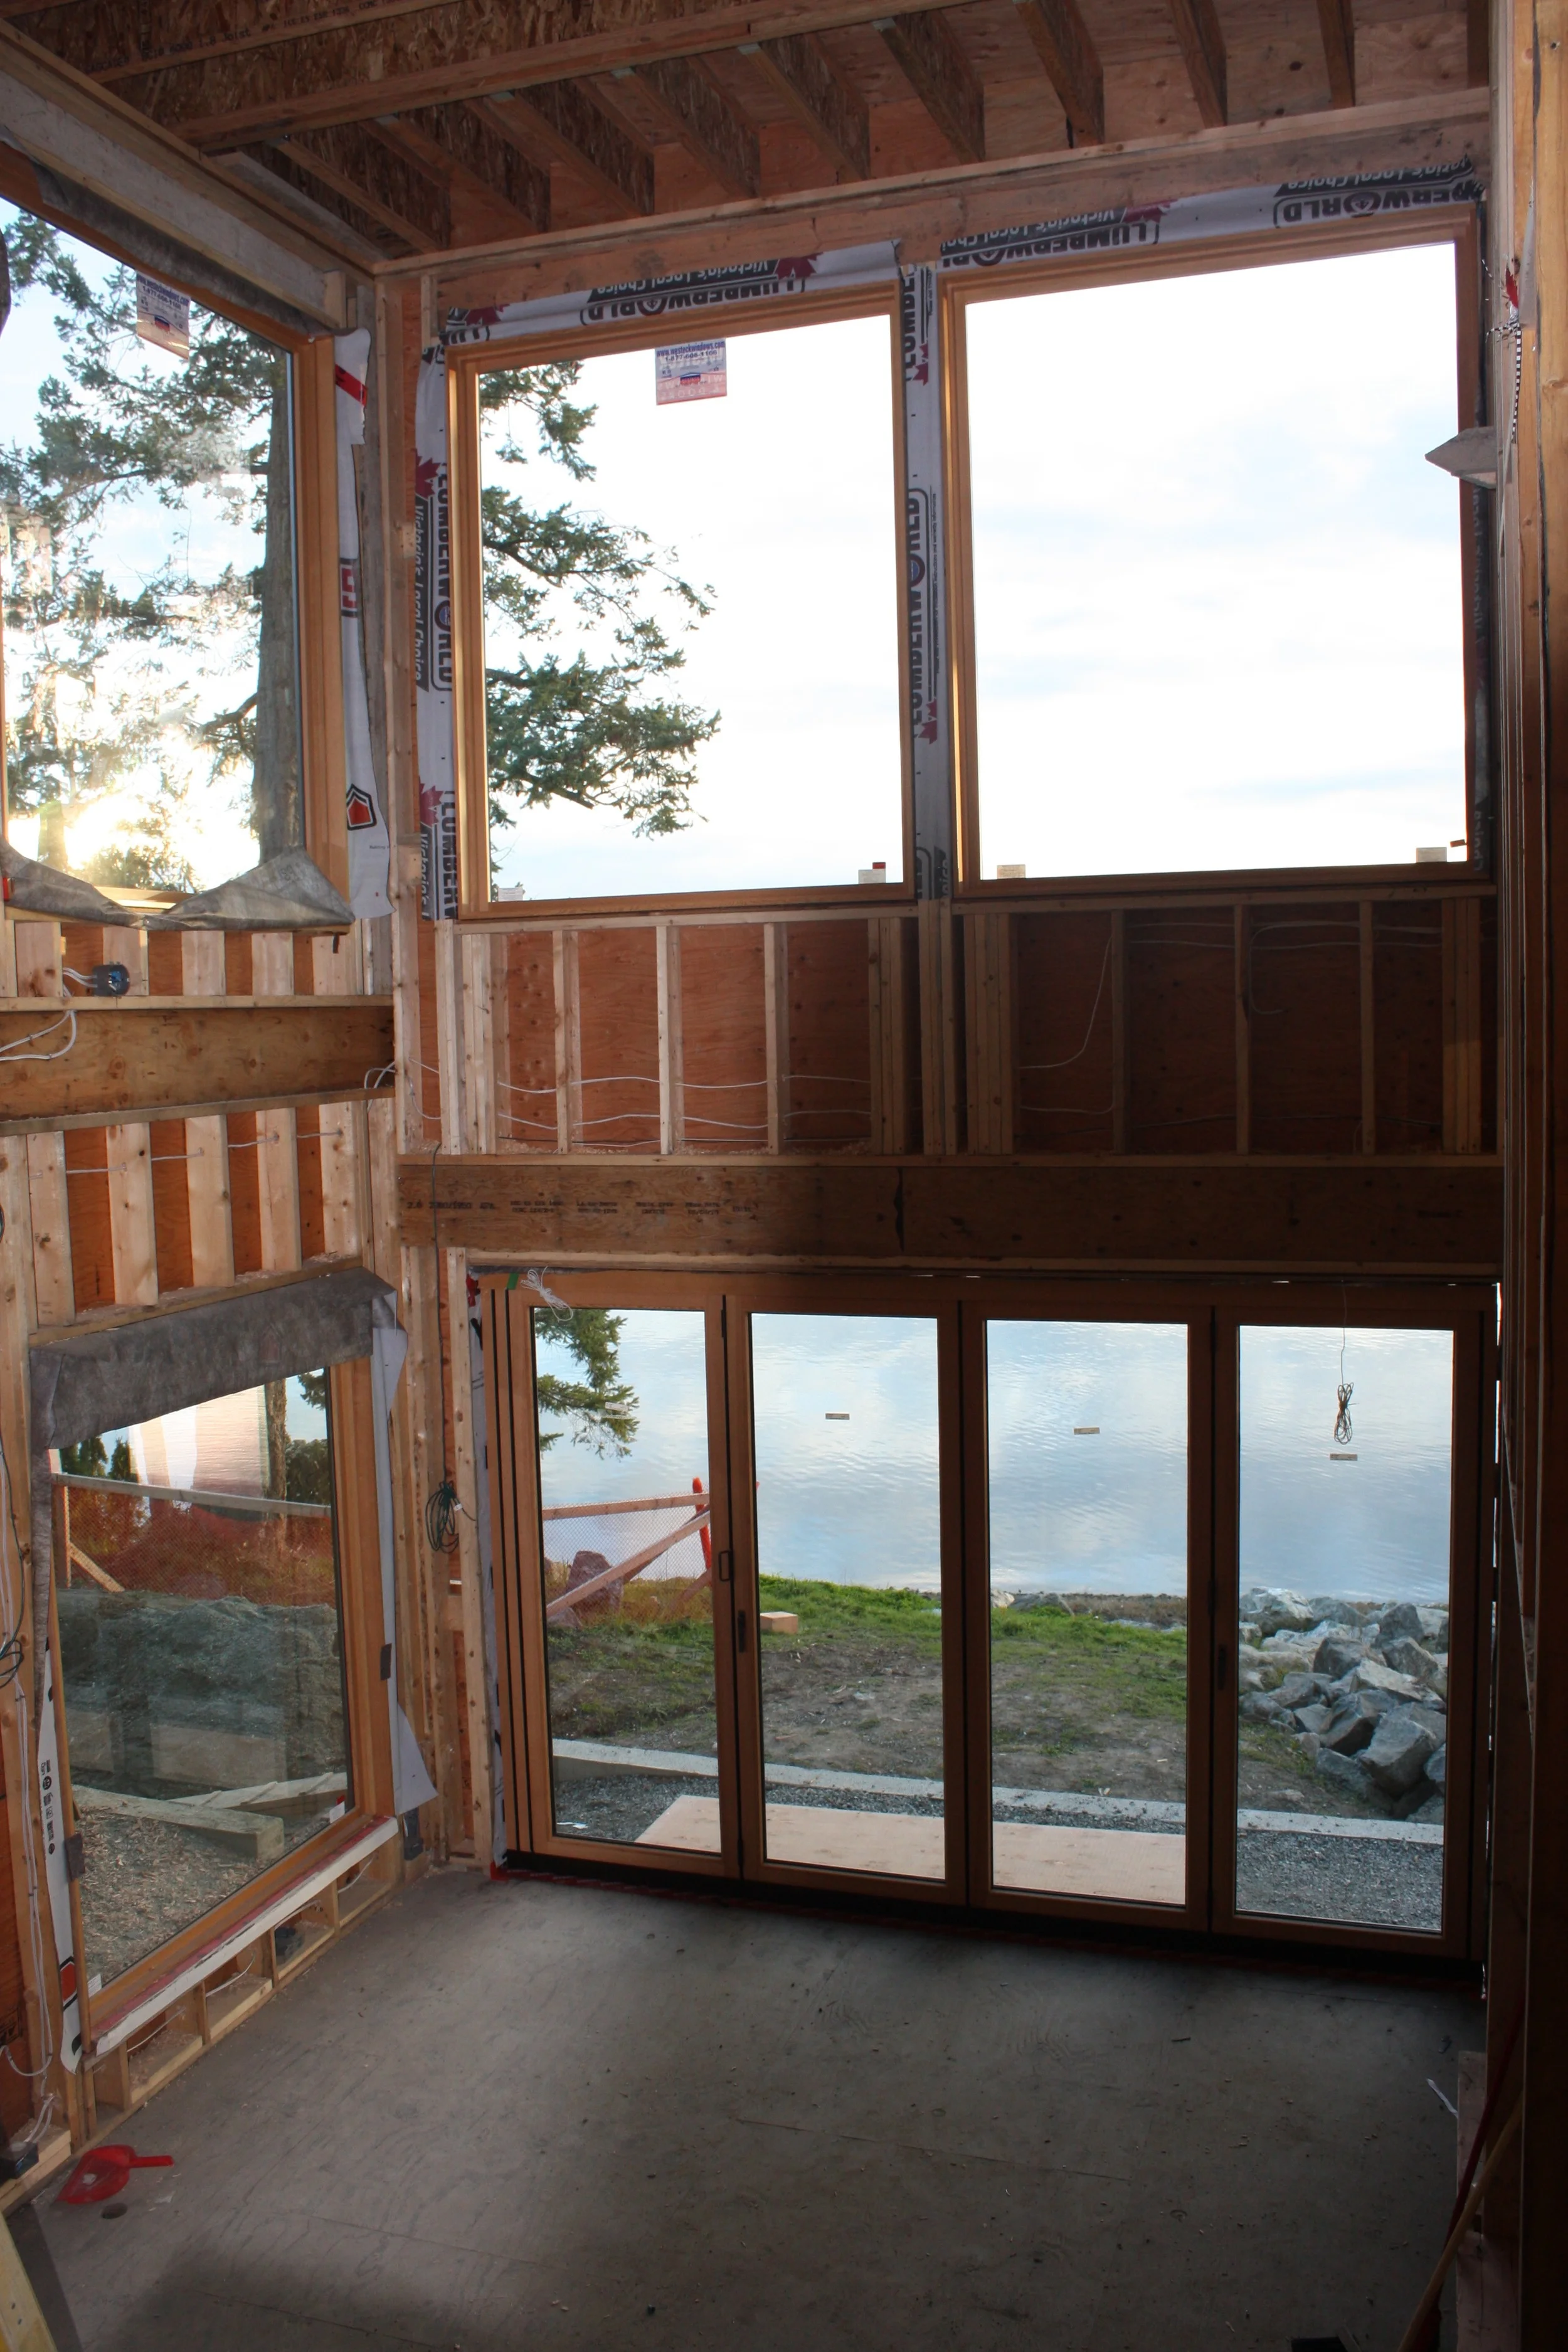
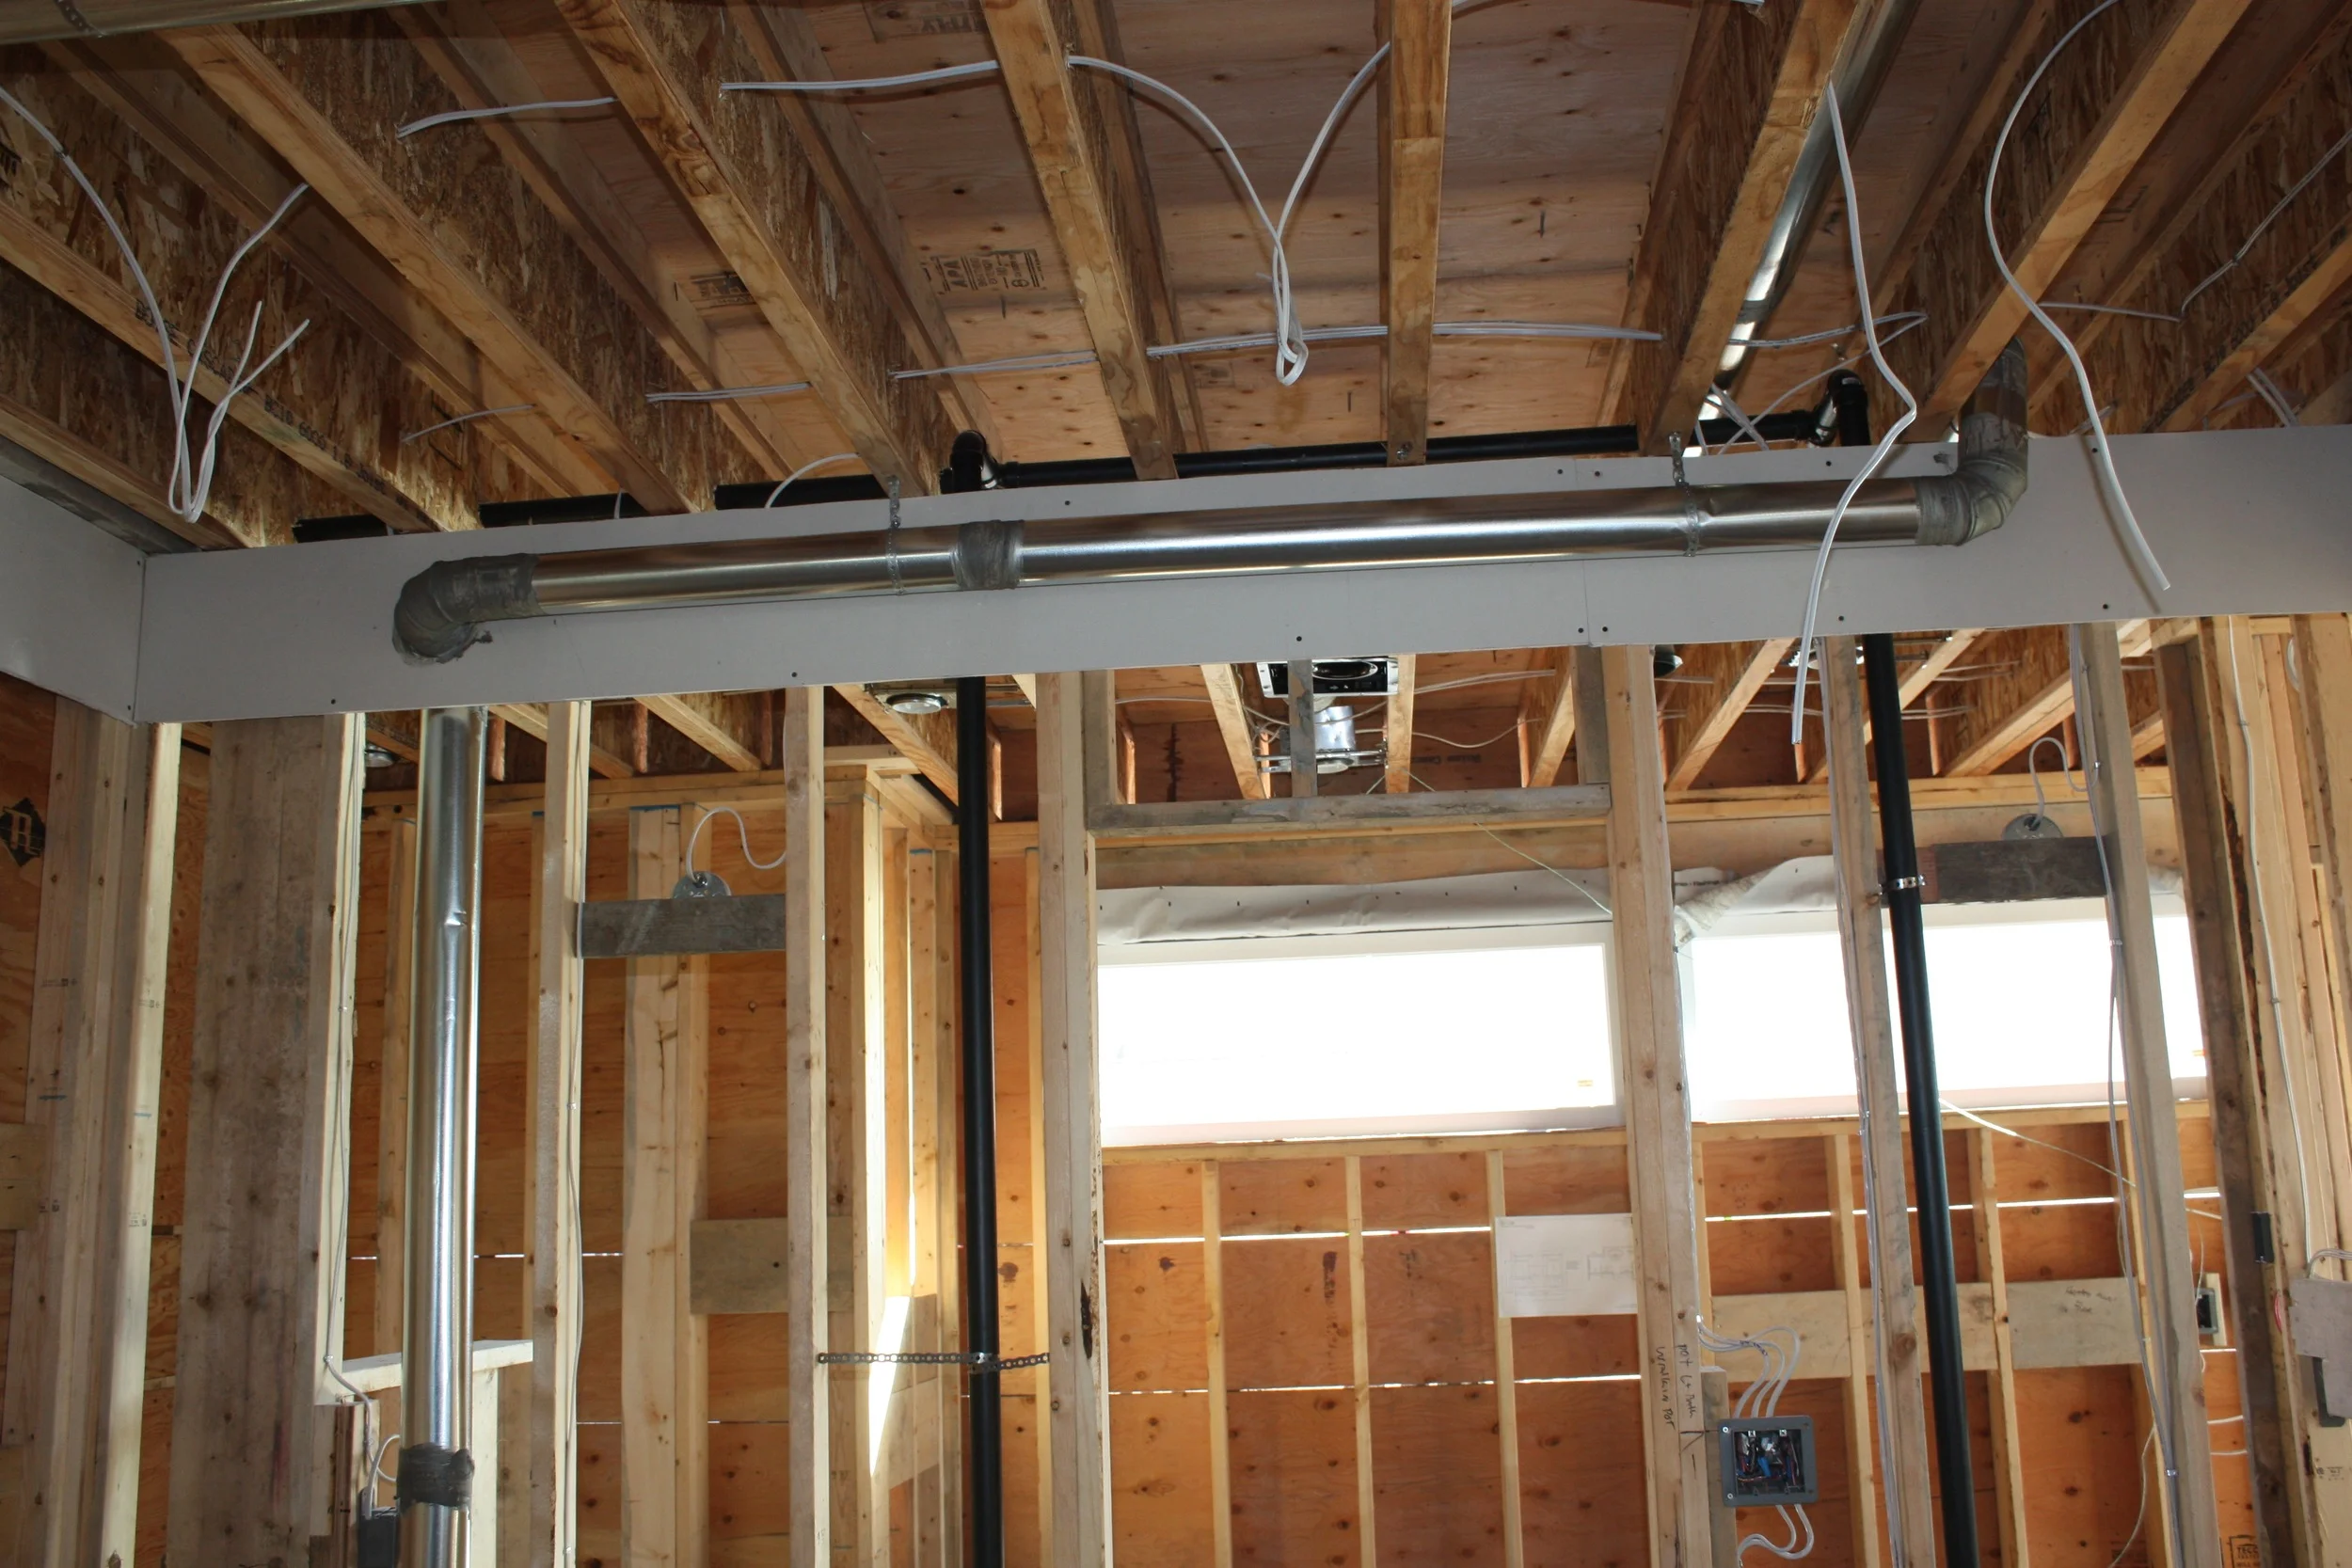
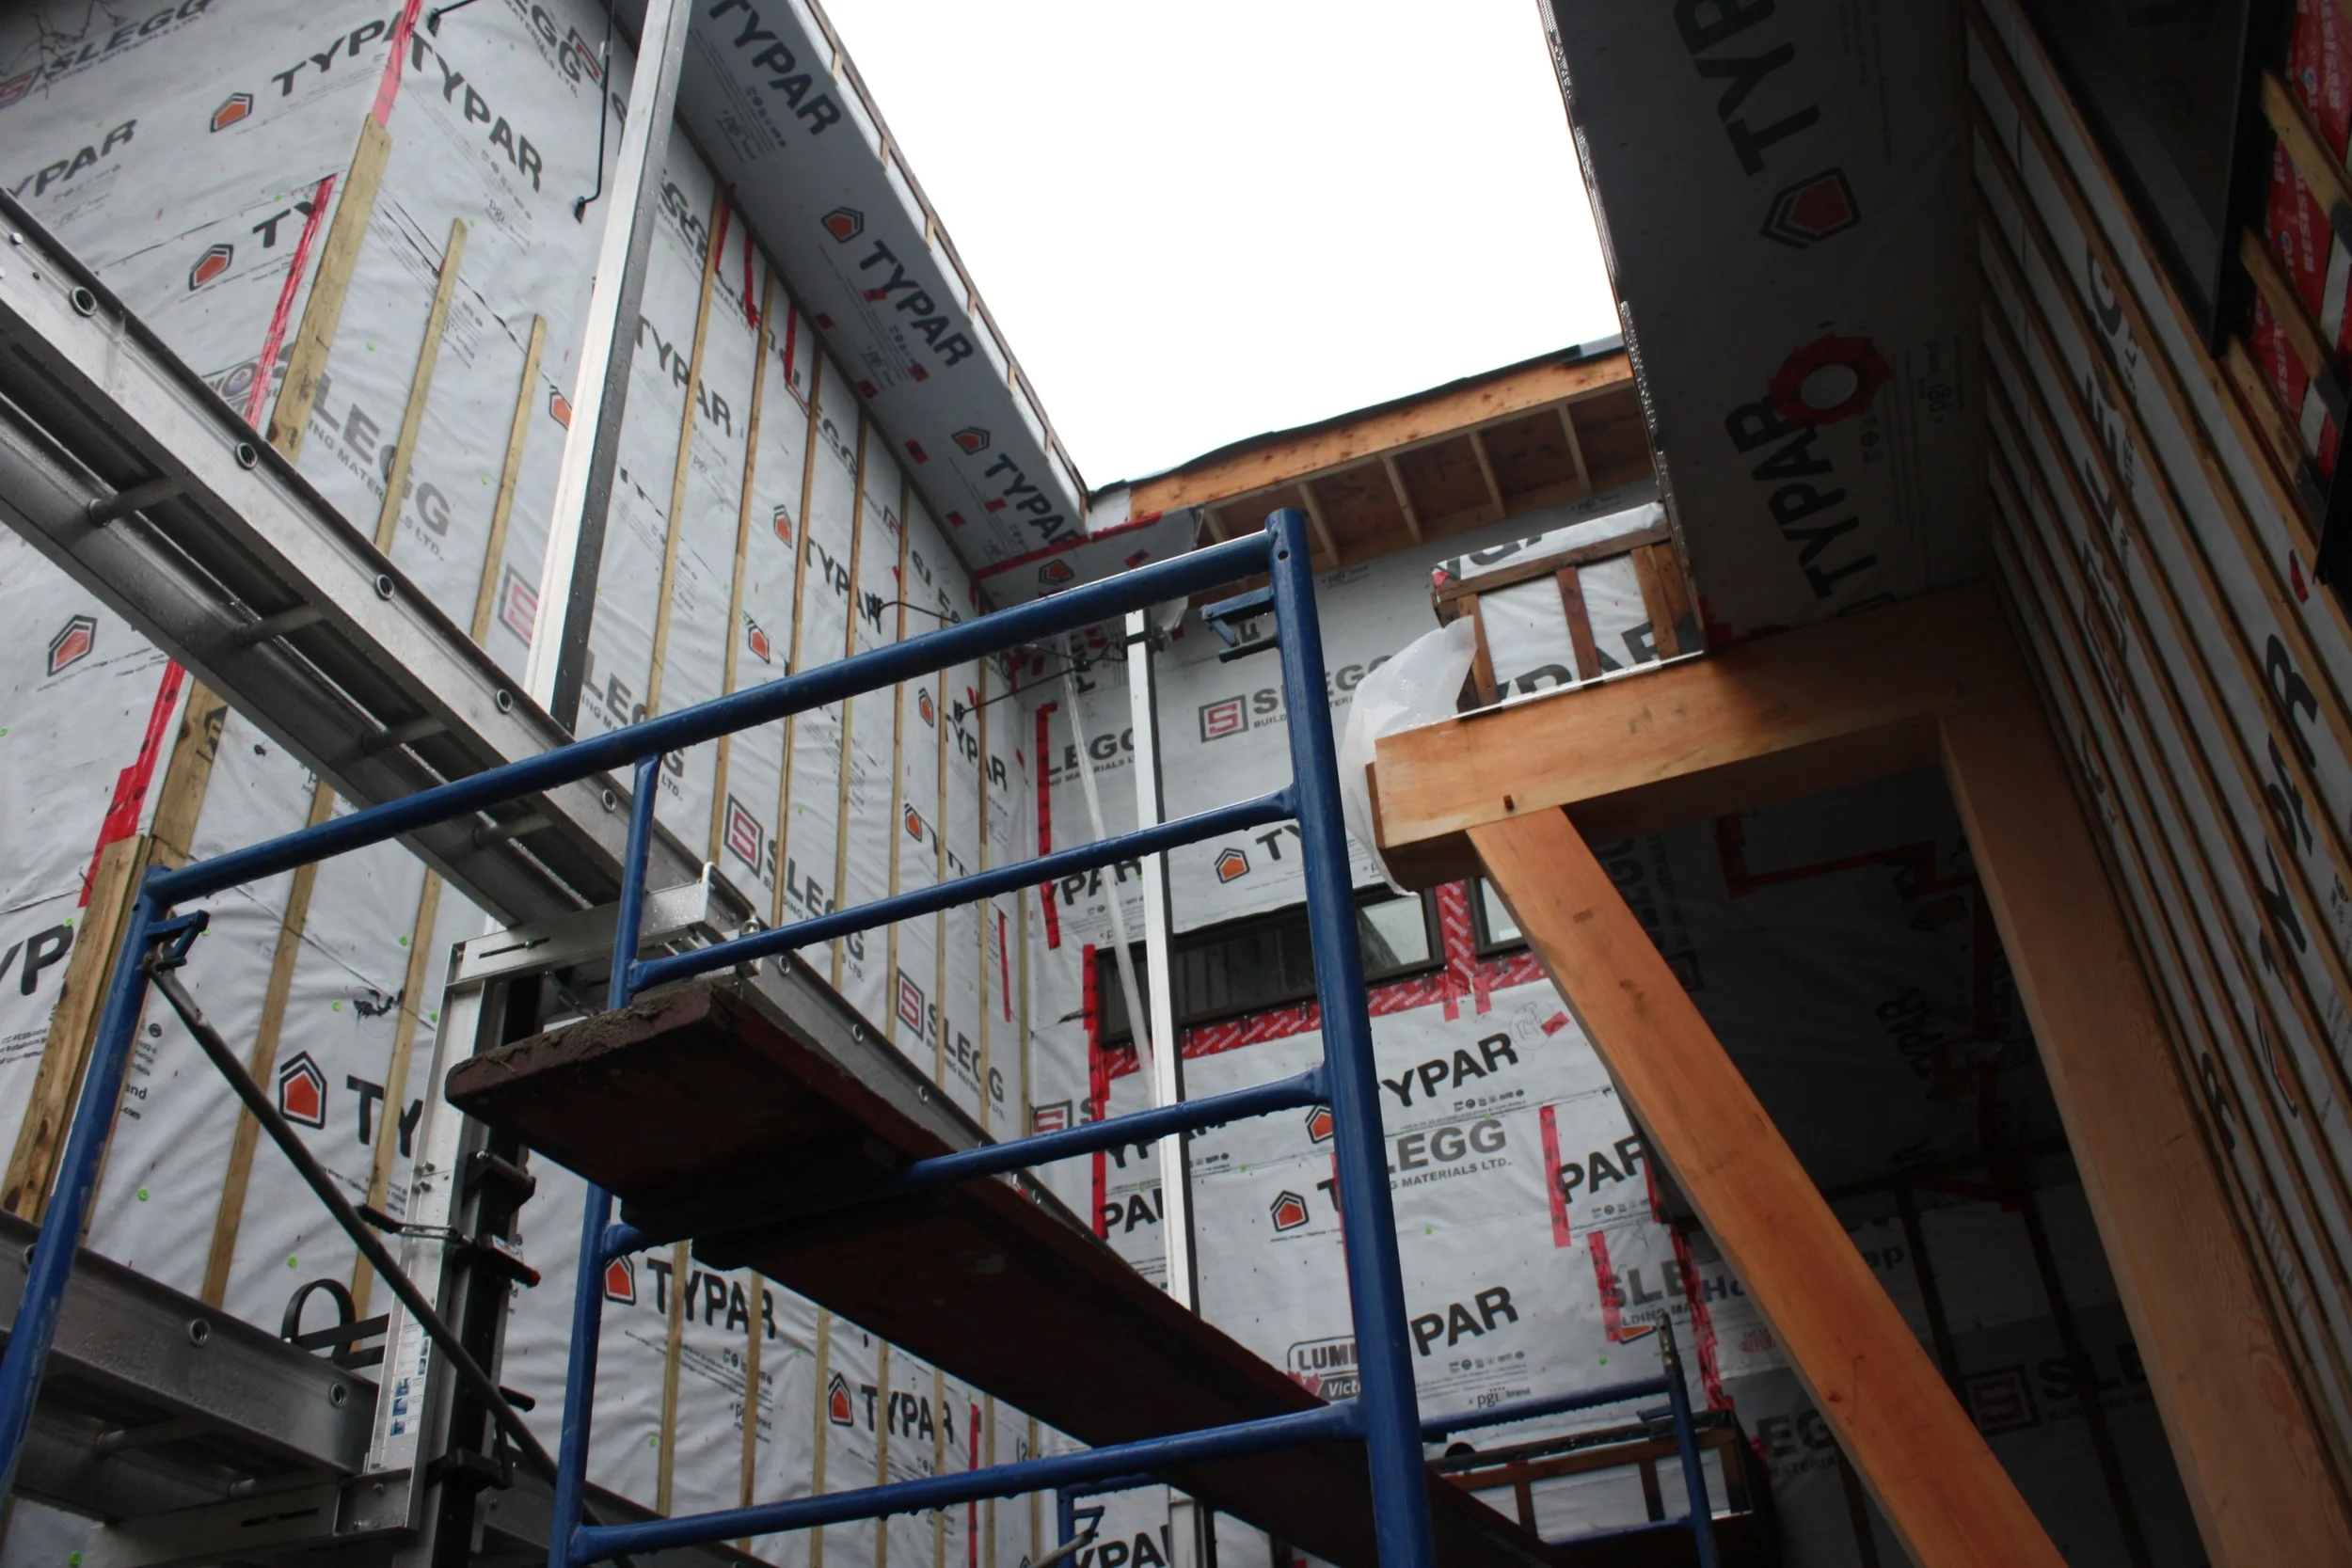
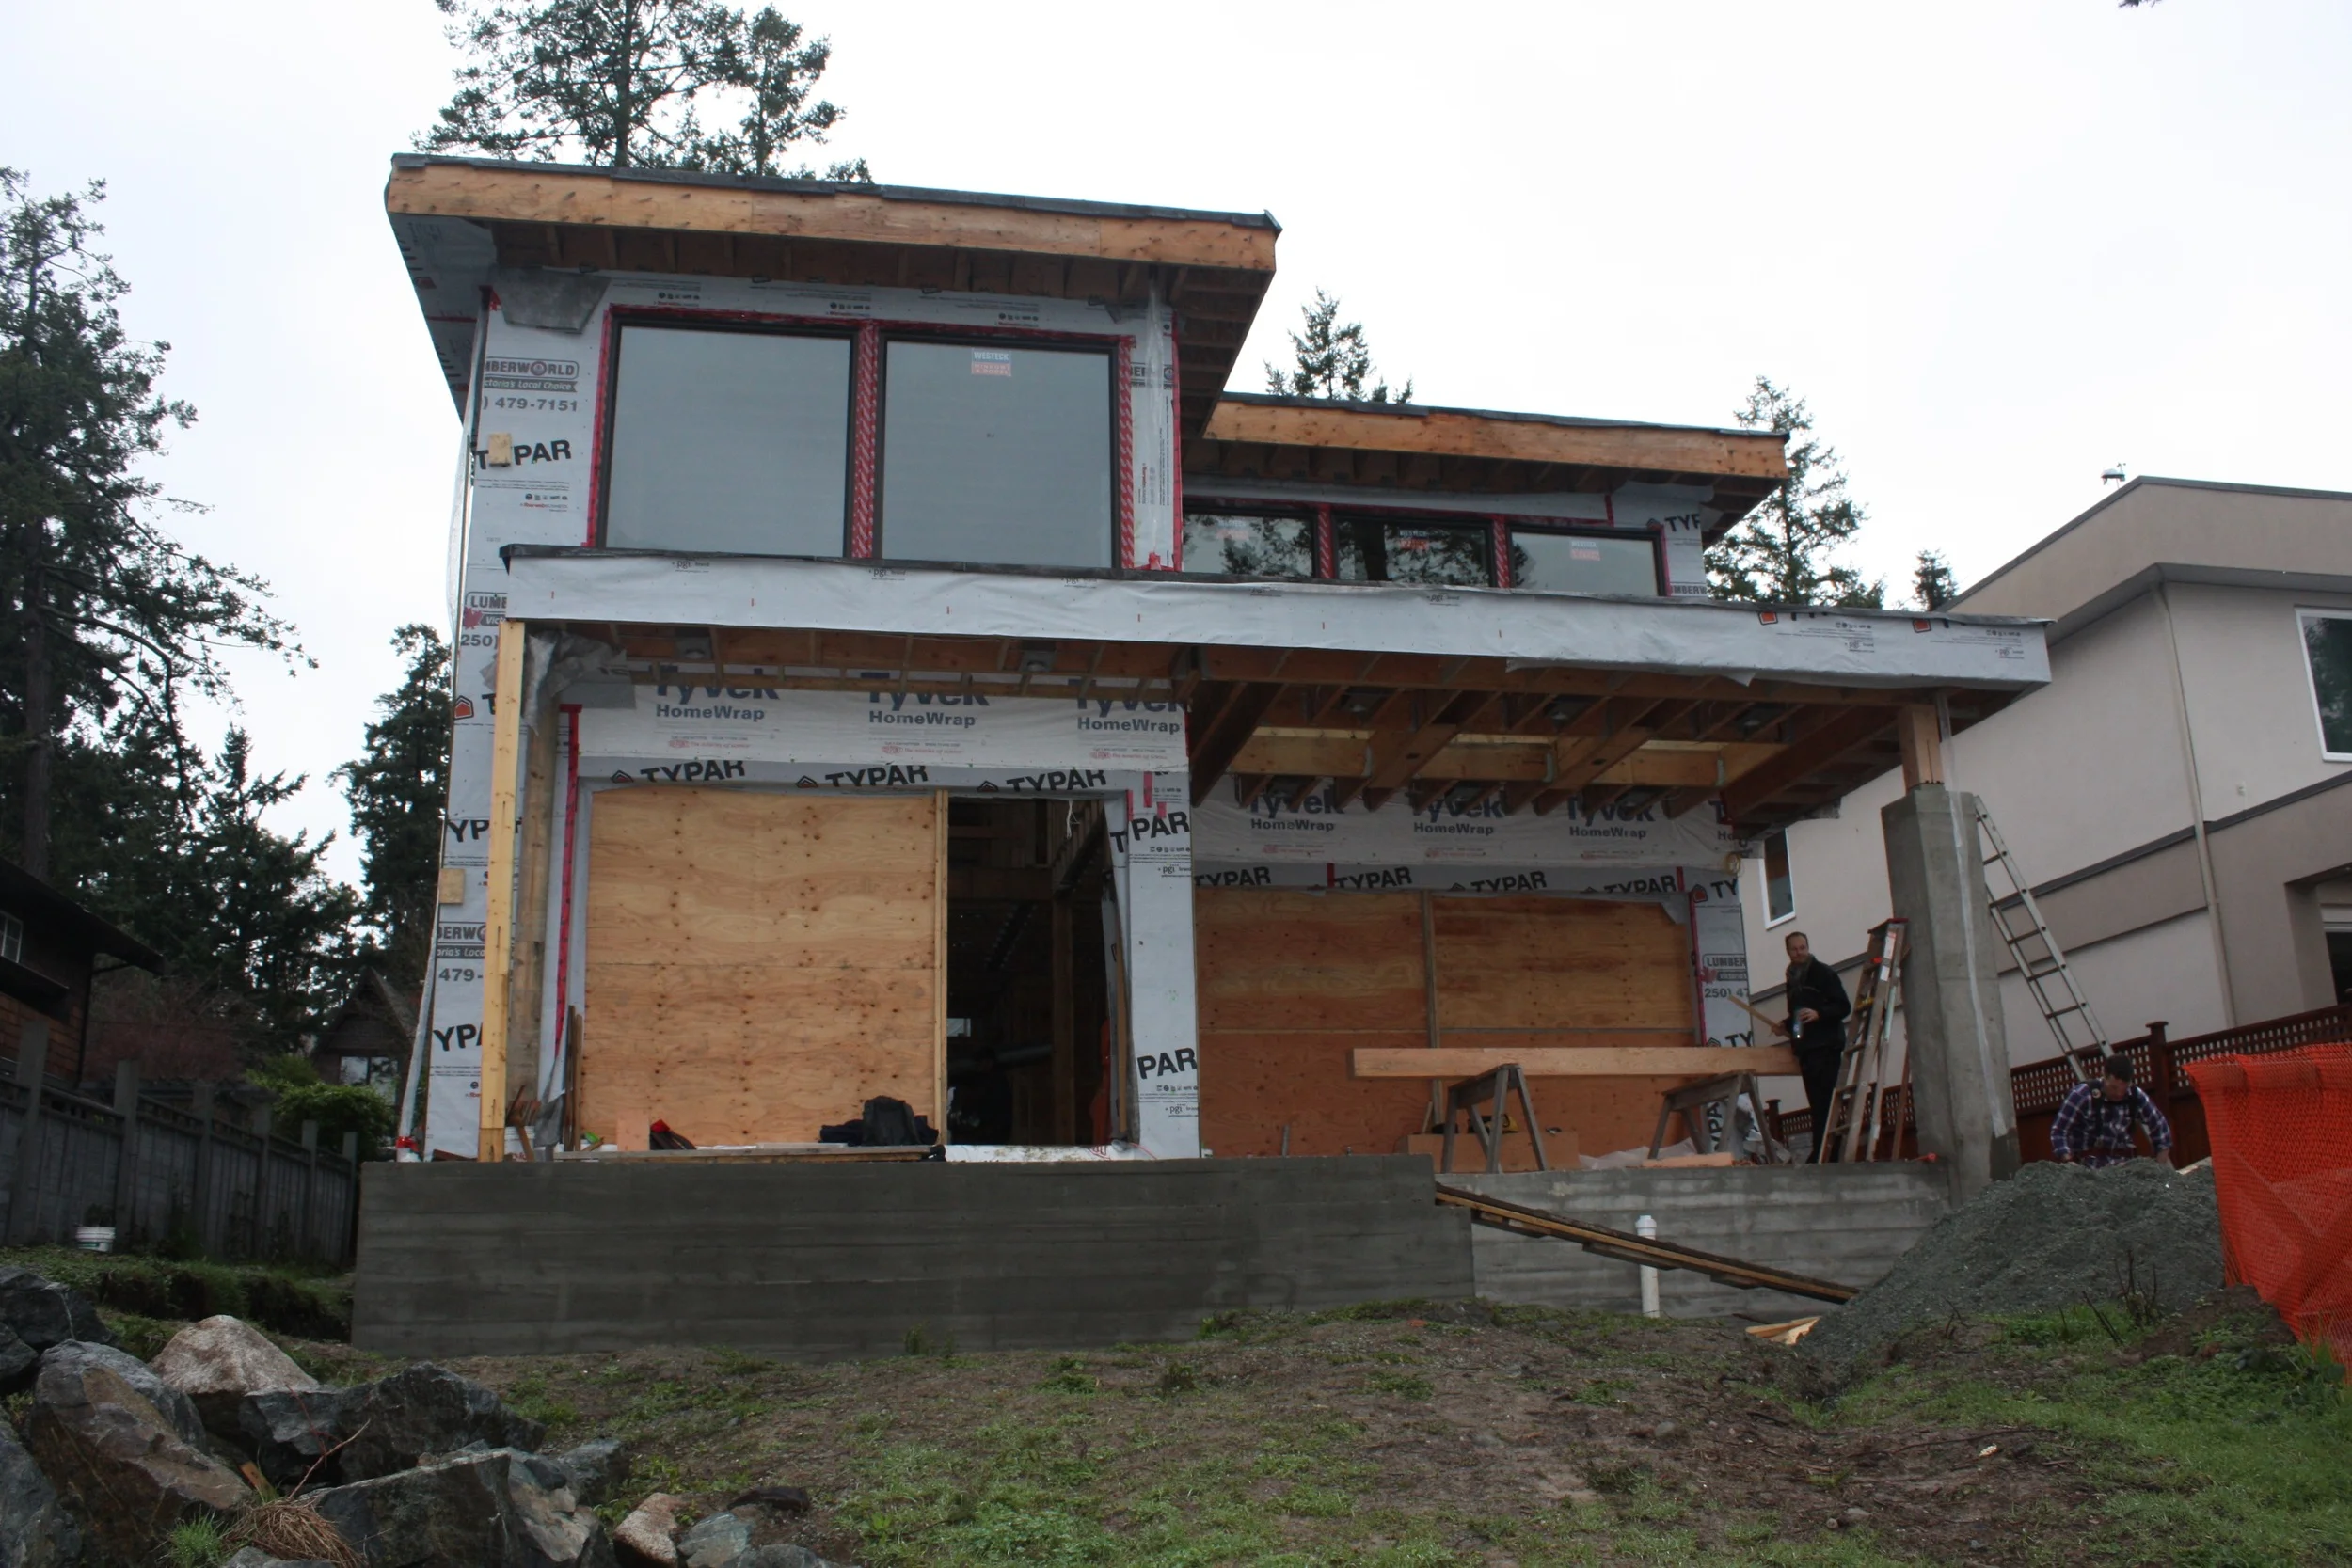
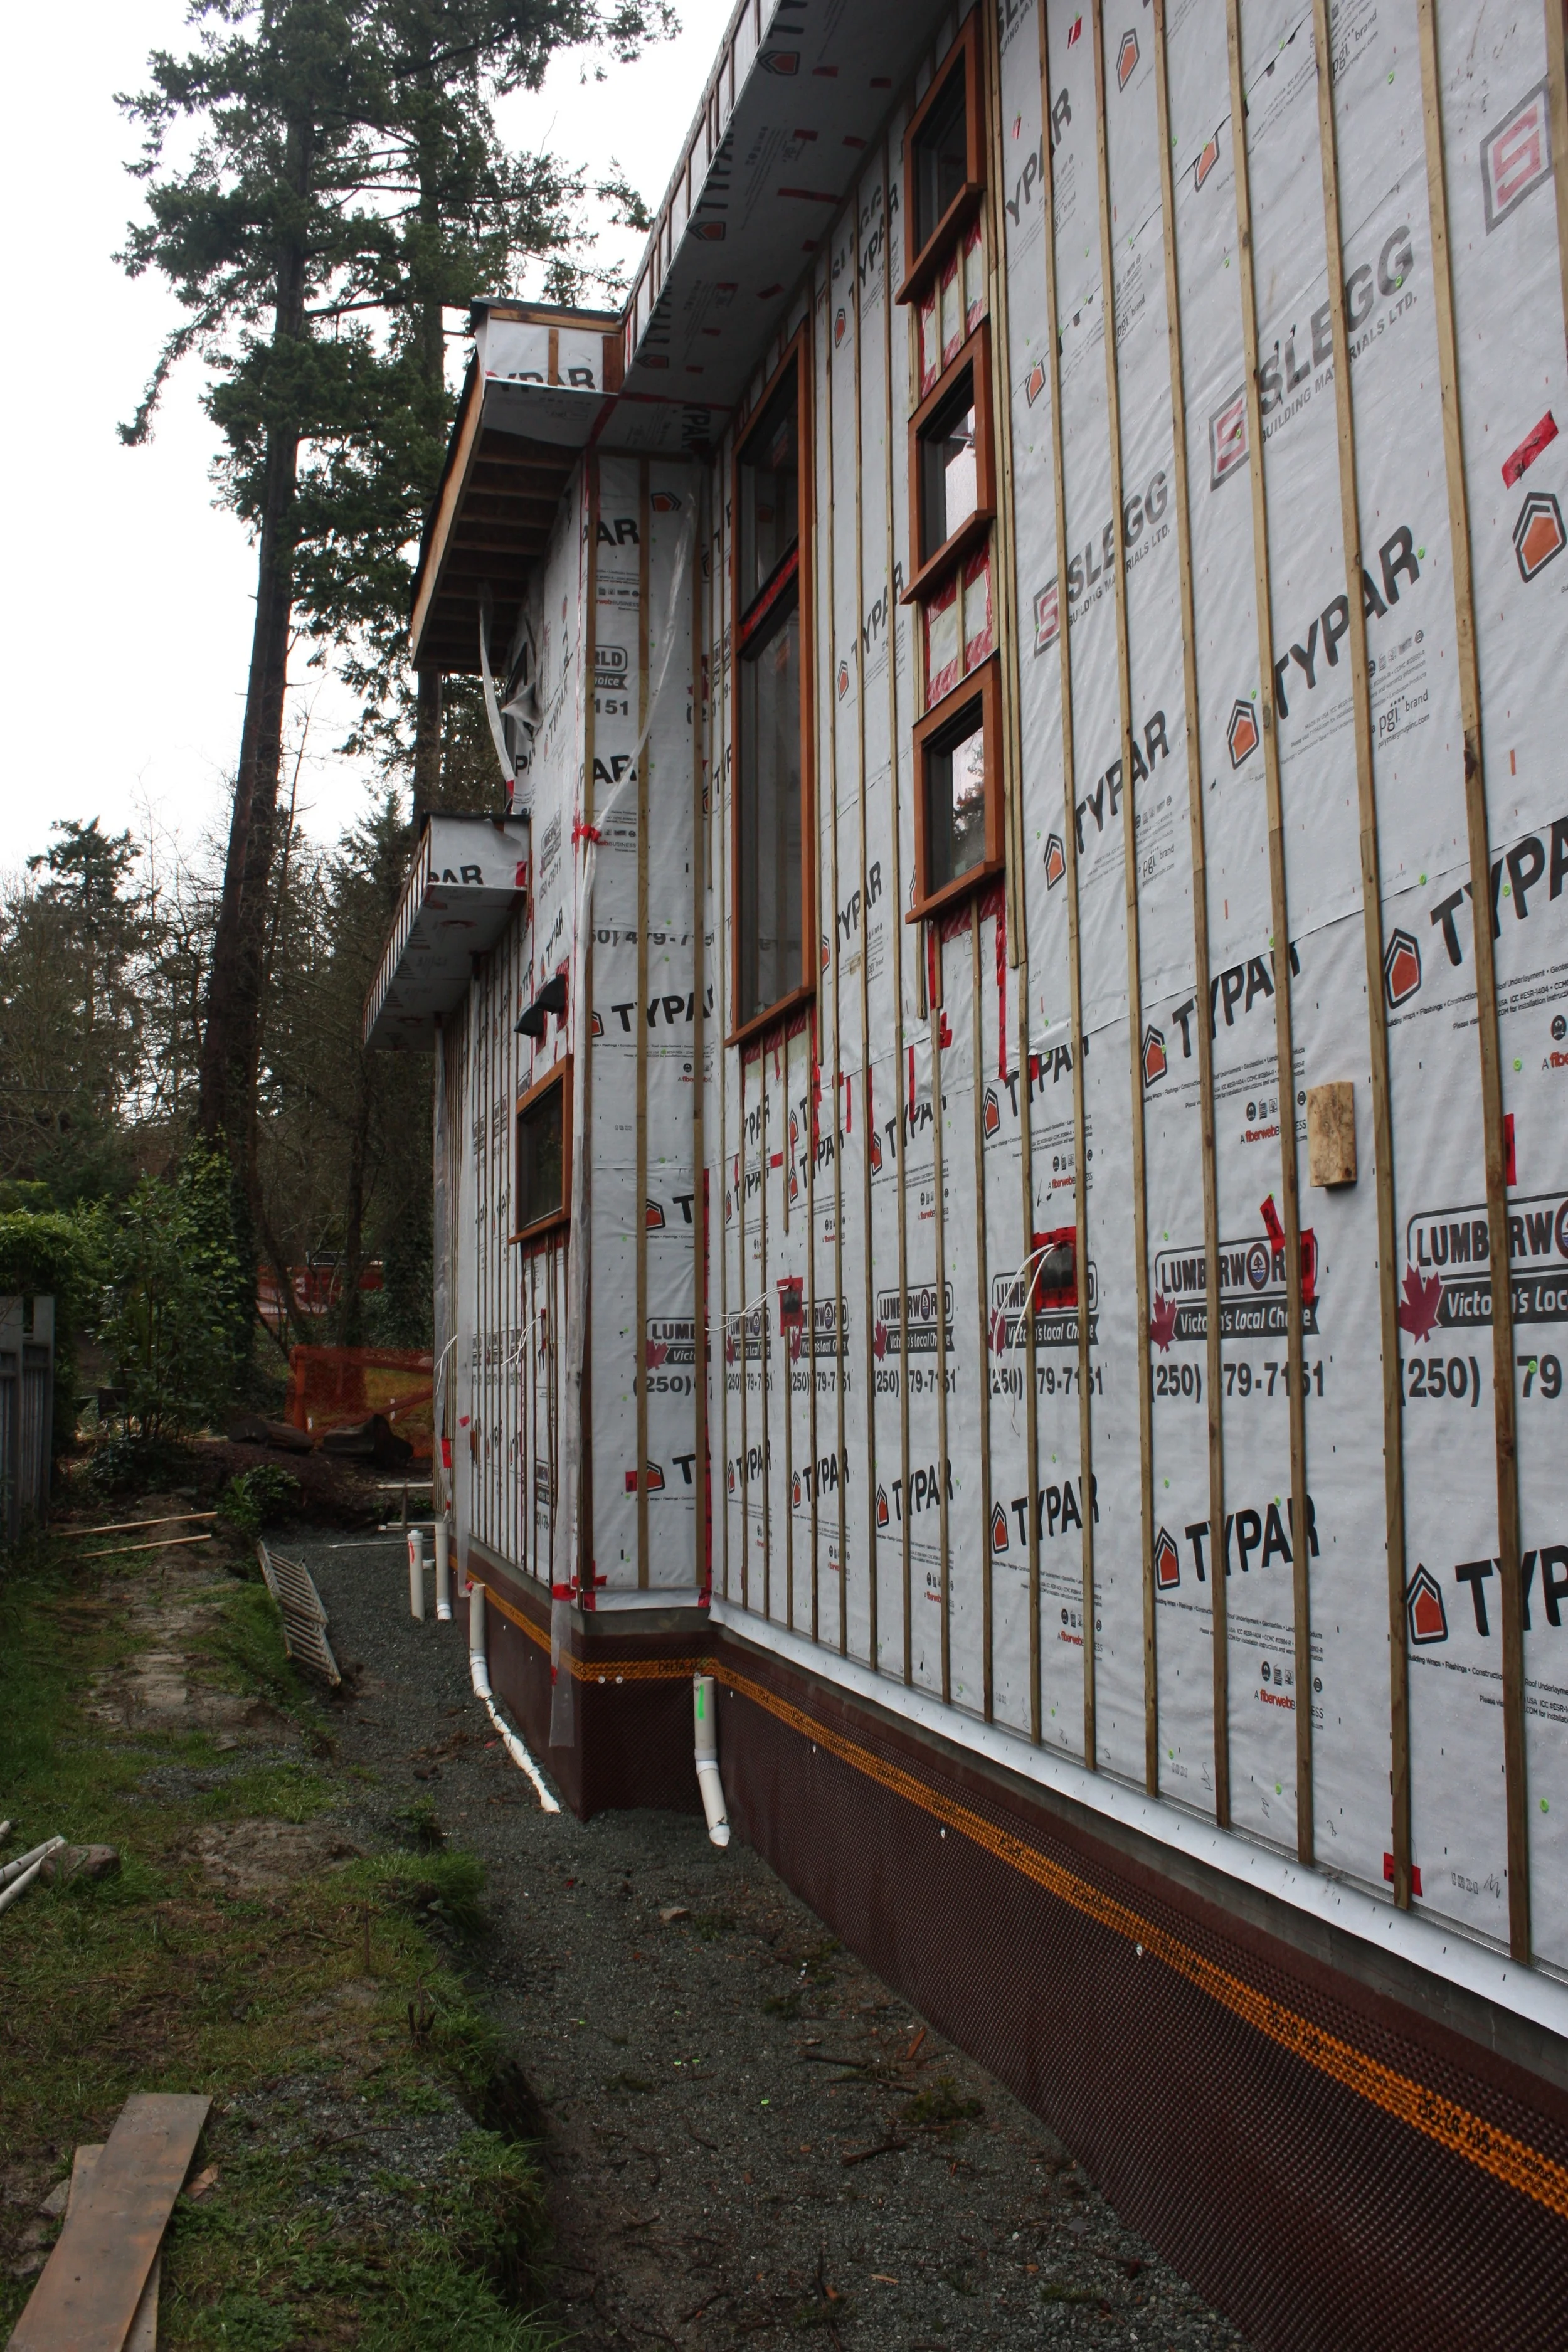
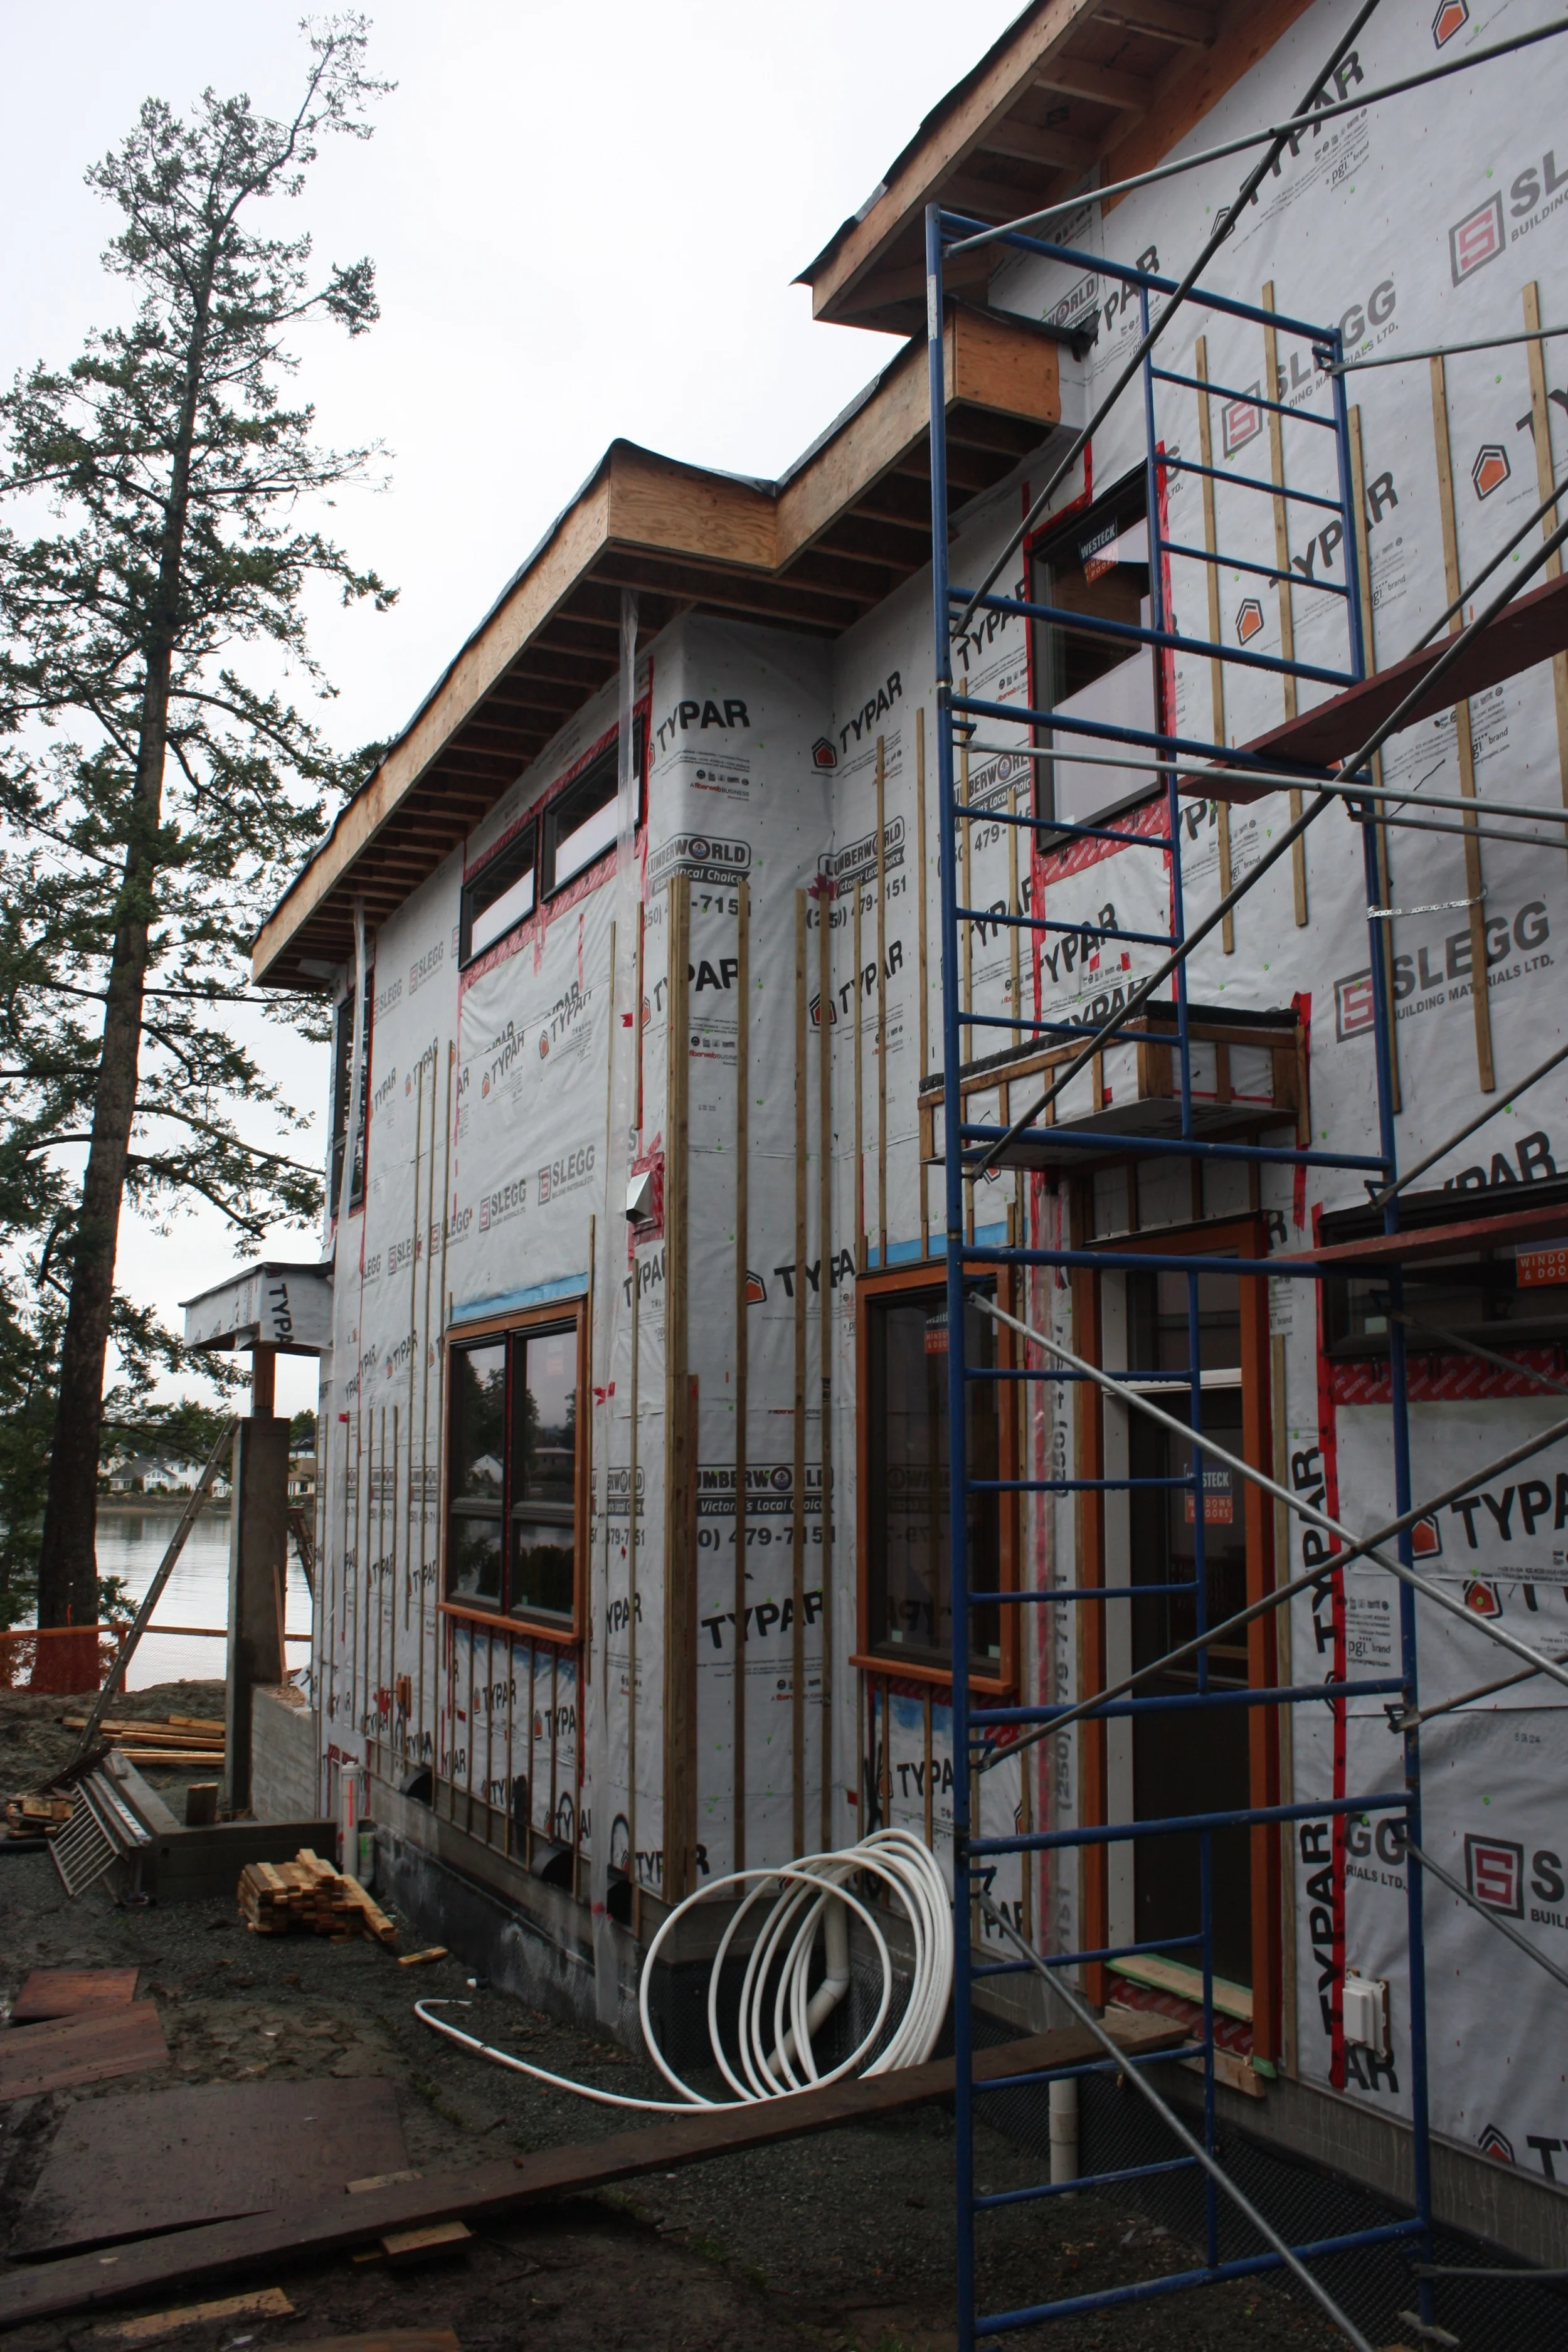
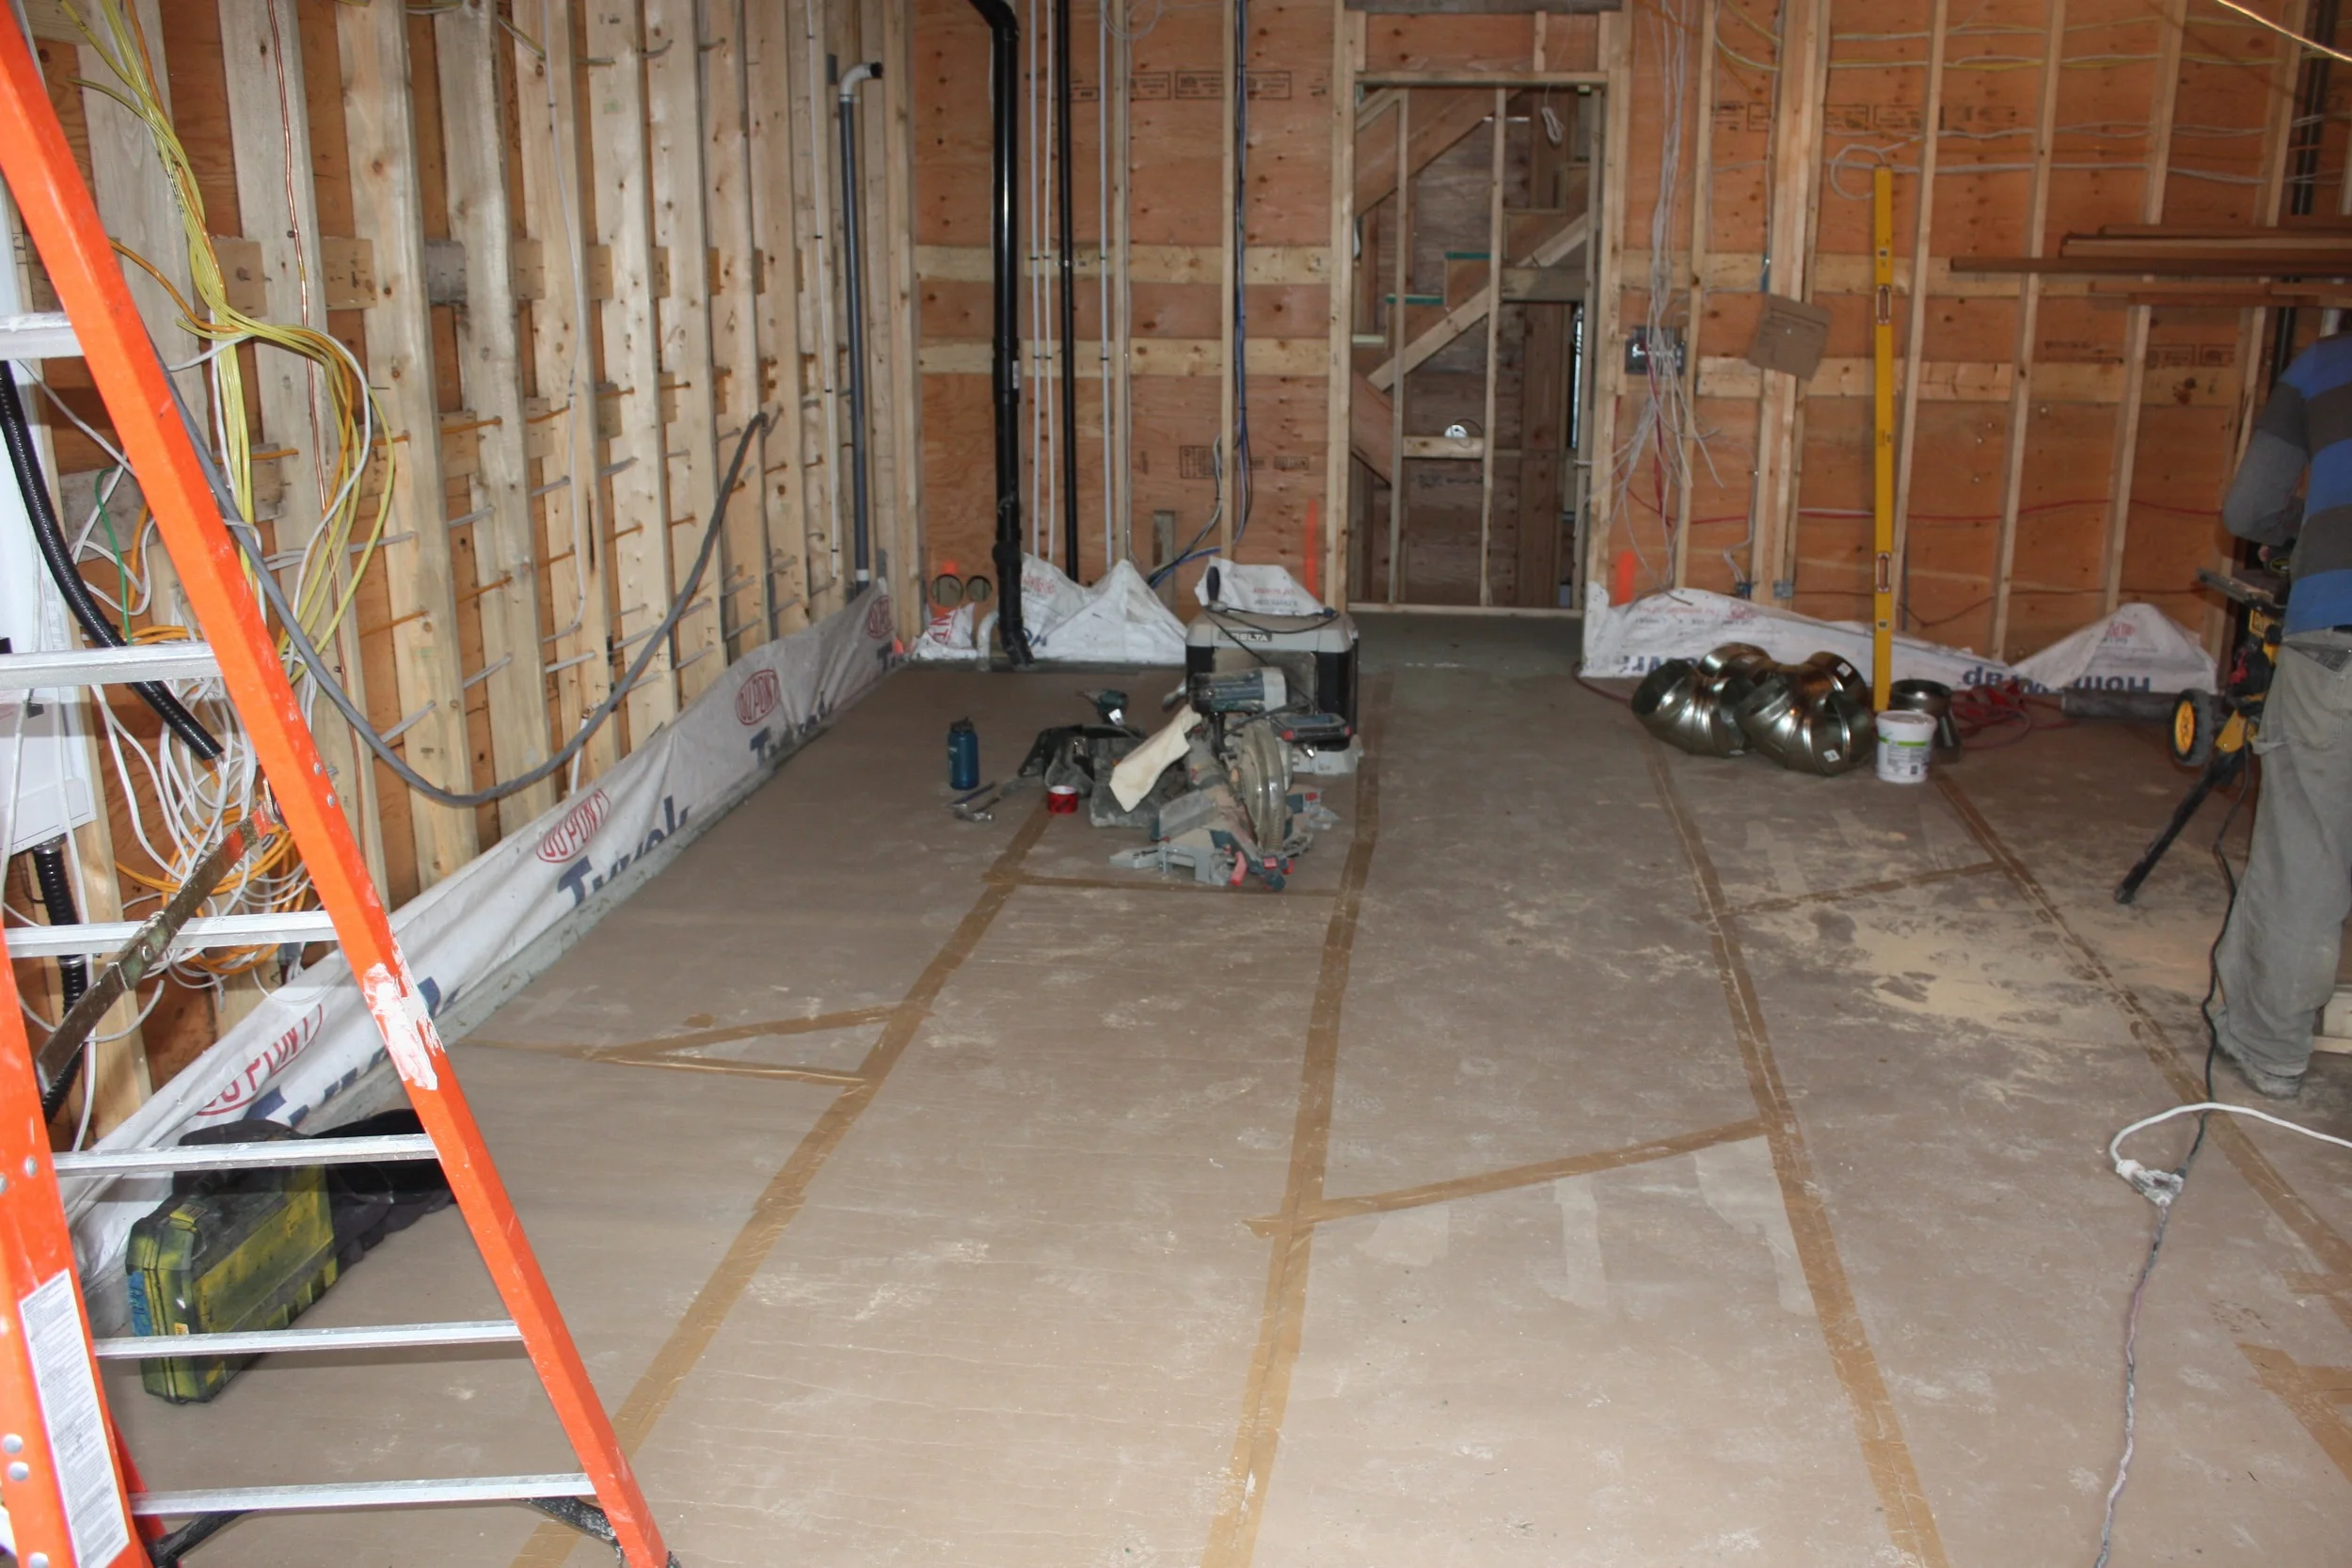
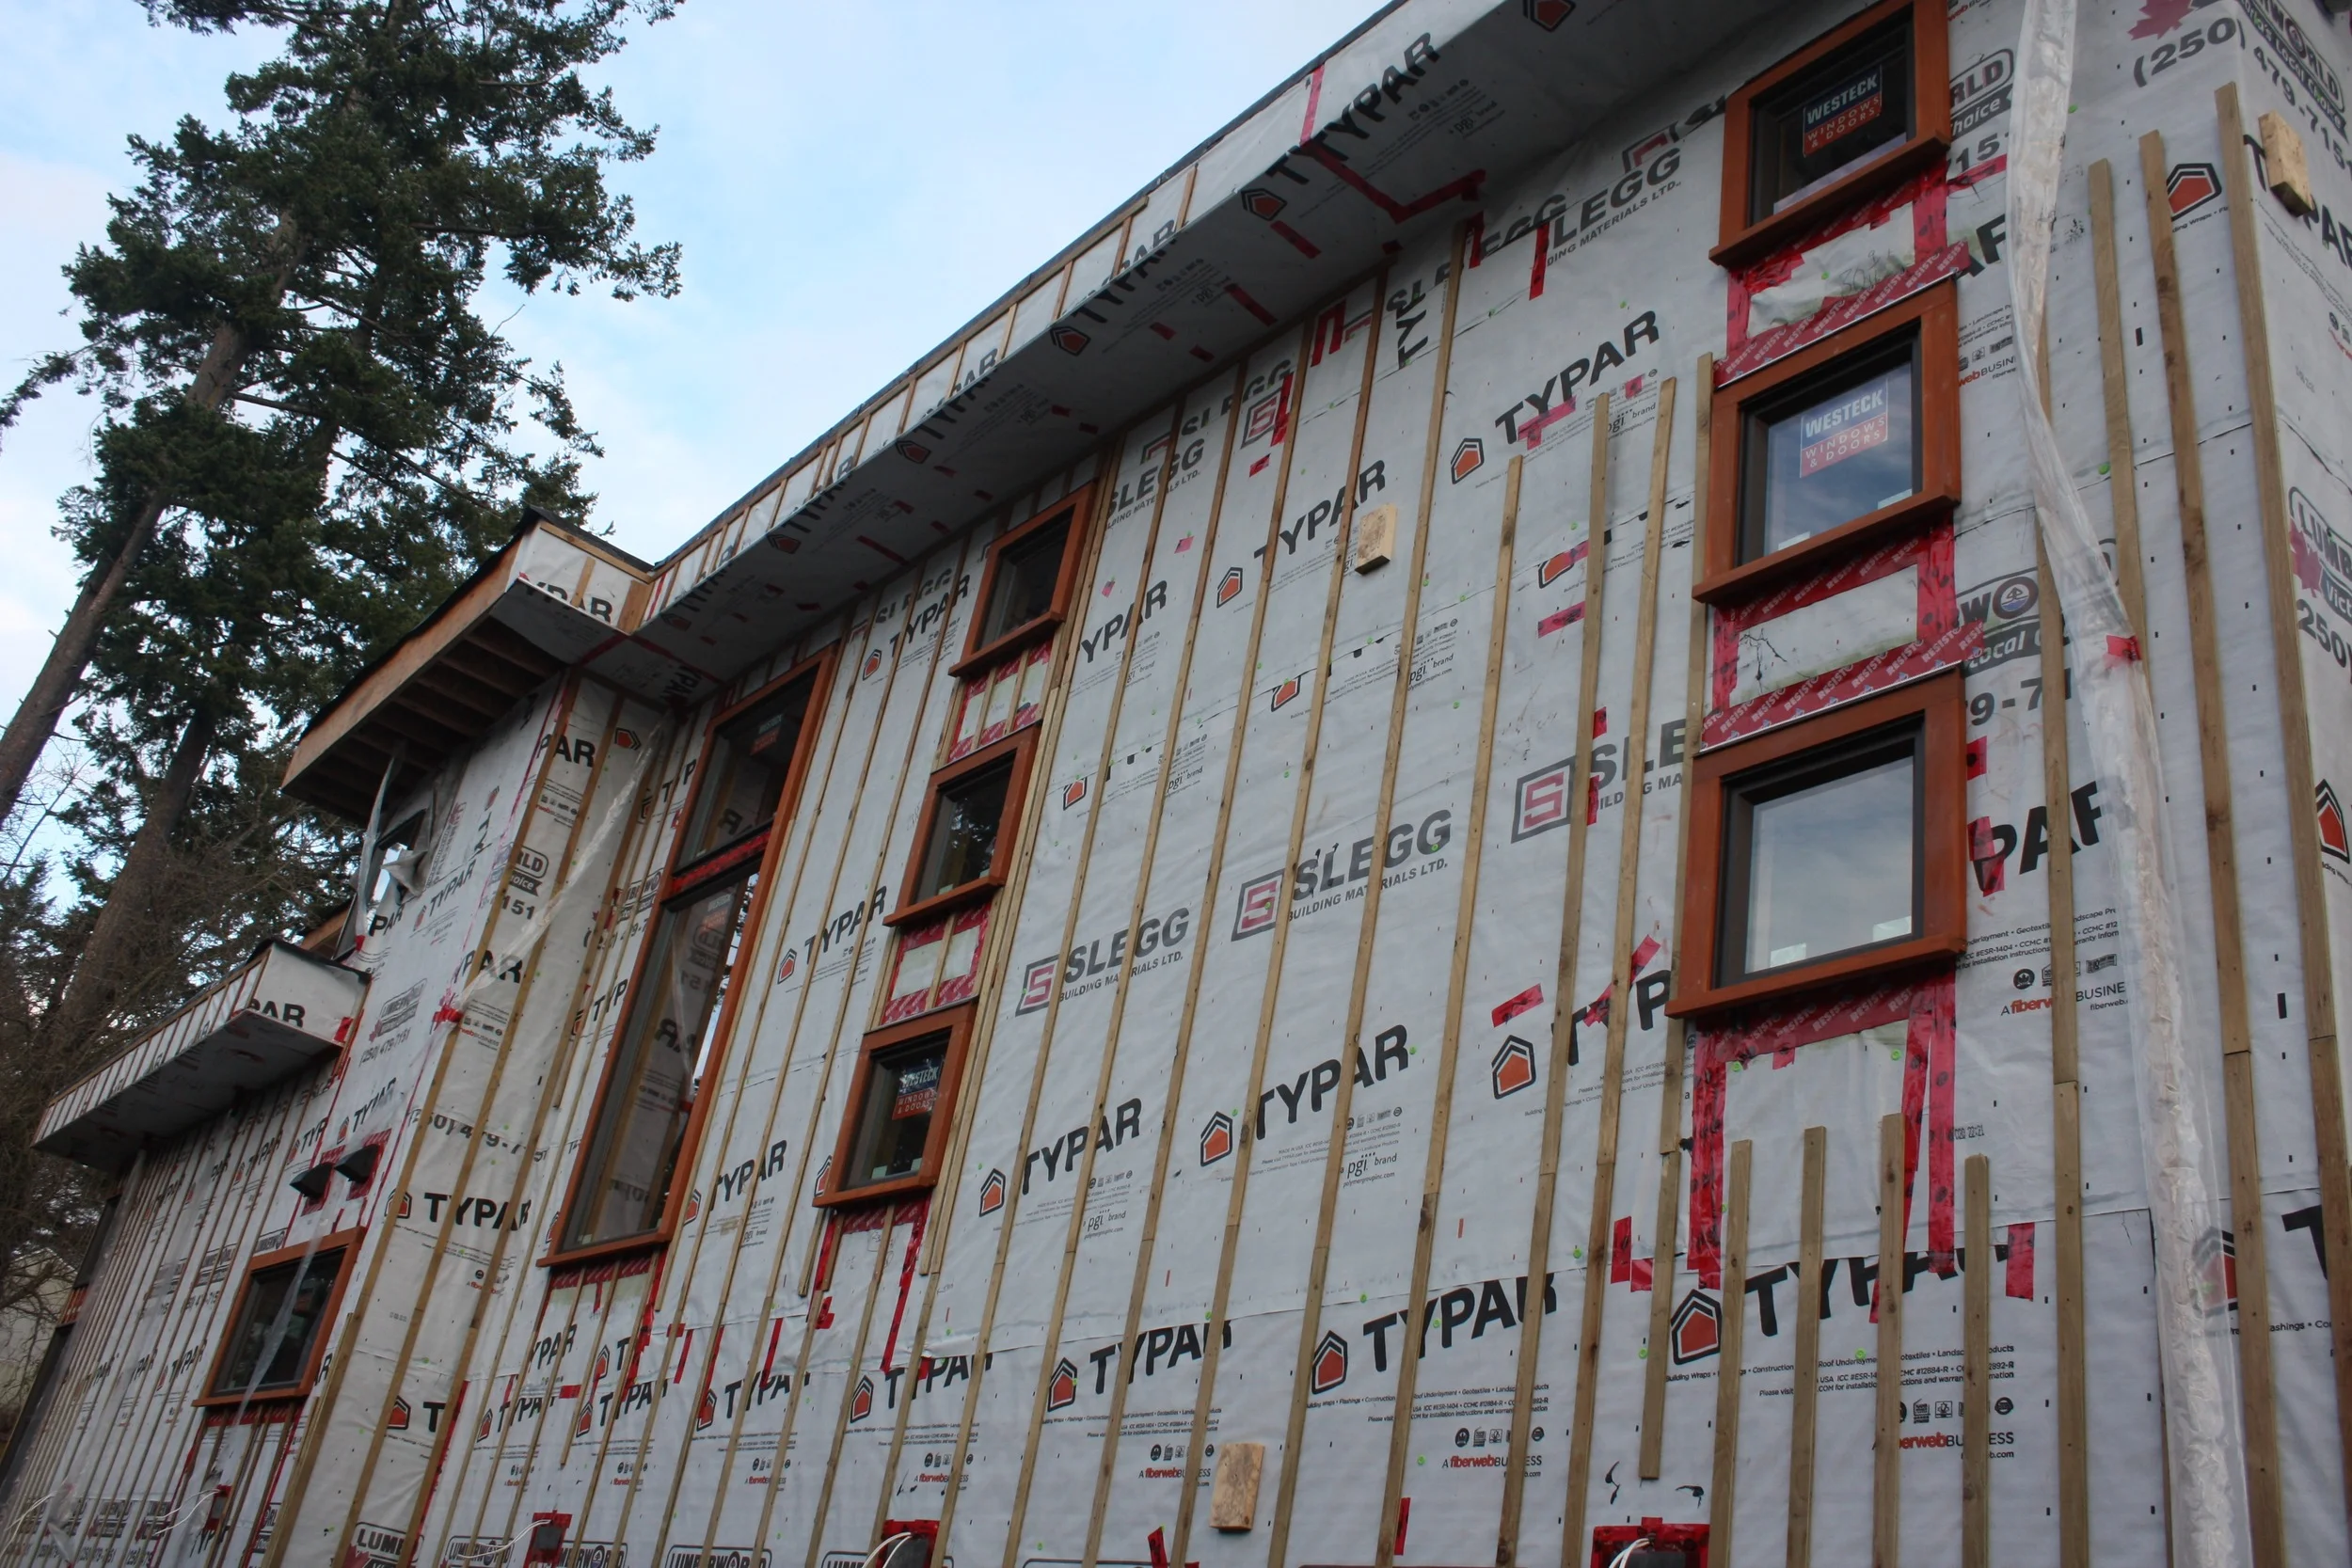
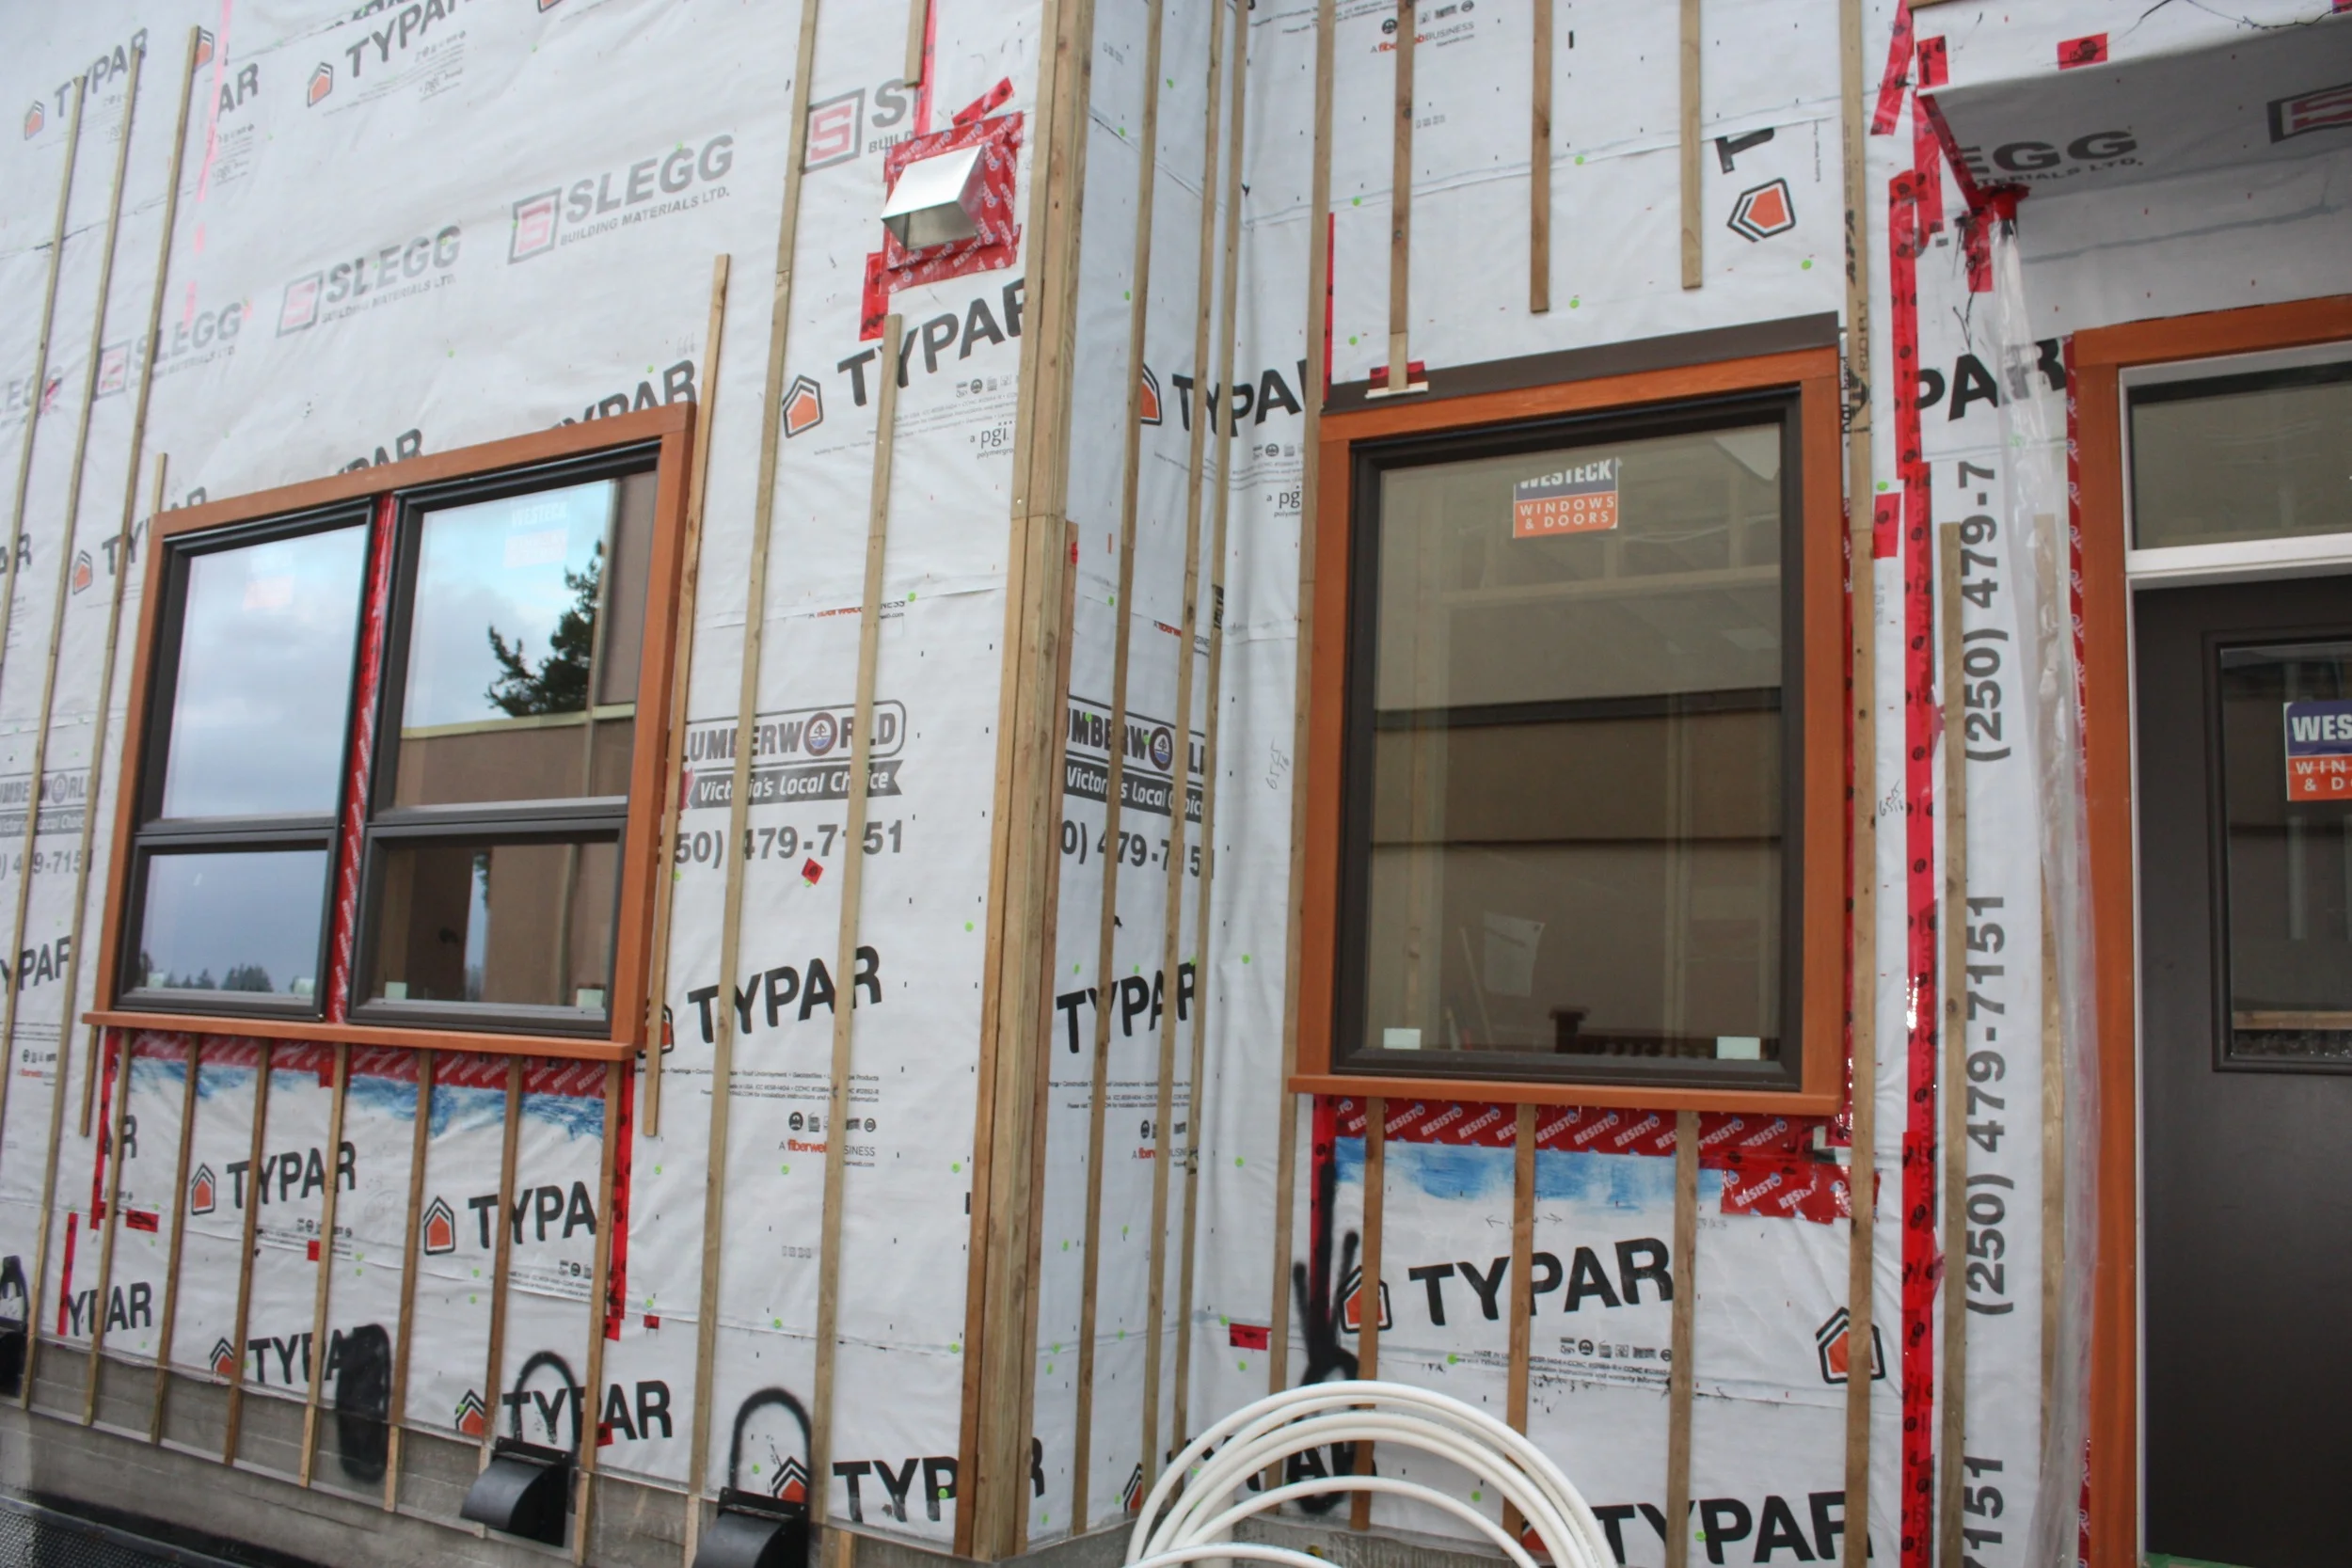
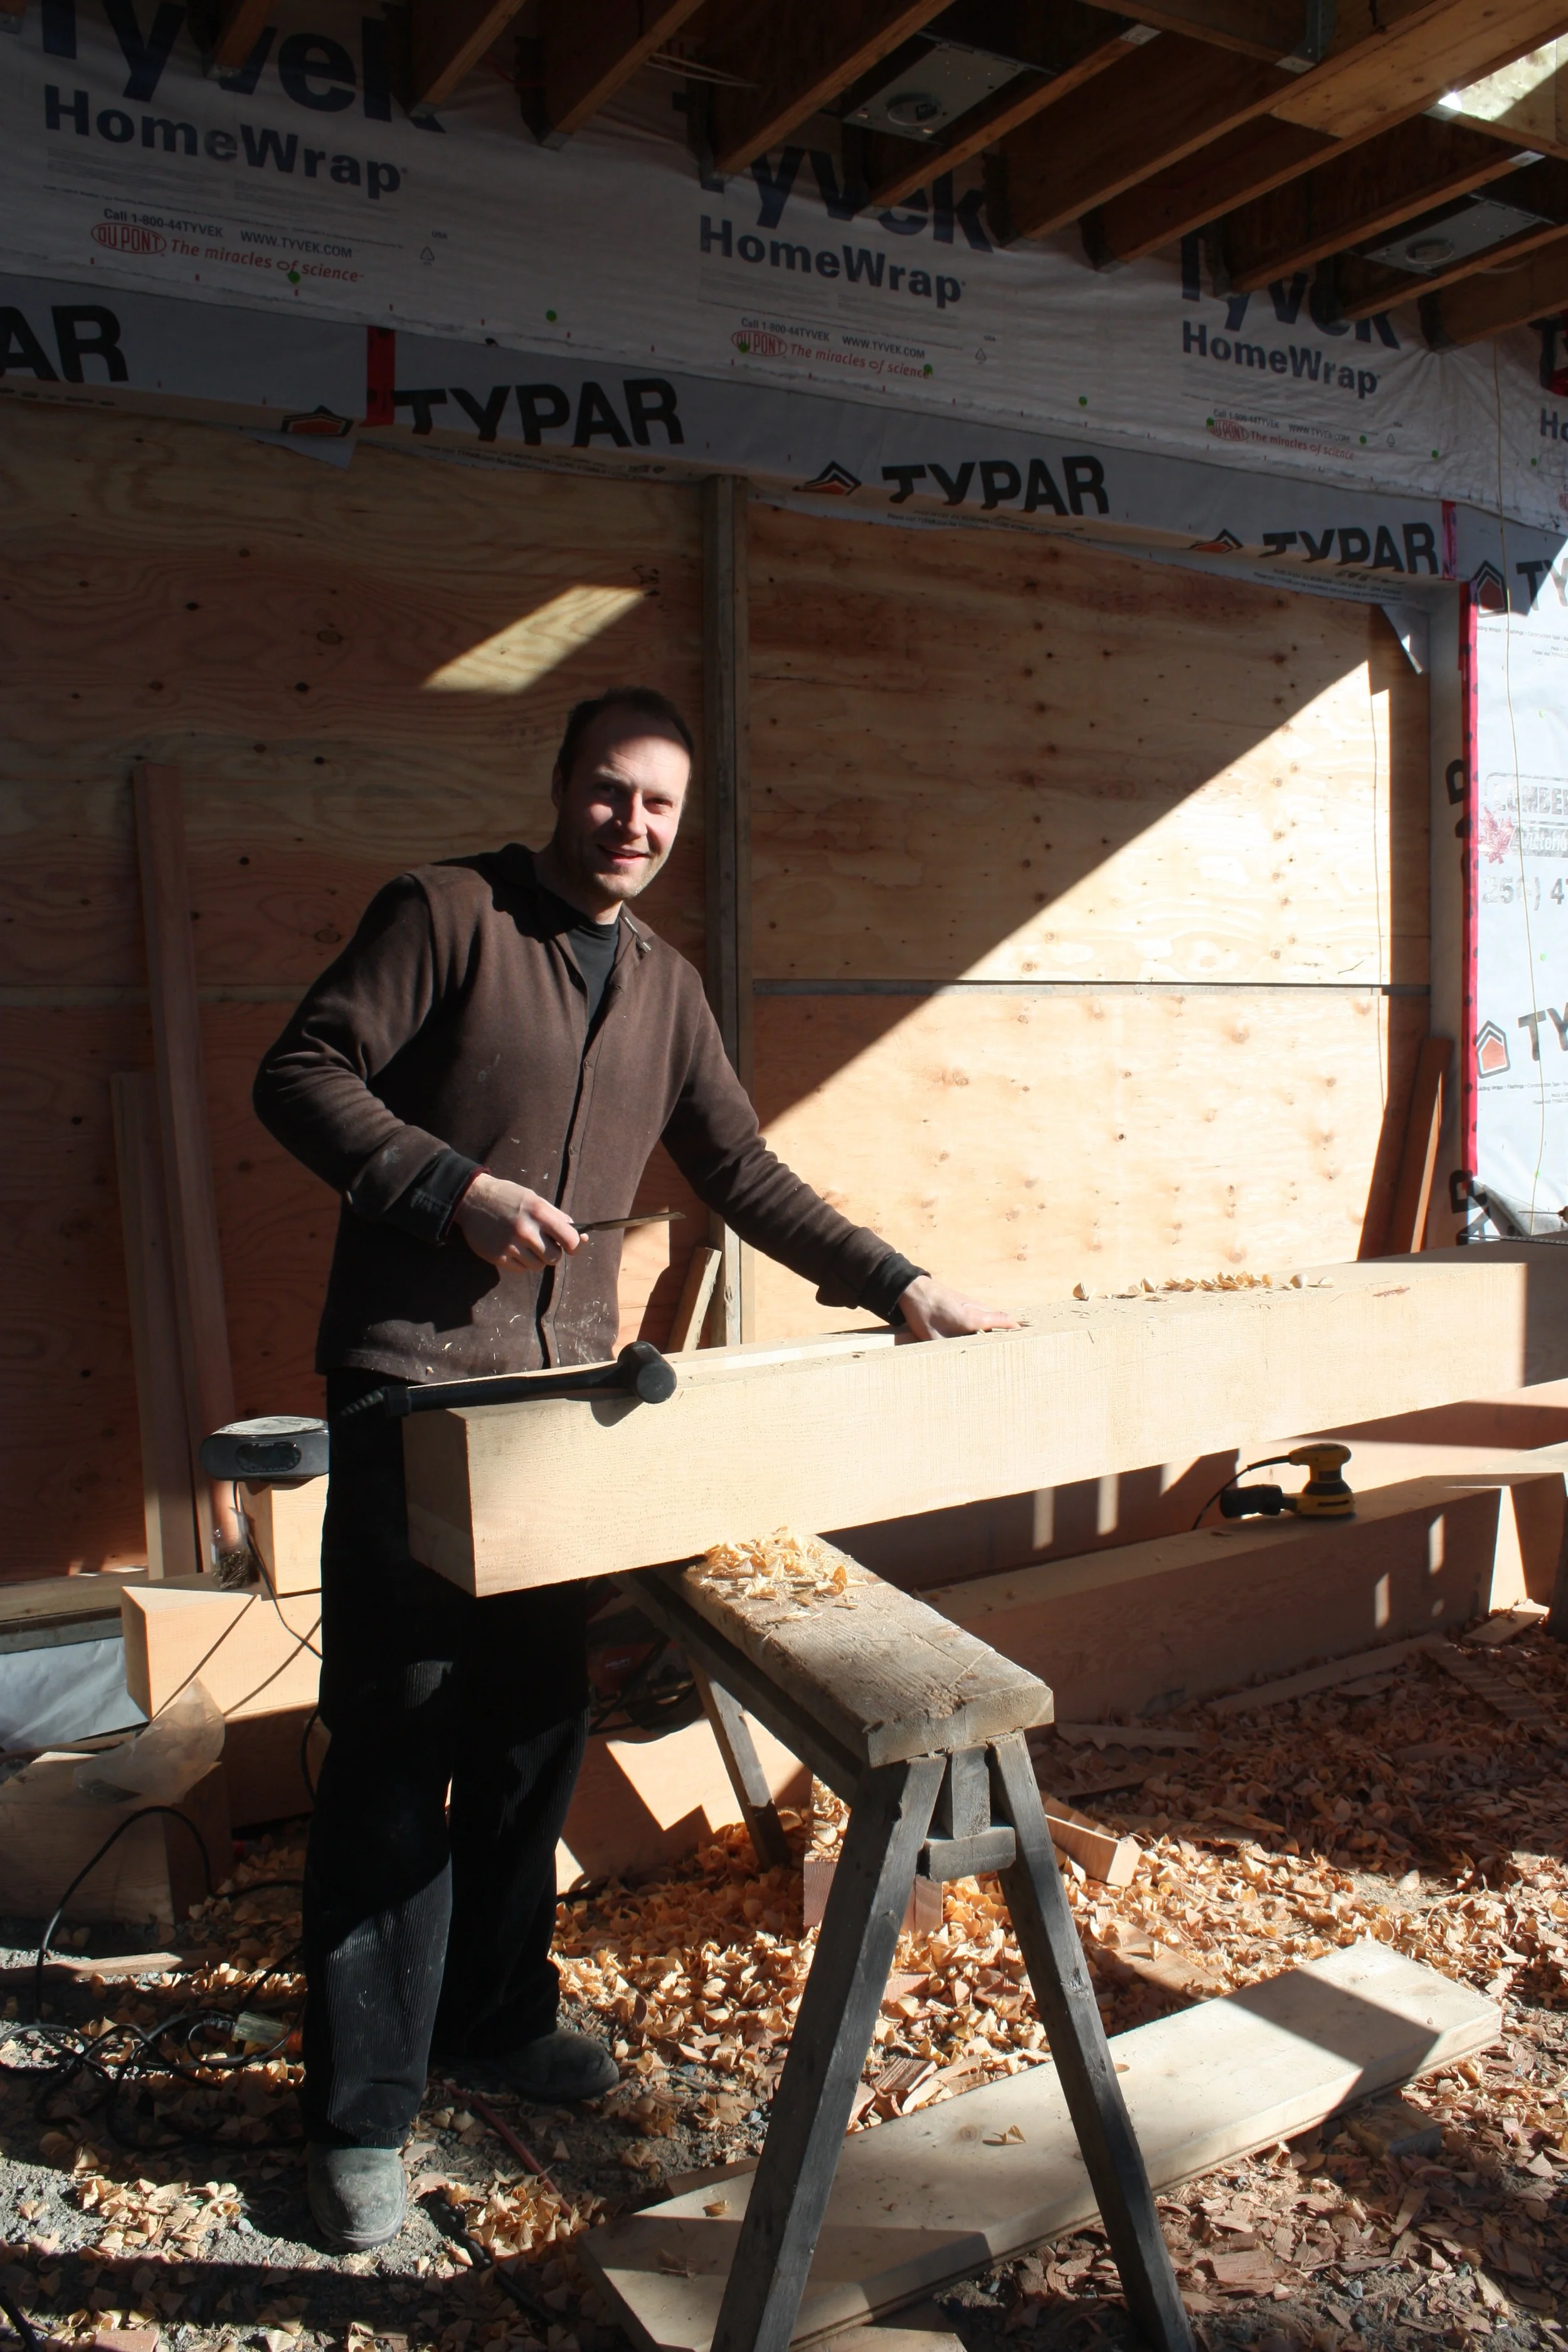
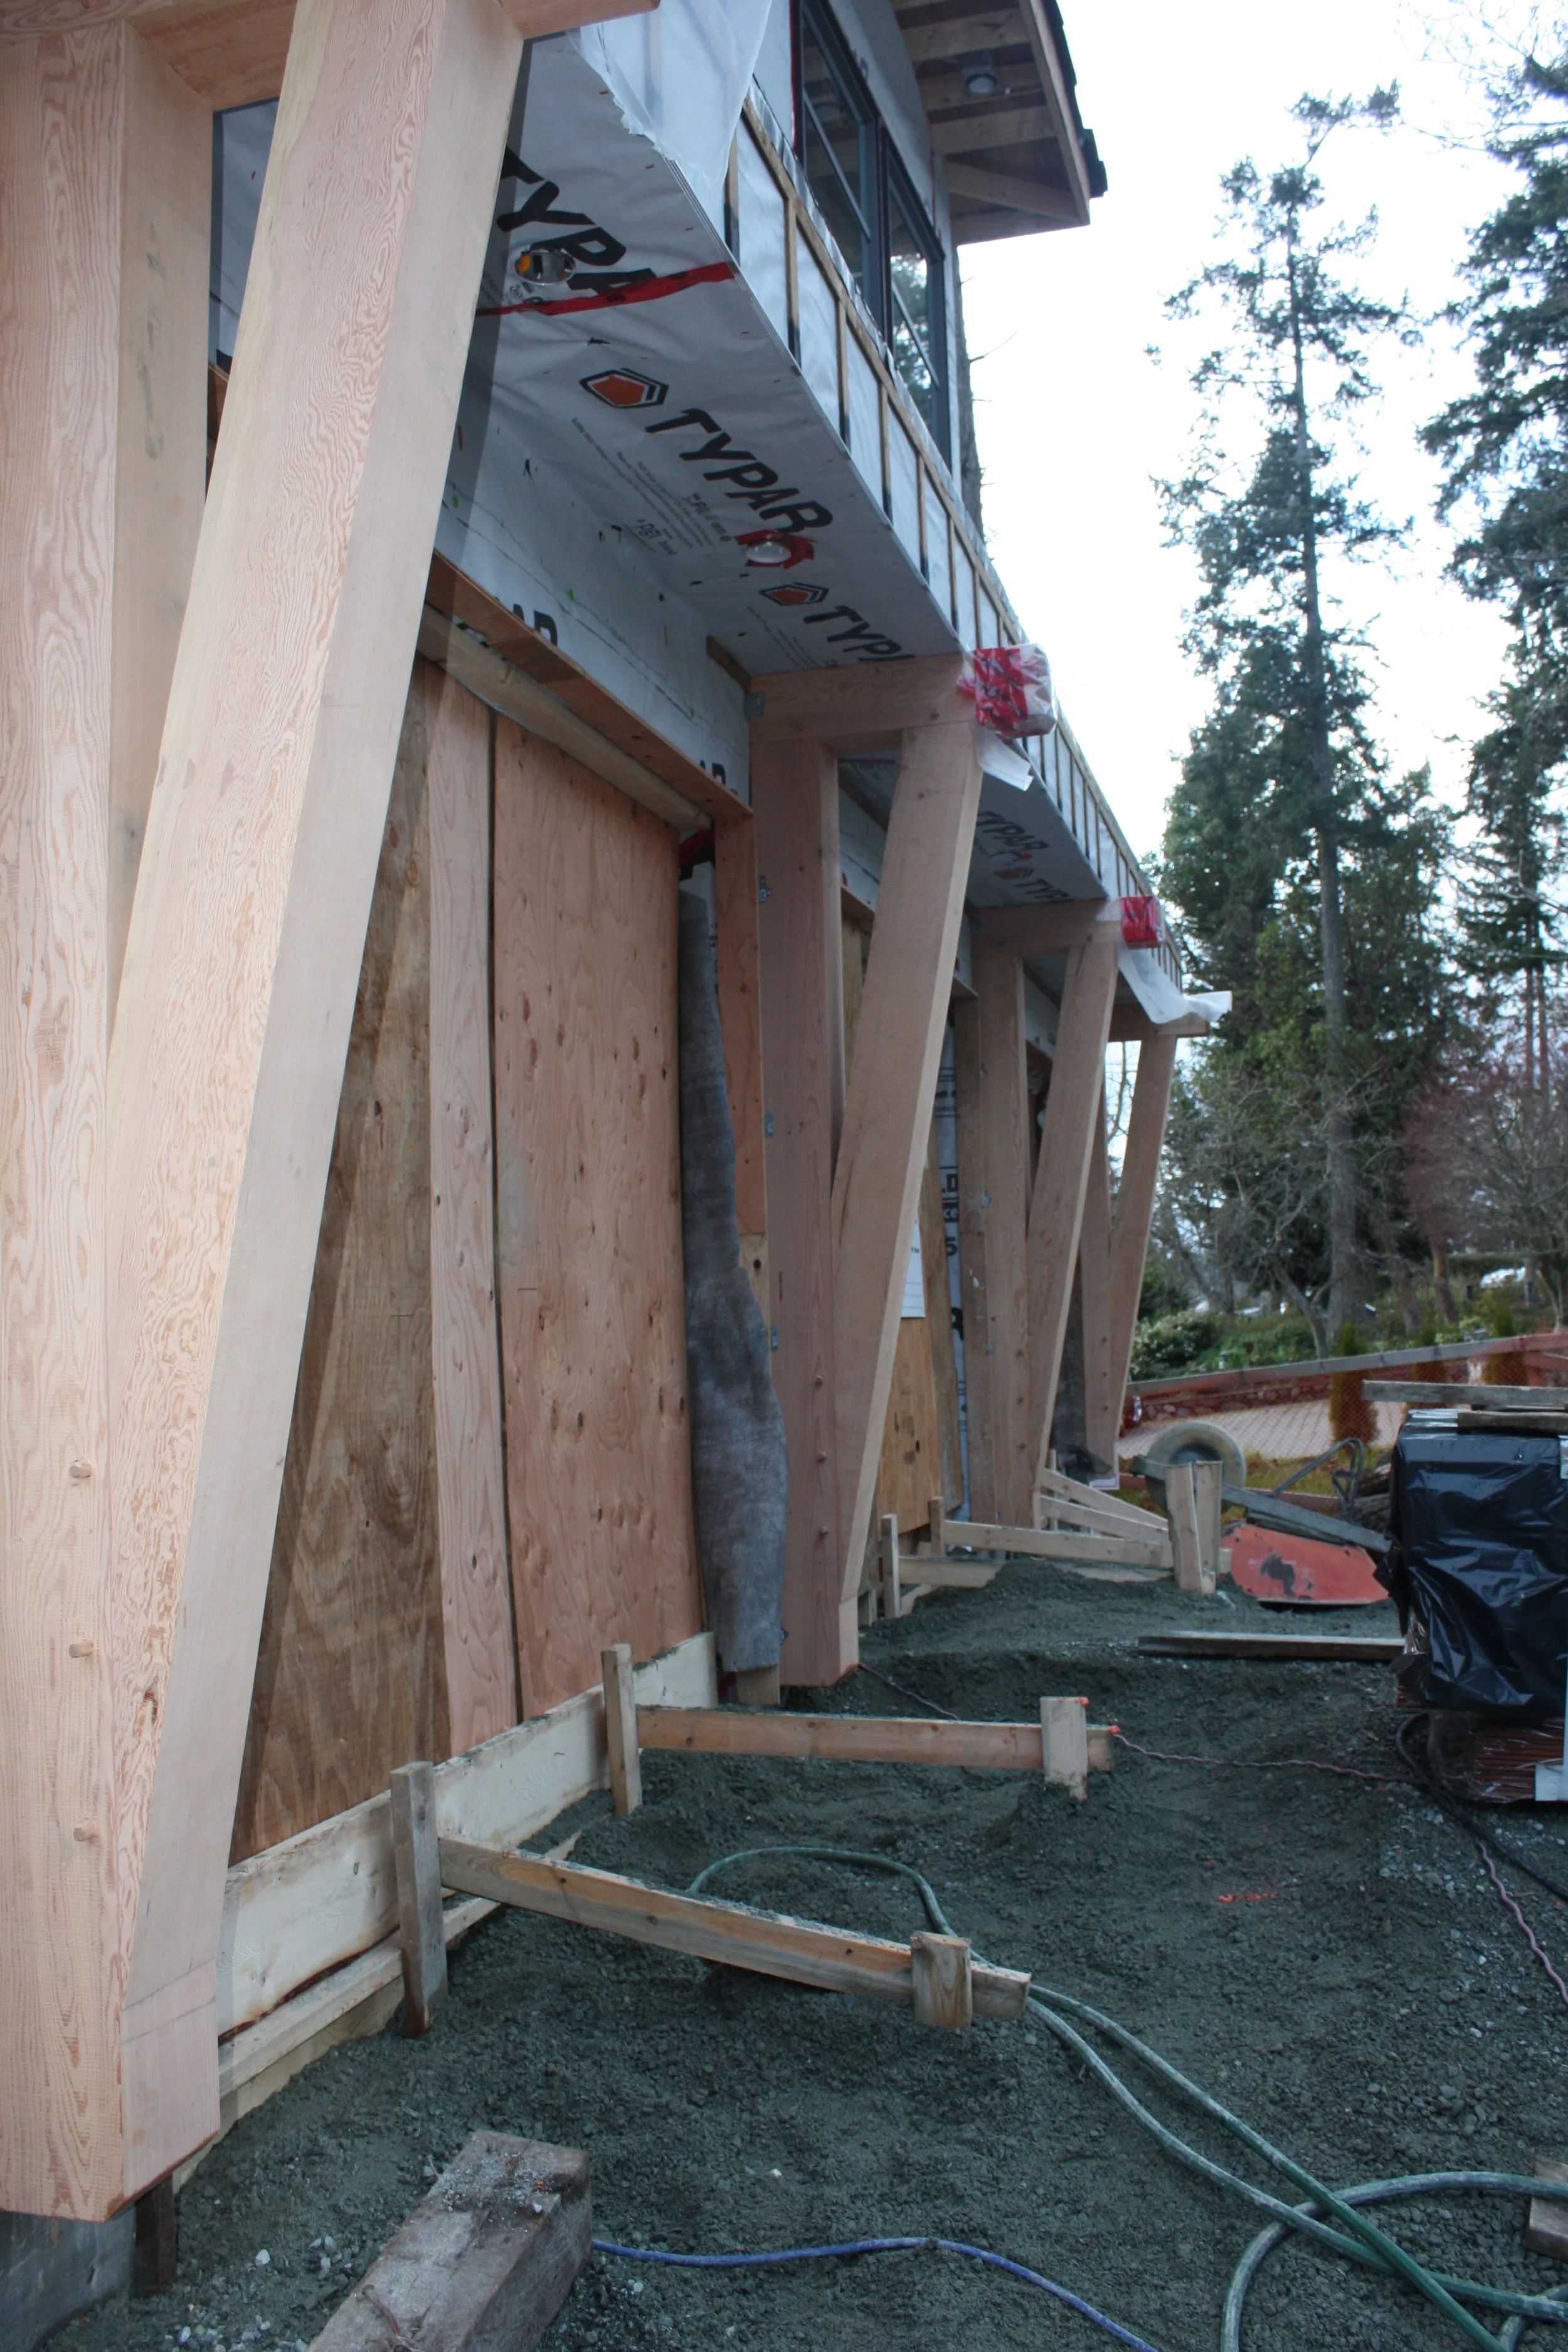
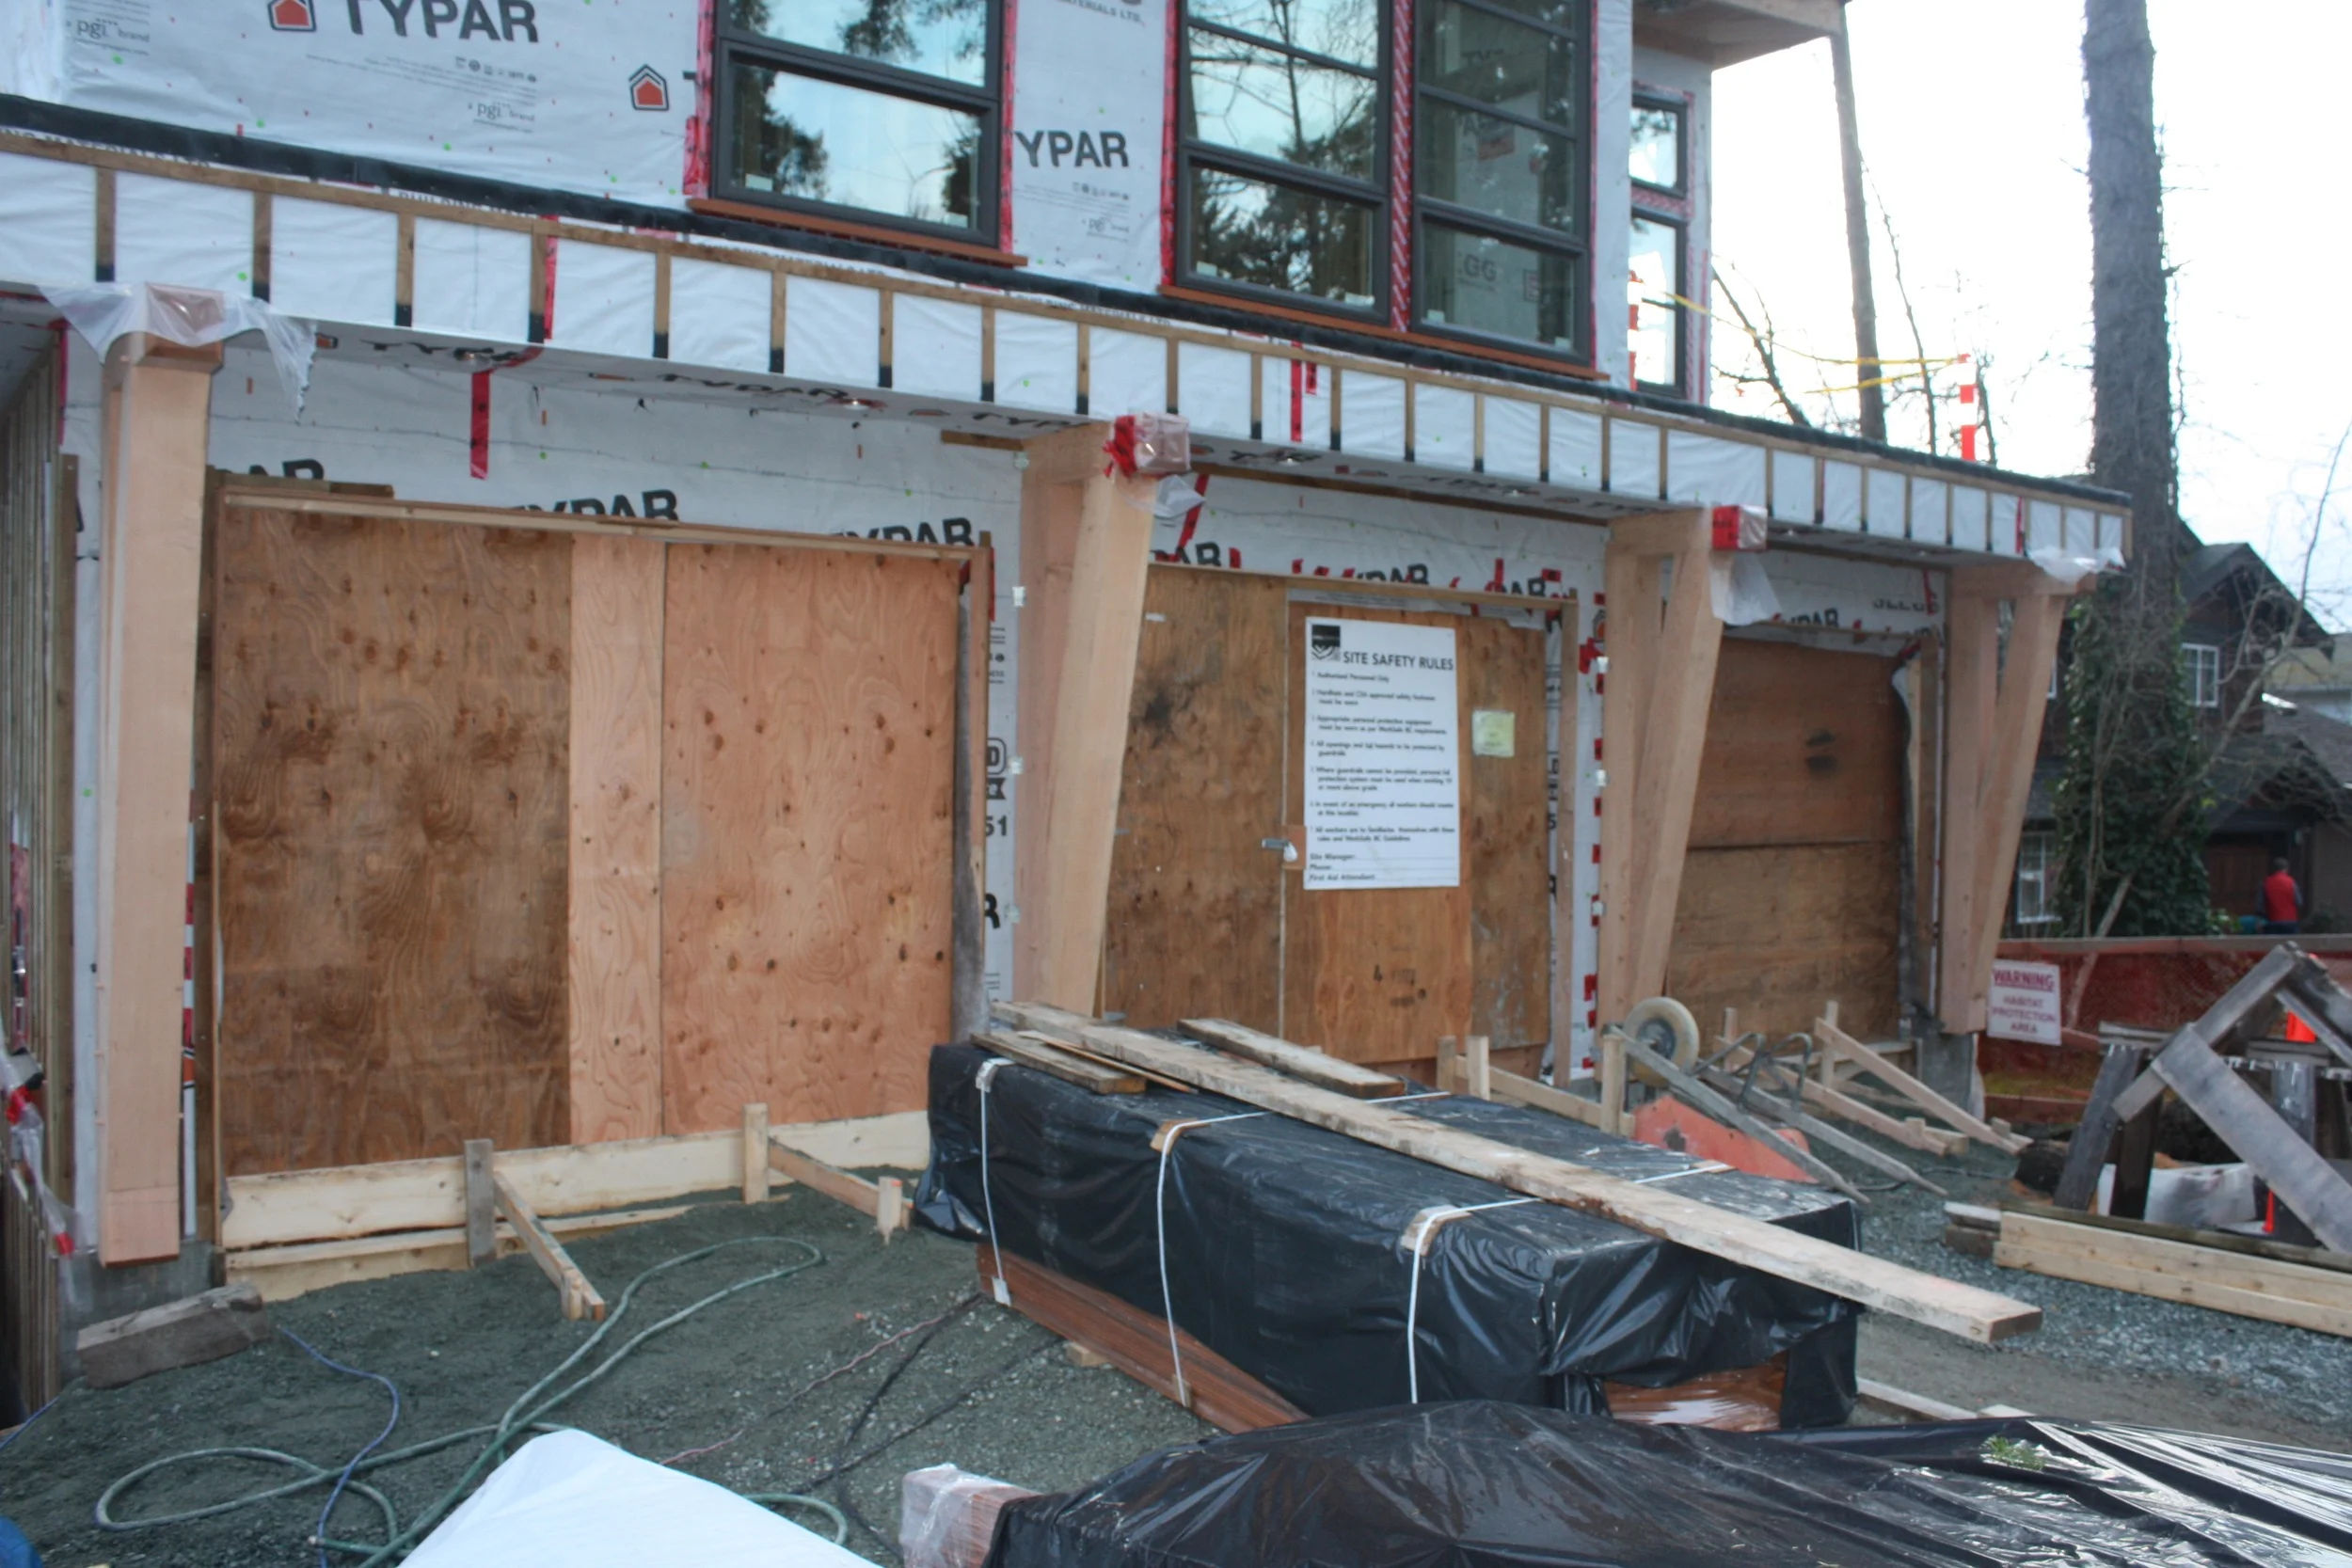
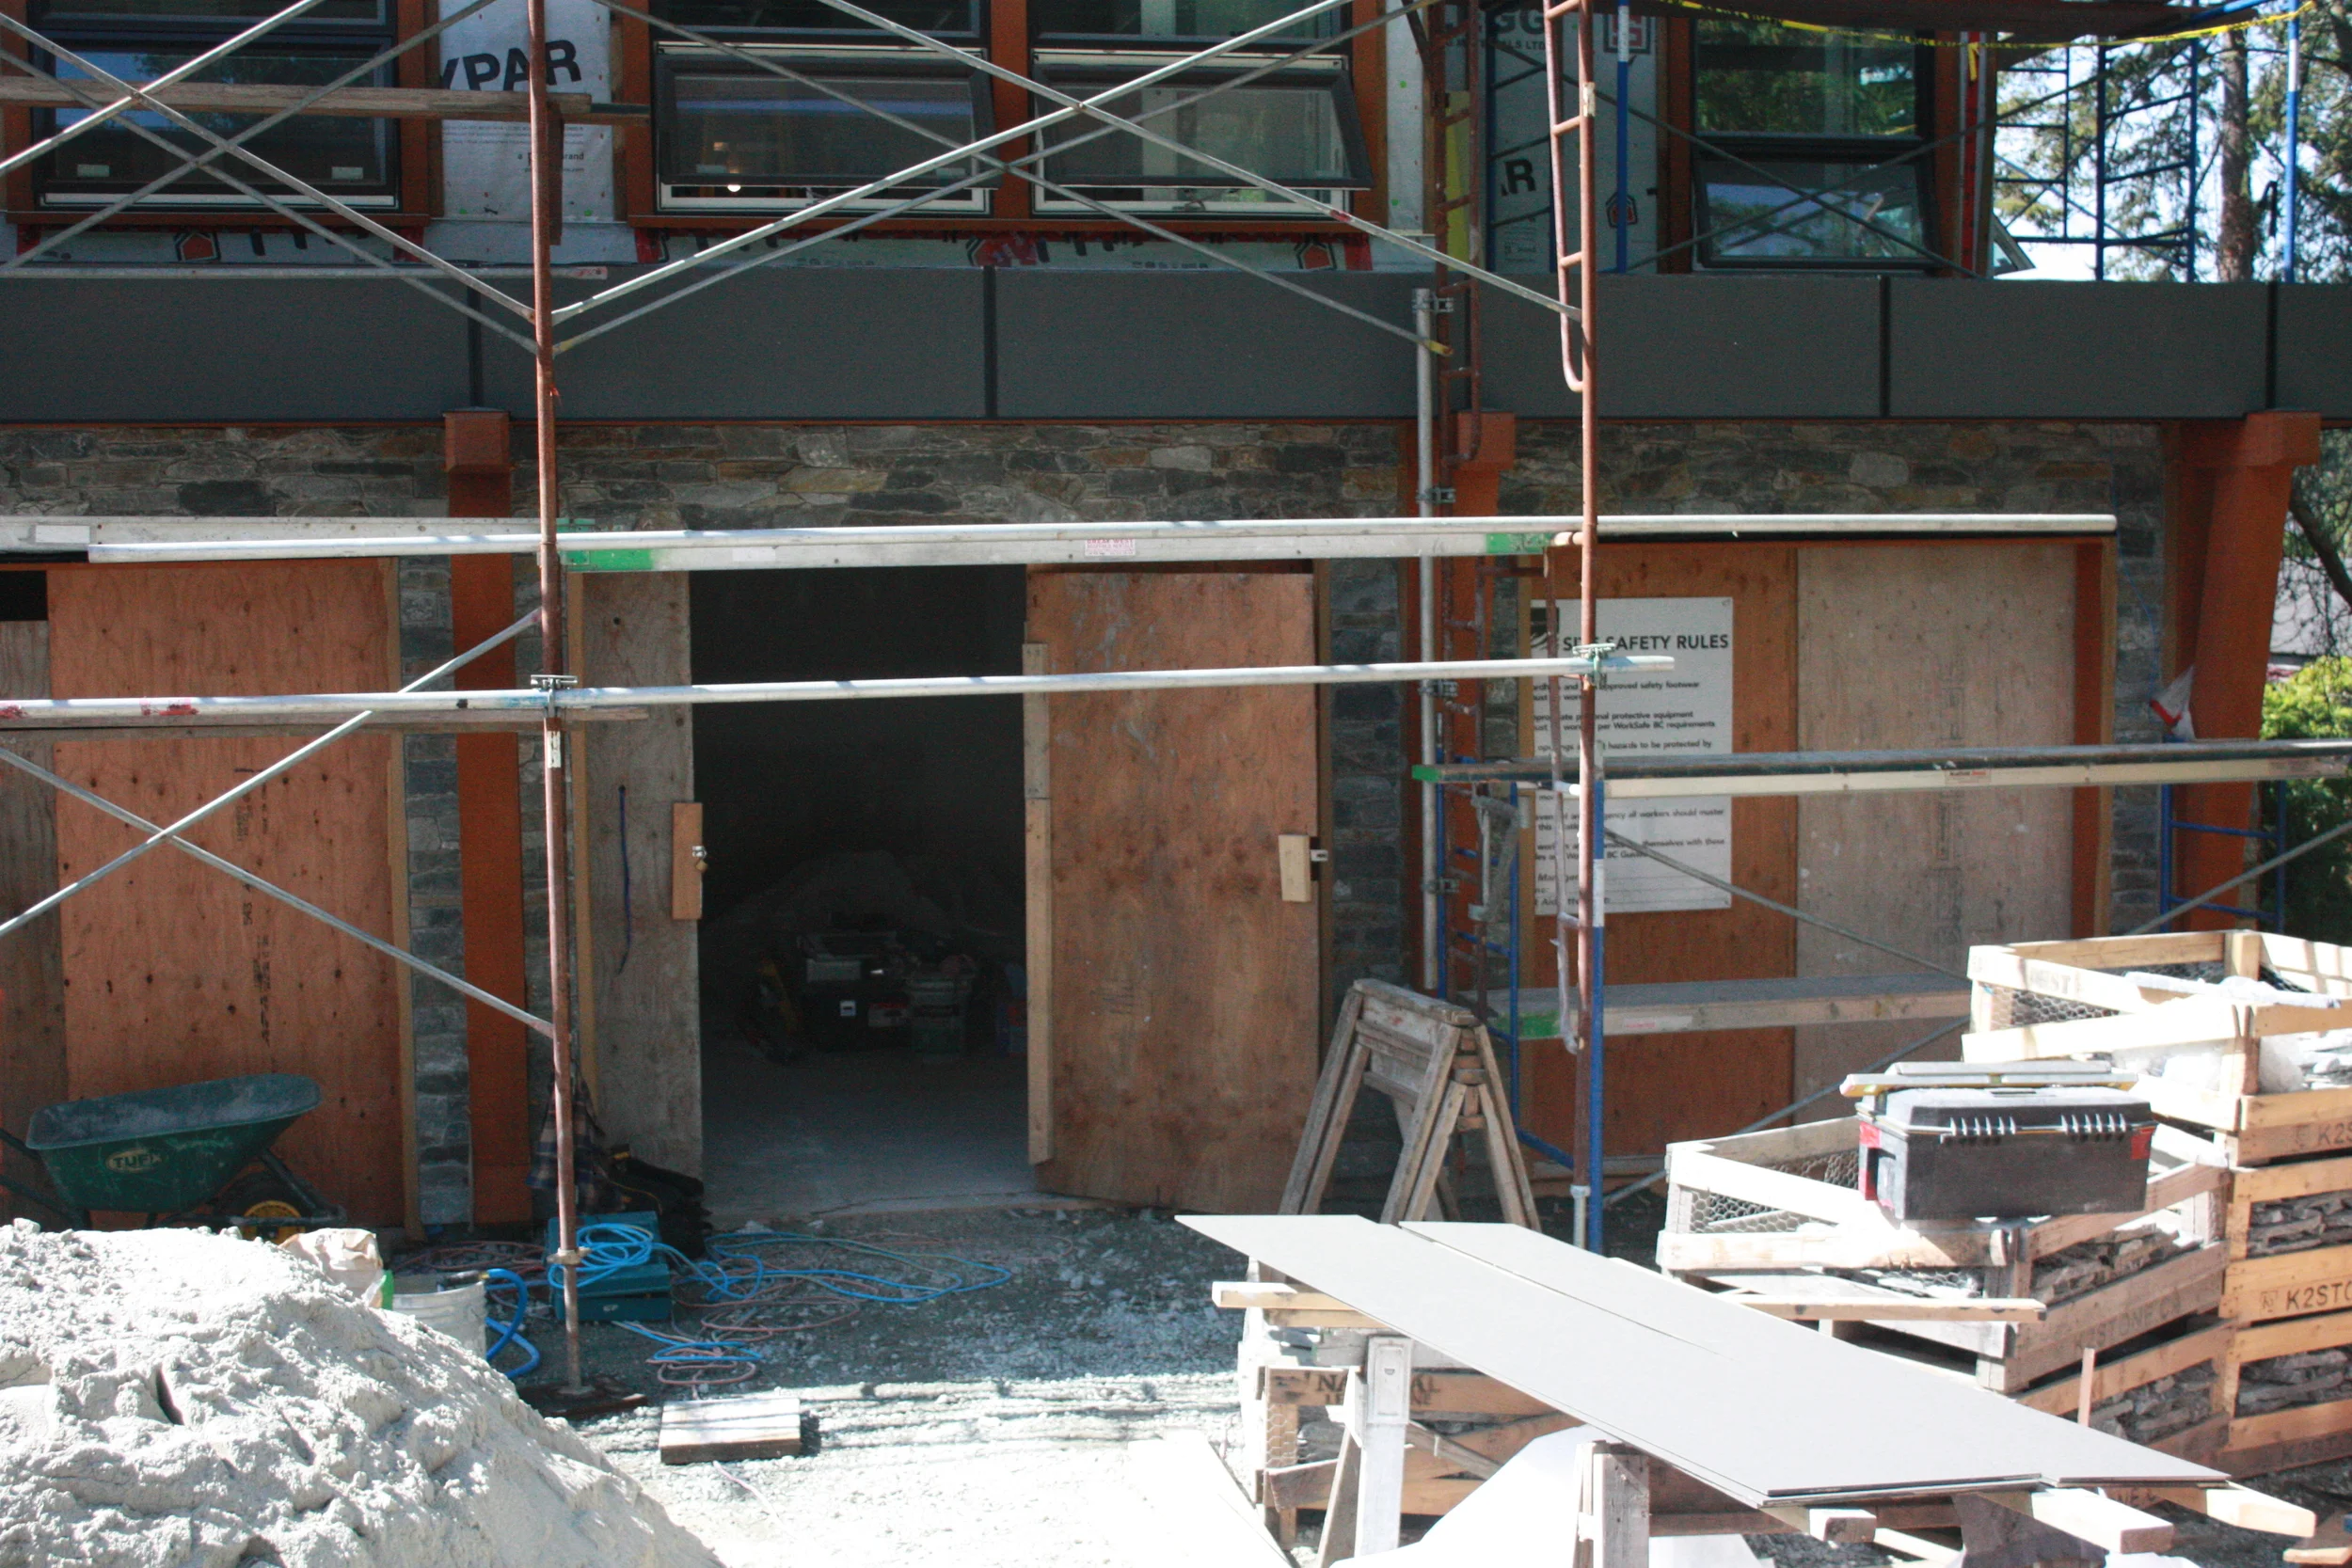
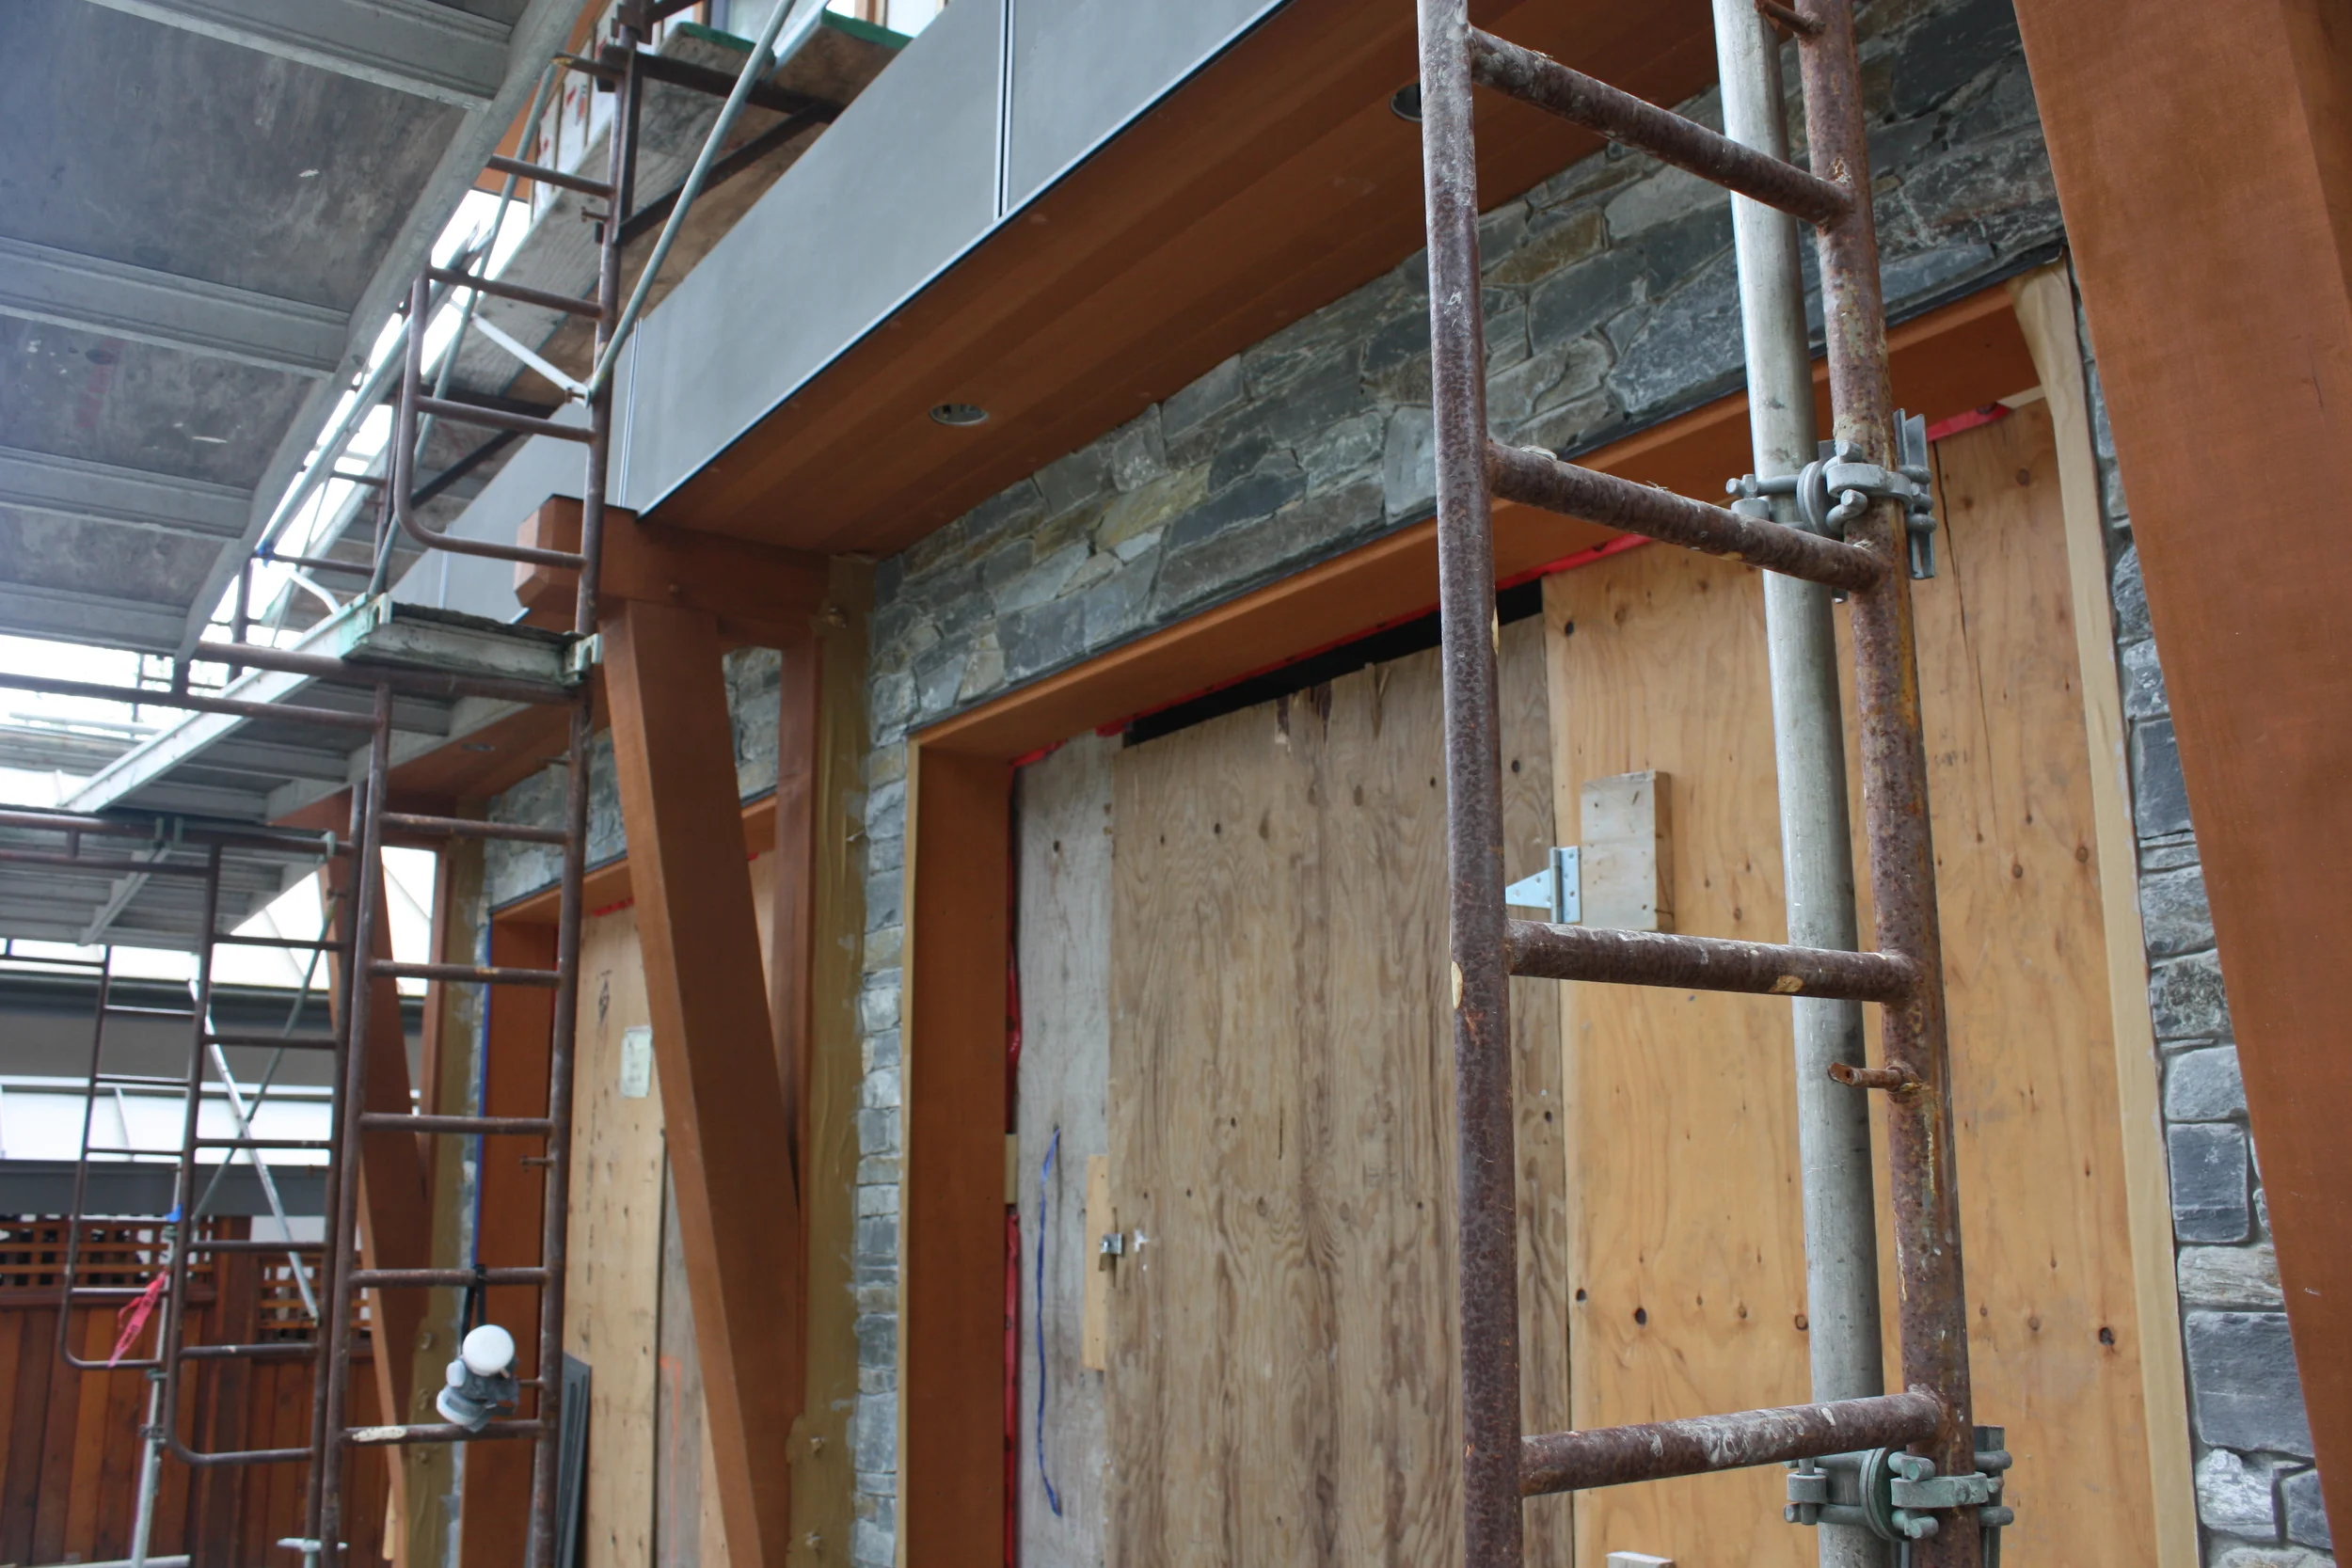
April 28: The house has had lots of progress, but much of it has not been visible to my camera. Inside the drywall has been installed, and that was followed by several days of 'mudding and taping'. Outside the carpenters have been working in the upper reaches of the roof lines, installing cedar soffits and cement board facia. I know this is happening, as the carpenters have set up workshops on the roof, but it is not visible from the ground. (I am not comfortable climbing the scaffolding...) While the carpenters are preparing the house for installation of the siding, David, the mason, is working on the street side walls around the garage door openings. The cedar and dark trim along with the rock work is wonderful - adding a real West Coast feel to the house.
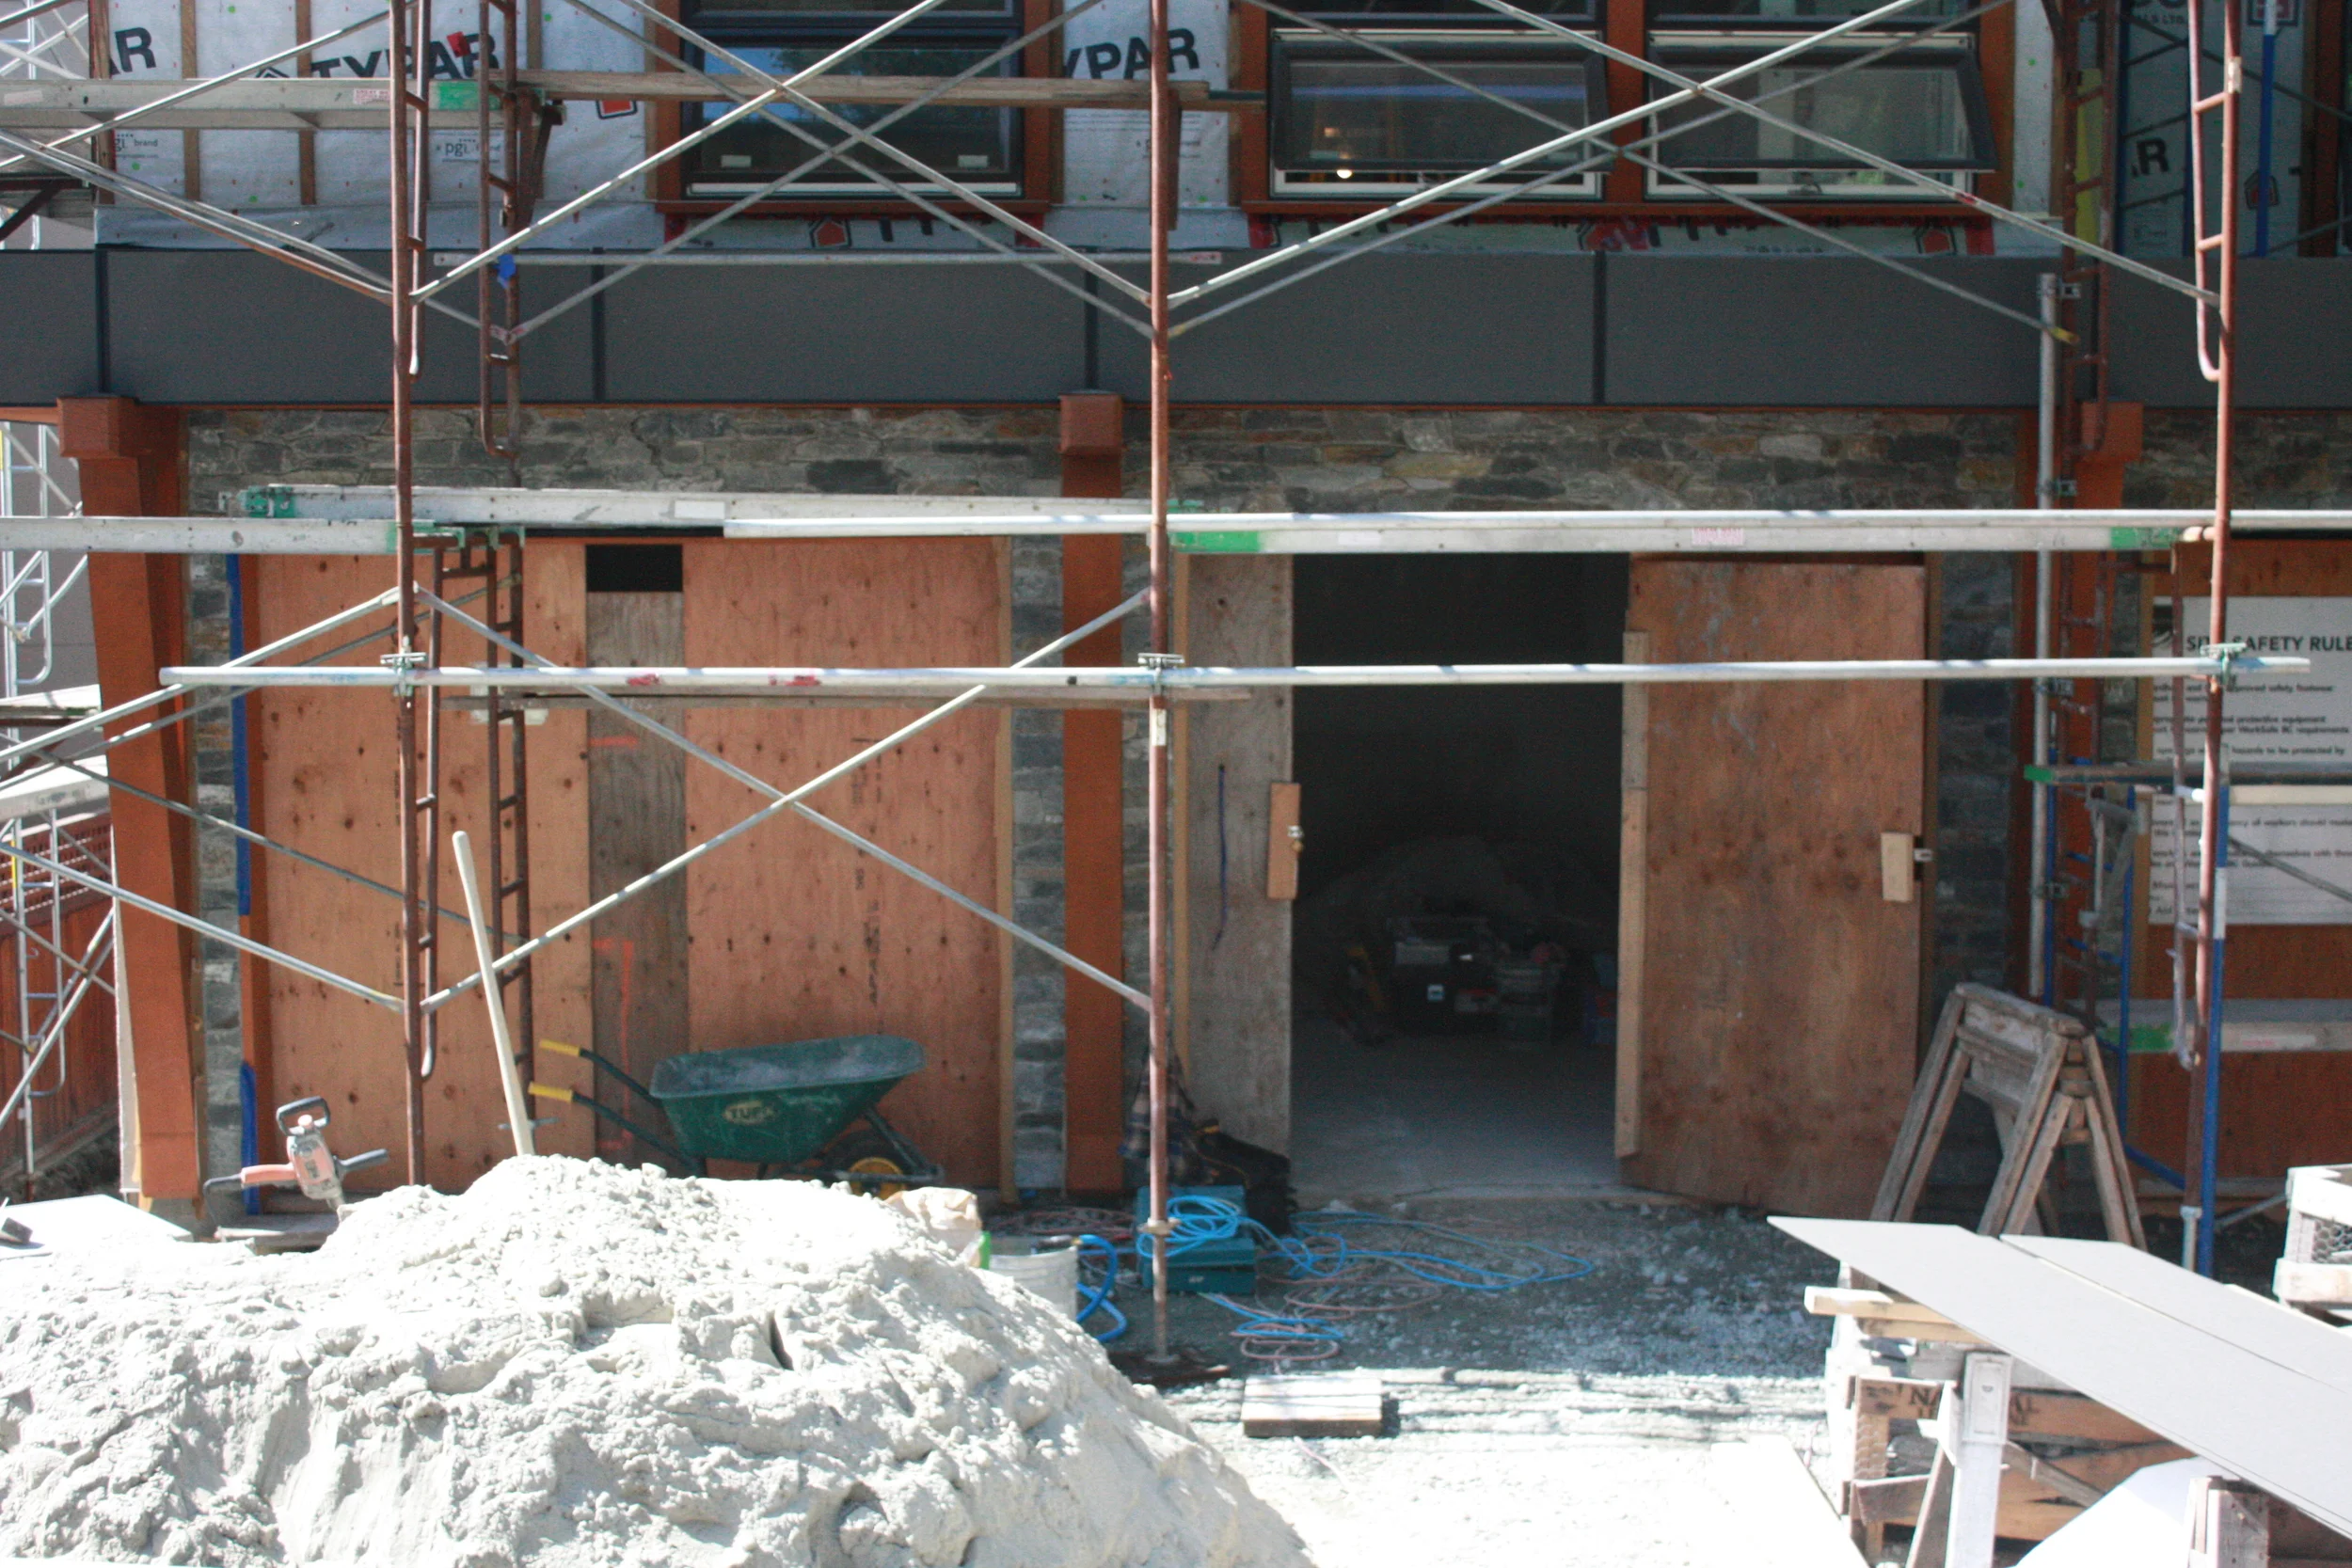
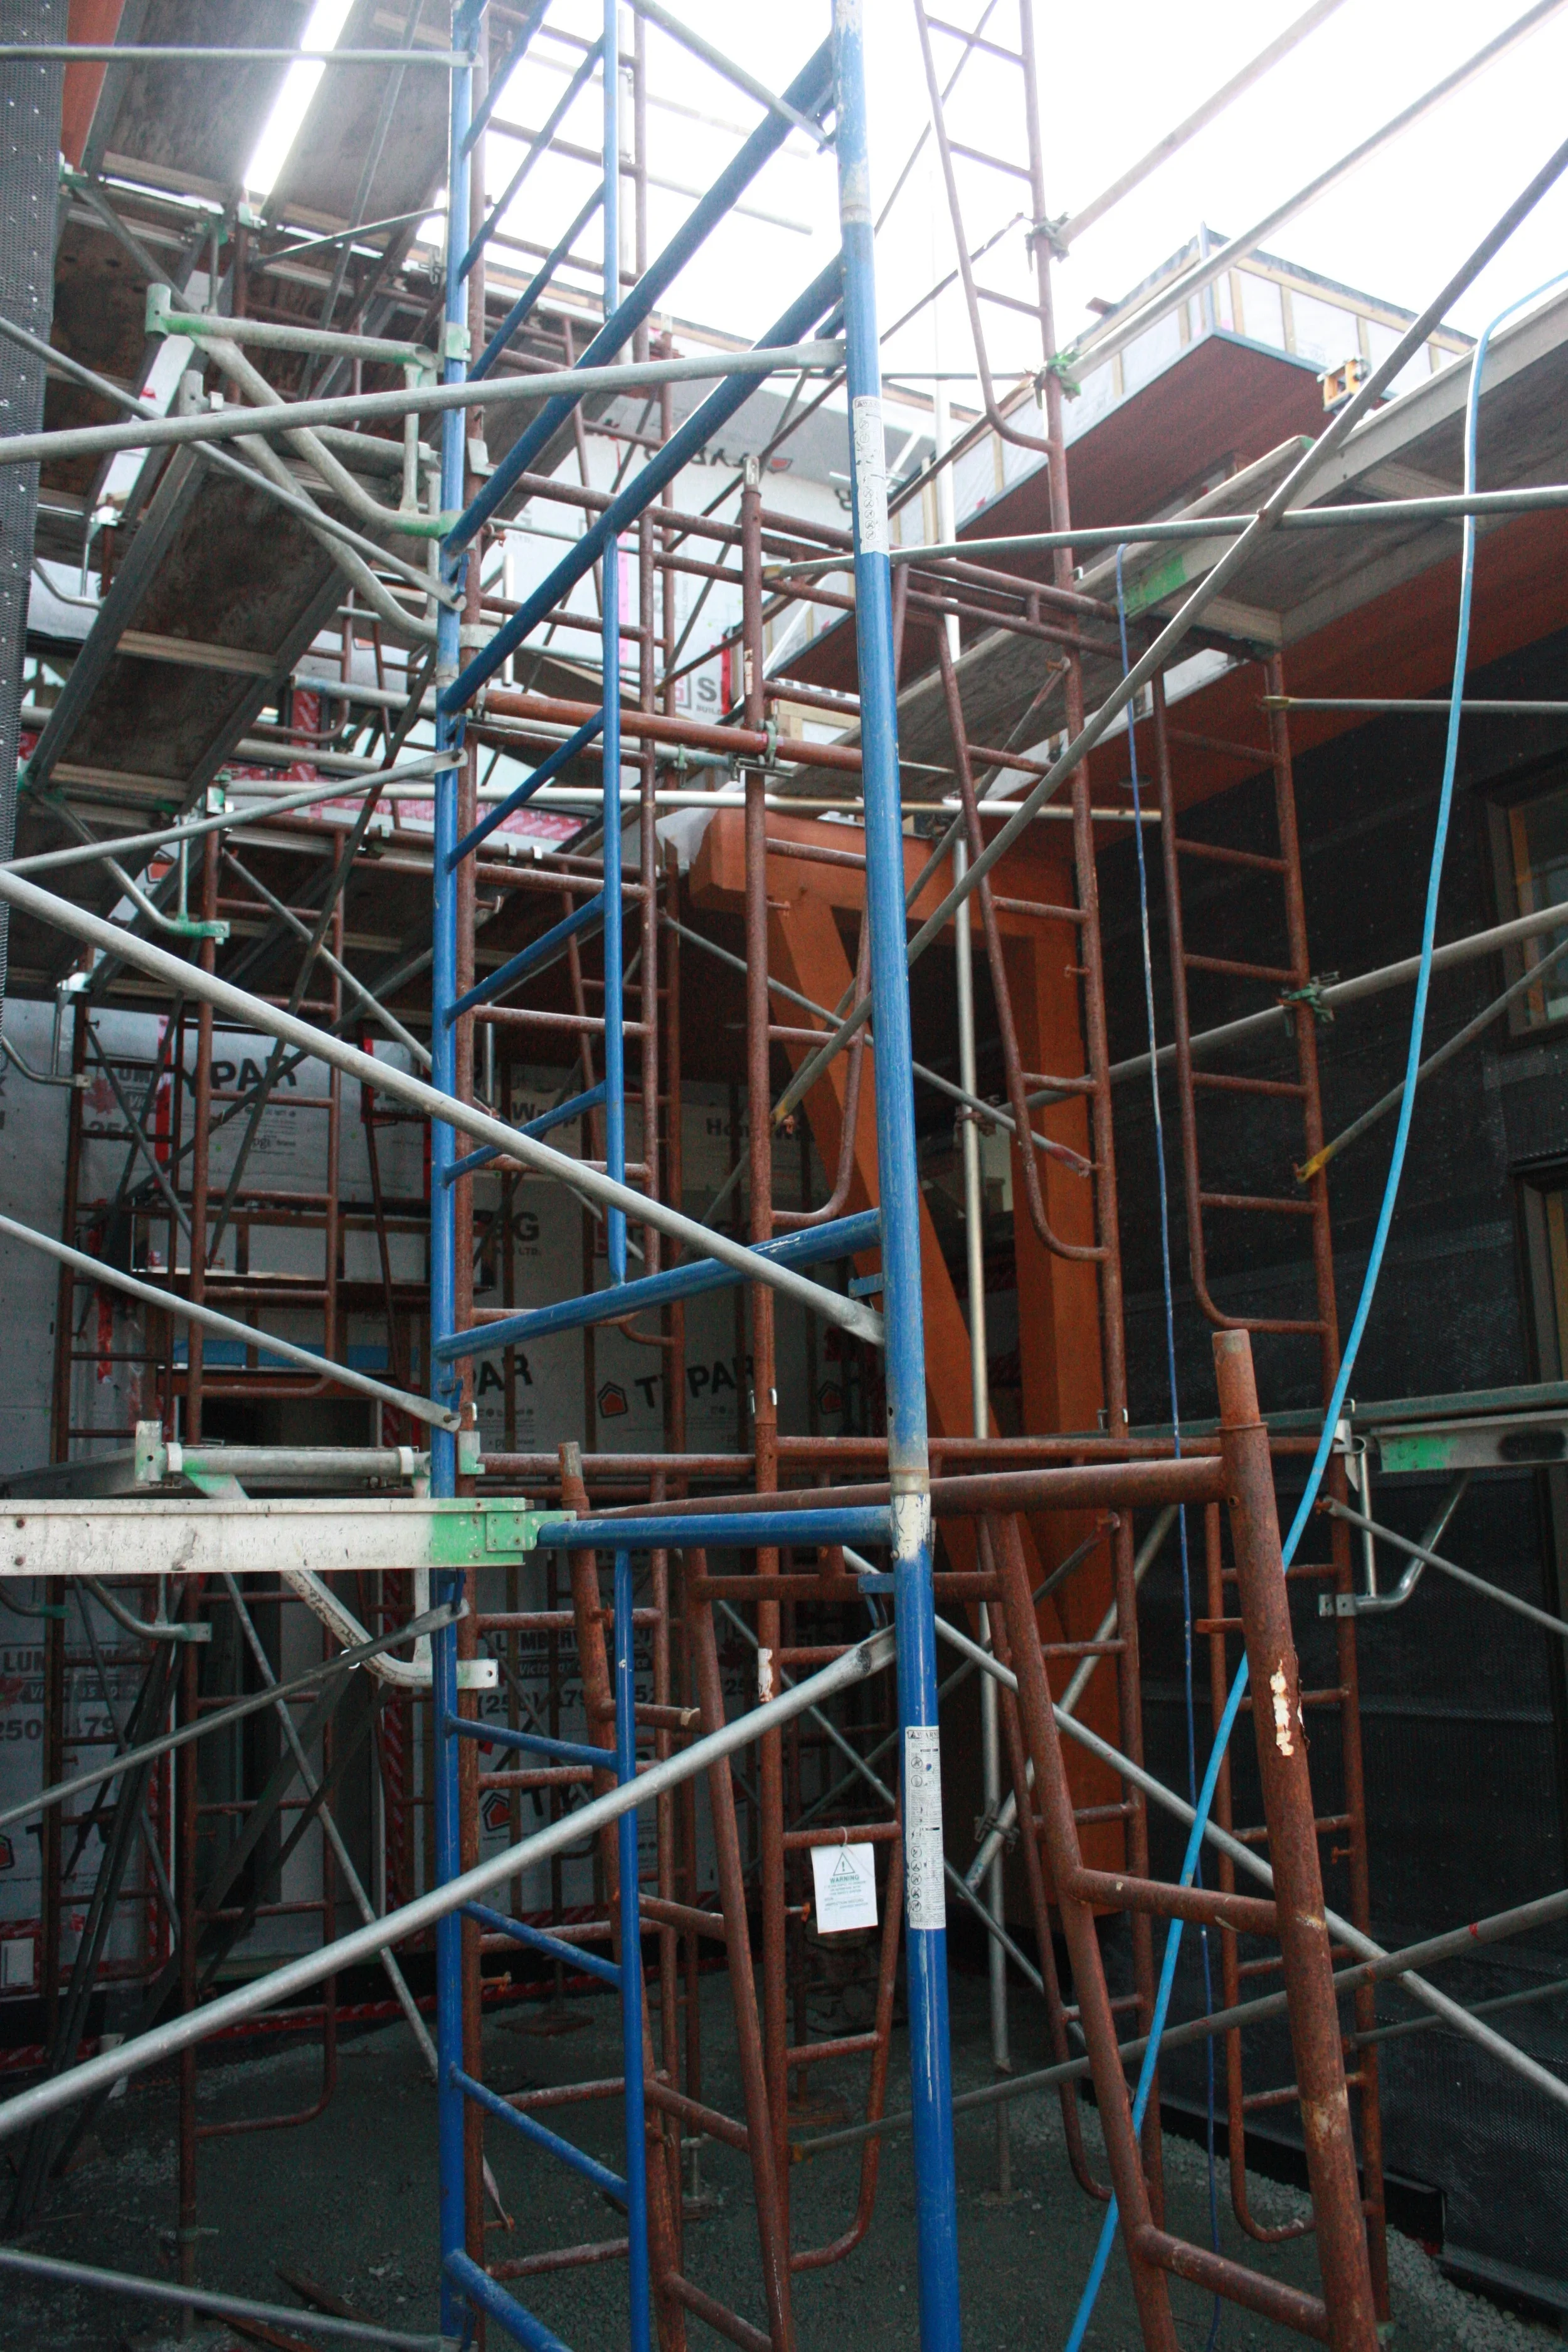
You must look through the 'exoskeleton' of scaffolding to see the rock work - beautiful. The scaffolding will stay until the siding is complete, and the house has it's final coat of paint/stain.
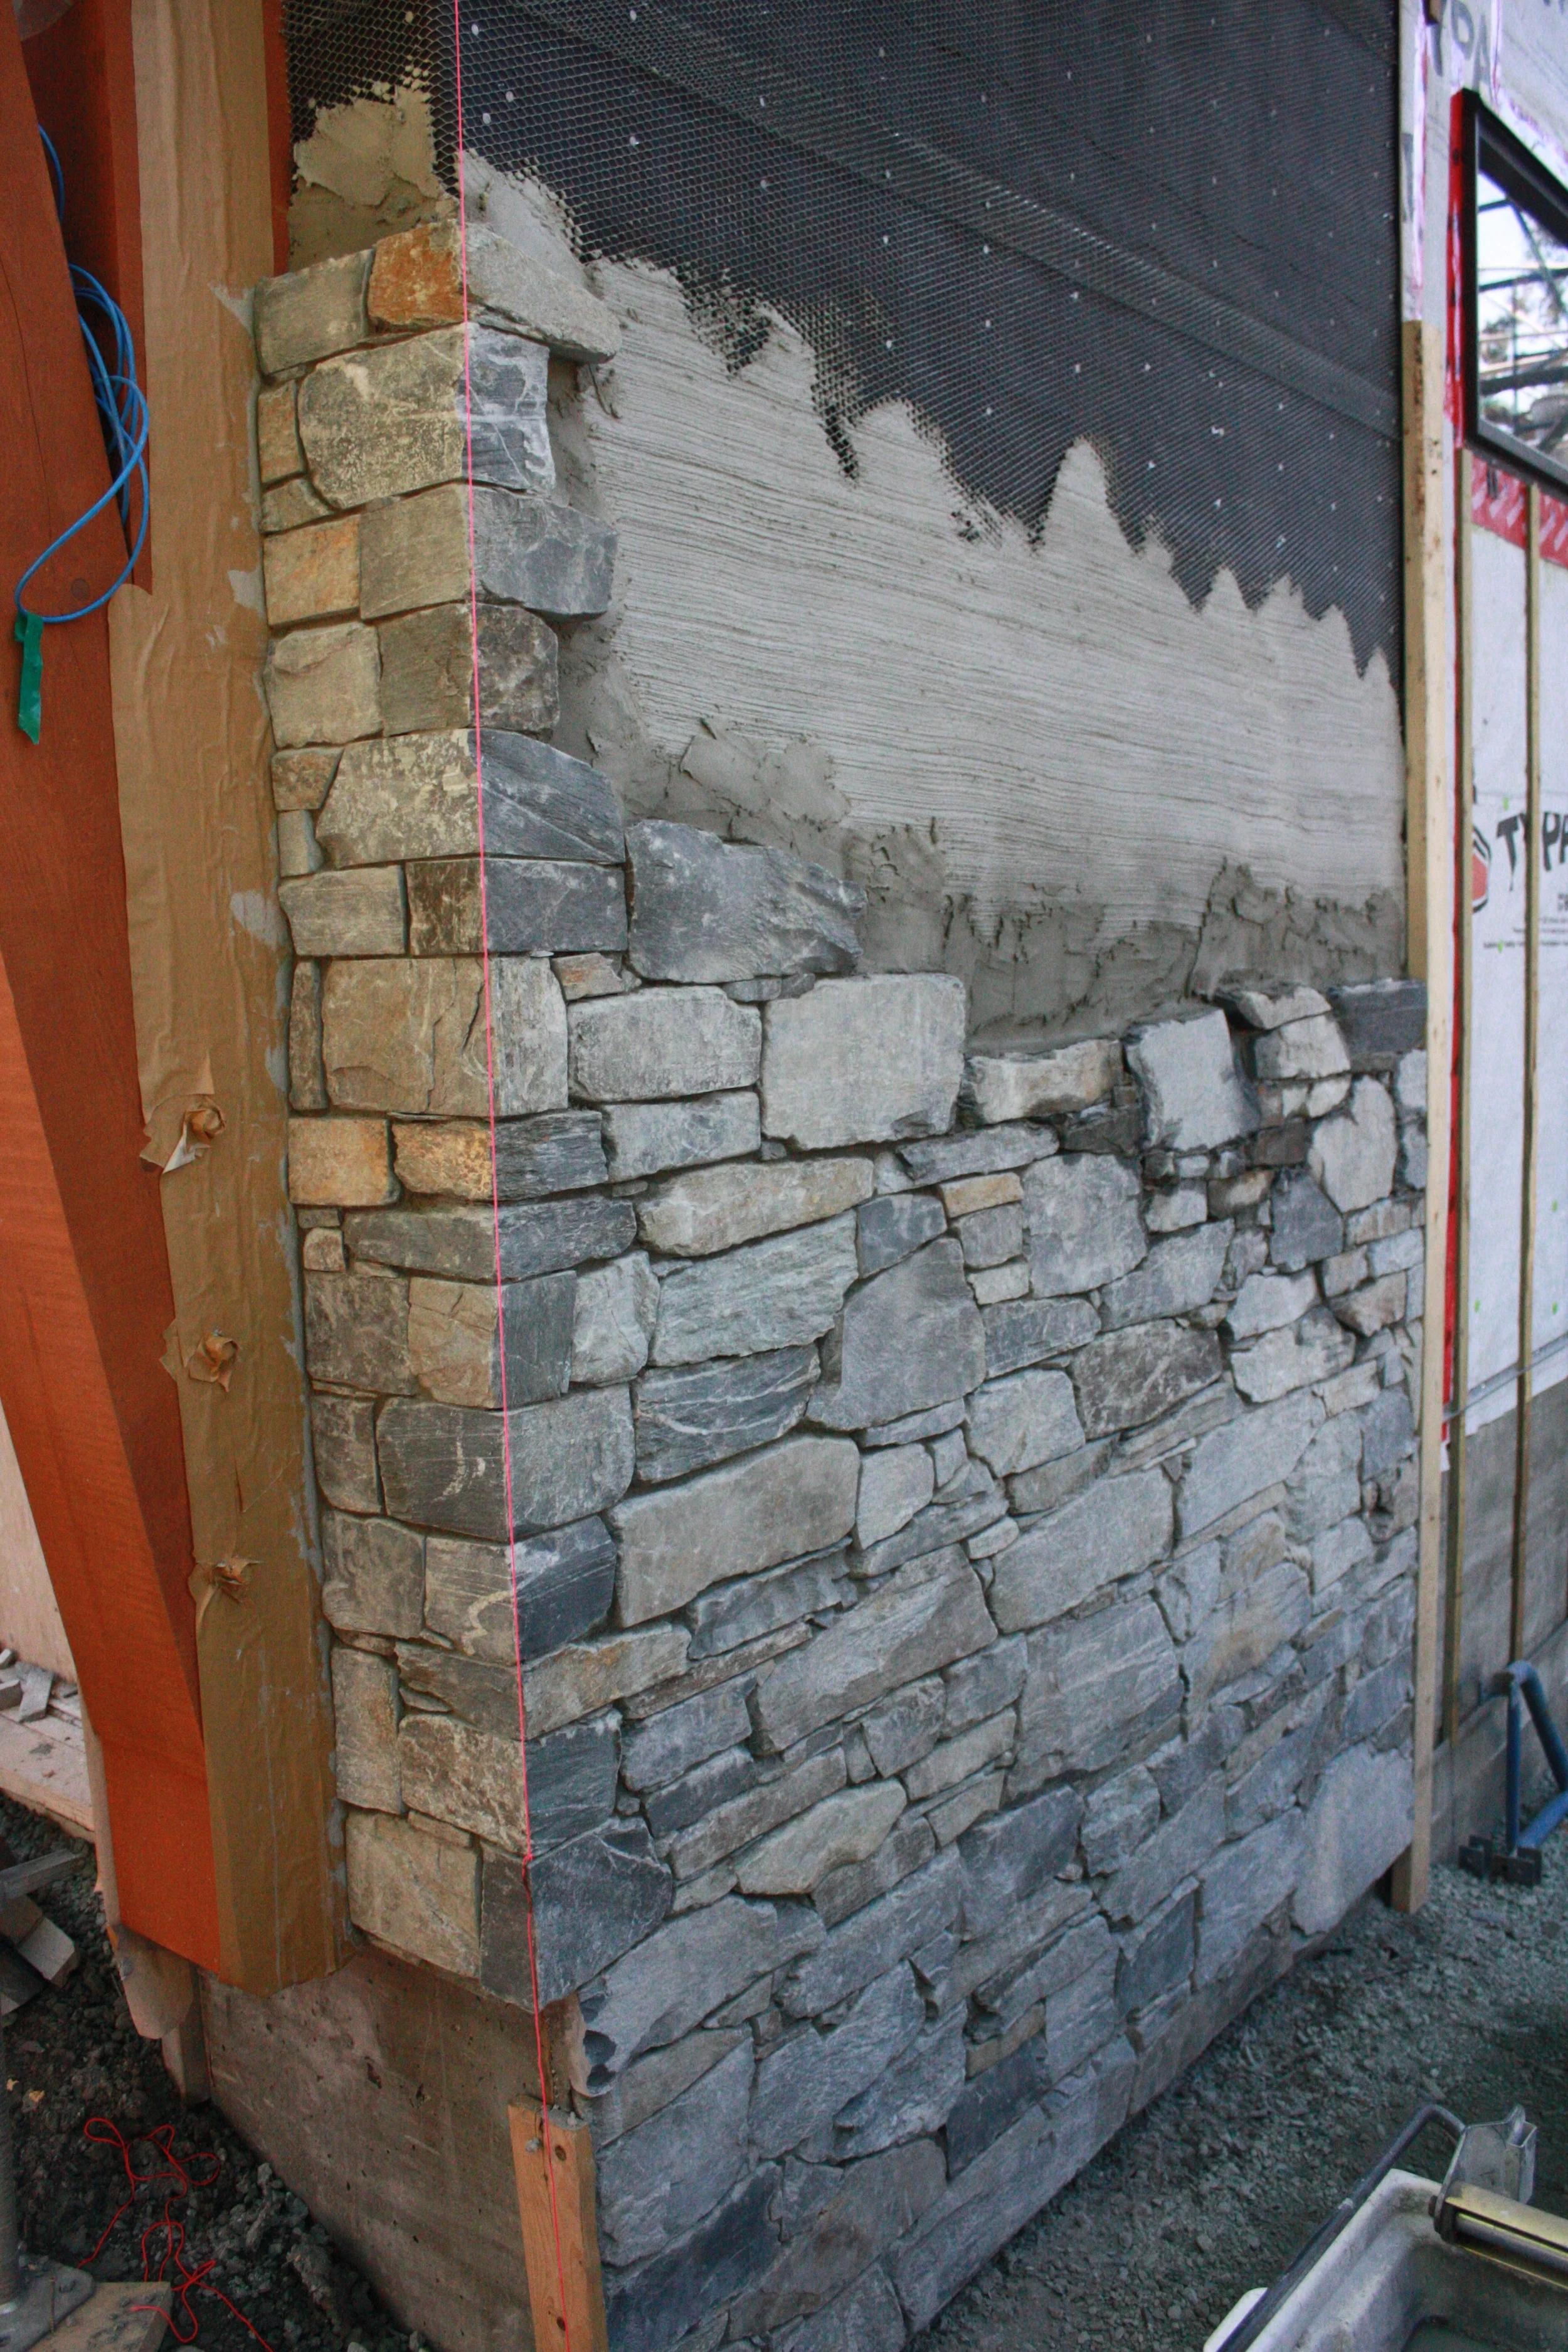
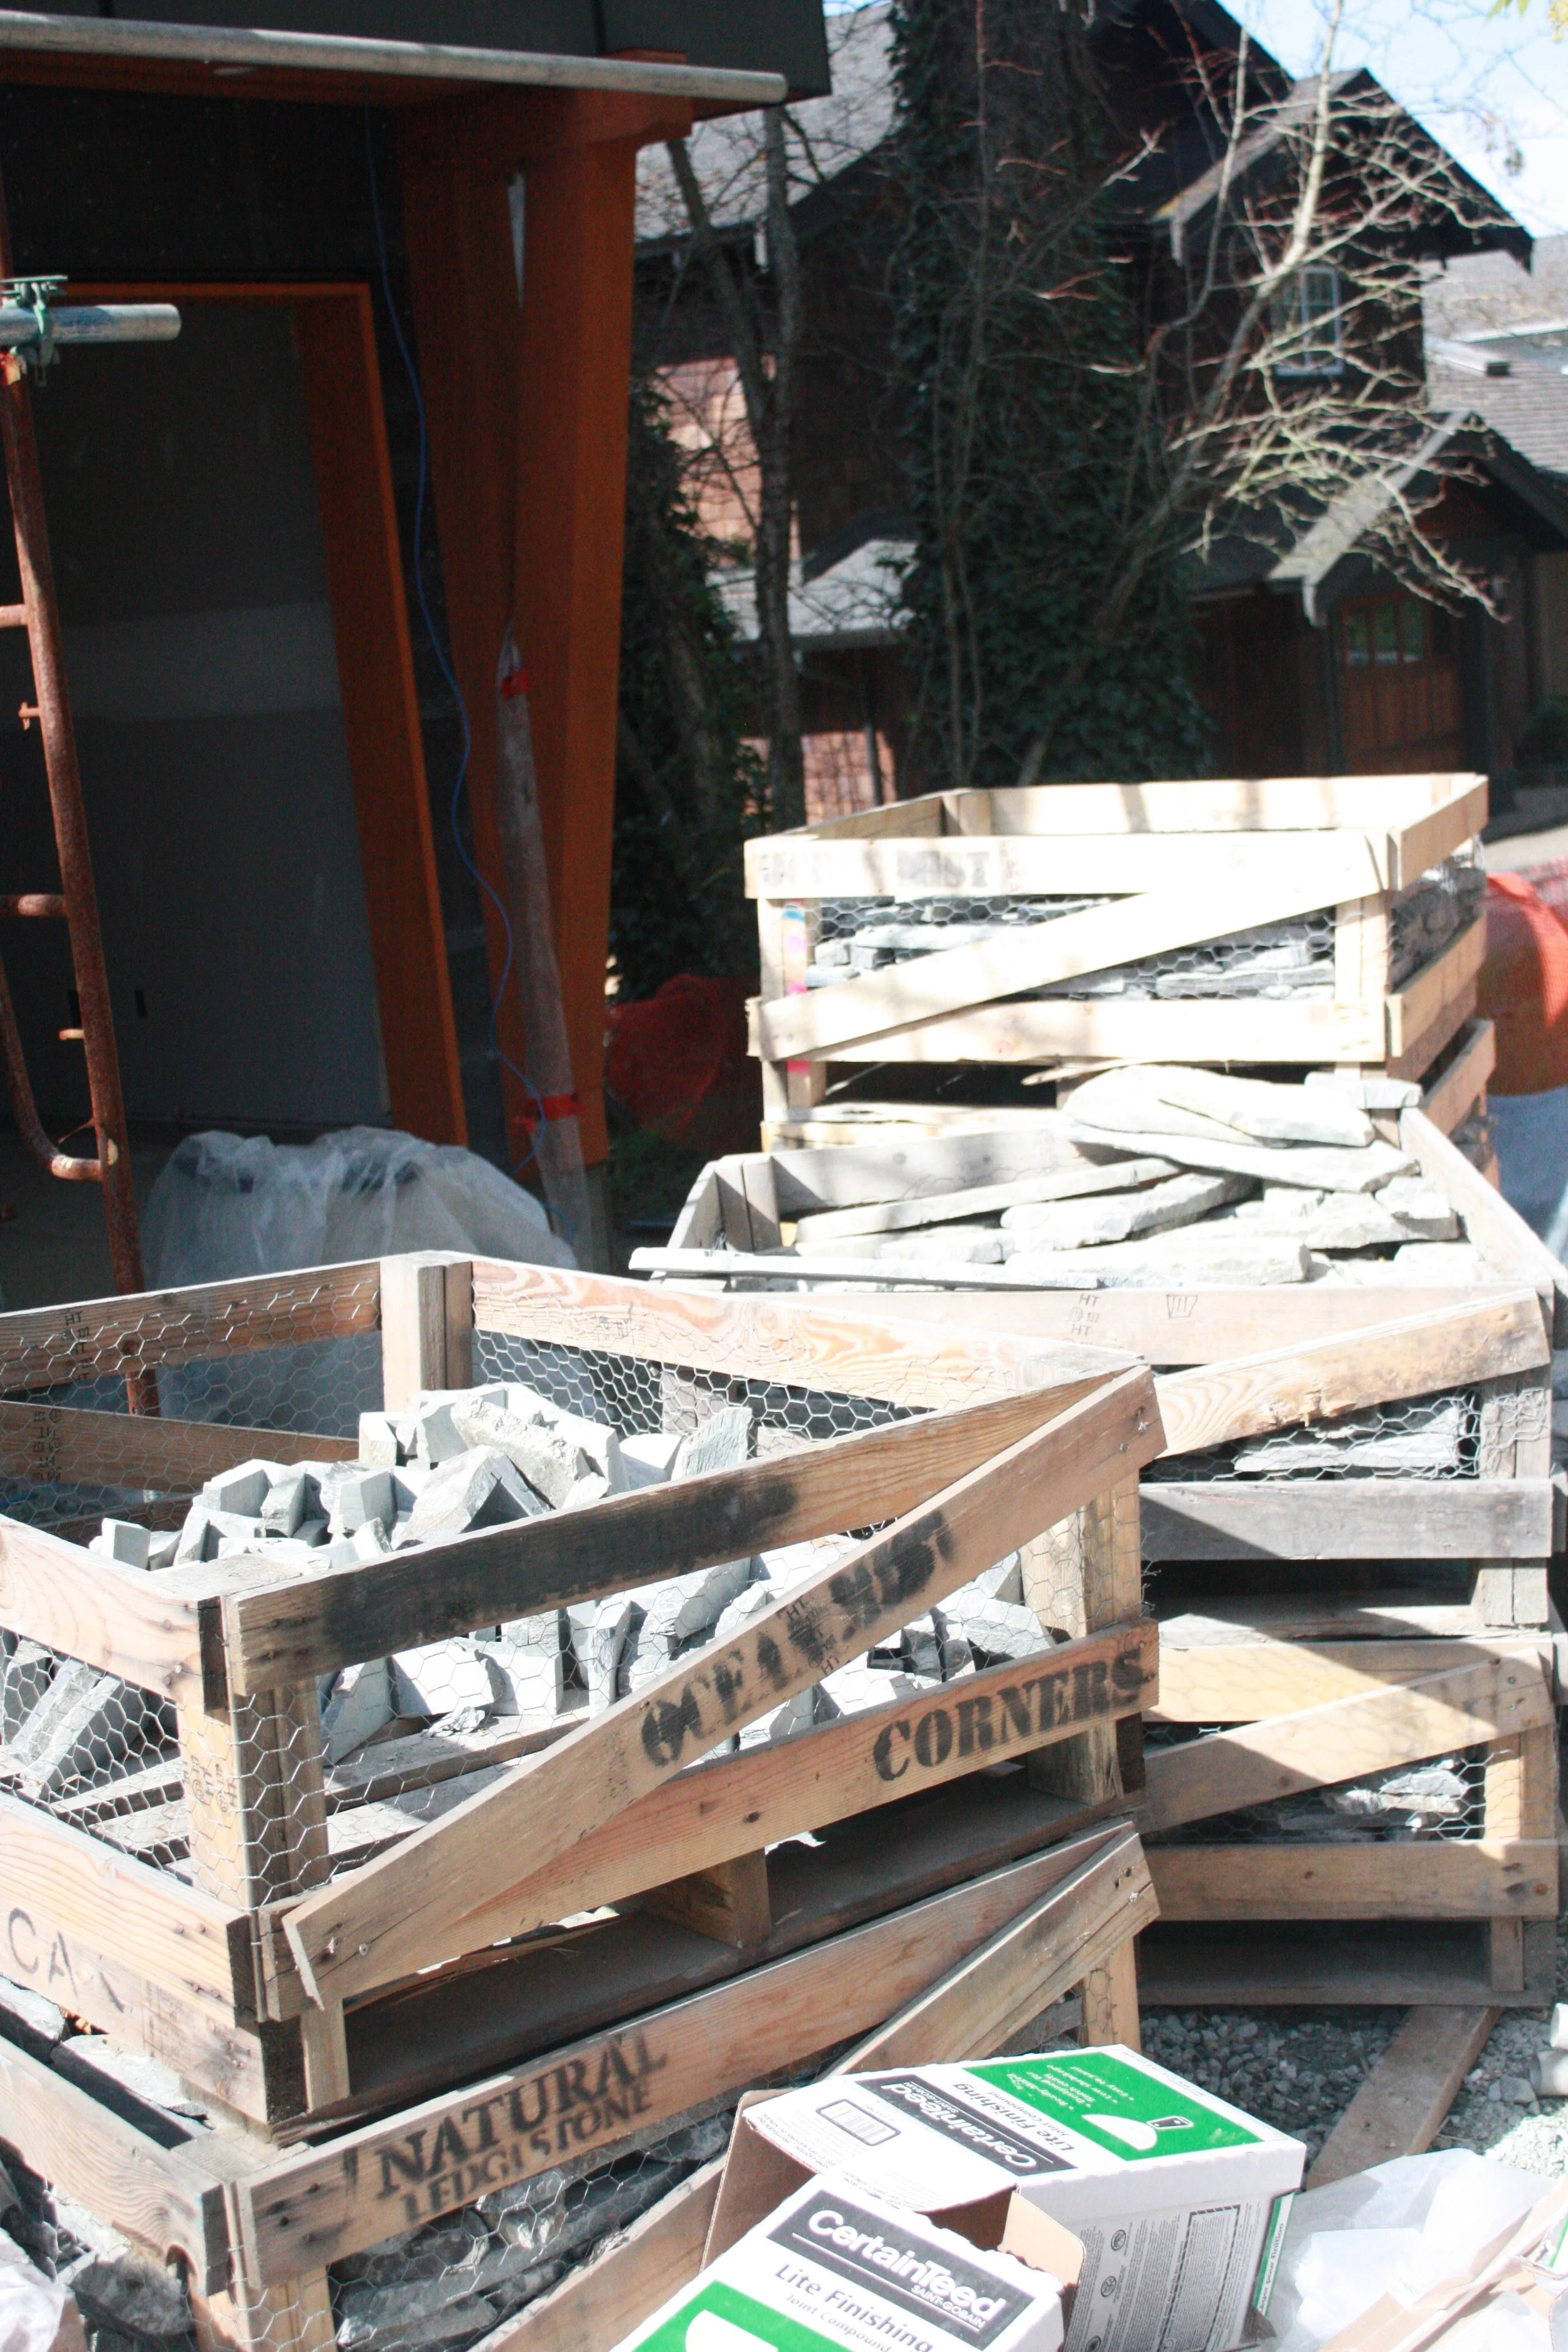
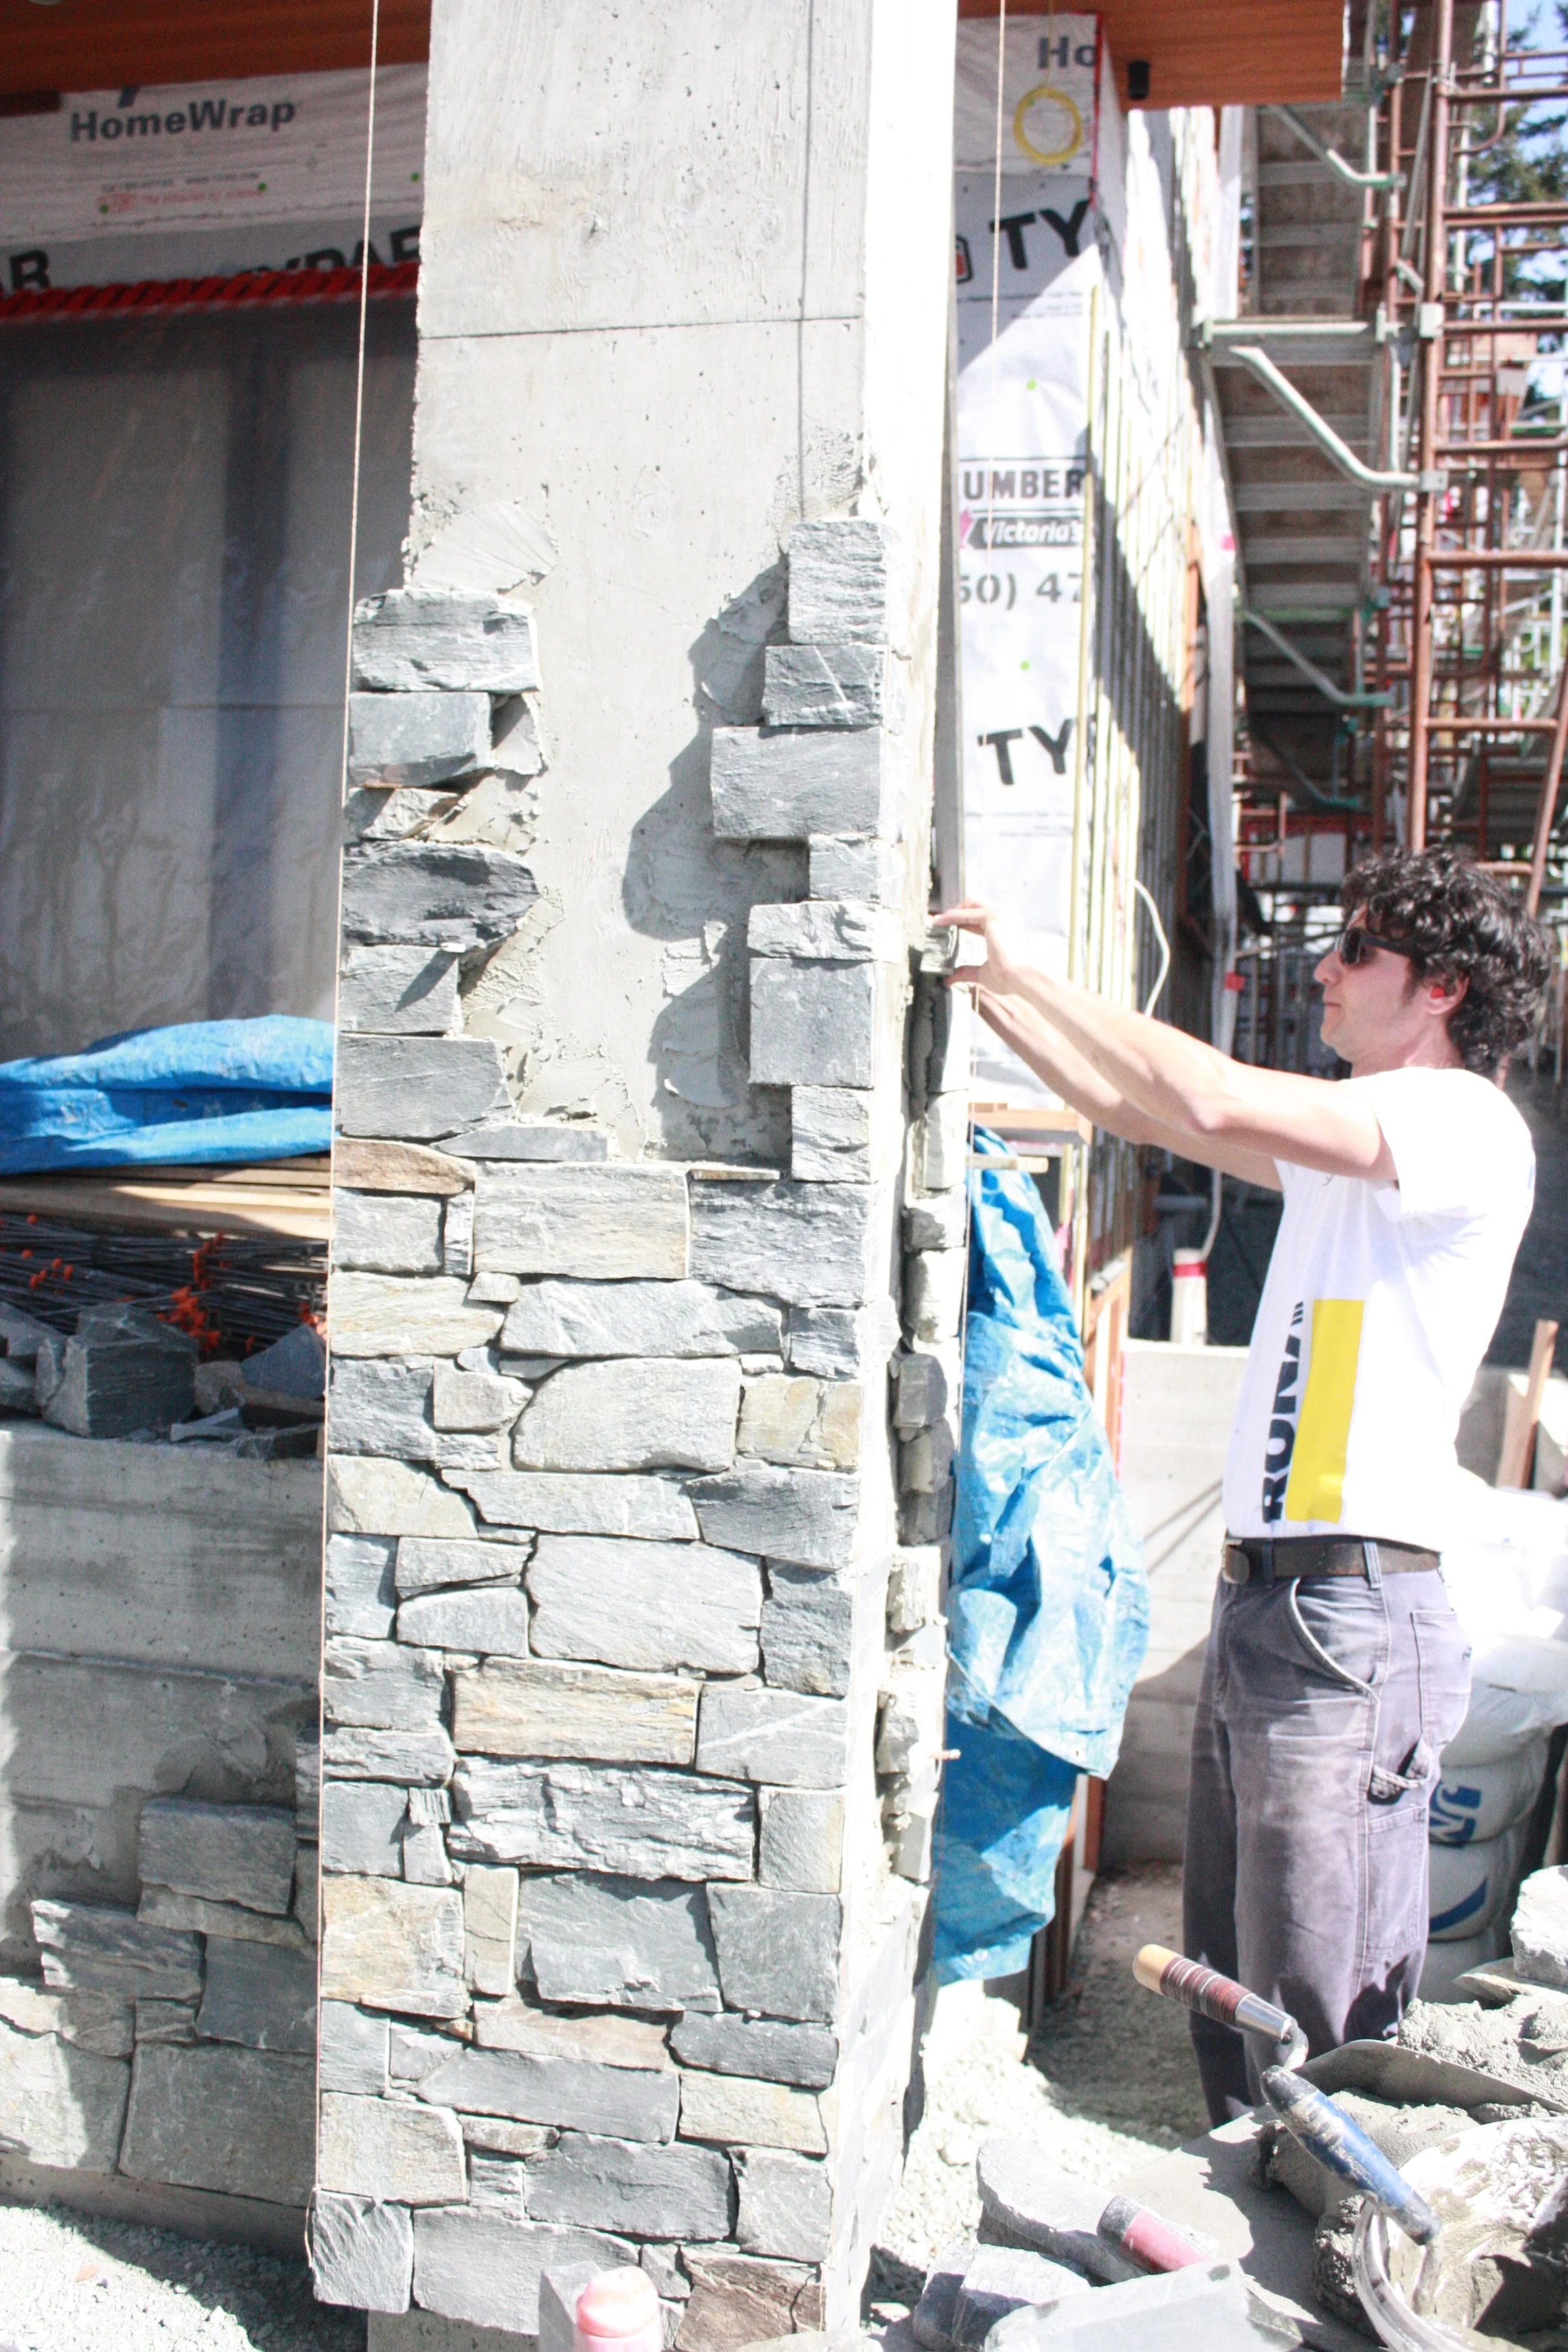
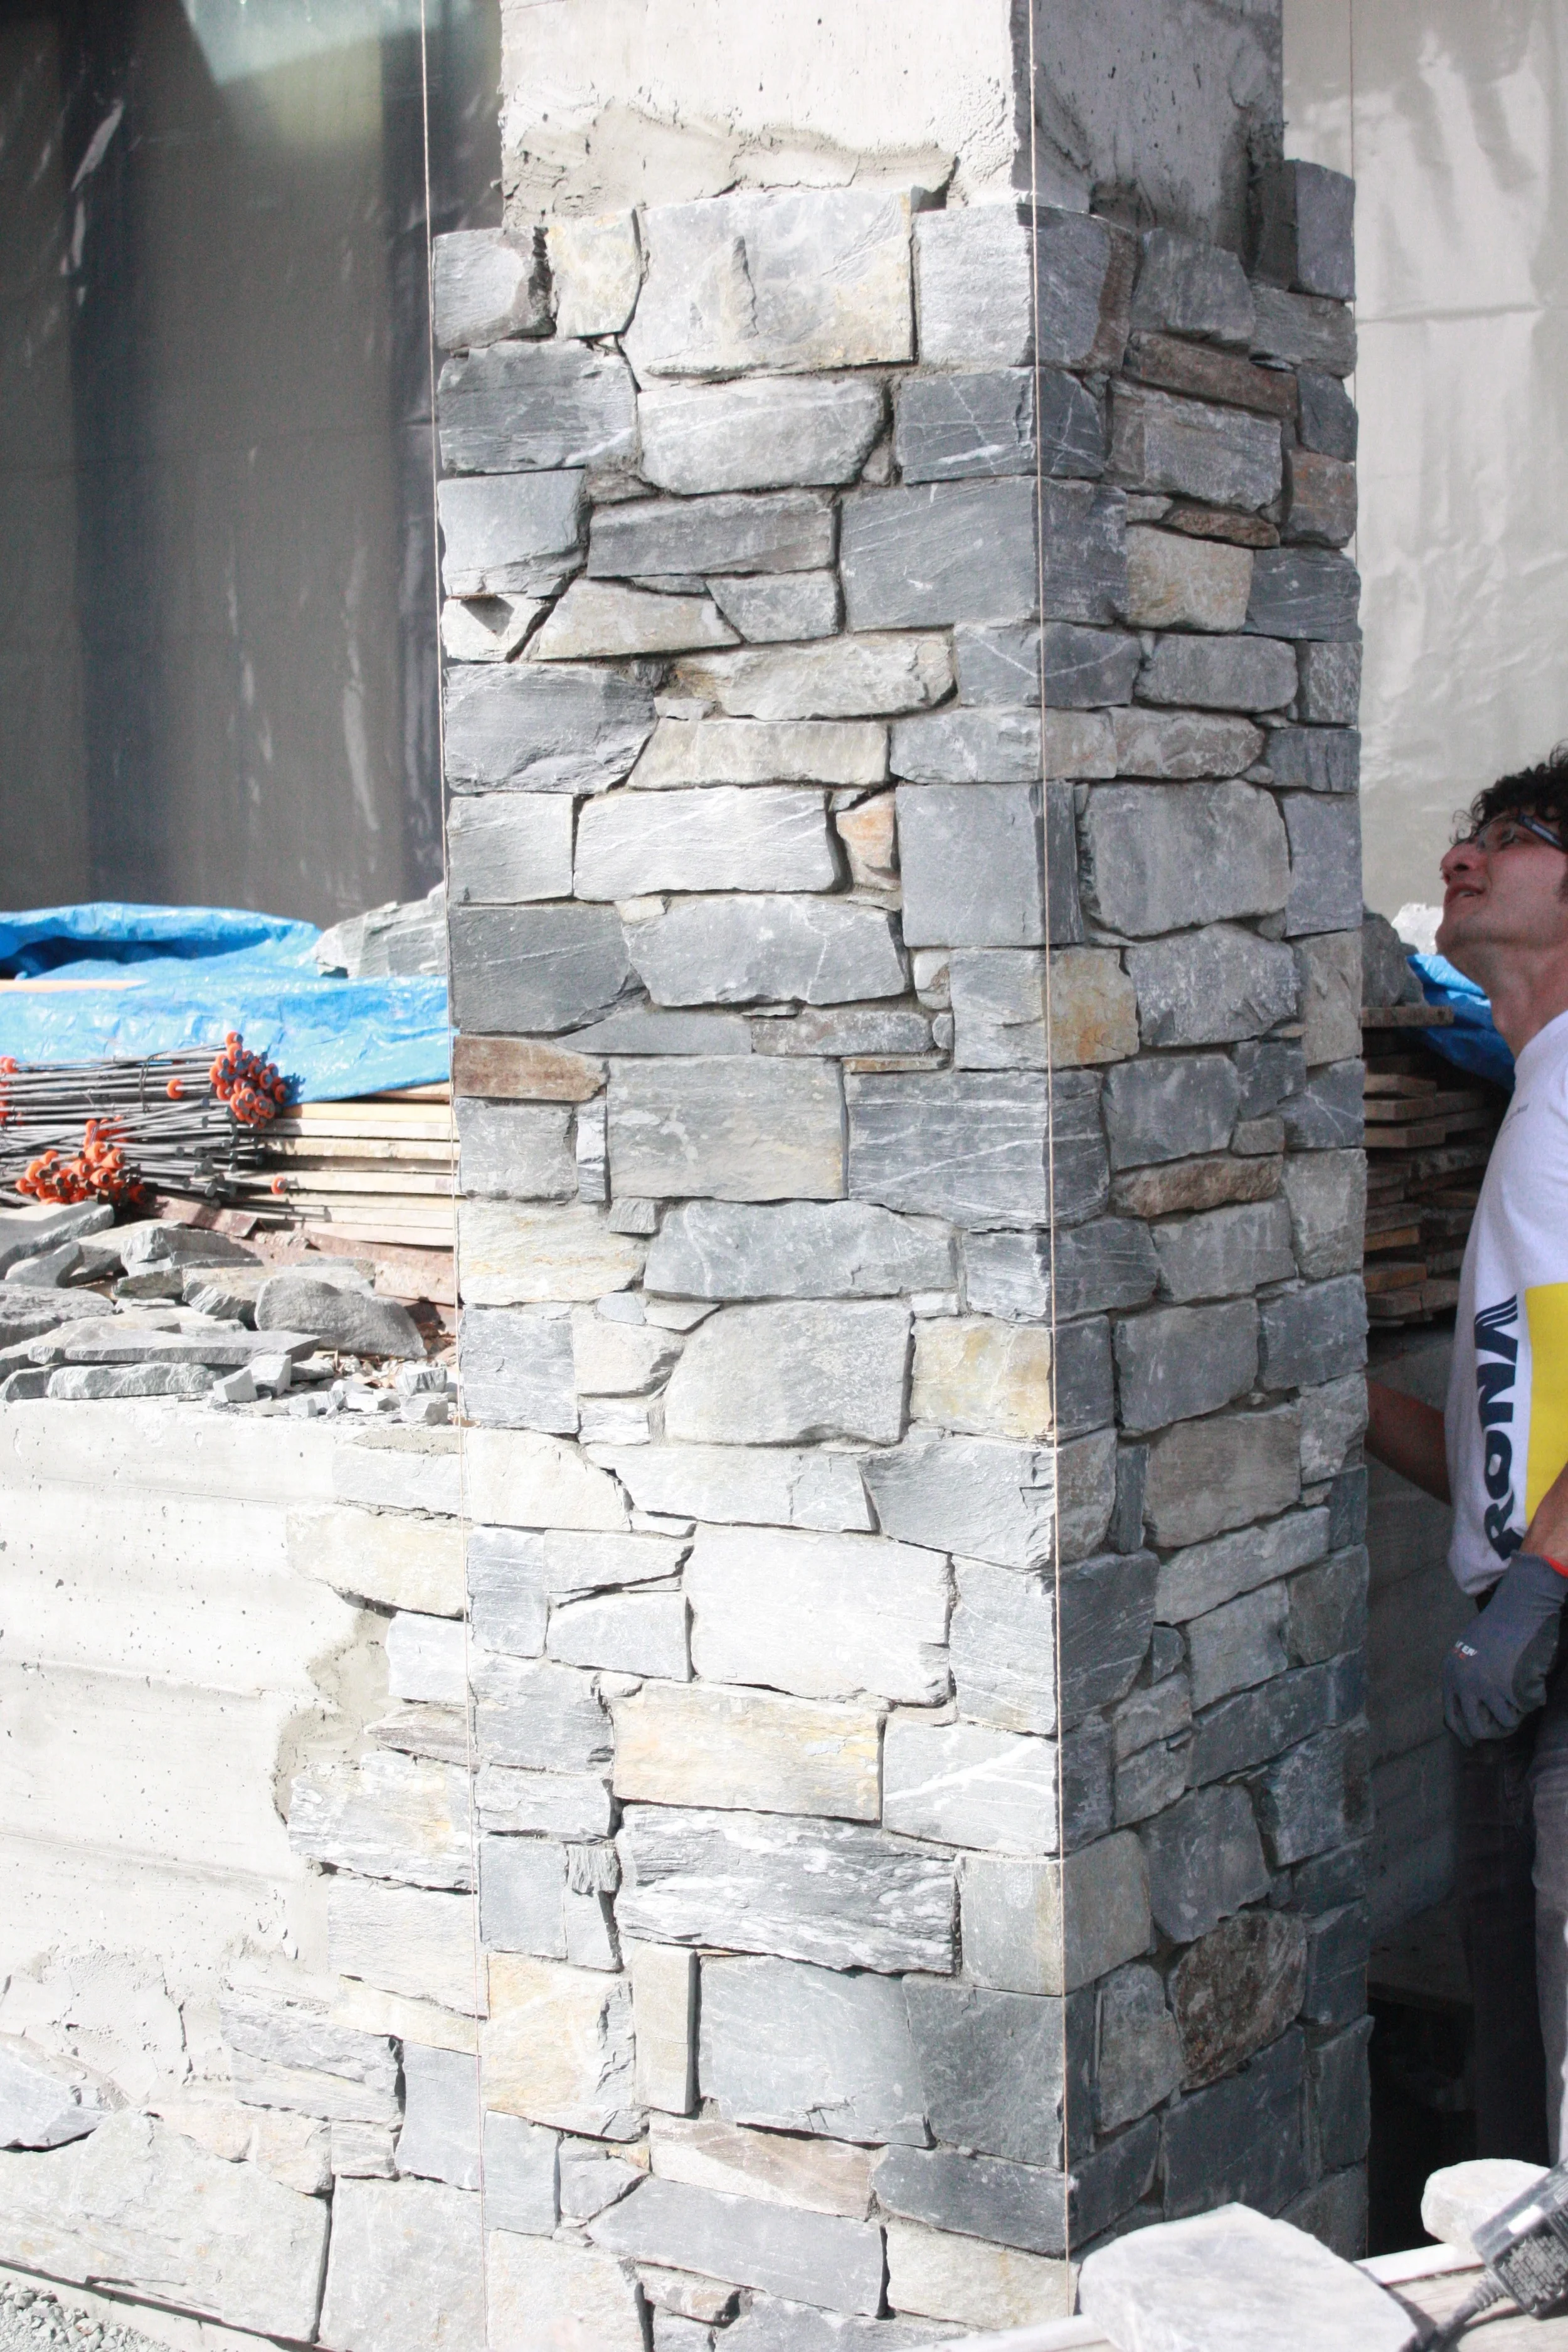
West Wall of the garage in progress. The stone is quarried on Vancouver Island.....
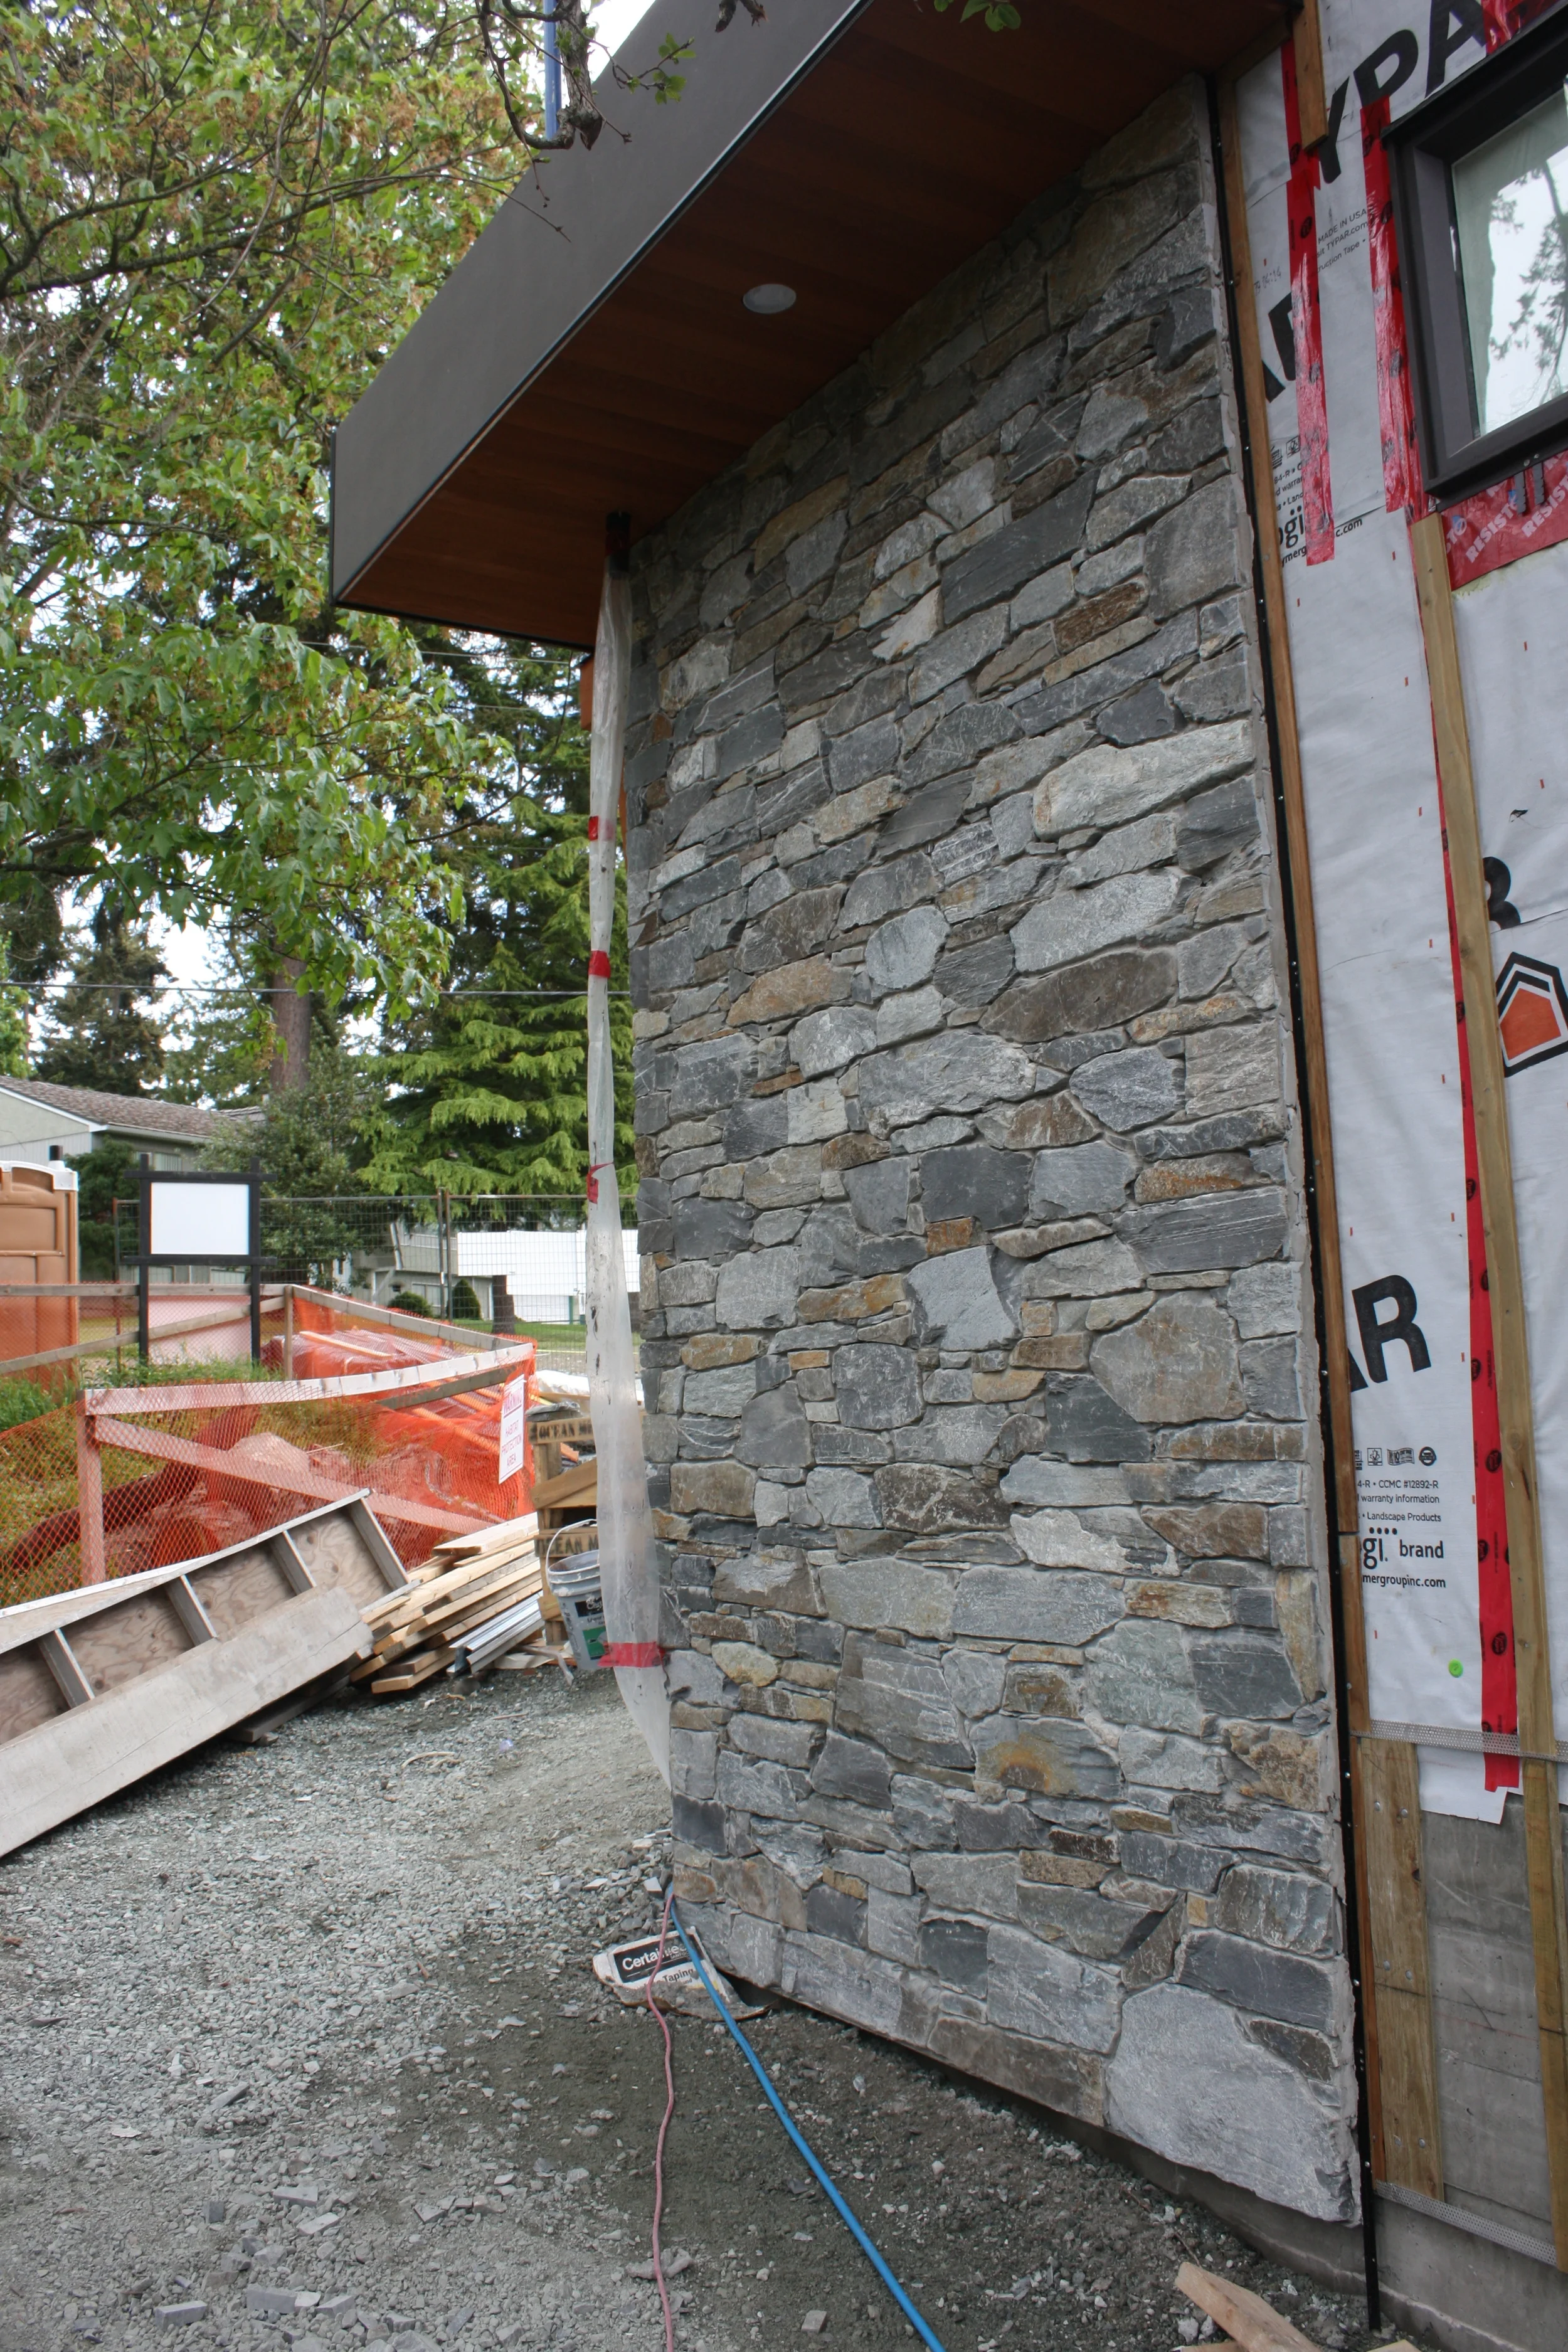
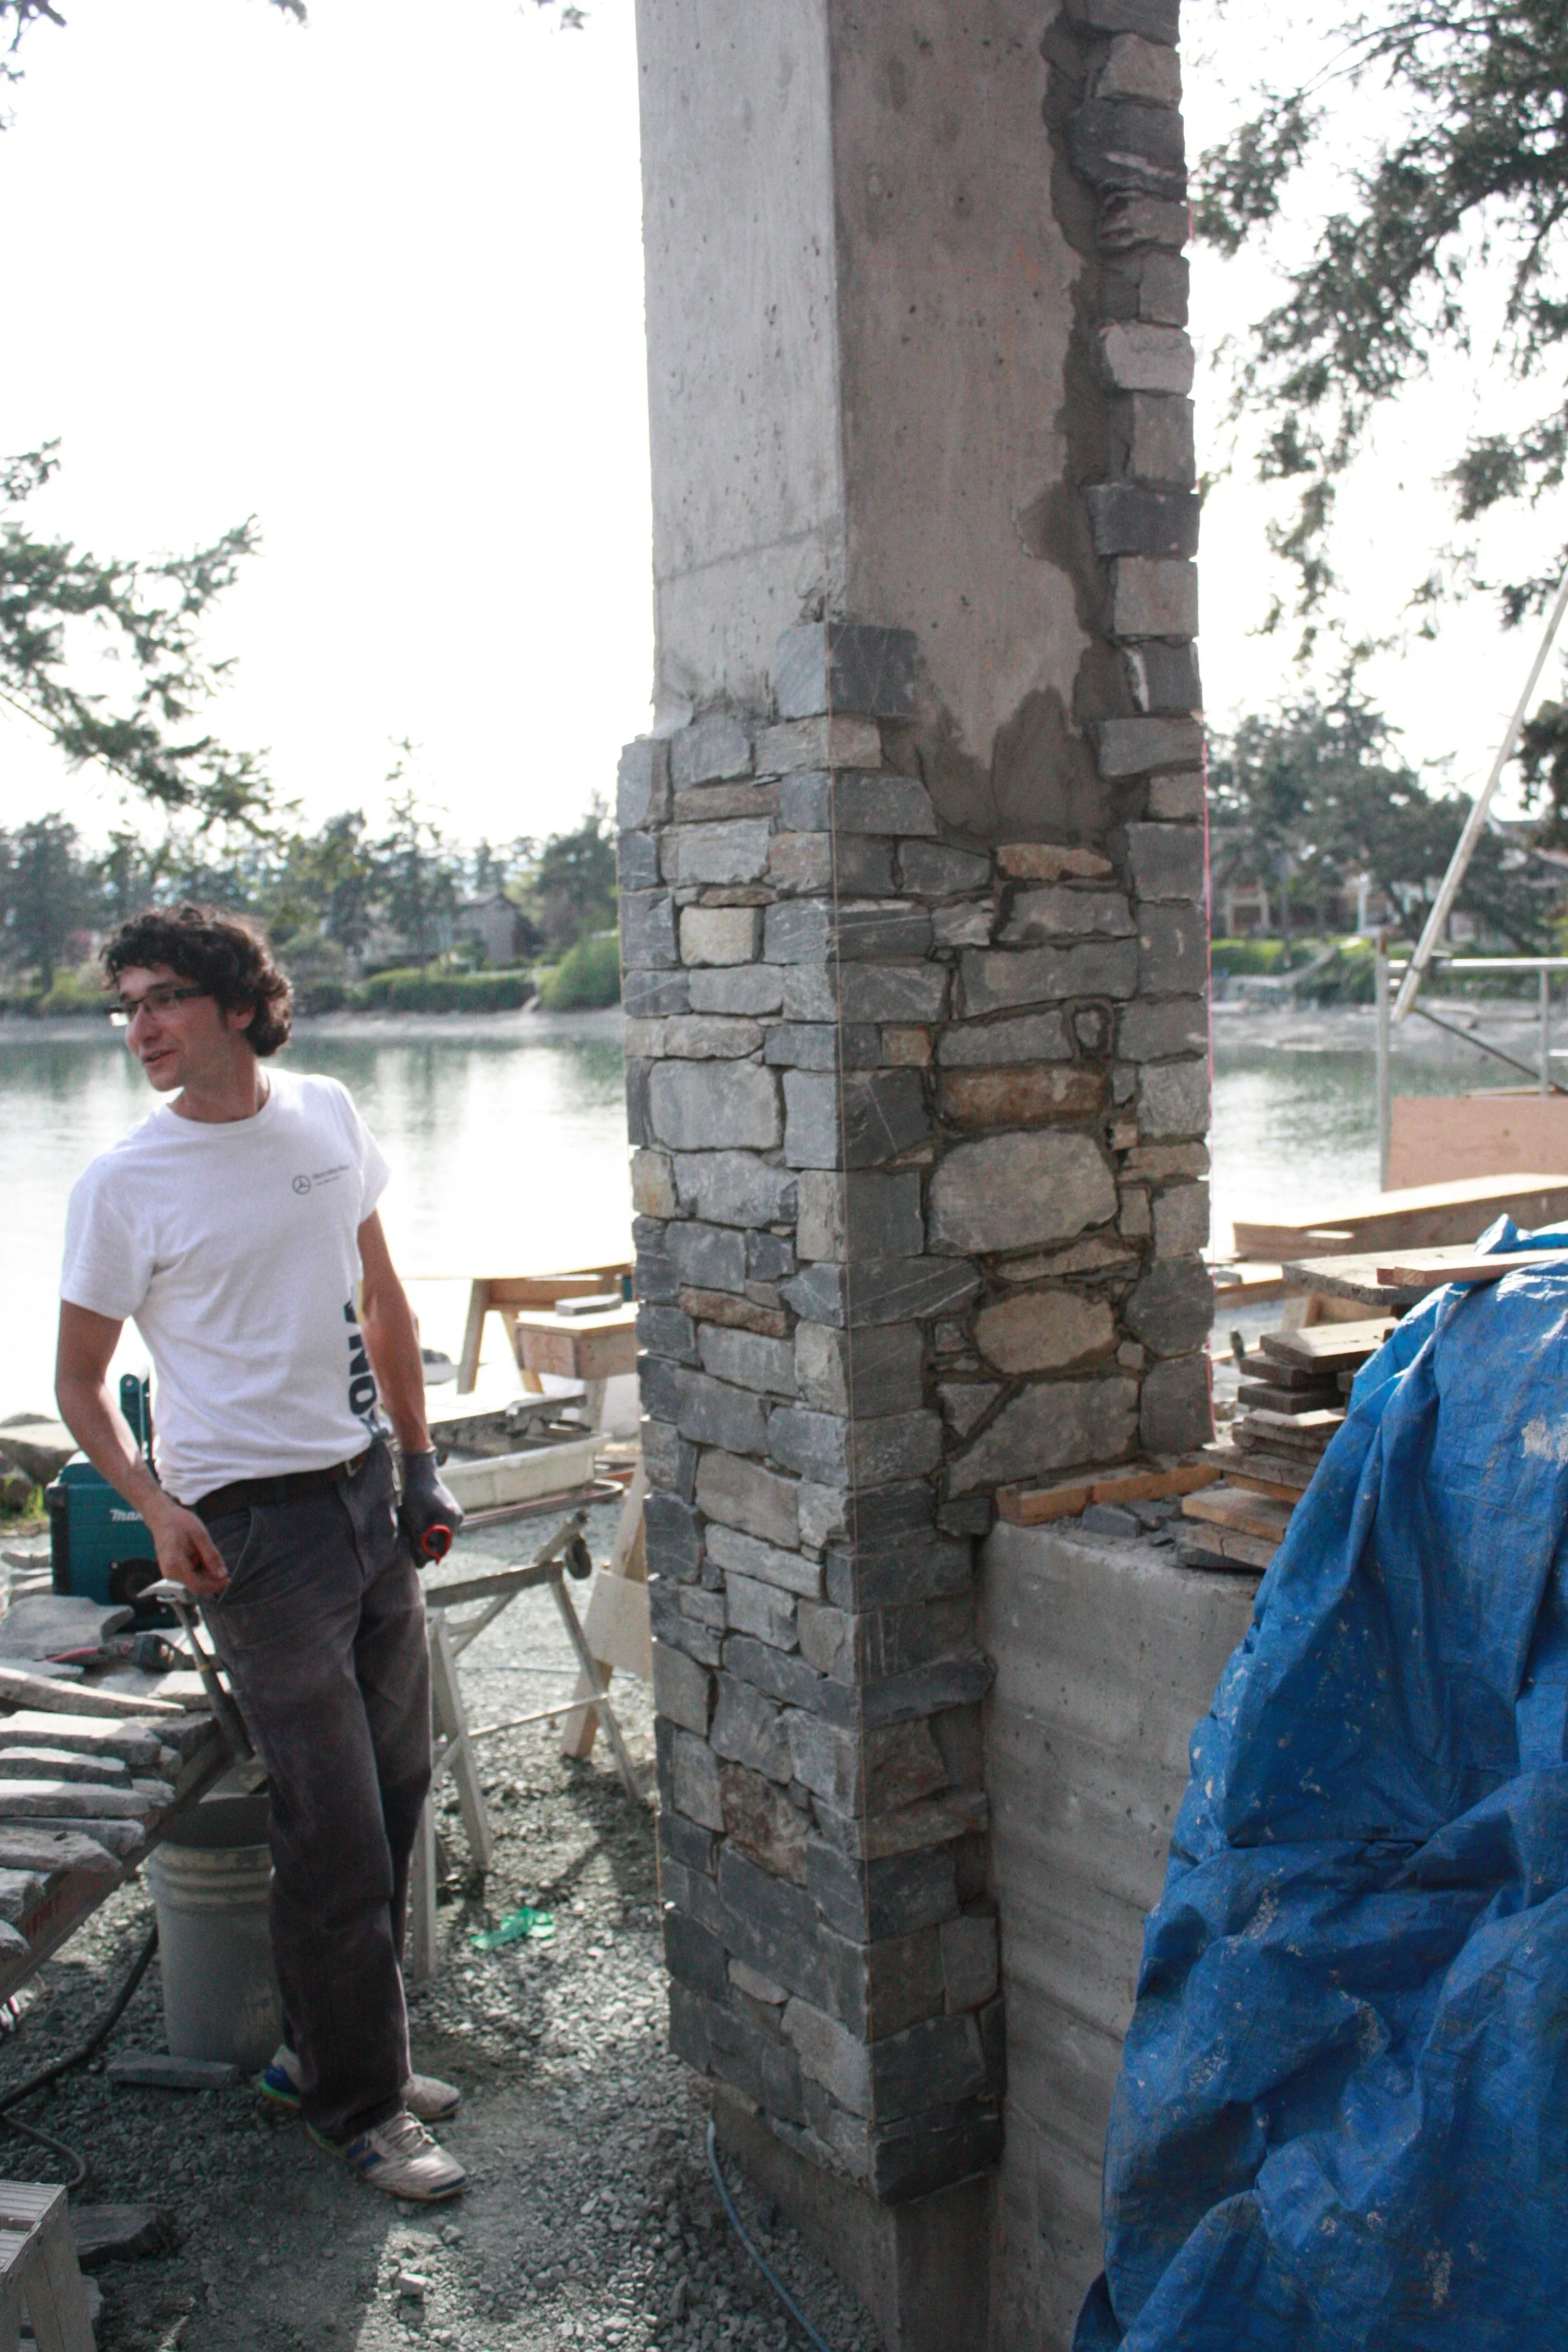
West Wall (street side) completed.
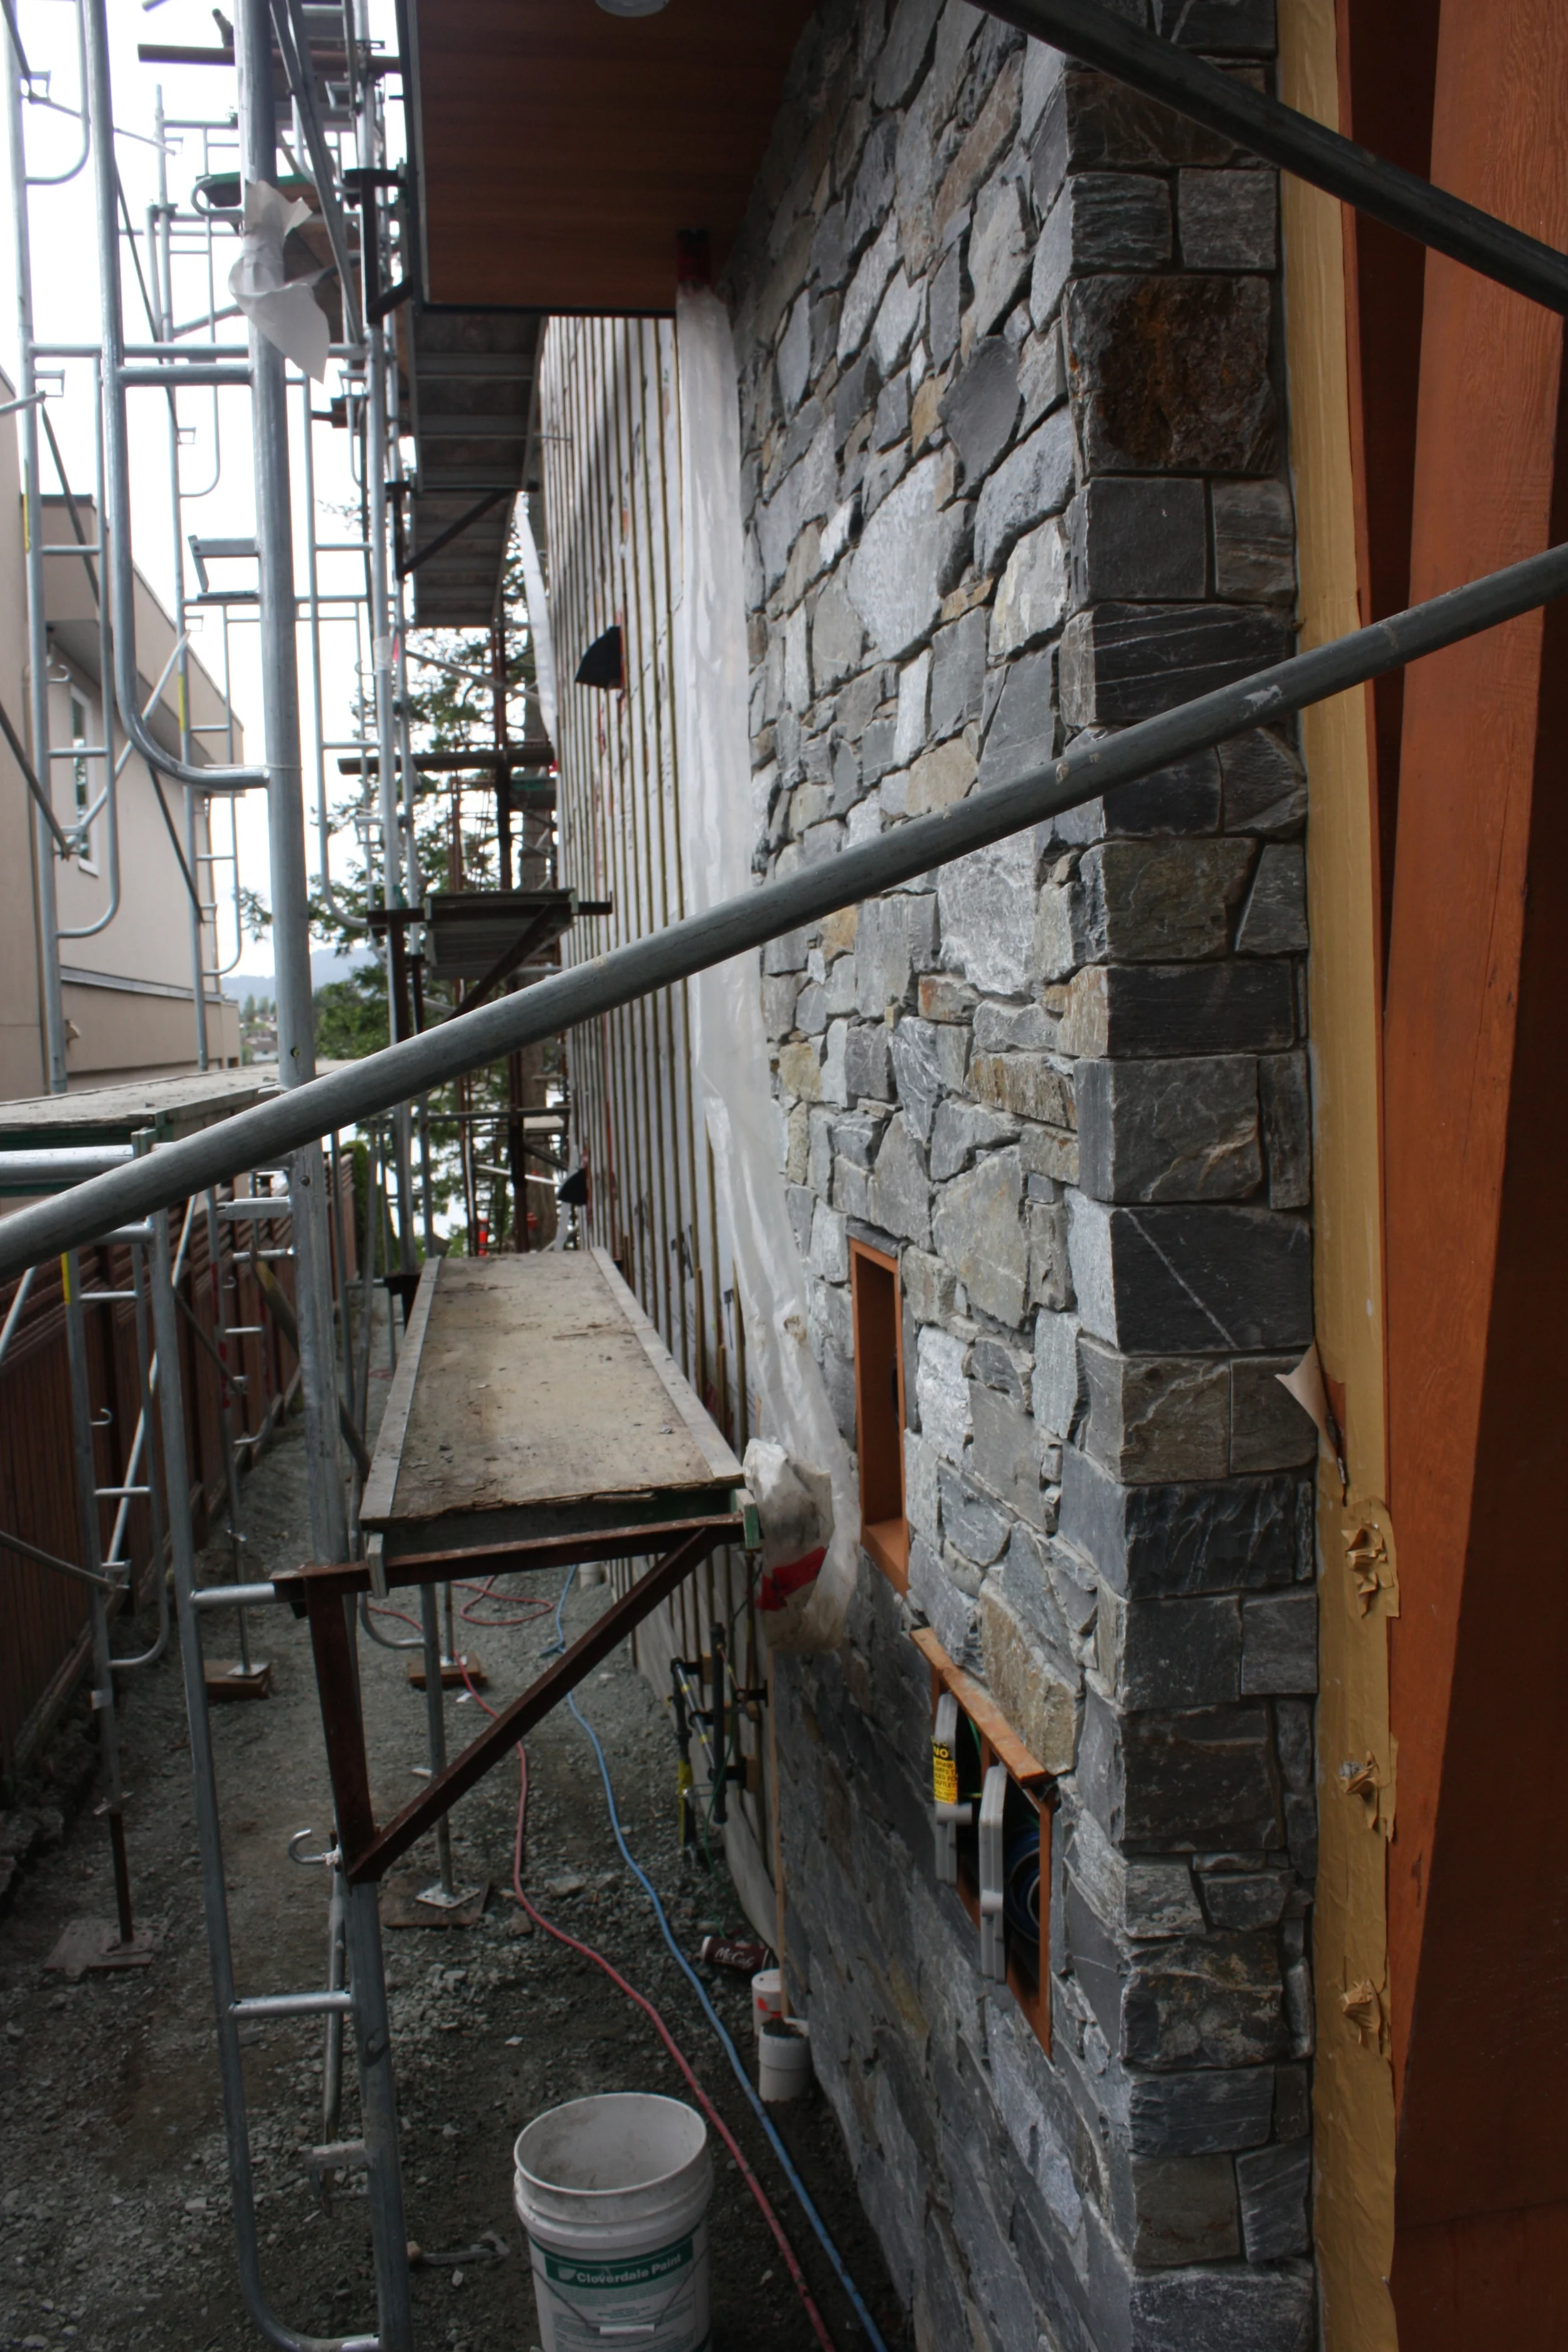
East Wall (street side)
Completed stone work around the garage doors.
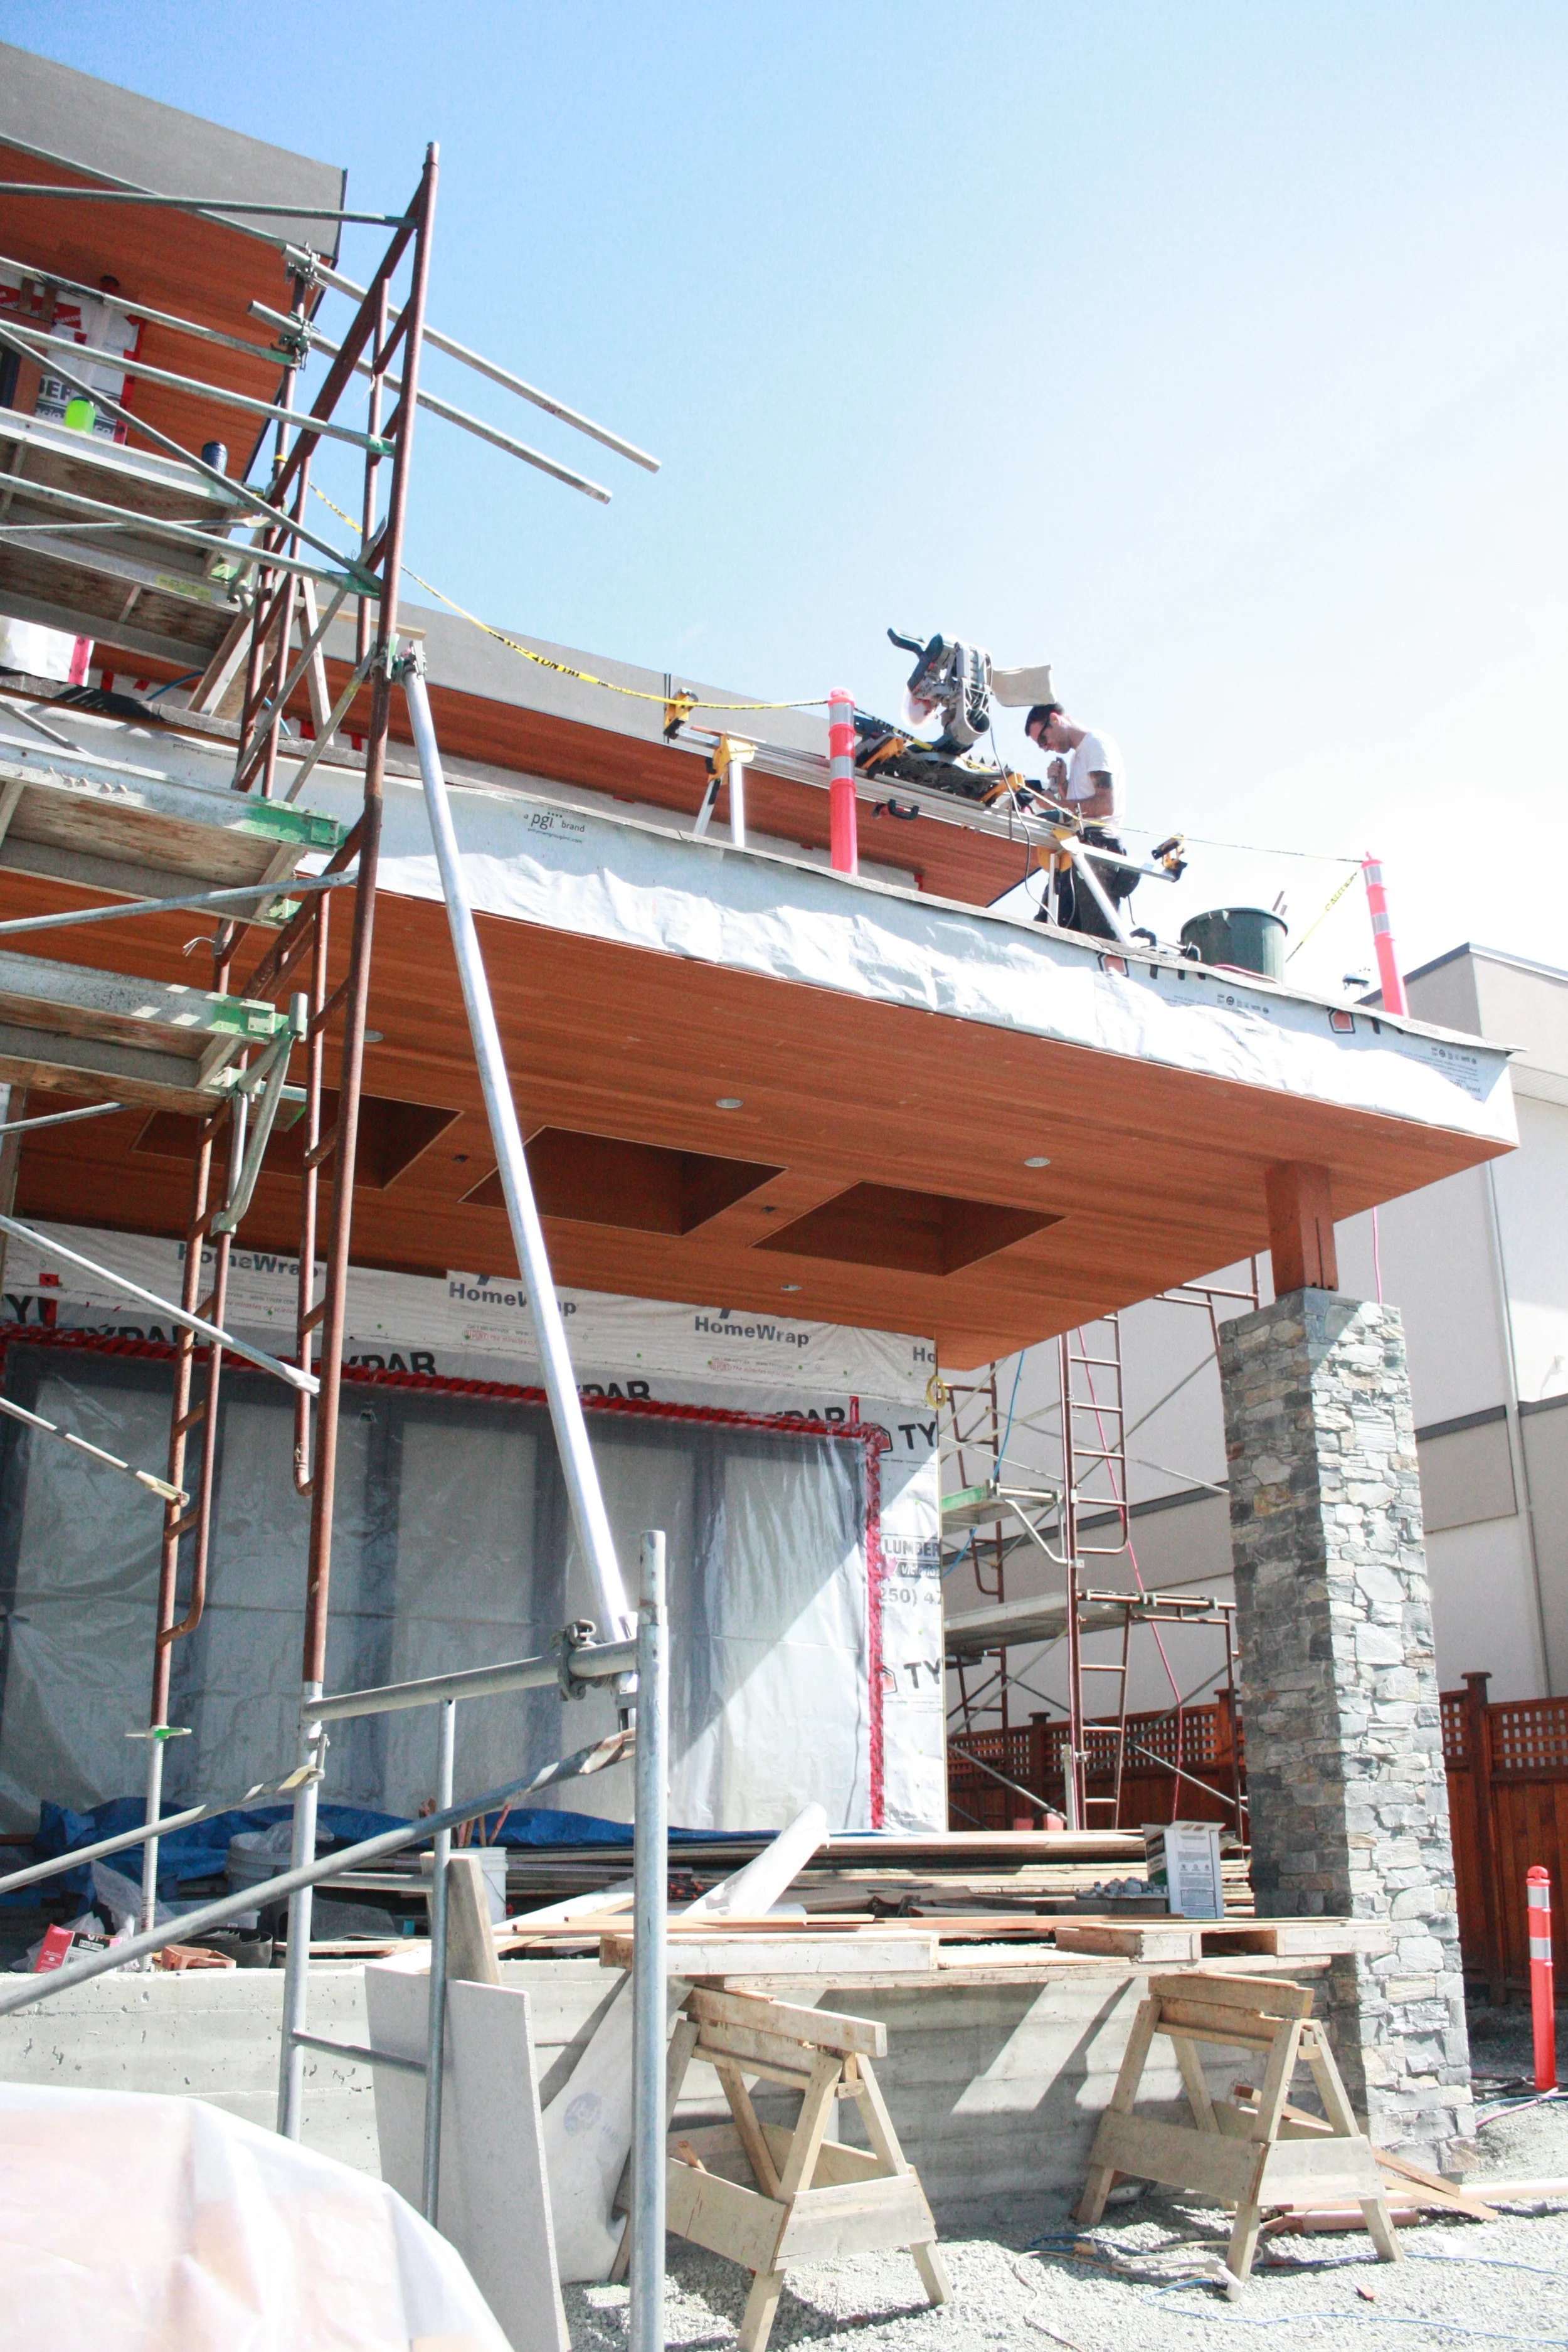
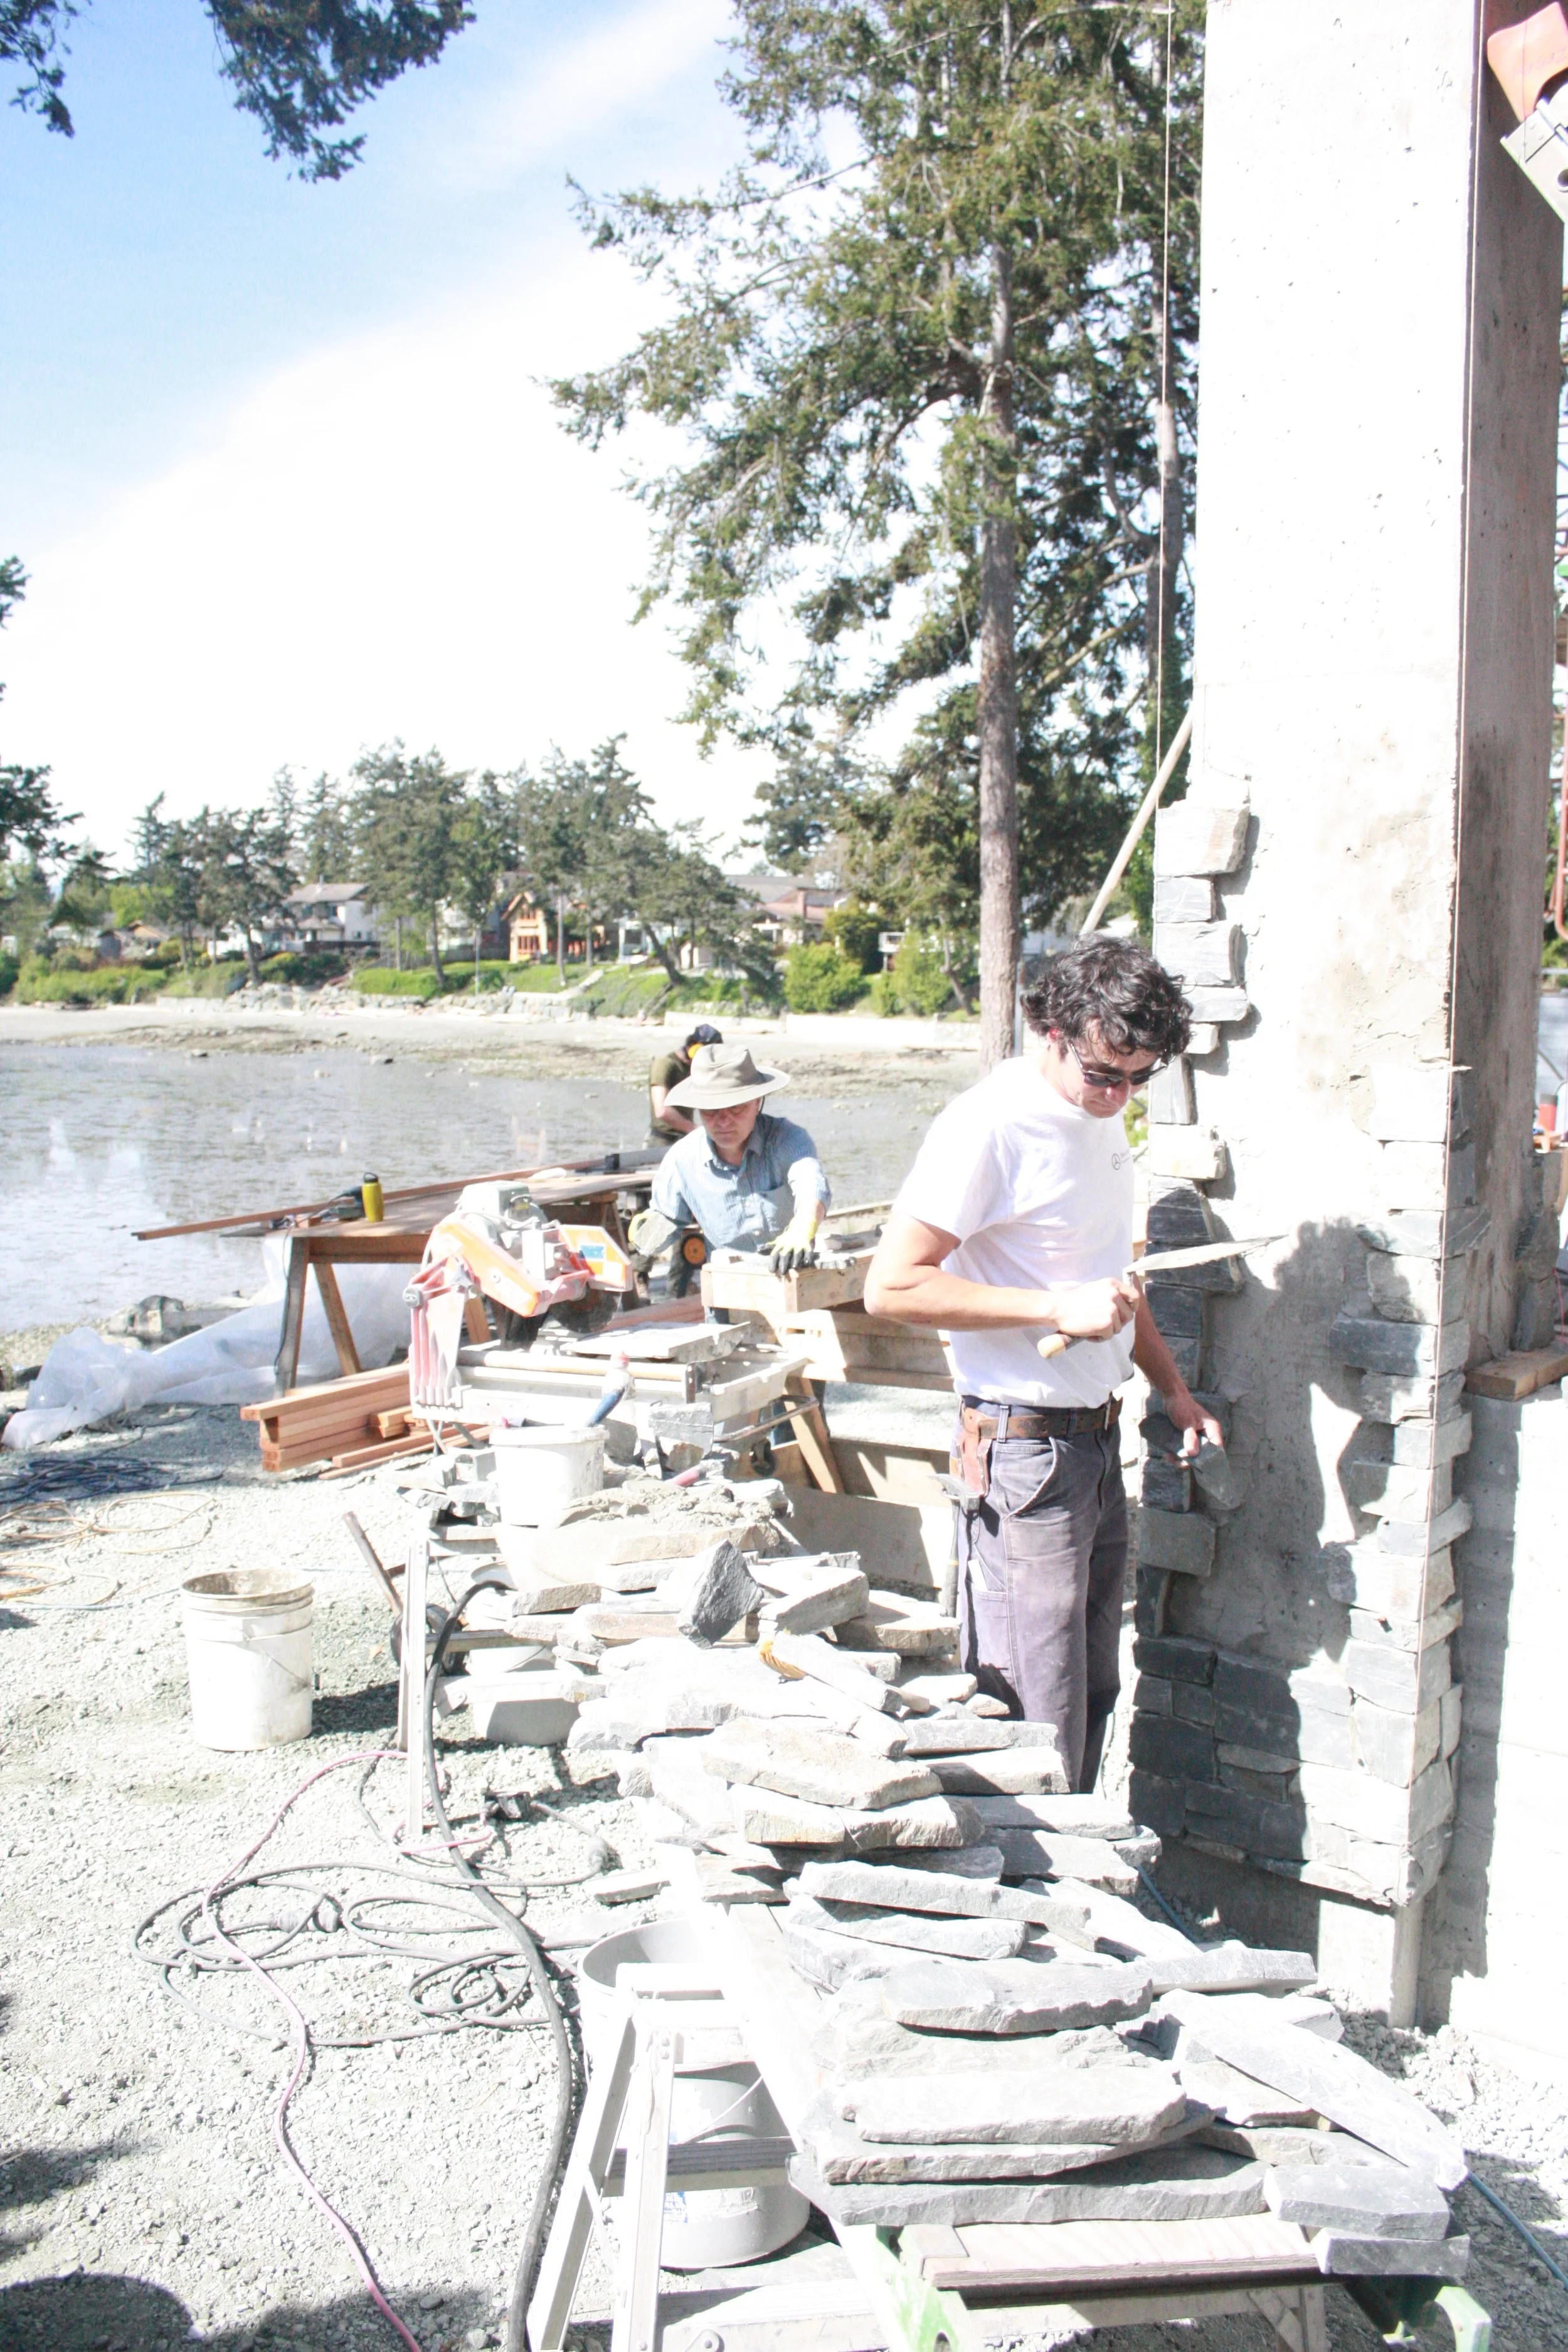
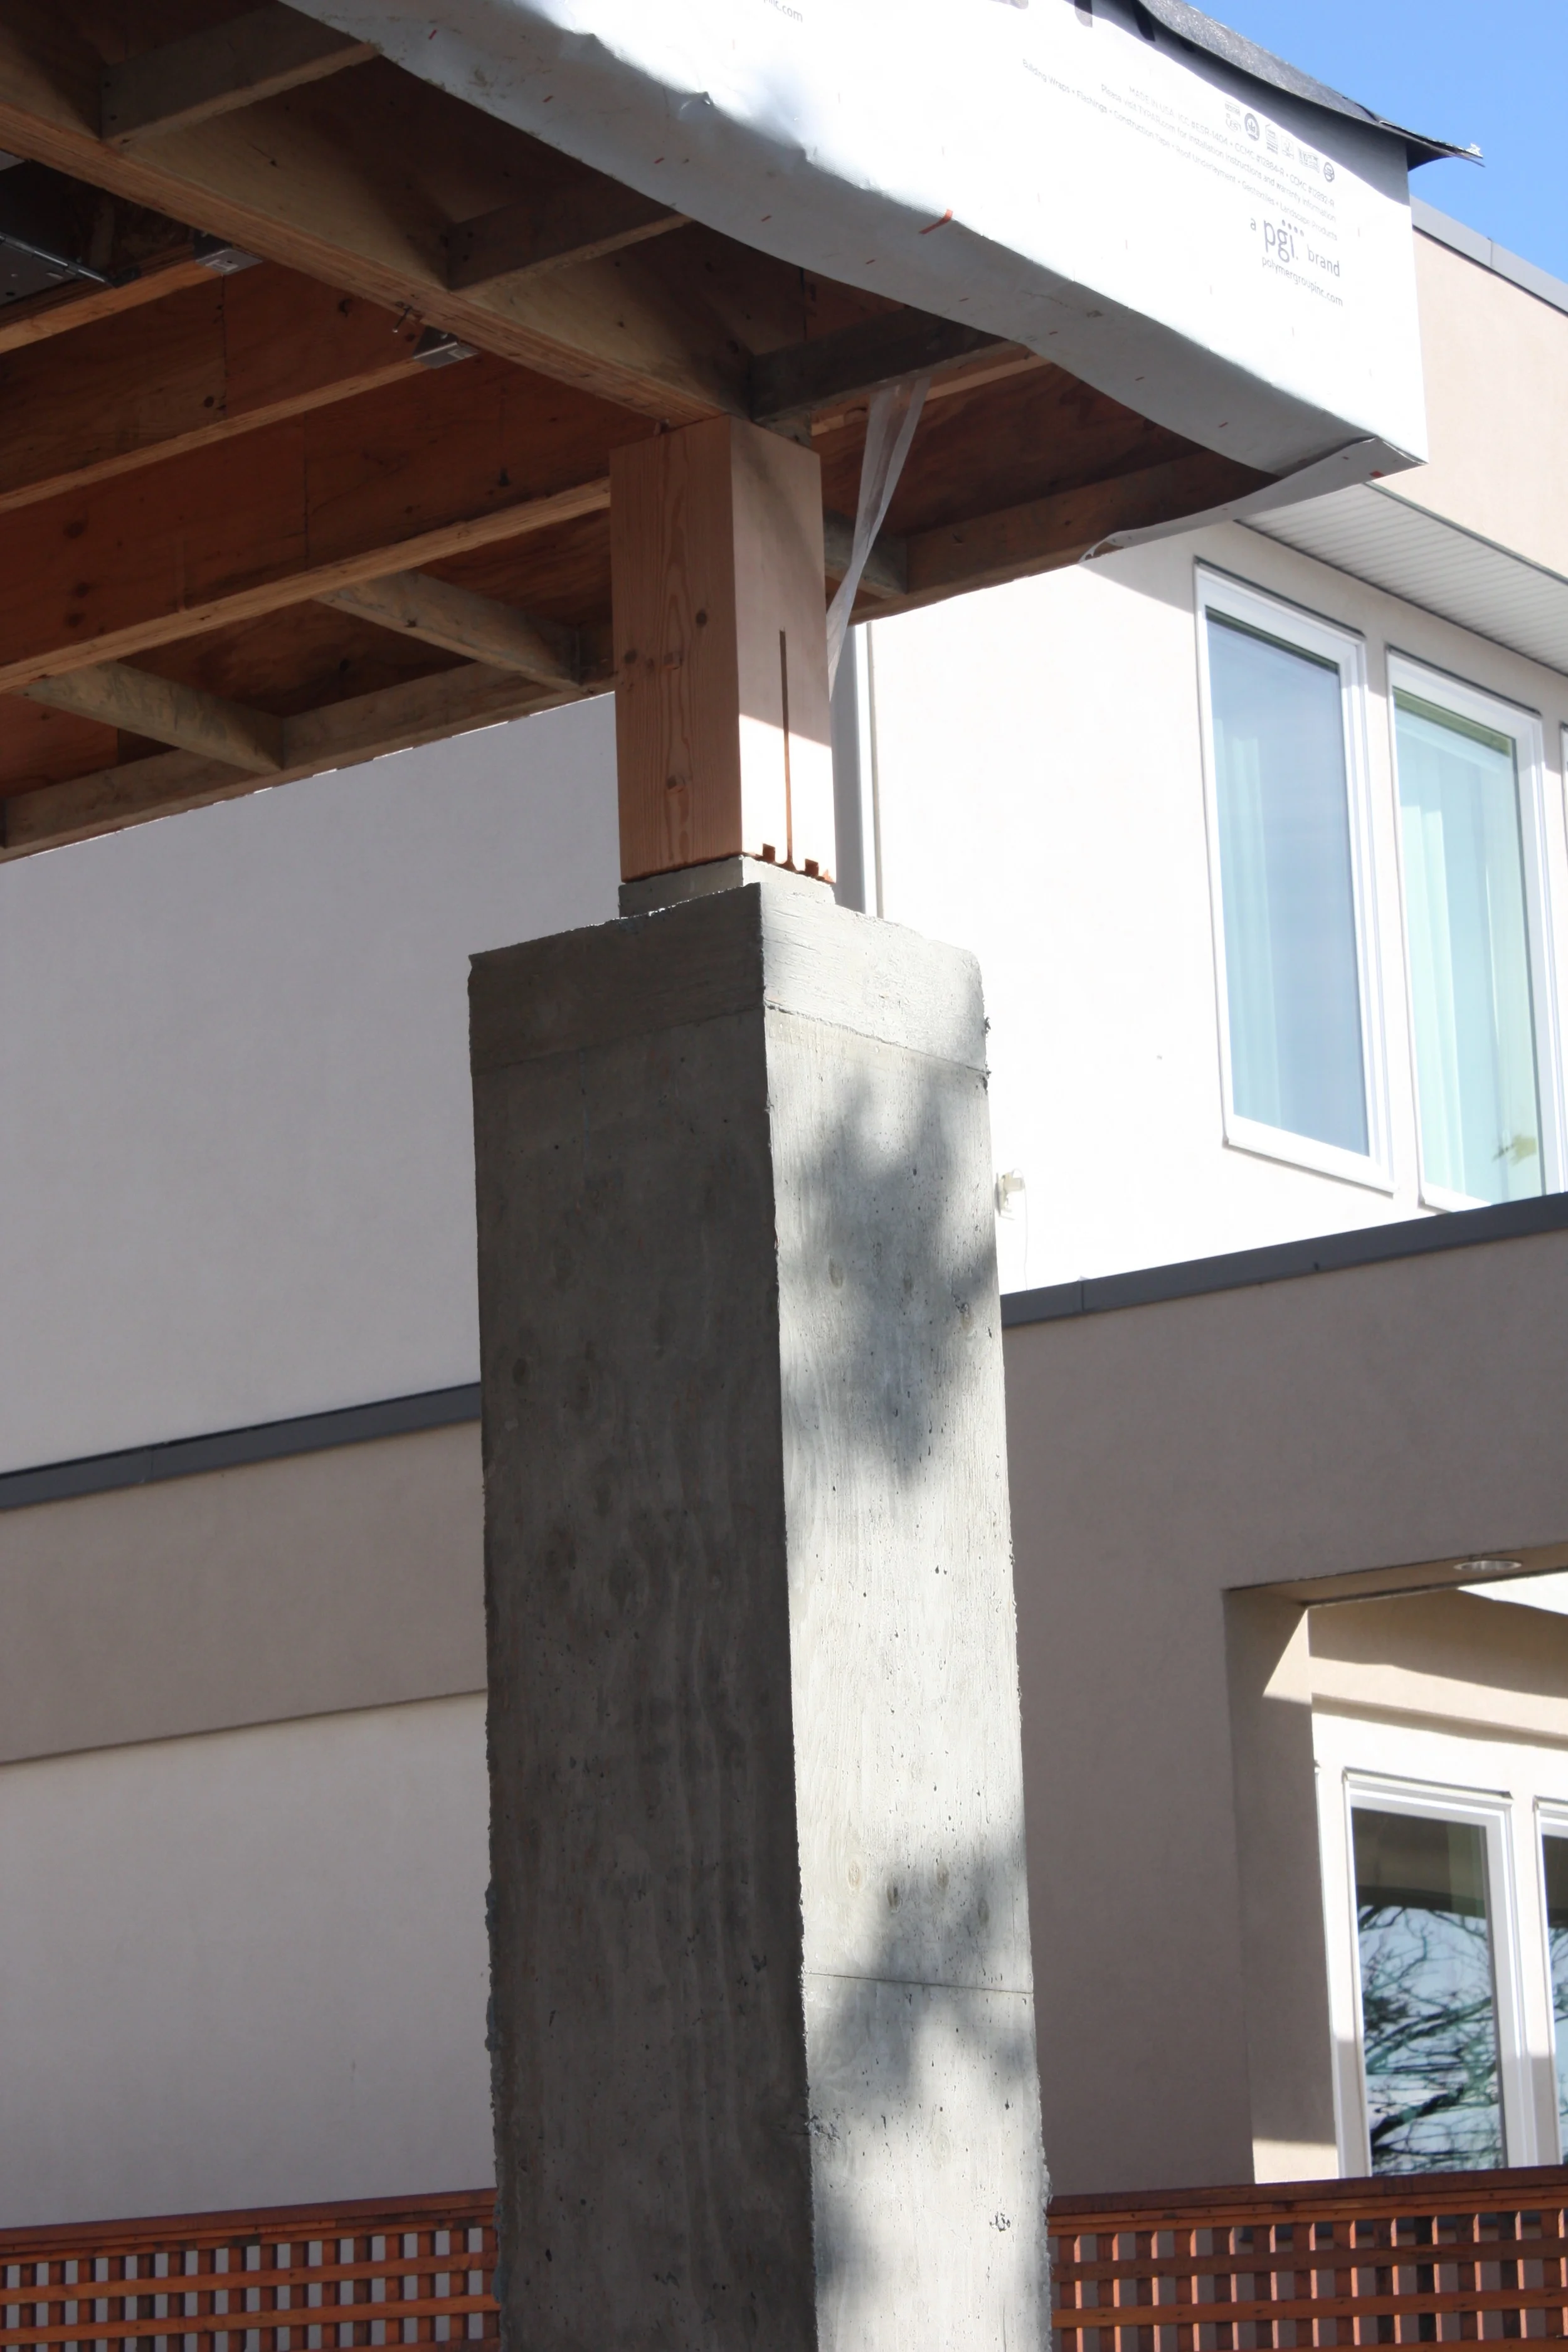
Workshop on the roof - and another image of the rock pillar on the ocean side. And another amazing West Coast Day!